3 Ways To Custom Cut Wood Trim Without a Miter Saw

If you’ve ever wanted to add a touch of class to a room by installing wood trim but don’t have a miter saw, don’t worry – there are plenty of alternative ways to customize wood trim to your exact specifications. In this post, we’ll discuss three different methods to custom-cut wood trim without a miter saw. Whether you’re a novice DIYer or an experienced homeowner, you’ll find something here that works for you.
We’ll discuss the best practices for making mitered cuts, how to make curved trims, and what tools you’ll need for a tight and precise cut. With the help of these tips, you’ll be able to make all the beautiful custom trim your space needs without having to buy a large and expensive tool. Now, let’s get started!
Reasons to Cut Wood Trim Without a Miter Saw
While the miter saw is definitely the most convenient tool for cutting wood trim, there are plenty of reasons why using it may not be the best option for you. First, miter saws are expensive, and purchasing one may not be an affordable option for some people. Second, miter saws require a large area to work in, while other methods of cutting wood trim can be done in a relatively small space. And finally, if you don’t have access to a power outlet in your workspace, hand saws and chop saws are the only options available since they don’t require any electricity to operate. Whatever your reason for wanting to cut wood trim without using a miter saw, the following methods can help you achieve that goal!
Method 1: Use a Hand Saw
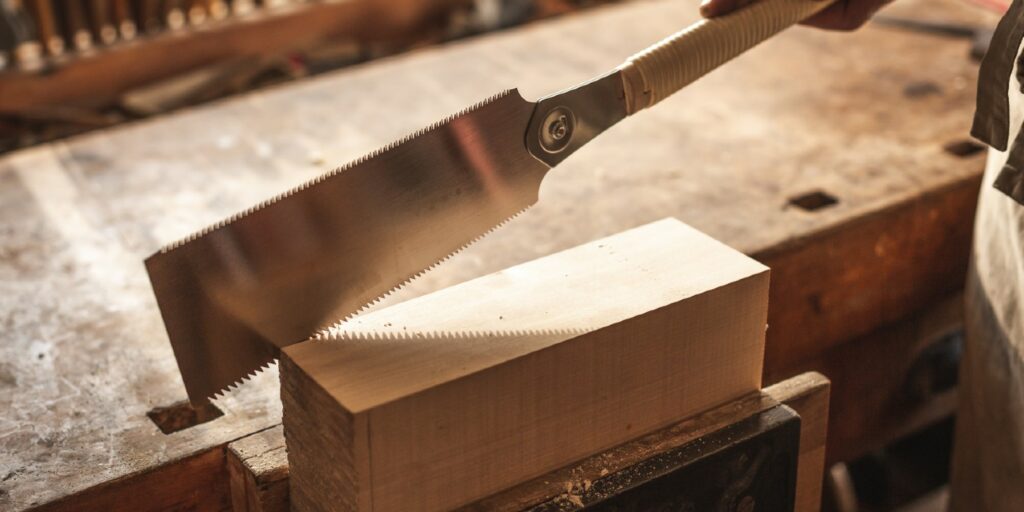
The first method of cutting wood trim without a miter saw is to use a handsaw – specifically, the Japanese saw. This type of saw is smaller than traditional handsaws and has fine-toothed blades that make it perfect for precise cuts in relatively thin pieces of wood. When using a Japanese saw, or any type of handsaw, it’s best to make your cuts on top of a flat surface like a table or bench. Also, make sure that your cuts are made perpendicular to the surface as much as possible, as this will help ensure that your trim pieces have straight lines.
Additionally, always keep at least two fingers behind the blade when cutting the wood, and always point the blade away from your body when moving it around so you don’t place yourself in danger. Taking these precautions is crucial when working with any type of saw.
Method 2: Use a Chop Saw
The second method is using a chop saw (also known as a “cutting off” or “abrasive wheel” saw). This type of saw uses an abrasive wheel to quickly and accurately cut through materials like wood without sacrificing precision or accuracy. To use this method, you will need to set up your chop saw properly by making sure that your material is firmly secured against the fence of the saw and that it is completely level on top of the table before you start cutting. You will also need to wear safety goggles and have adequate lighting so that you can see clearly when making your cuts.
As with any type of power tool, operating a chop saw requires safety procedures to be followed at all times. This includes never leaving the machine running while unattended and always keeping your hands and fingers clear of the blades when cutting.
Method 3: Use a Table Saw
Finally, if you want precision cuts in larger pieces of wood trim, then using a table saw is recommended. Table saws provide more accurate cuts than chop saws due to their adjustable fences that can be moved into any position. This makes it easy to make multiple angled cuts in one piece of material without having to reset each time.
To use this method correctly, you will need to make sure that your table saw fences are properly aligned with each other and adjust them if necessary before making any cuts. Additionally, like with all power tools, safety should always come first – be sure to never wear loose clothing near the blades and never leave your table saw running while unattended.
Conclusion
No matter which method you use for custom cutting wood trim without a miter saw, careful preparation and attention to safety guidelines should be followed at all times for the best results – you don’t want to put yourself at risk by taking shortcuts! With proper care and caution, however, these three methods can help produce high-quality results for any DIY project involving wood trim.
