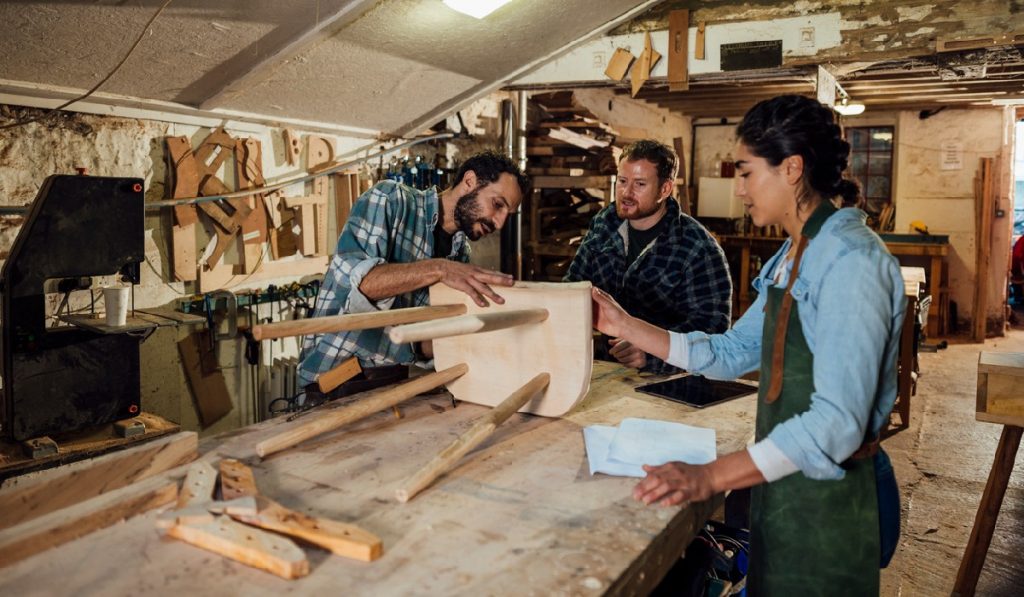
How To Easily Assemble a Shop Stool

Working long hours on your feet can be uncomfortable and tiring. Sitting down to take a break is a great way to relieve stress and renew your energy. But if you don’t want to drag a chair around the workshop and you don’t want to purchase a full-sized bench, a shop stool is the perfect solution.
In this article, we’ll show you how to assemble your shop stool and get it ready for comfortable sitting. We’ll also go over safety considerations and provide some tips on maintaining your stool so it lasts for many years. So if you’re ready to assemble your shop stool and start getting some rest, read on.
The Tools You Will Need
Screwdriver
Before you start assembling your shop stool, make sure you have a screwdriver at hand. This will be necessary to attach the pieces and ensure that the parts are firmly secured.
Shop Stool
Yes, this one is obvious, but it still needs to be mentioned. Make sure to check that all the necessary parts are present with the shop stool before moving on to the next step.
Screws and Washers
You will also need screws and washers to secure the legs of your shop stool to the seat portion. Make sure that these are easily accessible when it comes time to assemble the pieces.
Preparing the Parts
Unpacking the Parts
Once you have all the tools you need readily available, it’s time to begin unpacking the parts of your shop stool. Carefully unpack each piece and lay them out in front of you so you can easily identify each part as you go along.
Inspecting the Parts
After unpacking each part, take a moment to inspect it for any signs of damage or flaws that may not have been detected during shipment. It is important to note any imperfections so you can address them right away before beginning assembly of your shop stool, as this can prevent any further damage down the line.
Ensuring All Necessary Parts Are Present
Before beginning assembly, make sure all necessary parts are present with your shop stool package. This may include screws, washers, and other small pieces needed for assembly, so be sure to double-check this step before moving on to avoid having to stop in the middle of assembly due to missing parts.
How To Assemble the Shop Stool
- Start by positioning the legs into their respective holes located on the seat portion of your shop stool kit (the exact locations may vary depending on your model).
- Once all four legs have been inserted into their respective holes, it is now time to secure them firmly in place using screws and washers. Begin by placing one screw in each hole and securing it with a washer. Then, use your screwdriver to tighten each screw until it is securely fastened into place.
- After tightening all screws and verifying that they are securely fastened into place, take a minute to verify that each leg has been correctly attached by rocking it back and forth between your hands.
- If there is any movement between the legs and seat portion of your shop stool, then reattempt tightening until movement stops.
- Place the stool on a flat surface, such as a table or floor, and give it a few light pushes from different angles. If everything has been properly tightened into place, there should be no movement.
- Finish off by adding an extra layer of protection by applying a protective coating or sealant along any surface area. This will help protect it from spills and scratches.
Conclusion
Incorporating a shop stool will not only help you enjoy a bit of comfort while working from home or in any workspace environment, it is also fairly easy to build with our comprehensive guide. Aside from having a few tools like a screwdriver ready at hand, following this simple guide should help you easily assemble your shop stool so you can worry less about pain and start enjoying comfort.
