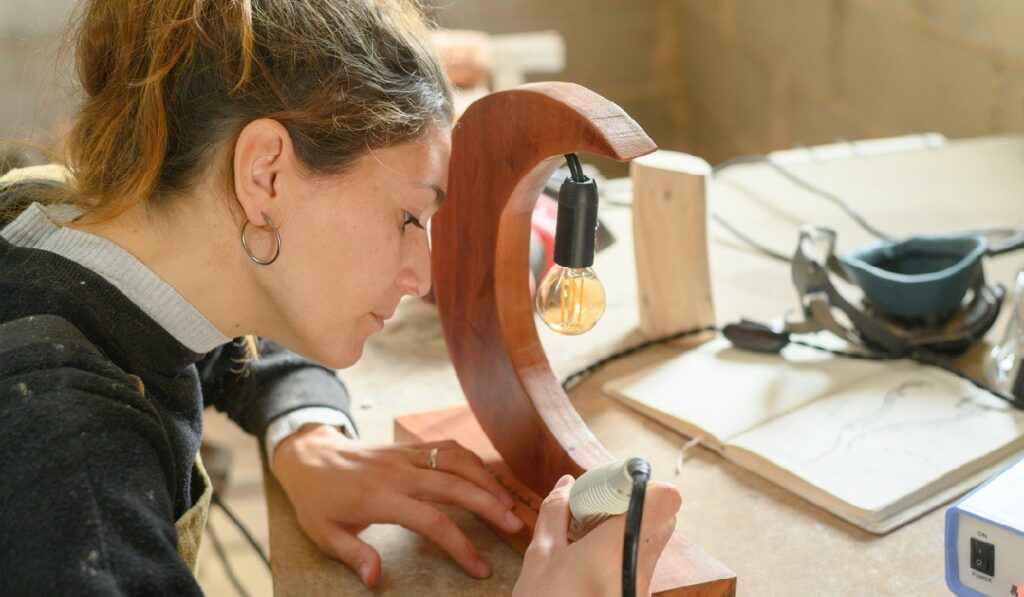
Engraving Wood Just Got Easier With These 5 Tips

Engraving wood has become increasingly popular as more people want to personalize wooden jewelry pendants, monogram cutting boards, or create customized wall art for their homes. It’s a great way to add a personal touch to something, making it truly unique and one-of-a-kind.
If you’ve been wanting to learn how to engrave wood yourself without using clunky carving tools, this is the guide for you. We’ll discuss the different types of engraving tools and techniques. We’ve also included helpful tips and tricks to ensure you can start engraving wood confidently.
Select Your Material
The most common materials used for engraving are various types of wood and metal. While both of these materials can be engraved with the right tools, different types of wood and metal require more care than others. For example: when it comes to metals, brass is particularly soft and easy to engrave while steel requires more pressure. For wood, oak and maple are great for engraving given their sturdy nature, whereas some plywoods and fiberboards might splinter during engraving because of how they are engineered. It is important to choose natural hard or soft woods such as cherry, alder, balsa, or hard maple.
Gather the Necessary Tools
Before you begin, make sure you have all the necessary tools on hand. You will need an engraving tool such as a rotary tool, an engraving bit, and a small flat or round file that fits your engraving tool’s collet. You’ll also want to use safety glasses, a dust mask, and work gloves when handling sharp tools and wood. Optional materials that can help make your job easier include a clamping device to secure your materials and a magnifying glass or loupe to help you see fine details.
Preparing Your Materials
Once you have all the required materials ready, it’s time to prepare your wood for engraving. Before you start, clean the material thoroughly with soap and water to remove any debris or dust that could interfere with your work. Let the wood dry completely before you start engraving as moisture softens wood and could lead to uneven edges during the engraving process. Once your piece is clean and dry, clamp the wood securely in place so it cannot move while you are working on it.
Engraving Techniques
Now that your piece is prepped and ready, you can begin the actual engraving process. Using a cordless dremel tool is convenient when engraving wood and gives you more control and freedom when incorporating fine details, whereas a dremel with a cord can get in the way and limit your mobility. When engraving on thin pieces of wood, use slow-speed settings. You will want to avoid going too low as this will cause overheating which can damage your tool and materials. For thicker pieces of wood, gradually increase the speed until you reach a good level of detail without causing any damage to the material or tool.
Finishing Touches
When finished with the engraving process, be sure to check your work carefully using a magnifying glass or loupe to ensure there are no errors or missed sections. Any mistakes at this stage could ruin your piece. To keep it looking its best over time, you might consider coating your project in a wood sealant or polyurethane.
Conclusion
Engraving wood can be a fun, rewarding DIY project that allows you to make beautiful, truly unique pieces that show off your creativity. With the right tools, materials, and techniques, you can quickly learn the basics of wood engraving and eventually become an expert. Whether you’re making personalized jewelry or adding intricate details to a piece of art, wood engraving can be a great way to express yourself and make a lasting impression.
