DIY Approved! How to Frame a Wall in 7 Easy Steps

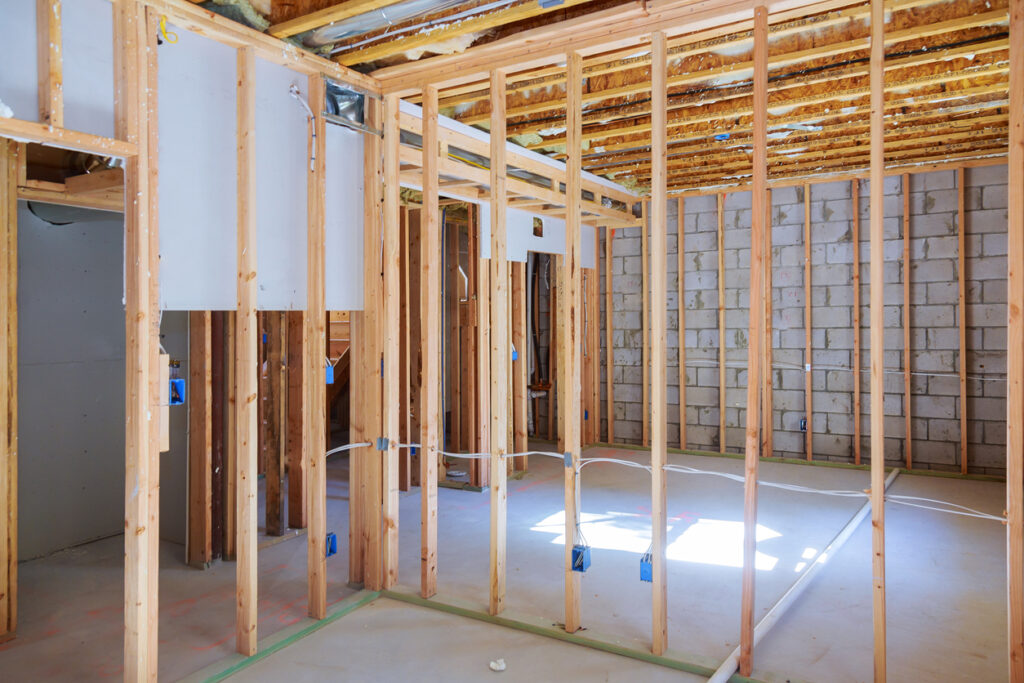
New under construction home framing unfinished wood frame building of a basement residential
Framing a wall is a great way to add a room to your home or replace an existing wall. It can seem intimidating, but it’s a fairly easy project that anyone can do with the right tools and a little know-how. In this post, we’ll give you all the information you need to frame a wall in seven simple steps.
We’ll walk you through everything, including measuring the area, gathering the supplies, cutting, and assembling the pieces. Pull out your tool belt, take a deep breath, and prepare to transform your home. By the end of this post, you’ll be an expert at wall framing in no time.
Gather Tools and Materials
Completing a wall-framing project requires a variety of tools and materials. Here is what you’ll need to get started:
- Estwing hammer
- construction level
- measuring tape
- wood saw
- drill
- wood screws & nails
- wood braces
- blocking boards
- drywall panels
- trim pieces
You can usually purchase tools and materials for wall framing from any hardware store or home improvement center. Don’t forget to shop around for the best prices. Many online retailers can deliver items directly to your door.
Prepare the Area
Before beginning any wall framing project, clearing the working area of all furniture and other obstacles is critical. Cover carpets or flooring with drop sheets to prevent accidental damage while completing the project.
Remove any coverings from windows and doors before beginning the wall framing process to ensure those structural elements do not interfere with the framing process. Temporary support beams should be placed underneath openings such as windows or doors to support them during the project.
Mark Your Studs
Once the working area is ready, locate and mark the studs in the existing walls that will serve as references for attaching the new wall frame paneling. If you are unsure where these studs are, you can use an electronic stud finder for assistance. Once you have found them, use a pencil or pen to mark each stud to stay organized during installation.
Once the studs are marked, it is time to place braces for installing your new wall panels. Use a drill and wood screws to firmly secure these braces within each marked stud before continuing with the next step in the wall-framing process.
Cut the Wall
Measure each corner intersection accurately before cutting any drywall panels to ensure they fit perfectly into place within your marked studs. After measuring, use a saw to cut each point of intersection properly before fitting it into place securely within each marked stud brace you created earlier.
After all intersection points have been cut accurately and fitted securely, it is time to cut outlets and switch openings. Measure each opening before cutting them, and don’t forget to wear safety goggles.
Attach Wall to Studs
After ensuring that all openings are accurate, the next step is securing the new wall frame paneling. You can use an Estwing hammer or nail gun to attach the paneling. Secure the paneling by driving nails into each stud location. Using enough nails to ensure the paneling is securely attached to each stud location without any room for movement is crucial. To ensure that the paneling is securely attached, push against it firmly with your fingertips.
Reinforce Your Frame
Install blocking boards between each stud location to reinforce your wall frame structure and support heavier materials. You can do this after securely attaching your wall panels to the studs with nails. Blocking boards will add extra strength and create more space for wiring. It is an optional step but highly recommended for added stability and versatility.
Attach Trim Pieces
After securely attaching the paneling to the designated stud locations, the next step is to pre-cut trim pieces to fit the edges of the walls. Begin by measuring the length of each piece before cutting it with a saw blade. Dry fit the trim pieces around the edges of the existing walls to ensure a proper fit before firmly nailing them into place with an Estwing hammer device. Once the trim pieces have been pre-cut and properly positioned around the edges of the walls, use a nail gun to attach them firmly.
Conclusion
Framing a wall doesn’t have to be a daunting task. With the right tools and this guide, you can easily complete a wall in seven easy steps. With all the money you saved by completing the project, you’ll have a great story to tell your friends and family. Take on this project, and you’ll be a DIY-approved pro.
