5 Tips for Seamless Hardwood Floor Repair

Hardwood floors are a luxurious design feature in any home. If you’ve recently noticed scratches, dents, and other signs of wear and tear on your hardwood floors, don’t despair. With the right tools and techniques, you can repair your hardwood floors without spending too much time or money.
In this post, we’ll share five tips to help you make seamless hardwood floor repairs at home. We’ll discuss the supplies you need, how to make repairs without damaging the wood, and the best way to protect your floors from future damage. With our advice, you can restore your hardwood floors to their original beauty in no time.
1. Gathering Materials
The first step in the hardwood floor repair process is to assemble the necessary materials for the job. Depending on the scope of your project, you’ll want to have a few essential items on hand. These items include a claw hammer, chisel, belt sander, wood filler, sandpaper, hardwood, and wood glue. After collecting the necessary supplies, you’re ready to move on to the next stage of the process. Don’t forget to clear your furniture and belongings from the repair area before getting started.
2. Removing the Damaged Area
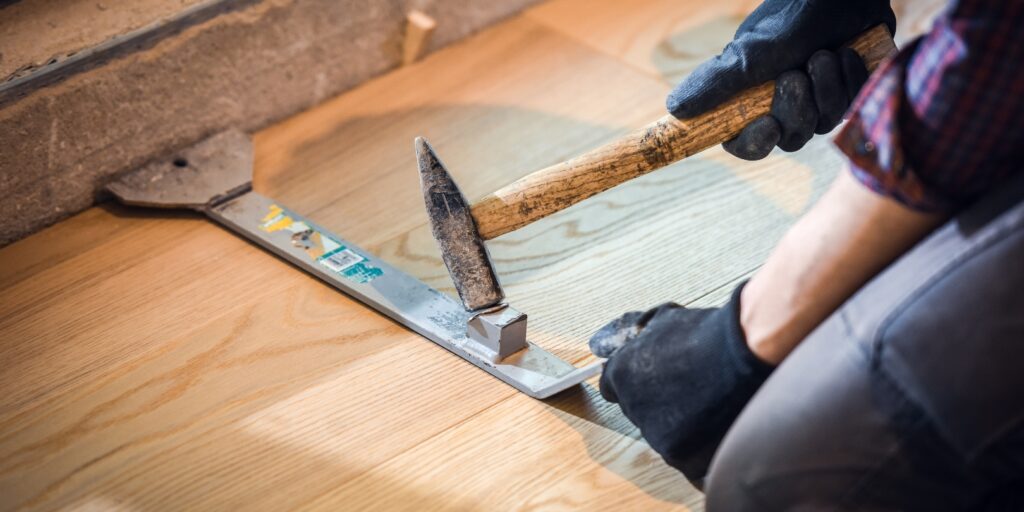
Using a chisel and hammer, begin removing any damaged boards from your existing hardwood floor. If any nails are remaining in the damaged area, be sure to remove them as well. Take care not to damage any of the surrounding boards in the process. Dispose of the damaged wood and nails in the appropriate receptacle to avoid injuries. You can find recycling centers in your area that will take your scrap wood.
3. Sanding the Area
After removing all of the damaged boards, use a belt sander to lightly sand down any raised surfaces that may remain in the affected area. As you sand, be sure to create an even surface all around. Take your time with this step, as you will need to ensure that the area around the wood is even. This step will help ensure a seamless transition between your existing flooring and new hardwood when repairs are complete.
4. Replacing the Damaged Hardwood
Based on the size of your project, you’ll either need to cut new boards from an existing piece of lumber or purchase prefinished pieces that match your existing hardwood. When cutting new boards, measure and mark accurately to prevent wasted material and ensure an exact fit for your repair job. Once this is complete, apply wood glue into any grooves or cracks of each board before gently pressing it into place with a rubber mallet or similar tool.
5. Finishing the Repair
Once your new boards are securely placed in position, lightly sand down any excess wood glue using fine-grit sandpaper and vacuum away any remaining debris from your repair job. For added security and impeccable results, apply a coat of varnish over the repaired area for superior protection against water damage or wear and tear. Clean your floors after repair with a wood-safe cleaner.
Conclusion
Hardwood floors can add beauty and elegance to any space, but they can be tricky to maintain and repair. With the proper tools and techniques, it’s possible to repair your hardwood floors. With our five tips outlined in this post, you can take back control of your hardwood floors and restore them to their original beauty. From gathering materials to finishing the repair, pay attention to detail and don’t rush the process. With this helpful guide, you can restore your hardwood floors to their former glory.
