How To Cut Crown Molding: Tips From Pro Woodworkers

Are you considering adding crown molding to your home and don’t know where to start? Well, you’re in luck! Installing crown molding is easier than it looks, so don’t be scared off by the thought of it. In this post, we’ll provide an overview of what’s involved with crown molding installation and then lay out the steps to cut crown molding like a pro.
Whether you’re a pro woodworker or a budding do-it-yourselfer, you’ll find useful tips and tricks to make your crown molding installation experience successful. We also include a section at the end of the post with answers to the most common questions when dealing with crown molding.
Tools
Miter Saw
A miter saw is the best tool for accurate crosscuts when cutting crown molding. Use the bevel angle settings for compound miter saws to get the right angle on your cut.
Tape Measure
Use the tape measure to accurately determine the length of your cuts by measuring along each wall and ceiling junction.
Pencil
Use a pencil to mark cut lines on the back of the molding piece before cutting it on the miter saw.
Hammer
Use a hammer to firmly drive nails along the wall strategically during your crown molding installation.
Nails
Ensure you have an appropriate type of nail for installation that will not damage your wall or ceiling and provide enough strength to hold the molding in place when you have installed it securely.
Coping Saw
This type of saw is for making fine detailed cuts inside corners where two pieces of crown molding meet at an angle, and you cannot easily connect it with any other type of saw blade cut.
Measure the Corner
The first step is to measure the corner in which the crown molding will fit. This measurement should be from the wall to the outside edge of the corner. Once you have taken this measurement, you can transfer it onto the crown molding to use for cutting. Also, mark the corner’s angle, as this will apply when making cuts with a compound miter saw.
Cut the Molding
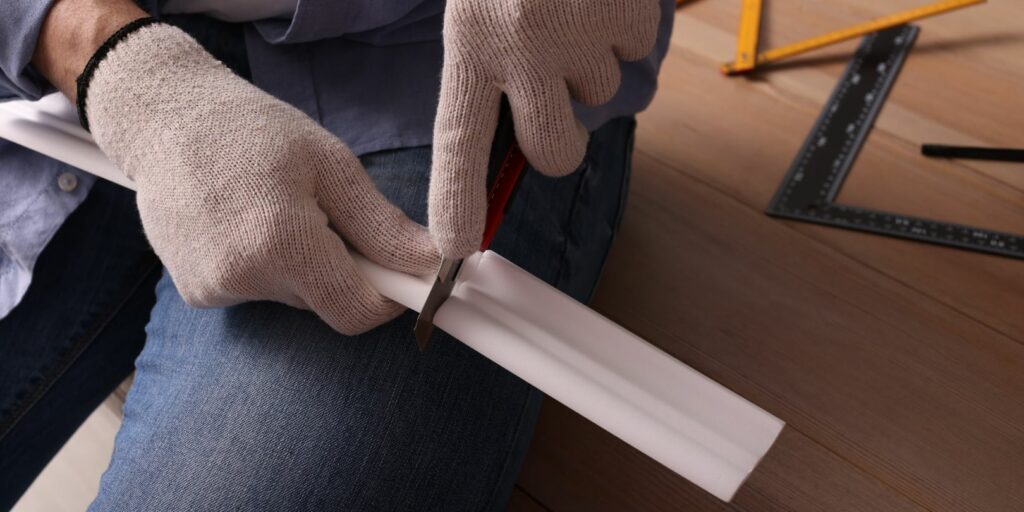
After marking your measurements on the crown molding, it’s time to start cutting. To make sure that all four pieces of your crown molding fit together perfectly in the corner, you must cut each piece at precisely the same angle and length. A compound miter saw is the best tool for making accurate and precise cuts. When using a compound miter saw, make sure that you properly adjust it according to your measurements before making any cuts. This tool allows you to make various angled cuts and create perfect mitered pieces easily.
Install the Molding
Once you have cut all of your pieces, you can begin installing them in place. To start, grab some construction adhesive and apply it generously along one side of each piece of crown molding before attaching it to the wall or ceiling with nails or screws. Make sure to line up all your pieces so they meet in a seamless joint in each corner without any gaps or misalignments before securing them into place.
Last Steps
Now that all four pieces have been installed, check for discrepancies or misalignments before adding caulk along each joint to fill in gaps. Finally, sand down any rough spots on your newly installed crown molding and apply some paint or stain finish for a professional look!
Installing crown molding might seem intimidating, but anyone can achieve professional results with the right tools and techniques. With the steps in this guide, you will be well on your way to cutting crown molding like a pro. Whether you are a seasoned woodworker or a DIYer, you can now confidently take on this project. So take some measurements, cut your pieces, and install them properly, and you’ll have a stunning crown molding look in your home in no time.
