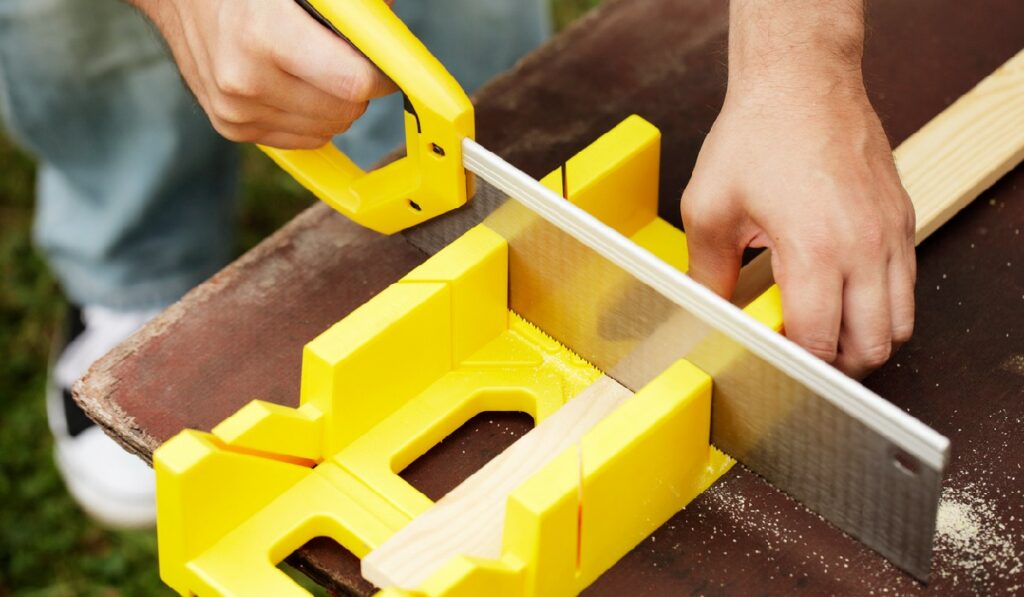
A Step-by-Step Guide To Mastering the Backsaw

The backsaw is a versatile and essential tool for all woodworkers. It’s perfect for cutting hard-to-reach places where regular hand saws or power tools just won’t fit. It’s also great for making clean, precise cuts for intricate projects. If you’re looking for a way to create professional-looking projects, mastering the backsaw is a must.
In this post, we’ll give you a step-by-step guide to using the backsaw, so you can get the most out of this amazing tool. We’ll give you information on how to choose the right backsaw for your needs, how to sharpen it, and tips on making clean cuts every time. Follow our guide, and you’ll be a pro in no time.
Different Types of Backsaws
Backsaws are typically used for making intricate cuts such as dovetails, tenons, and other joints. They can also be used for making veneers, cutting curves, and trimming furniture components. Each type of backsaw has a specific purpose and should be chosen according to the project at hand.
Choosing the Right Backsaw
When choosing a backsaw there are several factors to consider, such as size, blade material, blade length, handle type, and cost. The size of the saw should be determined by the job you are doing, and the length of the blade should be appropriate for that job as well. The blade material should be chosen based on your budget and needs. Cost is always an important consideration when purchasing tools, so remember to buy something that fits your budget while still providing quality results.
Different Kinds of Handles
When looking at handles for your backsaw, you can choose from pistol grip handles or traditional straight handles. Pistol grip handles fit comfortably in your hand and provide more support when cutting. Traditional straight handles are lightweight but may require more skill to use effectively. When choosing a handle, consider how it fits in your hand and what kind of cuts you will be making with it.
Preparing and Tuning the Backsaw
To ensure a clean and accurate cut, it is important to ensure that the blade tension is correct before using the backsaw. Start by checking the handle screws to make sure they are all tightened properly. If there’s any looseness, use a screwdriver to tighten them evenly. Turn the saw over so that the blade is facing up, and carefully press down on it near one of its teeth with your thumb. The blade should stay in place without any significant movement or bouncing around.
After you have checked and adjusted the blade tension, it’s time to sharpen and grind the blade. Secure the saw handle in one hand and place a flat stone on top of your work surface. Hold the stone firmly in place and slowly draw the saw along its surface in one long, continuous motion until you have sharpened every tooth on both sides of the blade evenly.
Set up your work surface with a vise or clamp to firmly secure your material before beginning your cut. With the material secure, turn your saw over so that its cutting edge faces down and adjust its angle until it is perpendicular to your material’s surface.
Cutting With a Backsaw
Before beginning your cut, it is crucial to adjust your grip for maximal safety. Grip it firmly in both hands with your fingers away from the blade. Hold this position throughout your entire cut. Always keep pressure on its handle as you pull back or push forward.
Once you have gotten comfortable cutting straight lines, try out some more challenging cuts, such as curved shapes or puzzle pieces that require more precision than simple straight lines can provide.
Finishing the Cut
Saw teeth can break if they are not cared for properly after each use. Try using fine-grit sandpaper to remove any burrs or buildups that may have gotten stuck during use. This action will help extend the life of your saw.
Conclusion
Mastering the backsaw is a valuable skill for any woodworker or carpenter. With the steps outlined in this guide, you should be well on your way to becoming a pro with this versatile and essential tool. With practice, patience, and the right tools, mastering this essential tool will be easy. Once you’ve done that, you’ll be able to create professional-looking projects with ease.
