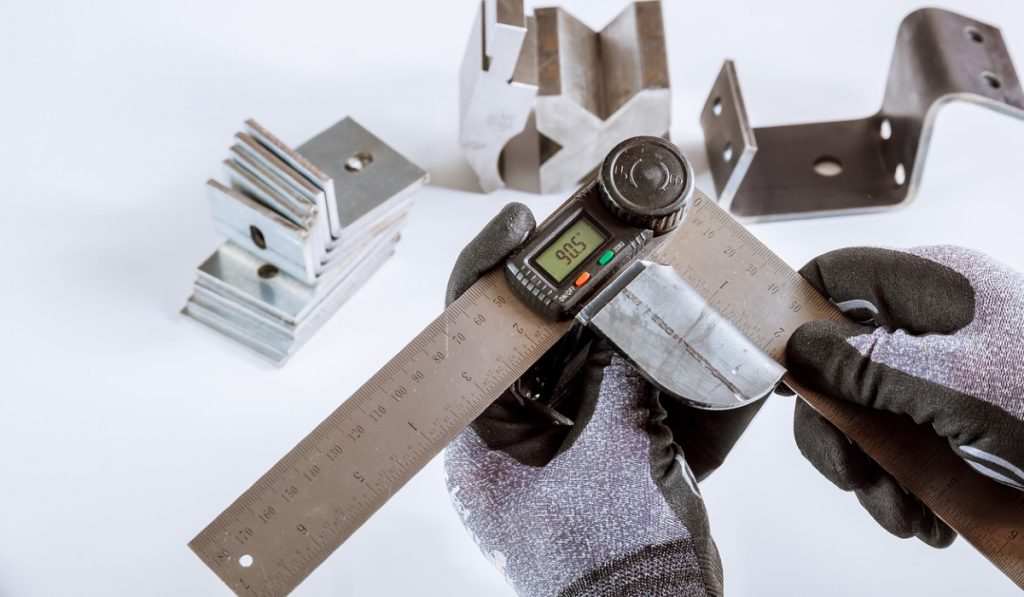
How To Use a Digital Protractor for More Precise, Accurate Measurements

Getting perfect angles on your projects requires precision, and with the right tools, it can be easier than you think. In this post, we’ll explain how to use a digital protractor, so you can achieve perfect angles every time. We’ll talk about what to look for when buying a digital protractor, and the different features you should consider. We’ll also show you how to properly use the protractor for a variety of applications. If you want to elevate your project with accuracy and precision, this post is for you.
What Is a Digital Protractor?
A digital protractor is an electronic tool used to measure angles quickly and accurately. Instead of relying on a manual measurement device like a traditional protractor, a digital protractor provides highly accurate readings with little effort. It relies on a sensor or electro-optical reader that is sensitive enough to detect even the slightest change in angle.
Benefits
The primary benefit of using a digital protractor is the high accuracy and precision it offers compared to traditional measuring methods. With the right digital protractor, you can count on consistent readings and dependable results each time. Digital protractors are easy to use, making them ideal for technical jobs that may require precise measurements, such as machining and engineering applications.
Preparing To Use a Digital Protractor
Before getting started with your digital protractor, it’s important to select the right model for your needs, as well as gather any other related materials your project requires.
Selecting the Right Protractor
When selecting a digital protractor for your project, consider the level of accuracy and precision you need, as well as any additional features that may be useful for your particular application. Look for models with an easy-to-read LCD and intuitive controls so you can easily access options or reset measurements when necessary.
Gather the Right Materials
In addition to the digital protractor itself, be sure to have any other materials you may need for your project on hand before beginning your measurements. This may include rulers or straight edges, markable surfaces for drawing reference lines, gloves for added protection, and soft cloths for cleaning off debris from surfaces before taking readings.
Measuring Angles With a Digital Protractor
Once you’ve gathered all your materials and selected the right digital protractor for the job, it’s time to start taking measurements.
Zeroing the Protractor
When using a digital protractor, it’s important to zero out the display before each reading so all future readings reflect accurate measurements relative to that point. Depending on your specific model, this may involve pressing buttons or setting knobs located near the display screen before beginning each new reading session.
Placing the Protractor at the Origin Point
Once you’ve zeroed out your protractor’s display screen and ensured any additional settings are correct, place it over the origin point where you’re starting from. This is usually either an edge or corner of an object being measured depending on what kind of angle you’re looking at. It should be parallel with the surface beneath it or oriented in some other way depending on what kind of measurement you need to take.
Reading Measurements off of the Display
Depending on its orientation relative to whatever object is being measured and where its internal sensors are located, the readout will provide both direction information as well as numerical values in degrees relative to its current standing point. These can be used for comparison against other angle measurements taken.
Conclusion
Using a digital protractor to measure angles is an easy and efficient way to ensure that your projects have perfect angles every time. Whether you are working on a project that requires precise measurements, such as machining or engineering, or a home renovation project, a digital protractor can help you achieve perfect results.
