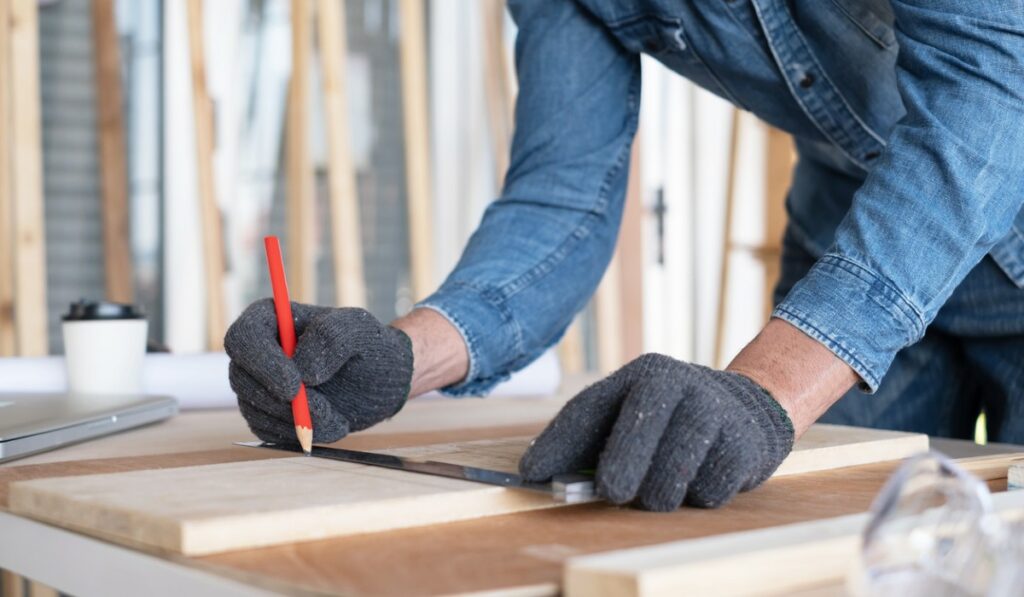
A Step-by-Step Guide on How To Use a Framing Square

Framing squares are the unsung heroes of construction and the key to great carpentry. This essential tool is used to ensure that rafters, joists, treads, and other components are square and at the right angles, but how exactly do you use a framing square? We’ll go over this and much more in this article.
We’ll tell you how to use this tool to measure and make angled cuts. We’ll also detail a few advanced uses for this item, for those who have experience with this tool. If you want to use a framing square to improve the look of your next project, keep reading.
Understanding the Different Parts of a Framing Square
A framing square is typically composed of two rulers attached at the right angle corner of the square. The long ruler is known as the body and has two sides. The tongue side is used for longer measurements, while the blade is for shorter measurements. Several holes along the inside edge of the square can be used to make notch cuts into pieces of wood.
Measuring with a Framing Square
When using a framing square for basic measuring tasks, the most important thing to note is the zero point on each ruler, which should always be aligned with one another when measurements are taken. When taking measurements from both sides at once, line up the tongues and blades of both rulers before making calculations. It is also important to note that when measuring from either side of the framing square, all measurements will still run parallel to one another.
Making Notches and Markings on a Framing Square
Framing squares are incredibly useful for quickly making notches or markings in pieces of wood by using holes along the inside edge. To create notches, place a piece of wood between the tongue and blade and secure it with clamps if needed. Align either side of the hole with your desired mark on your piece of wood before drilling through them with a saw or power drill bit to create a notch. This process can be repeated to make marks in other areas along your piece of wood by simply lining up the holes with those marks instead.
Securing a Framing Square
Framing squares are usually made from metal or plastic materials, and they can often slip while attempting more complicated projects. To prevent this from happening, most hardware stores sell metal brackets that can be attached to each corner of a framing square to give DIYers more accurate measurements when working on longer lengths of wood or when using angles above 45 degrees.
Advanced Uses of a Framing Square
Once you have become comfortable using a framing square for basic projects, such as measuring, marking, and sawing lumber, there are many more advanced uses for these tools. To create curves, adjust one side of your square until it matches your desired angle before making marks in various locations along its measurement scale and connecting them to form curves. Framing squares are also incredibly helpful when mapping out complicated miter cut angles by allowing you to quickly adjust the angle arms to achieve more precise measurements for these types of projects.
A framing square is an essential tool for any carpenter or DIY enthusiast, and this guide has provided critical steps and tips for how to effectively use it for your next project. Having a framing square on hand can make many carpentry tasks much easier. With this guide and your handy framing square, you’ll be well on your way to mastering the art of carpentry.
