We may receive a commission when you use our affiliate links. However, this does not impact our recommendations.
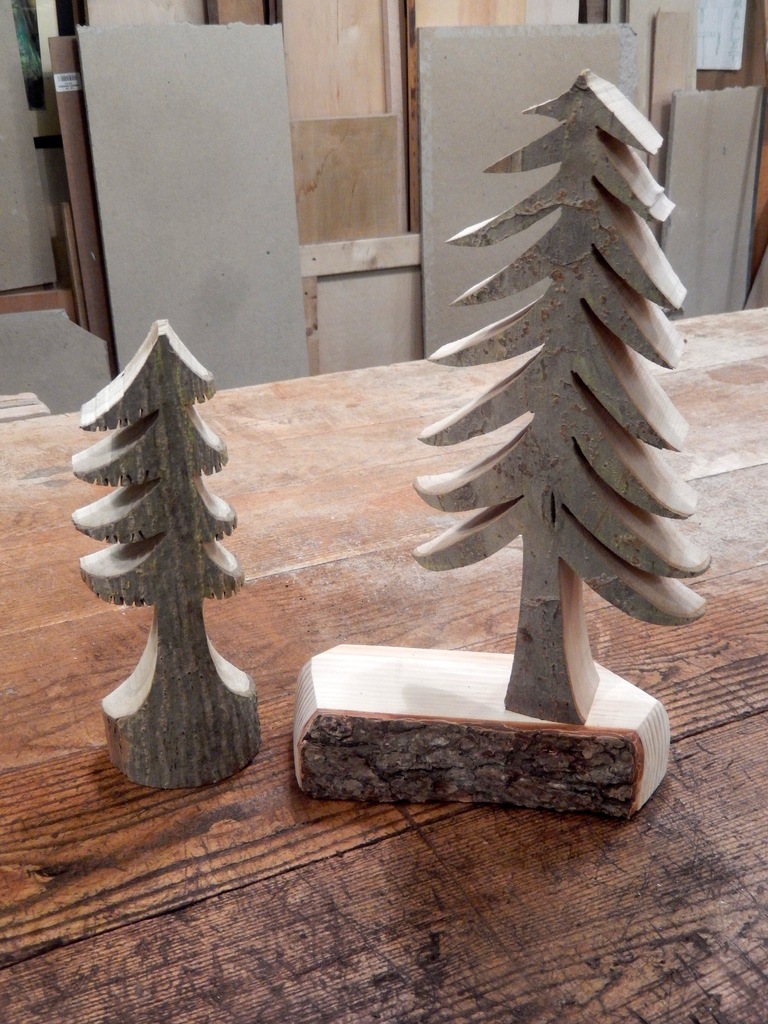
Part of my duties as the woodworking teacher in my school is to lead our Fall Fair parents Workshop. The Fall Fair is a one-day event that takes place a week before Thanksgiving. Our school is open to the public during that day and is hosting a variety of craft related activities. At the Fair’s popup store we offer for sale handmade objects that are meticulously crafted by parents and volunteers. Traditionally the woodworking program has contributed items such as wooden toys, carved animals, swords and shields. But this year we decided to add some decorative trees and a few gnome houses. Each of our trees begins its transformative life as half a branch. After I re-saw a branch in half, I grab a piece of chalk and outline the design.
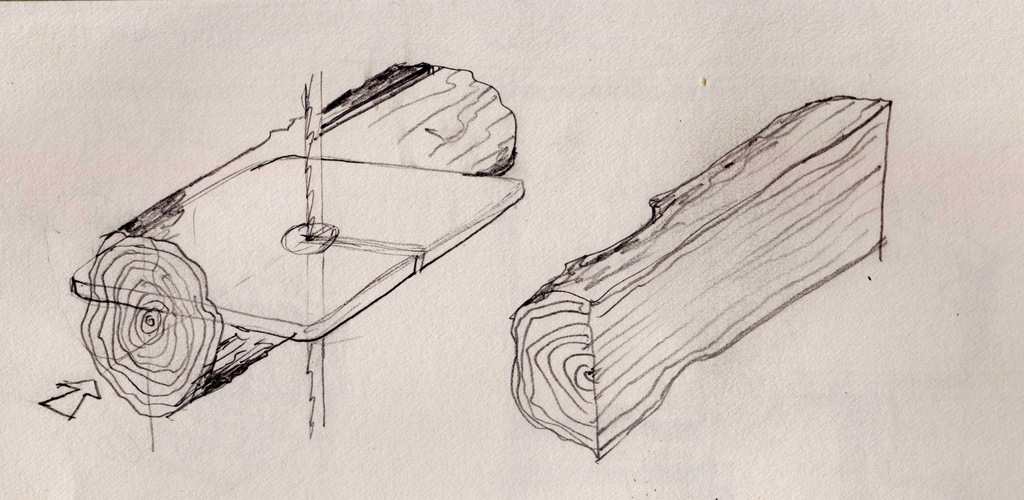
Begin by carefully re-sawing a branch in half.
I began by drawing the trunk of the tree, commencing at the cross-cut top of the split branch and widening the trunk shape as it descends towards the would-be root base. Then I draw the branches as they reach out sideways from the trunk. Most of the trees that we create echos the outlines of conifers. Their relatable and recognizable conical shape generate a dramatic effect which helps in attracting viewers and potential buyers.
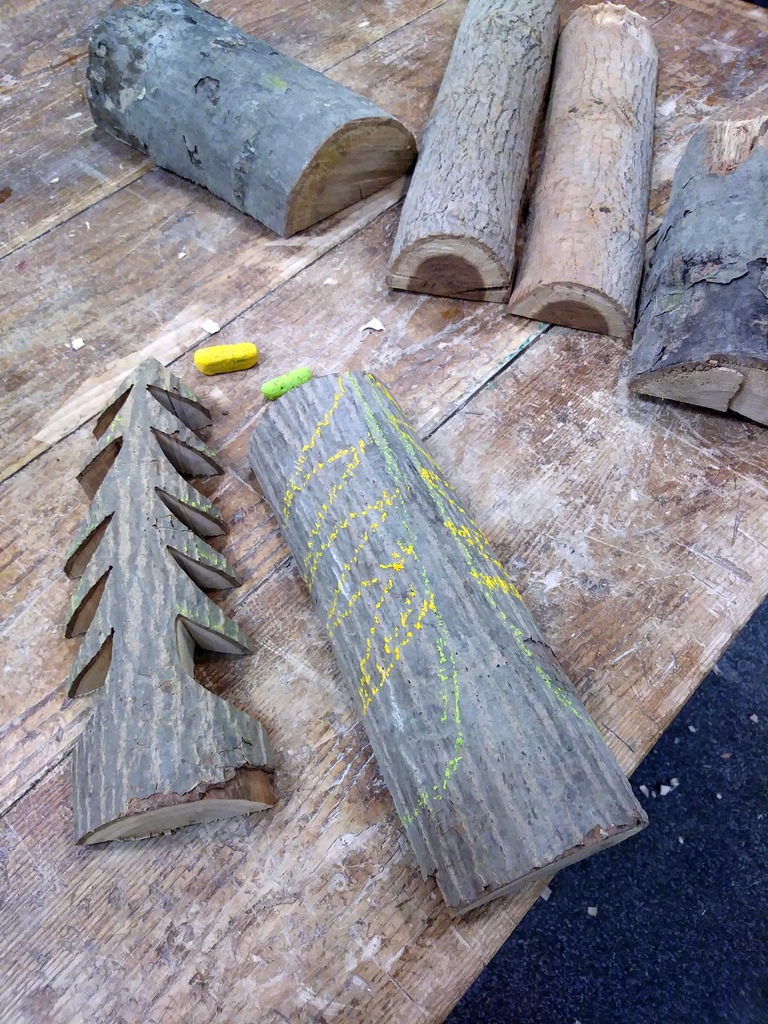
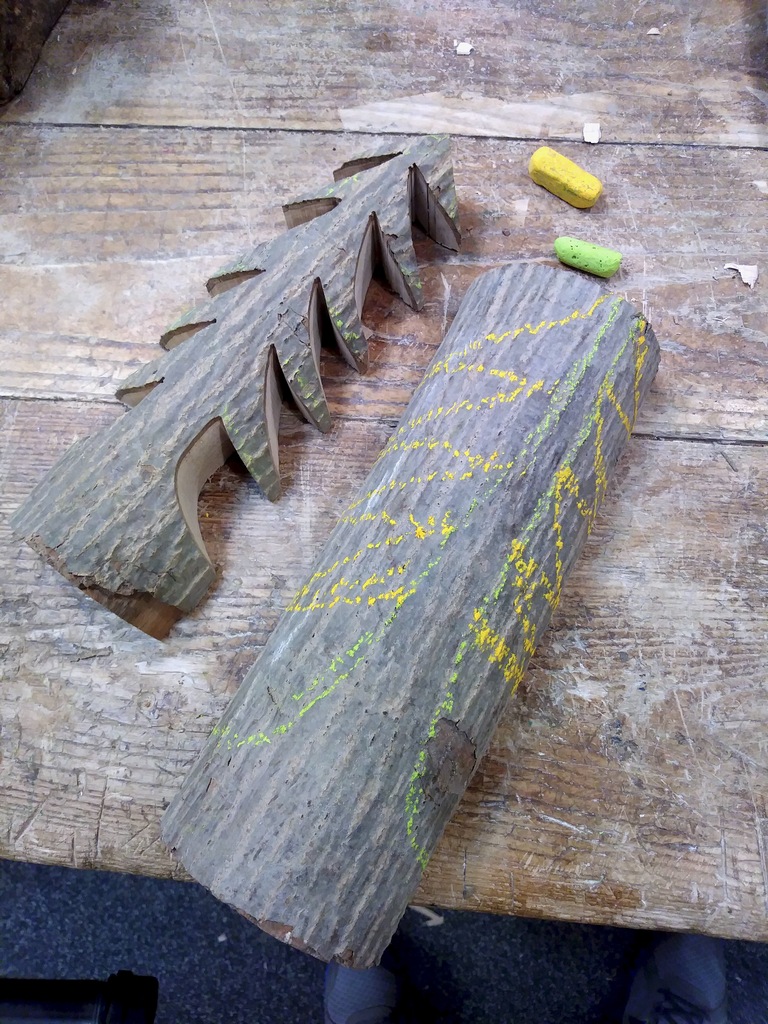
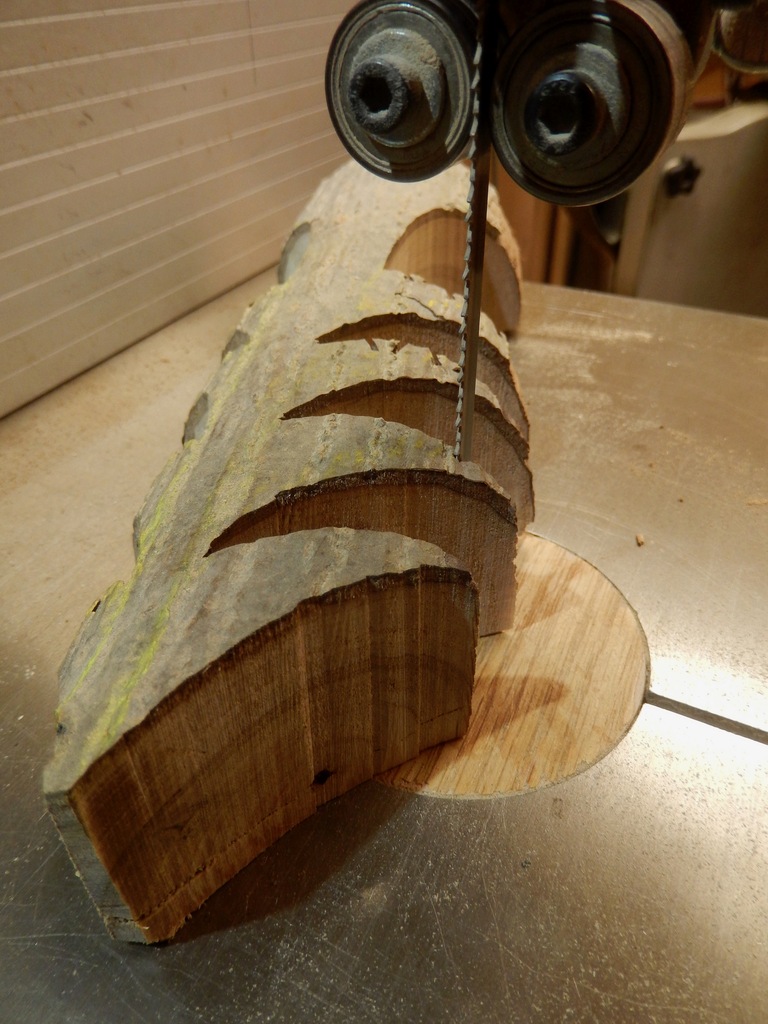
At this point I place the branch flat side down on the bandsaw bed and with a ¼” blade installed I begin removing material. The whole process is fast and satisfying and can take less than a few minutes. While sanding is generally unnecessary you might want to consider sanding the base of the new tree flat using a stationary belt or disc sander.
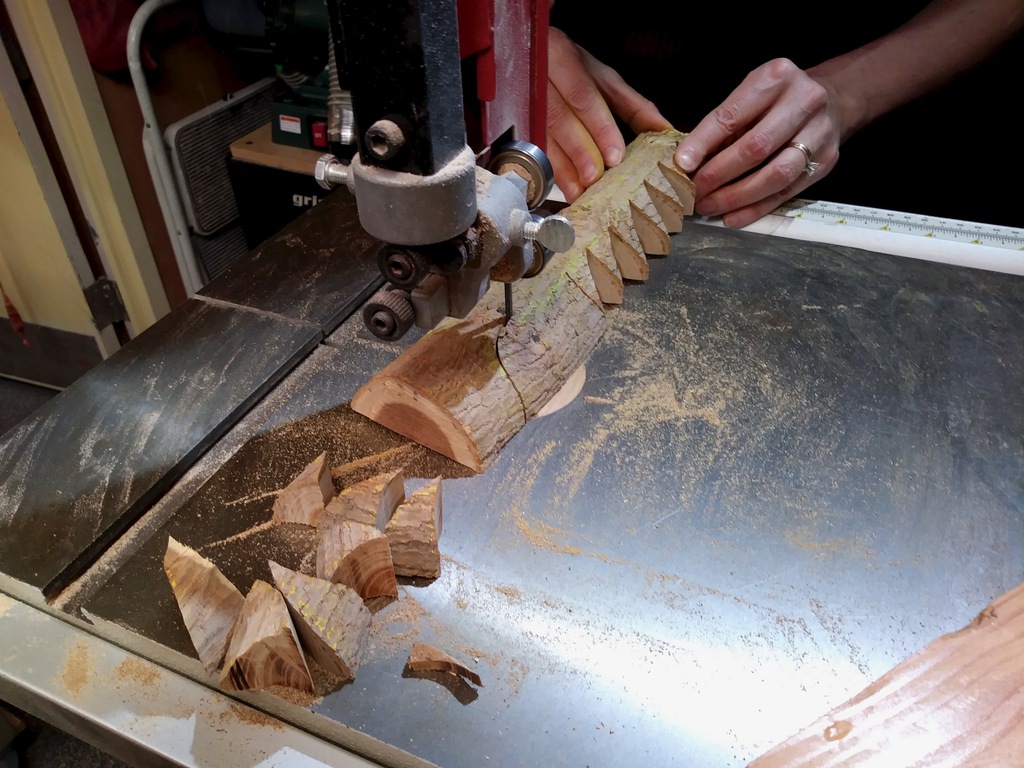
A parent who volunteered and joined our Fall Fair workshop while using the bandsaw to saw the decorative tree branches.
I provide a few illustrations that depict different tree designs, including one that incorporates under-branch kerfs to make the tree look even more realistic. Another embellishment idea that we are thinking of is to drill a few of the branches with a ⅛” drill bit to allow for the insertion of an ornament hooks to hang Christmas decorations.
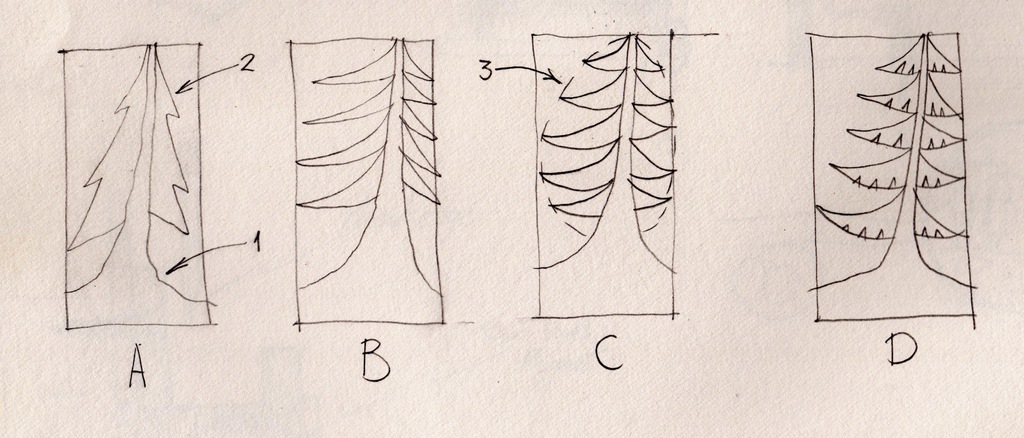
A few designs to consider: A basic evergreen tree (A). Begin by drawing the trunk (1) and then the branches (2). In (B) the branches extend almost to the full width of the split branch. In (C) you can notice guideline (3), which helps in corralling the branches of the tree. This is a handy technique when laying out a tree contour that resembles a specific species of tree. The under-branch kerfs (D) make the tree look even more realistic.
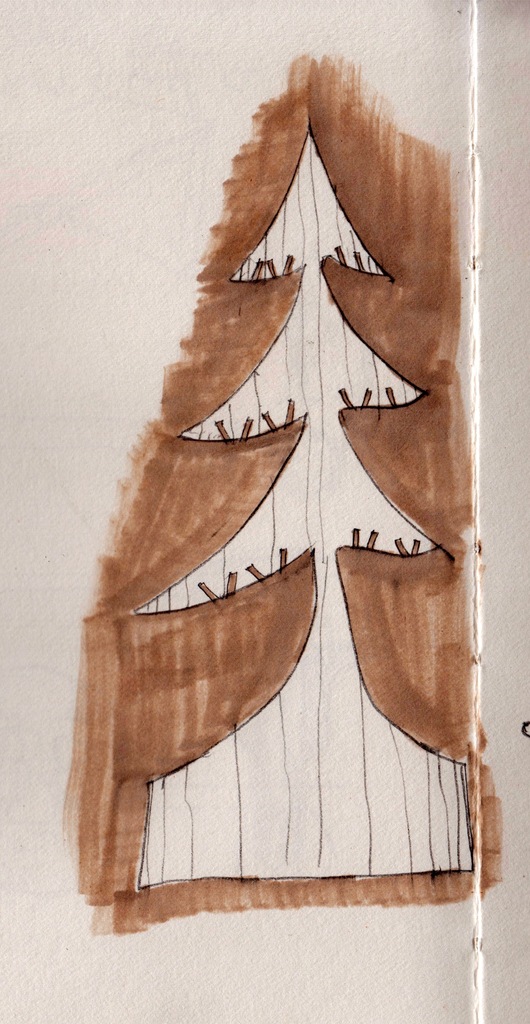
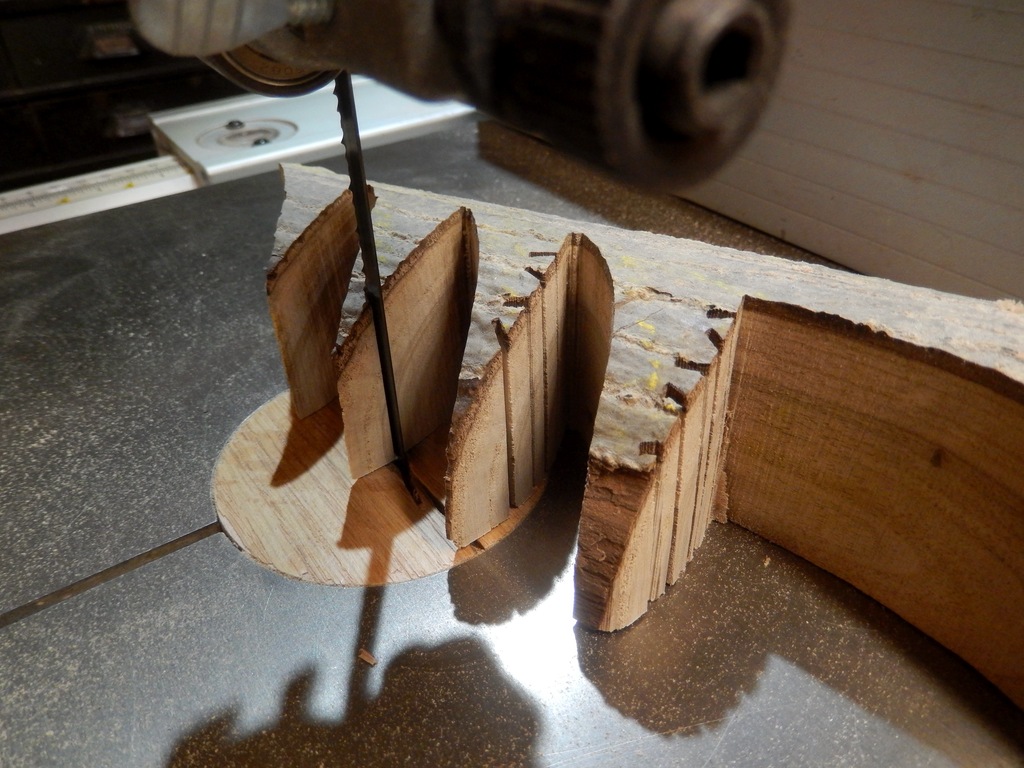
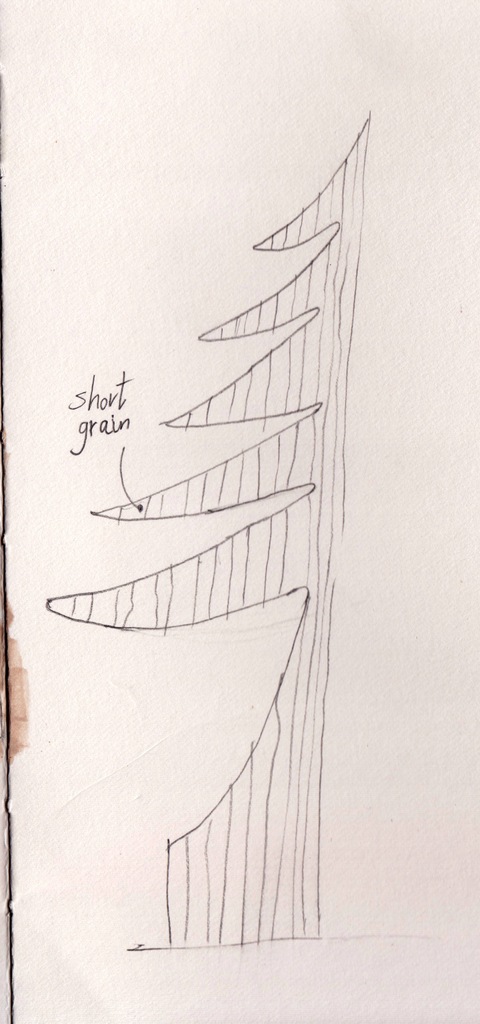
Pay attention not to make your tree branches too thin. Thin branches might break off due to their short grain orientation.
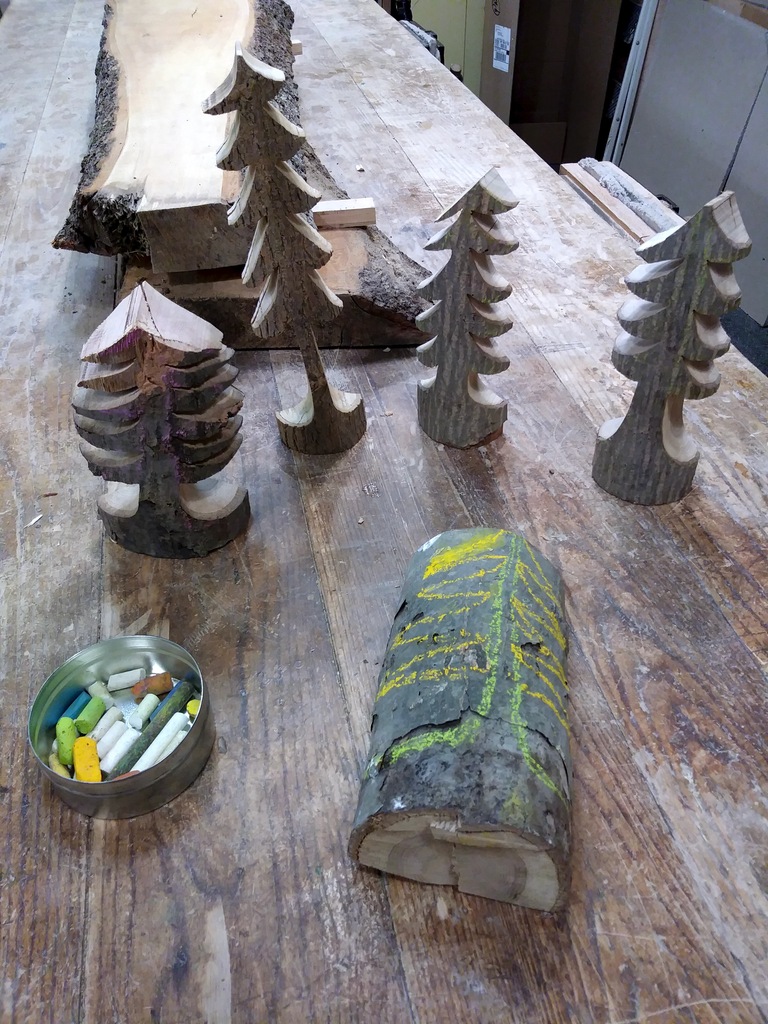
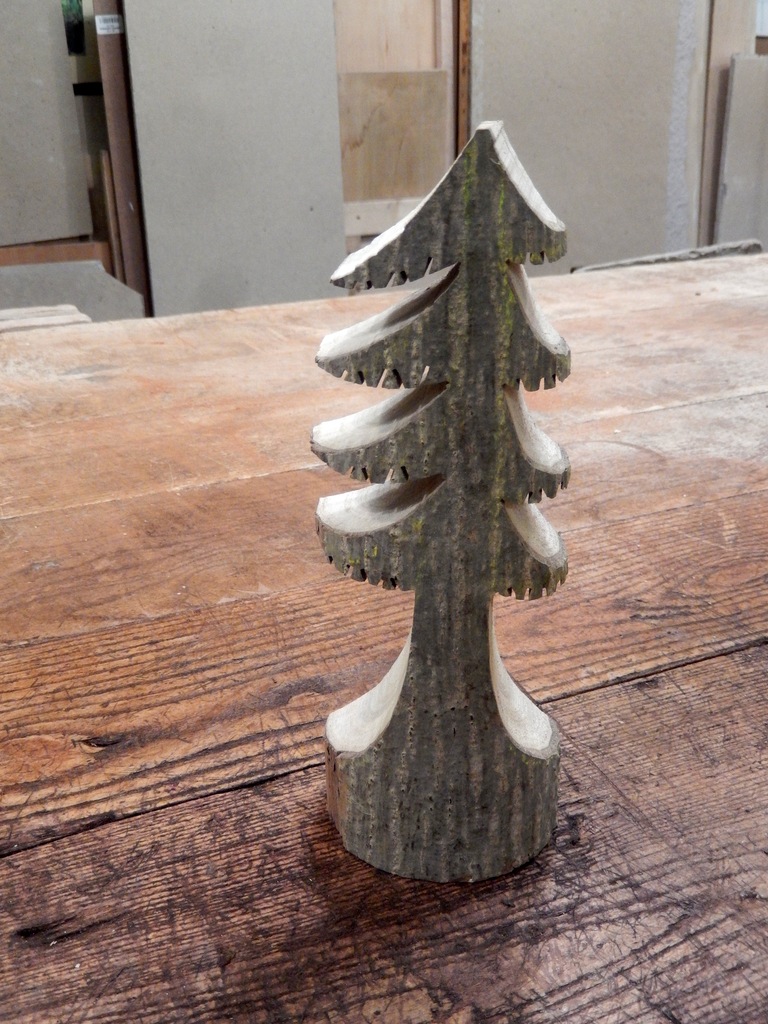
These organic trees are beautiful, unique, and can be celebrated year-round on shelves, mantels and practically everywhere.
Here are some supplies and tools we find essential in our everyday work around the shop. We may receive a commission from sales referred by our links; however, we have carefully selected these products for their usefulness and quality.


