We may receive a commission when you use our affiliate links. However, this does not impact our recommendations.
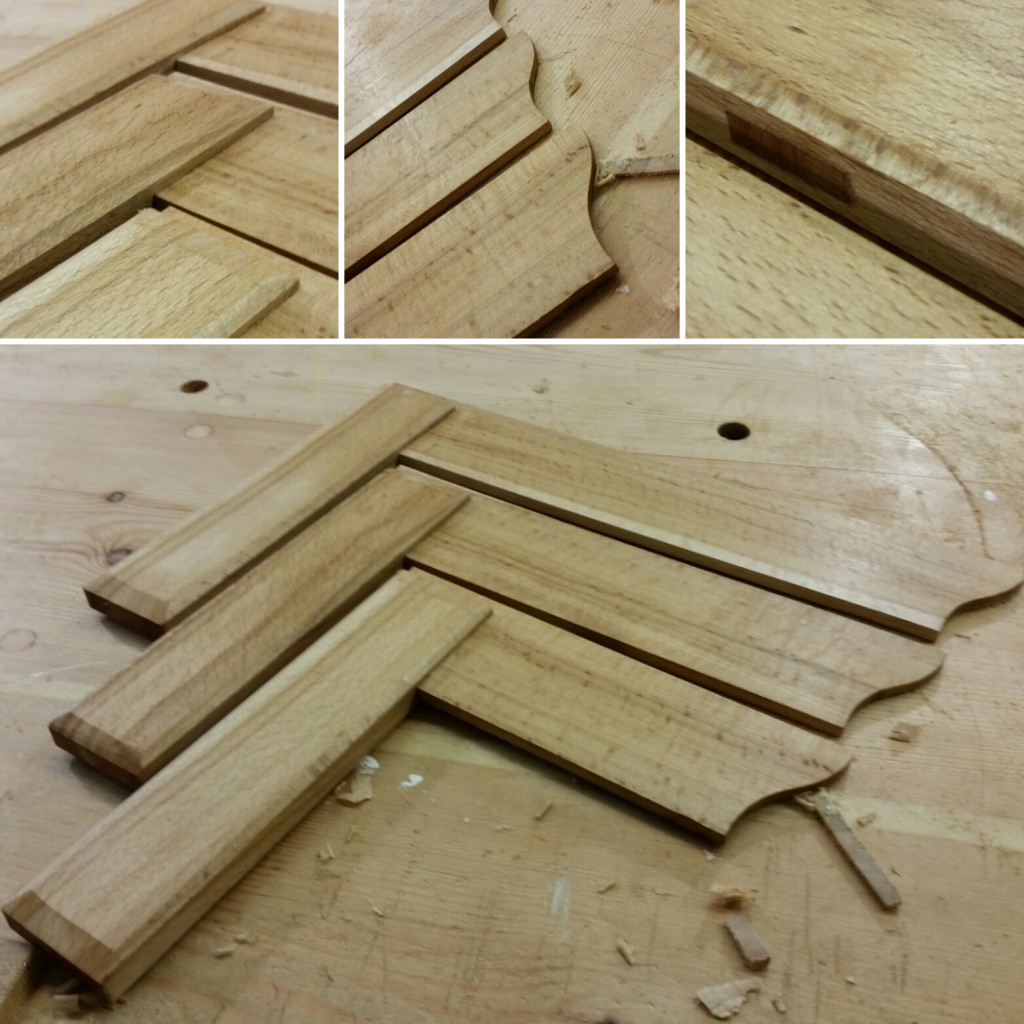
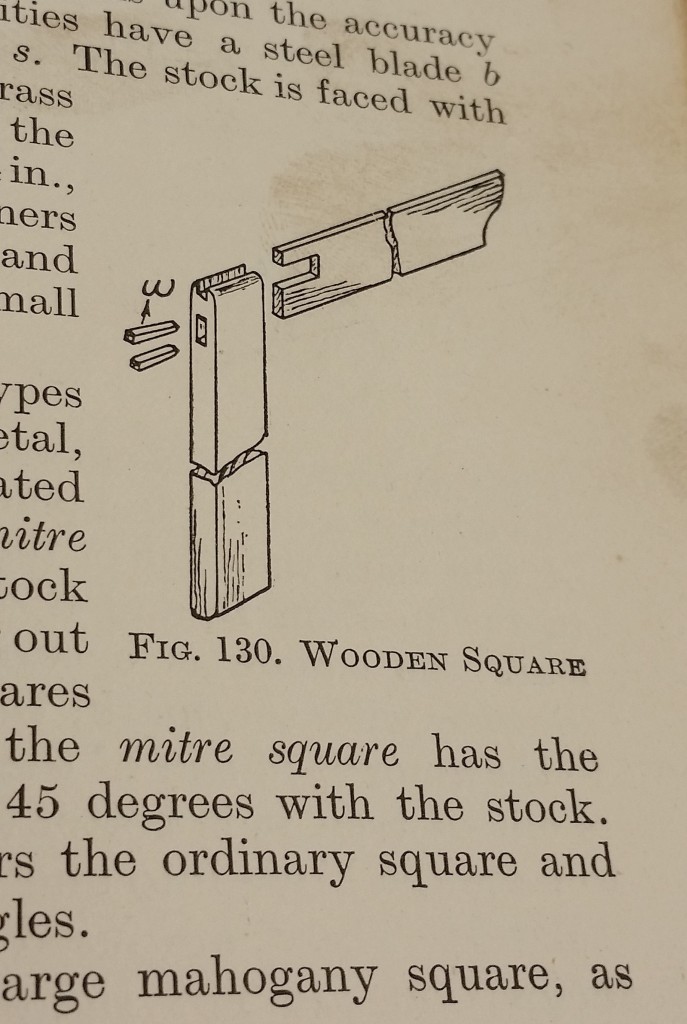
I had fancied making some wooden try squares for a while and reading Joshua Klein’s post on Romanticizing Tools was a final nudge to get them done. Before embarking upon making them I also made the time to catch up with Roy Underhill & Chris Schwarz on the Woodright’s Shop where Chris demonstrates how he makes the squares found in Benjamin Seaton’s famous tool chest. You can also search Chris’ blog to discover more about the Seaton squares. What actually finalized the style of square was pg.77 from “Joinery & Carpentry Vol I” (New Era Publishing, 1931). I was lucky enough to be given the full set of books by my Dad when I started work, and they have been a constant source of inspiration. The fact that woodworkers from the time of Seaton (late 18th century) to the 20th century were still using pretty much the same pattern of wooden square was a sure mark of a good design.
What I liked about the squares from the 1930s was the added ogee curve to the end of the blade. It, combined with a light chamfer on the stock reflective of details found on wooden planes, gave me a look I was happy with. Although both the Seaton and 20th century squares call for mahogany, I substituted some beech. These particular bits of beech typify a classic case of woodworker hoarding…I knew the quartersawn orientation and colour variation would come in useful, I was just unsure as to when. I have now just a small bit left, perhaps just enough to make a small French square.
The final step to make my versions even more of a mongrel was to base their sizes on some Robert Sorby Guilt Edge Try Squares that are a firm favorite within our workshop. Therefore I have 12″, 9″ and 6″ squares.
Making these squares in a traditional way is a great little skill builder. The biggest challenge is the quality of fit you’ll need on the mortise and tenon. Because the blade is thin and quartersawn, any mere suggestion of rough treatment will result in a split. I found this out; the large square promptly became my short square. That aside, it’s not difficult. You might pick up in the video below that I did all the stocks from one length. This helped make the mortise for the top allowing much more room. I will also confess to one more error. My bright idea of morticing stocks head to head was great but I did not allow enough room between, hence four planned squares became only three realized!
I think these could also work well as a power-tool project using laminations of wood to make the square. In the same way machine-made cutting boards can be really insane when made with different colour layers, so too these squares could use up plenty of odds and ends to make a striking design.
It remains to be seen if these will supplant my metal squares, but my initial feeling are positive. The wooden squares are just as accurate, warm and tactile, look nicer than my orange BAHCO squares — plus give the added satisfaction of being shop made. I hope you enjoy the video, and if you use shop made layout tools I’d like to know your thoughts and if you used them in the long term.
Note: Christopher Schwarz teaches you to how to make an English layout square, and Robert W. Lang also tackles shop-built layout tools in “Marking & Measuring: 11 Articles to Help You Zero in on Perfect Work,” a new digital magazine. It’s only $4.99, and you can buy it here.
Here are some supplies and tools we find essential in our everyday work around the shop. We may receive a commission from sales referred by our links; however, we have carefully selected these products for their usefulness and quality.


Graham, Your videos are works of art. Thanks.
Hey Graham, I just watched your YouTube video. The time lapsed photography was fun. I just built a try square last week. I would like to take it a bit further. I wanted my square to be square on all surfaces, like my metal ones. I glued mine with a square on the inside, so the inside faces would be square to one another. Once dry, I used the miter slot and front edge of my table saw to check it for square. It is a little harder to true this edge of the thinner board, but a little work with a block plane and chisel will get it. This lets me mark with the two inside edges. Next I trued the outside edge of the thinner board to the inside edge of the thicker board. This lets me mark using the inside edge of the thicker board against the board I am marking and then mark off the outside edge of the thinner board. Last I trued the outside edge of the thicker board to the outside edge of the thinner board. Now all the edges are true. This sounds a little confusing, but if you read this with your trisquare in your hand, it will make sense., markstuff
Hey Graham, can you do a blog post on your bench? I’m interested in your vise particulars.
Great video!
Much obliged,
Shawn
I enjoyed your article and video on making the Try Square, but I have t wo questions. The illustration from p. 77 of the book shows two wedges that would appear to wedge the blade in place, but I didn’t see you use them in your video. Were they just not necessary, or was there another reason they weren’t used?
Also, what kind of glue were you using and how long do you have to square up the Try Square before the glue starts to set and make further movement difficult or impossible?
Thanks again,
Lee
leehockman@yahoo.com