We may receive a commission when you use our affiliate links. However, this does not impact our recommendations.
 What’s a spill plane? Well, it’s a little-known specialty plane that creates a shaving – called a spill – that’s tightly curled on itself and tapered to a point. In the days before matches and lighters, a spill was used to take a flame from the fireplace to light candles, lamps, pipes, etc. Though spills are no longer a necessity, they’re no less useful than they were centuries ago. A typical spill will burn for over a minute, and a bundle of them makes an attractive decoration.
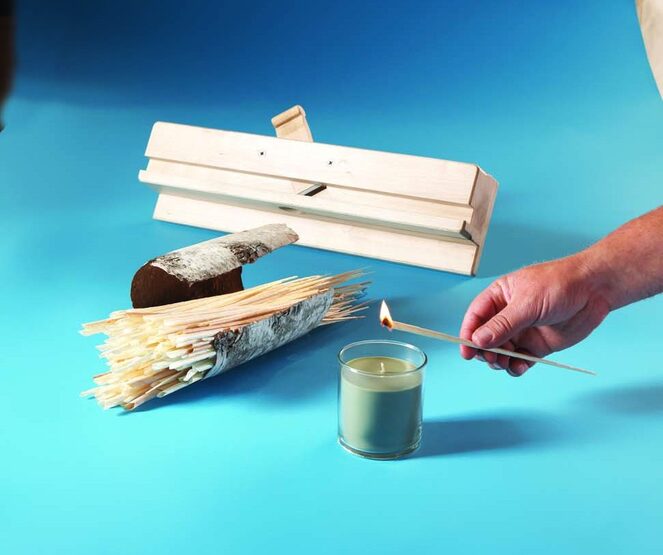 Don’t be put off by the idea of making a wooden plane from scratch. This plane’s sandwich-style construction method makes it an attainable project for any woodworker. Once you’ve made your plane, you’ll find that making spills is mesmerizing, and you can literally make a huge pile of them in minutes!
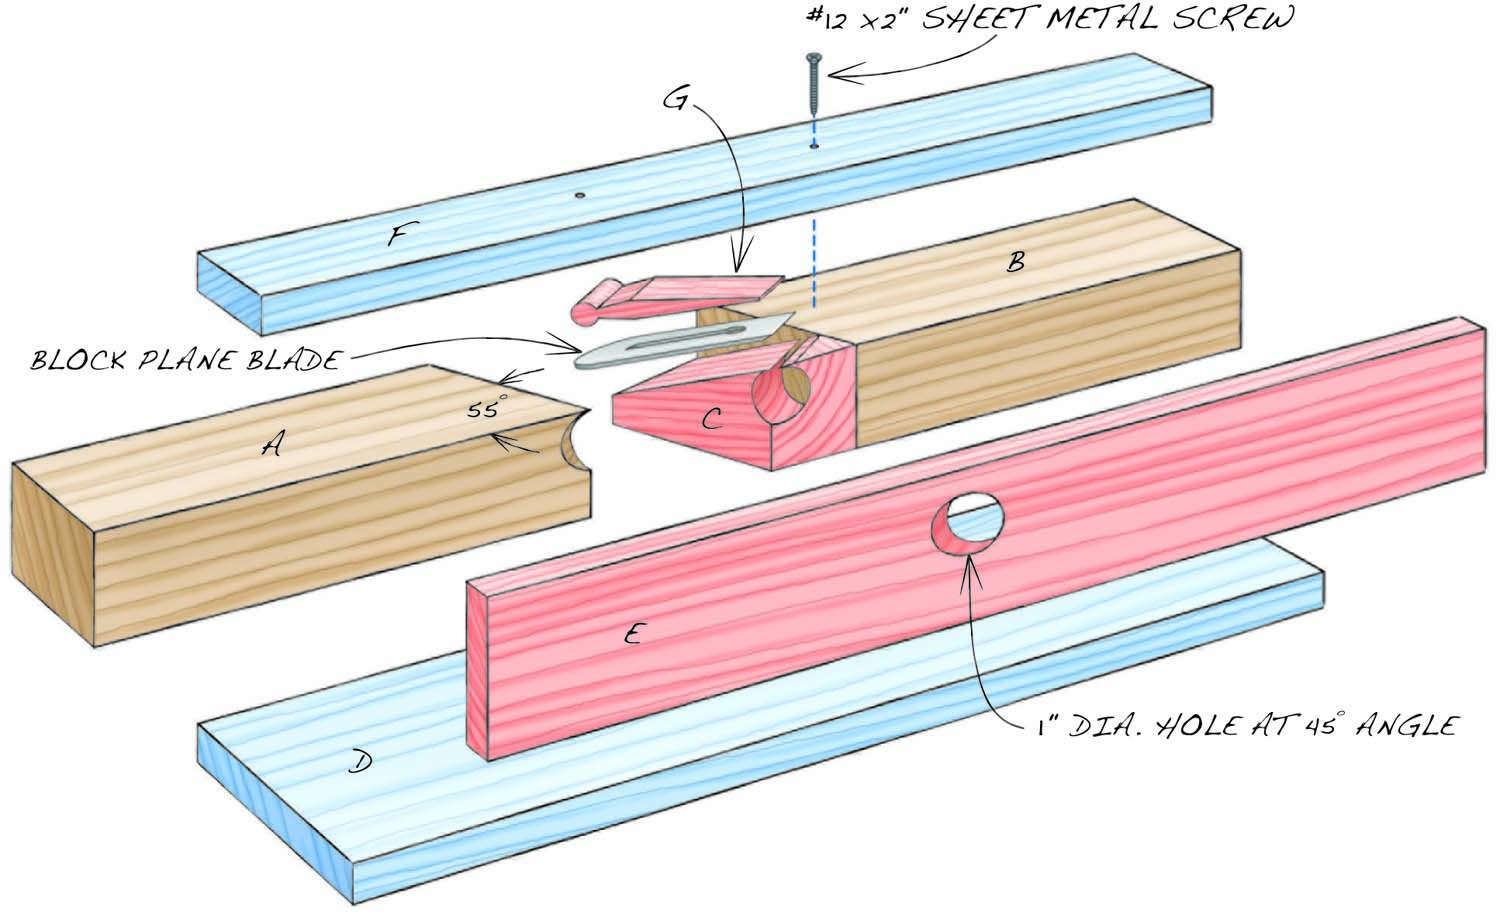
Fig. A. Exploded View
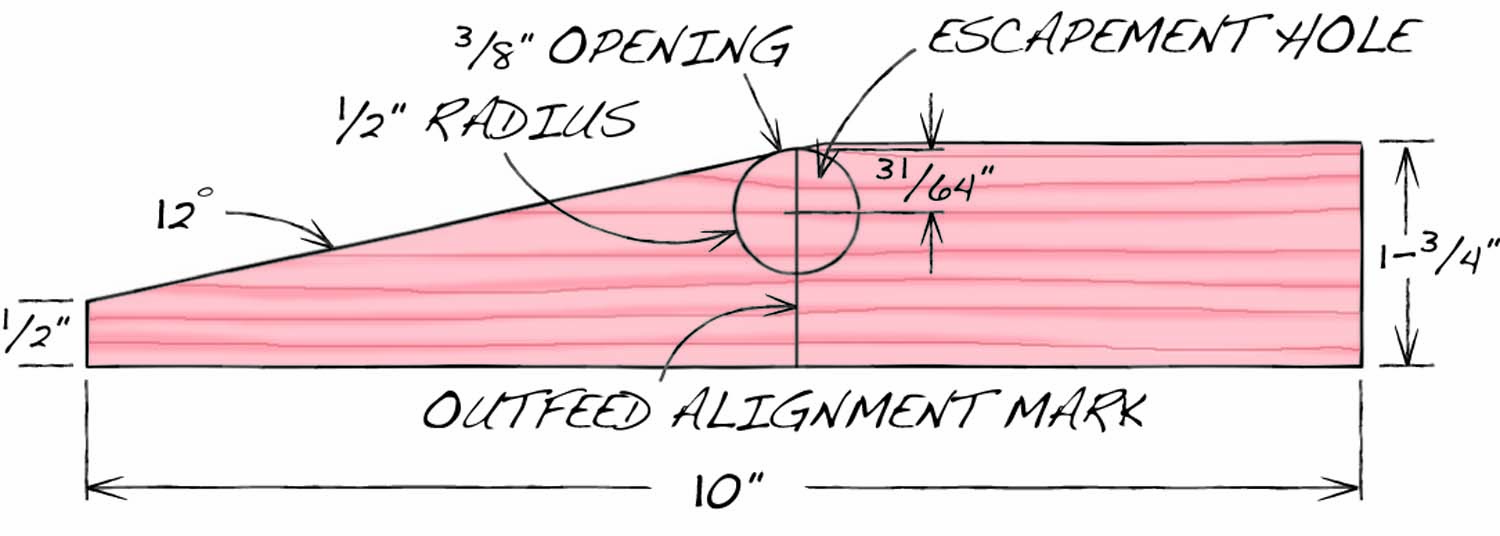
Fig. B. Frog Detail

Fig. C. Wedge Detail
Cutting List
| Overall Dimensions: 3″H x 5″W x 20″L | ||||
| PART | NAME | QTY | MATERIAL | Th X W X L |
| A | Outfeed | 1 | maple | 1-3/4″ x 3″ x 10″ (a) |
| B | Infeed | 1 | maple | 1-3/4″ x 3″ x 10″ (a) |
| C | Frog | 1 | maple | 1-3/4″ x 1-5/8″ x 20″ (b) |
| D | Bottom | 1 | maple | 5/8″ x 5″ x 20″ |
| E | Fence | 1 | maple | 5/8″ x 2-3/8″ x 20″ (c |
| F | Top | 1 | maple | 5/8″ x 2-1/4″ x 20″ (d) |
| G | Wedge | 1 | maple | 7/8″ x 1-5/8″ x 5″ (e) |
| Notes: | ||||
| a) Cut from a single 18″-20″ long block . | ||||
| b) Start with a 3″ wide board. Rip to thickness after tapering and cut to length after gluing. | ||||
| c) Trim bottom edge to line up the escapement holes. | ||||
| d) Adjust width to create 13/16″ wide sole. | ||||
| e) See Fig. 02 | ||||
Blade and Materials
The first thing you’ll need is a blade, as that’s what determines the frog’s width. I used an extra block plane blade. If you don’t have any extra blades lying around, used blades are plentiful and inexpensive at flea markets and auctions, or you can purchase a new one.
For your plane’s wooden parts, use a tough, hard-wearing species, such as hard maple.
Mill the Parts
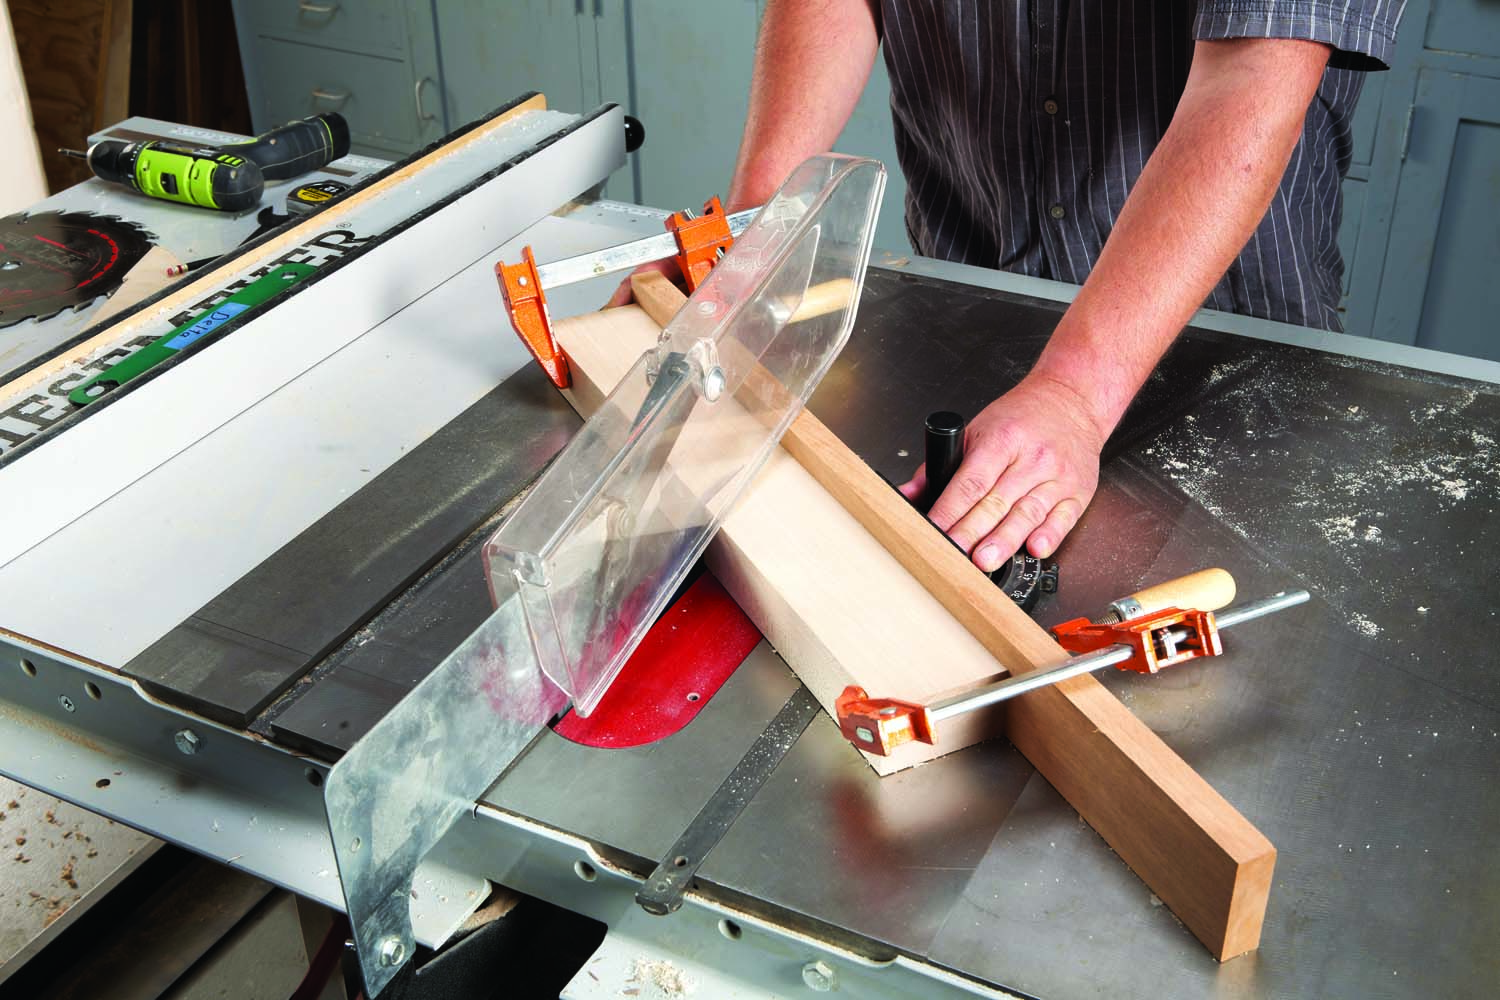
Photo 1. Cut a 55° angle across the infeed/outfeed blank.
Start with a 2″ thick block a little over 6″ wide, and about 20″ long. Rip the block in half, square both pieces, and plane one of them down to 1-3/4″ thick. Cut this piece into halves at a 55° angle (Photo 1) for the infeed and outfeed (A & B, Fig. 01). Plane the other piece to about 1/64″ thicker than your blade’s width (Photo 2). This will be the frog (C). Plane the bottom, fence, and top (D, E, & F) to their final thickness.
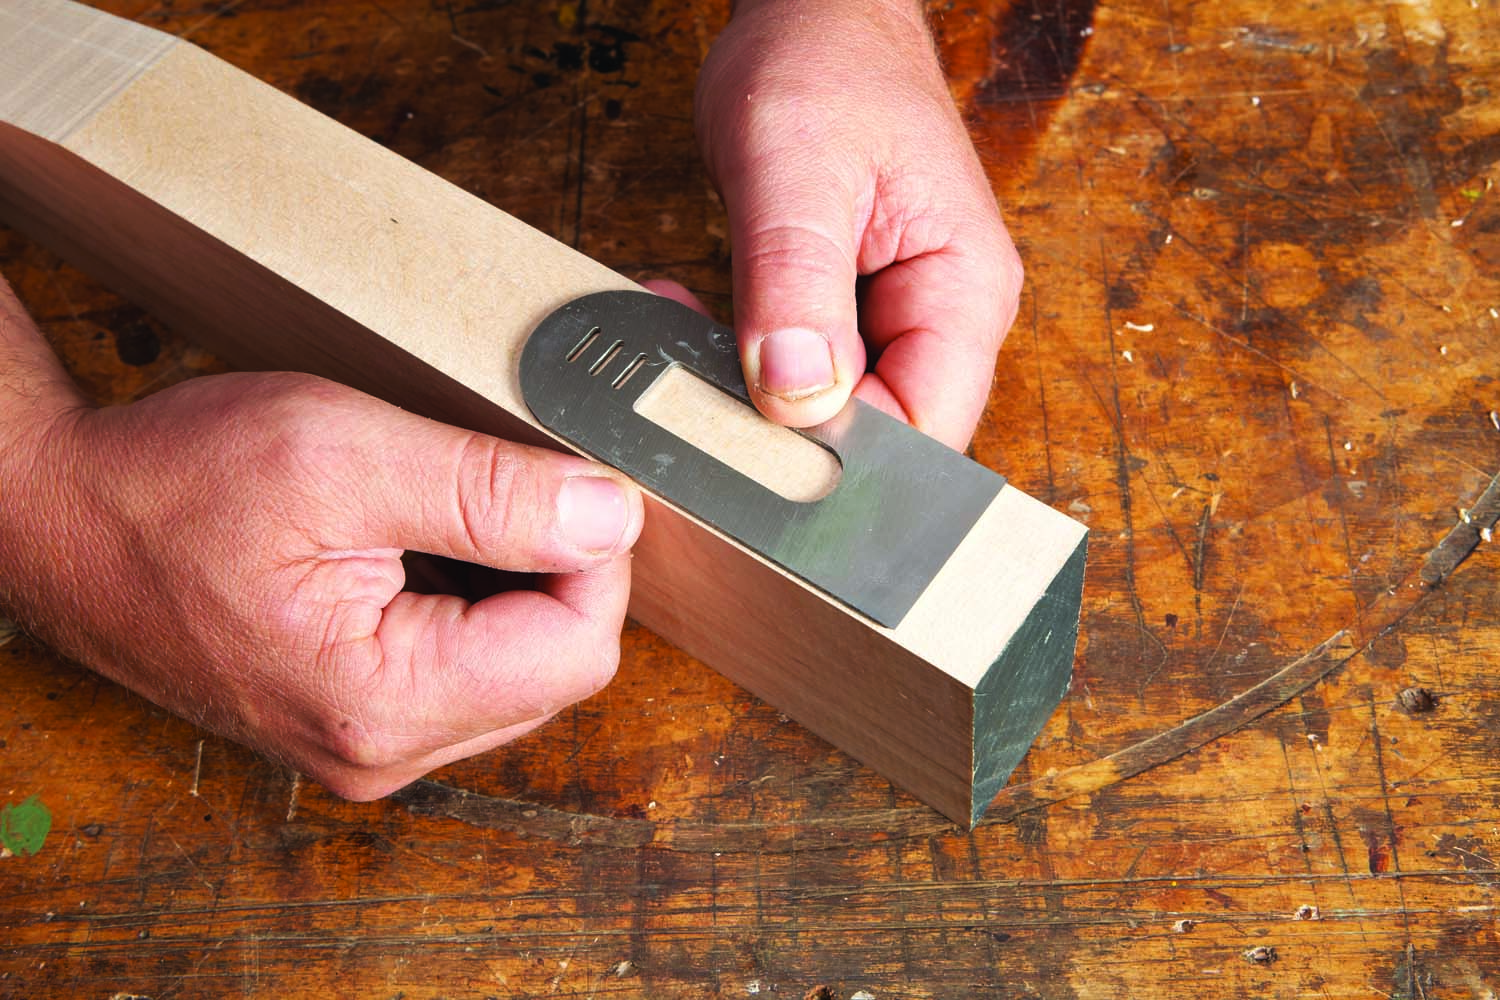
Photo 2. Plane the frog blank so it’s about 1/64″ wider than your plane’s blade.
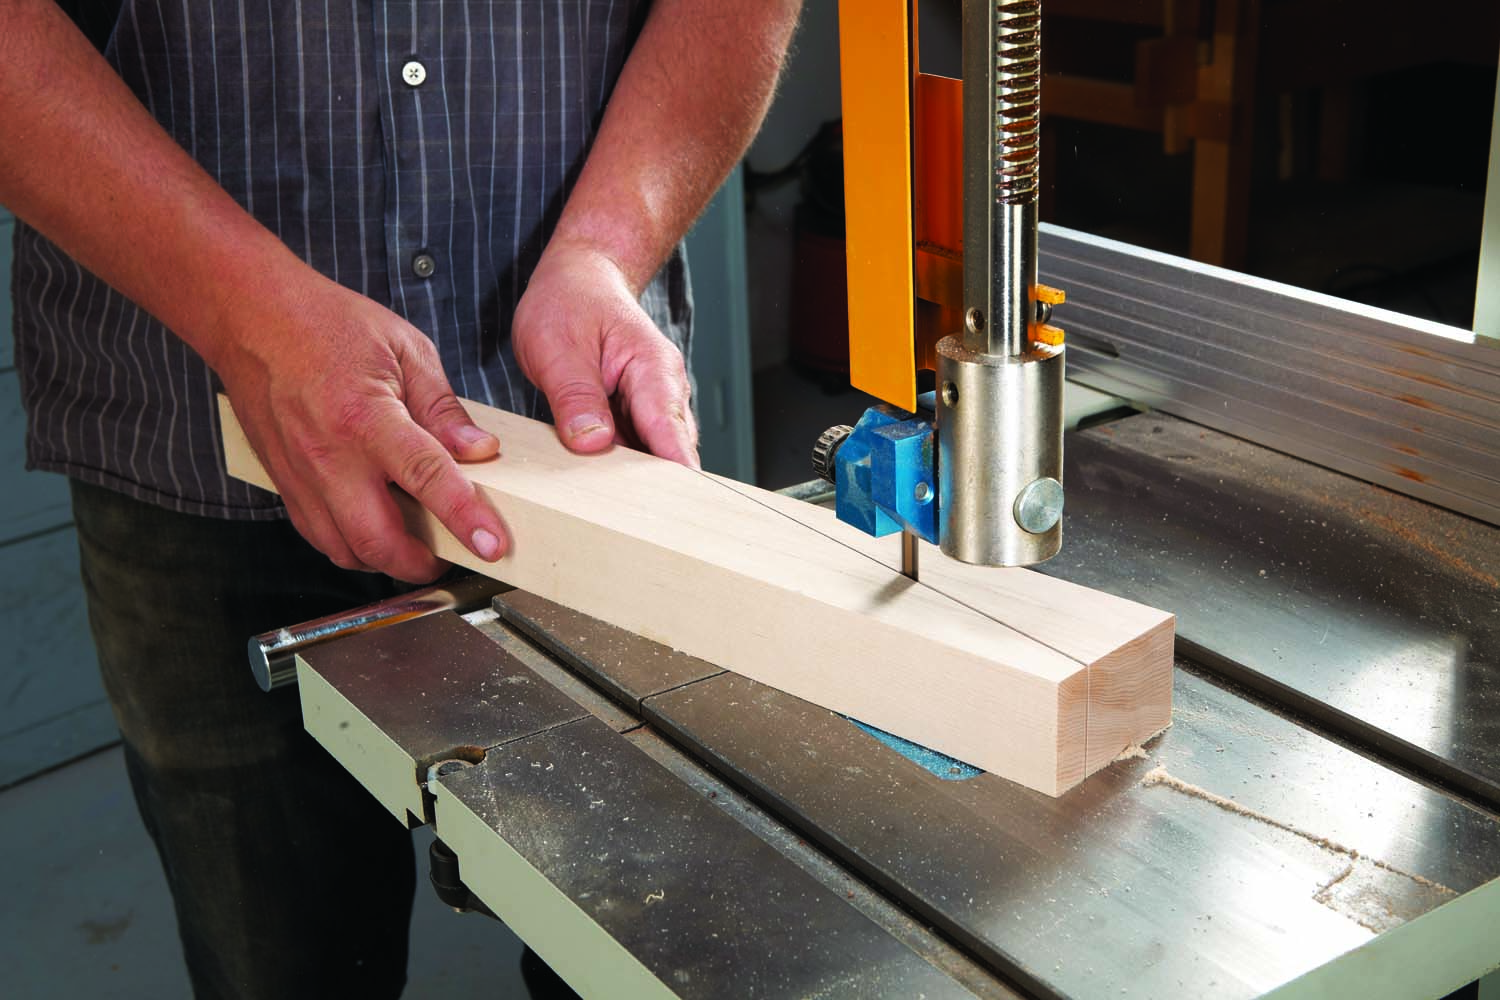
Photo 3. Bandsaw the frog’s 12° bedding angle.
Bandsaw the frog’s bedding angle (Photo 3, Fig. 02), and save the offcut to make the plane’s wedge (G). Flatten the frog’s bed on the jointer (Photo 4). Alternatively, you could use sandpaper taped to a flat surface, like your tablesaw. Once the bed is dead flat, rip the frog’s height to match the infeed and outfeed’s height.
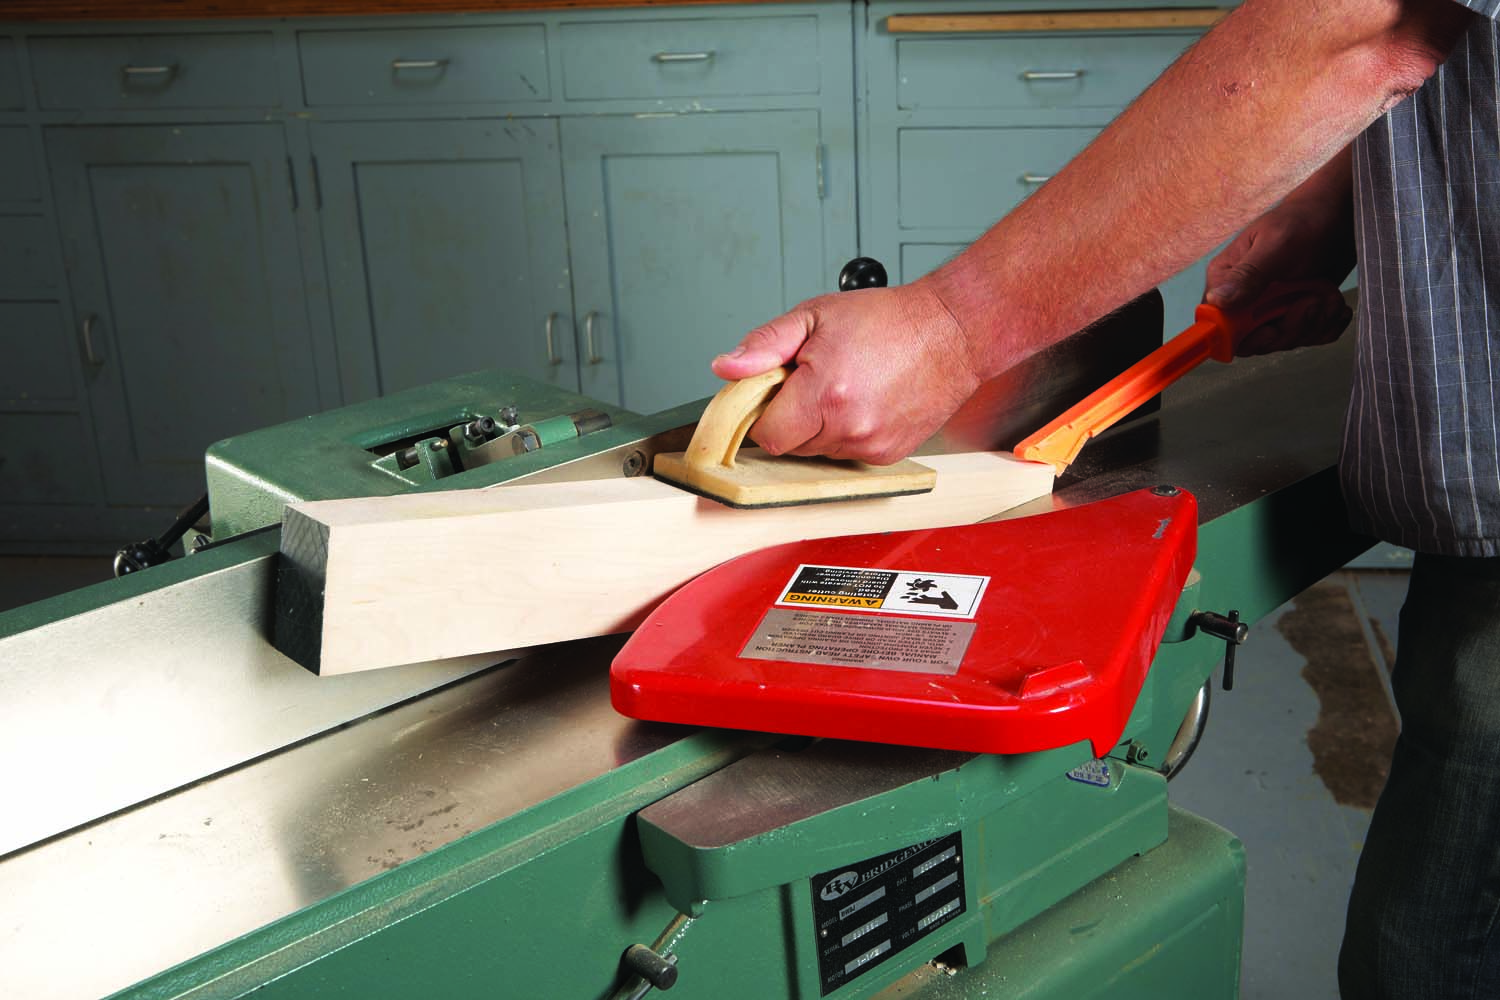
Photo 4. Flatten the frog’s bed on the jointer.
To locate the frog in relation to the infeed and outfeed, position the frog against the outfeed’s angled end and set the blade on the bed, bevel down. Reposition the frog and blade until the outer corner of the blade and the outfeed’s top outer corner meet perfectly (Photo 5). Mark the outfeed’s location on the frog’s side.
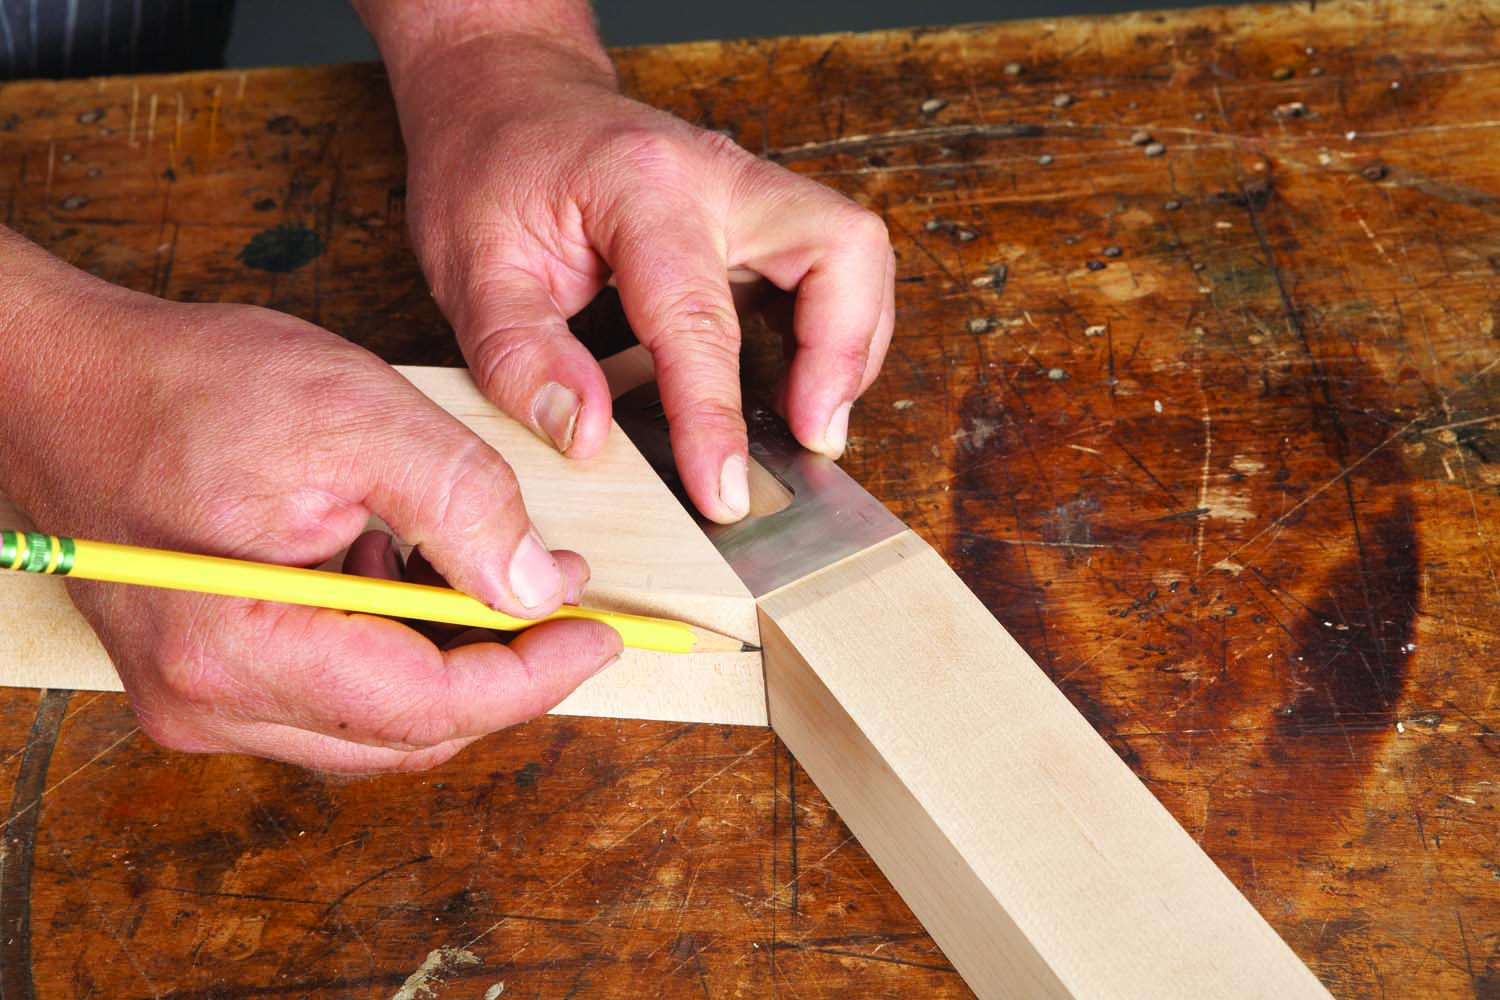
Photo 5. Slide the frog along the outfeed’s angled end to find the spot where the blade’s outer corner and the outer corner and top edge of the outfeed meet perfectly. Mark the outfeed’s location on the frog’s side.
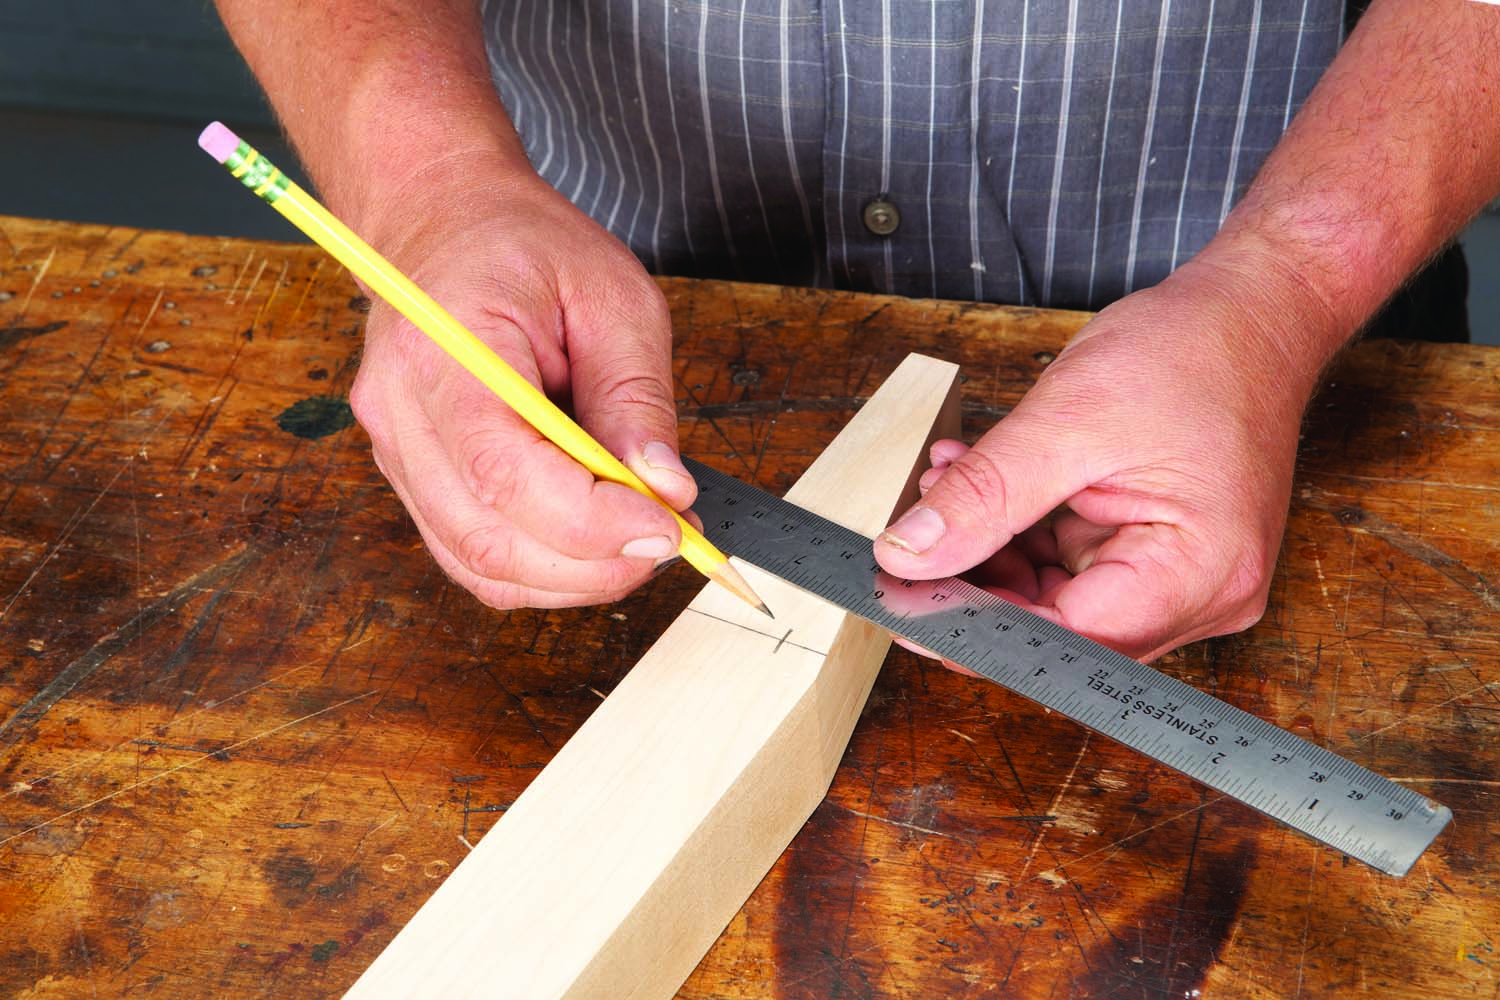
Photo 6. Mark the escapement hole’s location on the frog’s side. The top of the hole breaks out of the frog’s bed.
Mark the escapement hole’s center point on the outfeed’s location line you just made (Photo 6 & Fig. 03). The escapement hole is where the spills come out. The hole’s location in the illustration is for a 5/64″ thick blade. Drill the escapement hole using a drill press and Forstner bit (Photo 7).
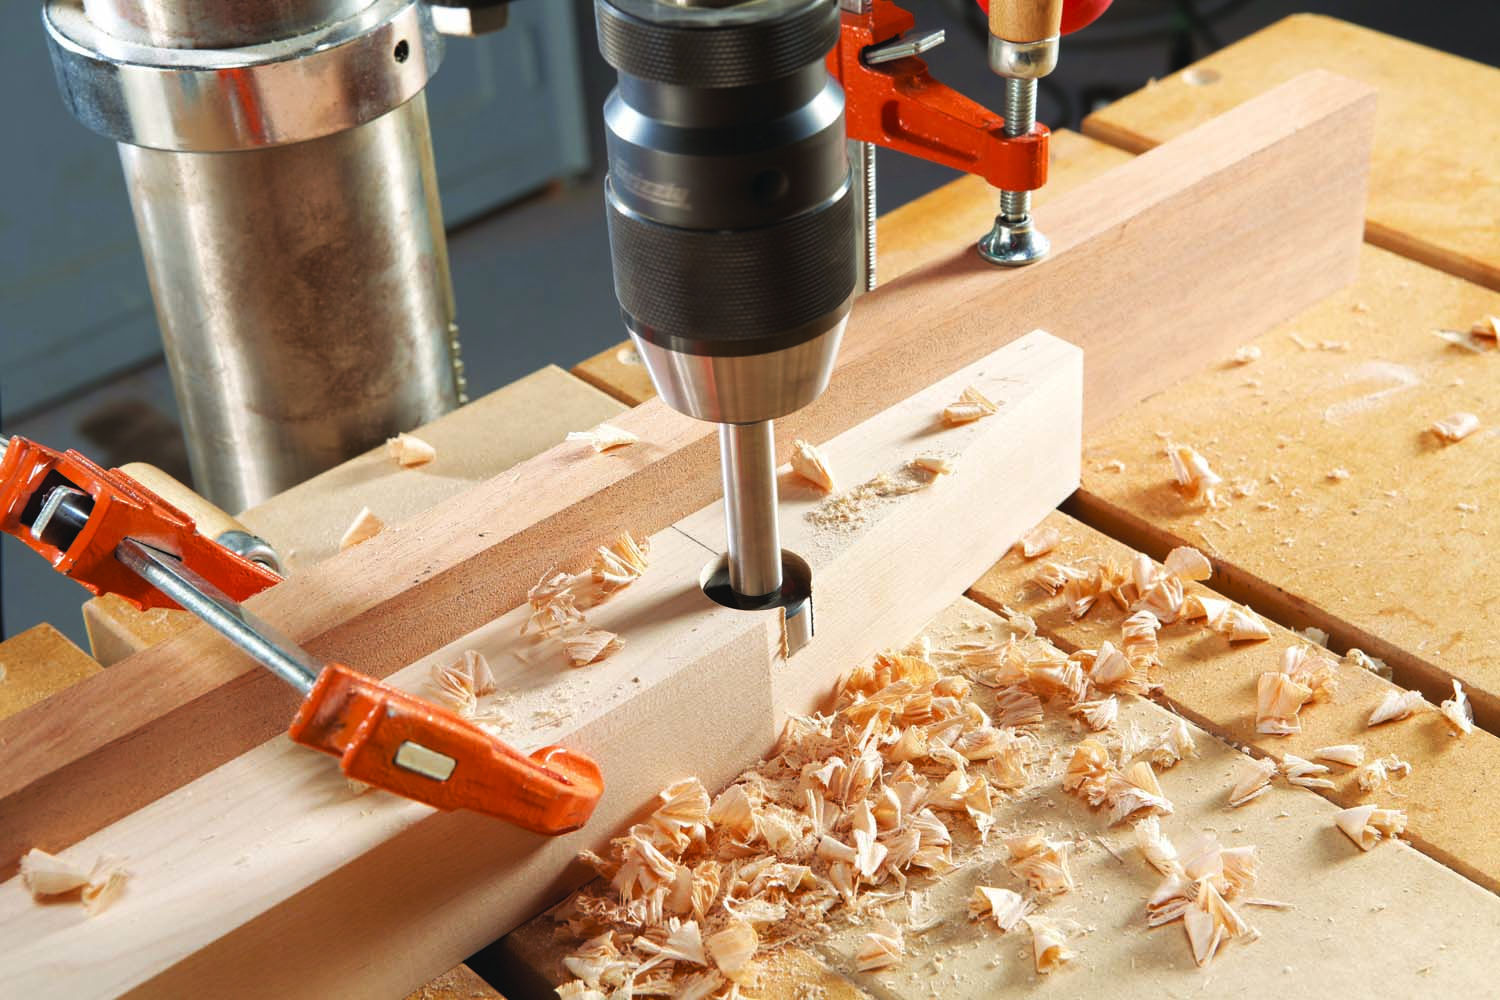
Photo 7. Drill the escapement hole using a drill press and Forstner bit.
Assemble the Plane
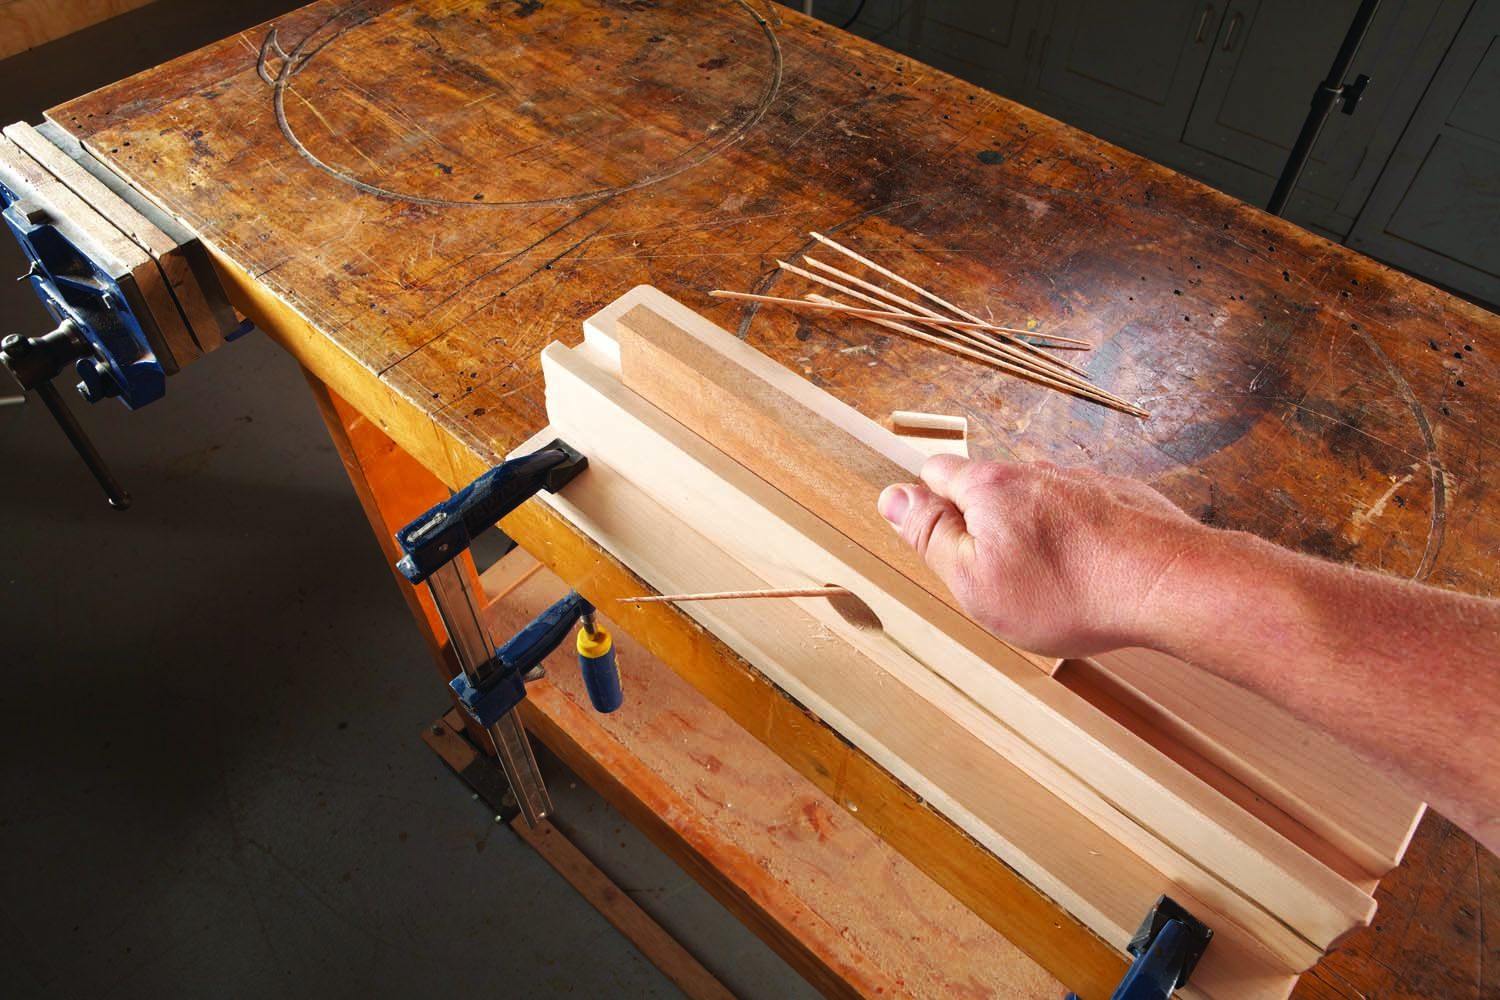
Because of their angled ends, the body parts and frog are difficult to clamp, so I used the rubbing technique instead; you just glue the parts and rub them together until they feel like they’re sticking, and then let them dry.
Start by gluing the frog to the outfeed, making sure the outfeed is on the alignment mark you made. When that assembly is dry, use a round file and sandpaper to extend the frog’s escapement hole through the outfeed.
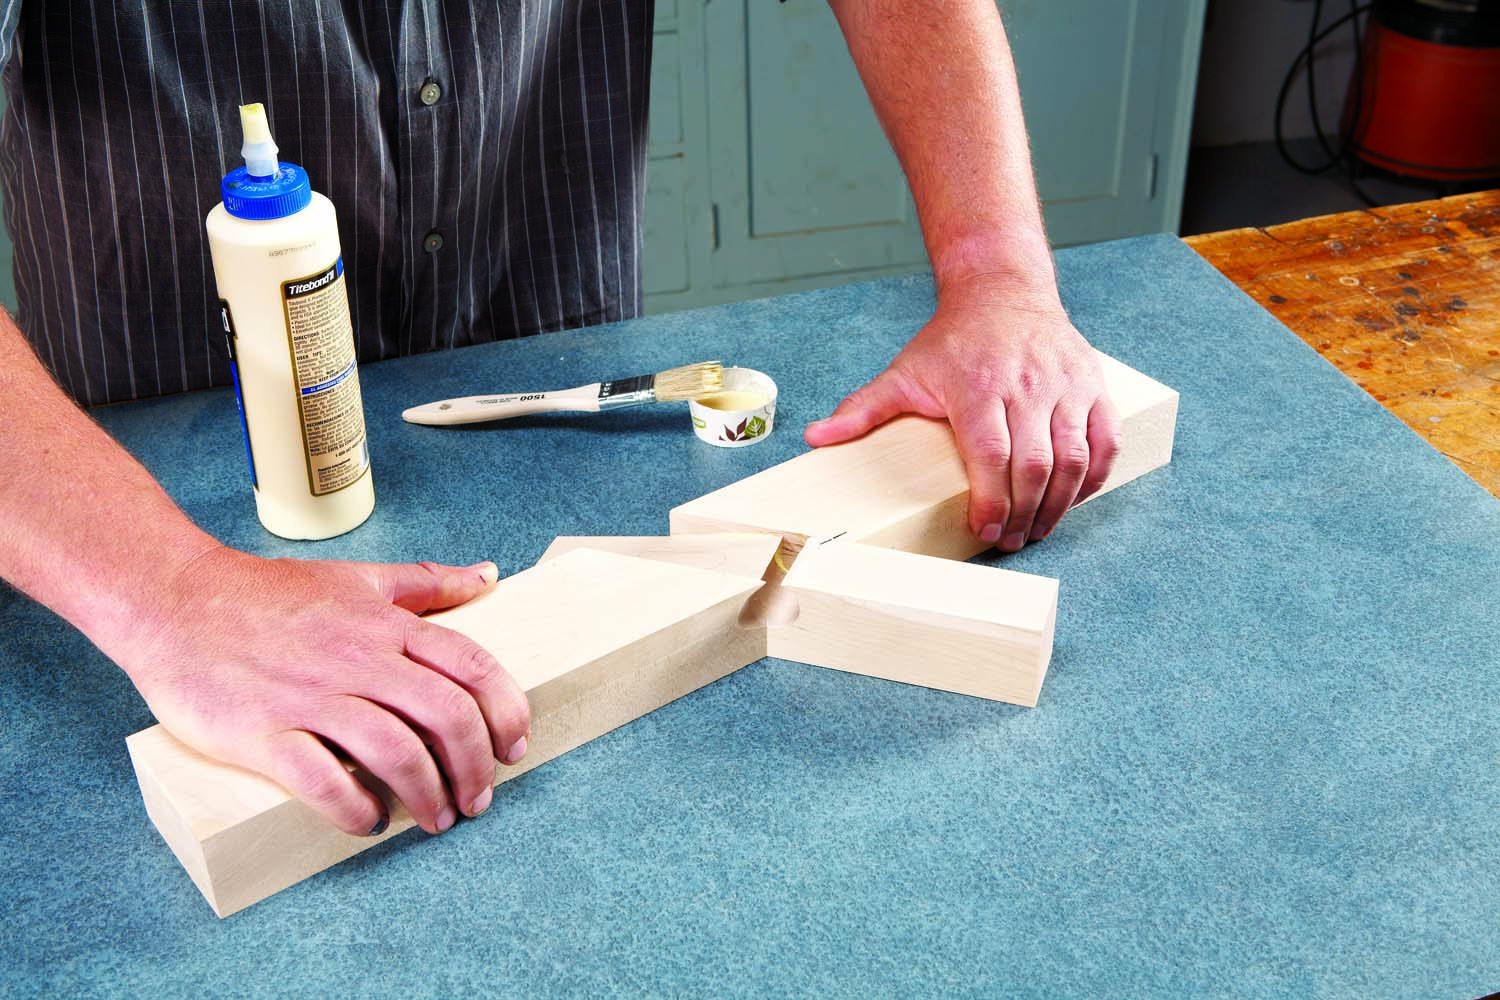
Photo 8. Align the infeed, outfeed, and frog and then glue them together in stages; first the frog to the outfeed, then the infeed to the frog.
Use a straightedge to align the infeed and outfeed’s edges, and then glue the infeed to the frog (Photo 8). When the glue is dry, trim the frog’s ends flush with the body (Photo 9). True up the bottom and edges on the jointer. Don’t joint the top, though; that would mess up the blade’s projection.
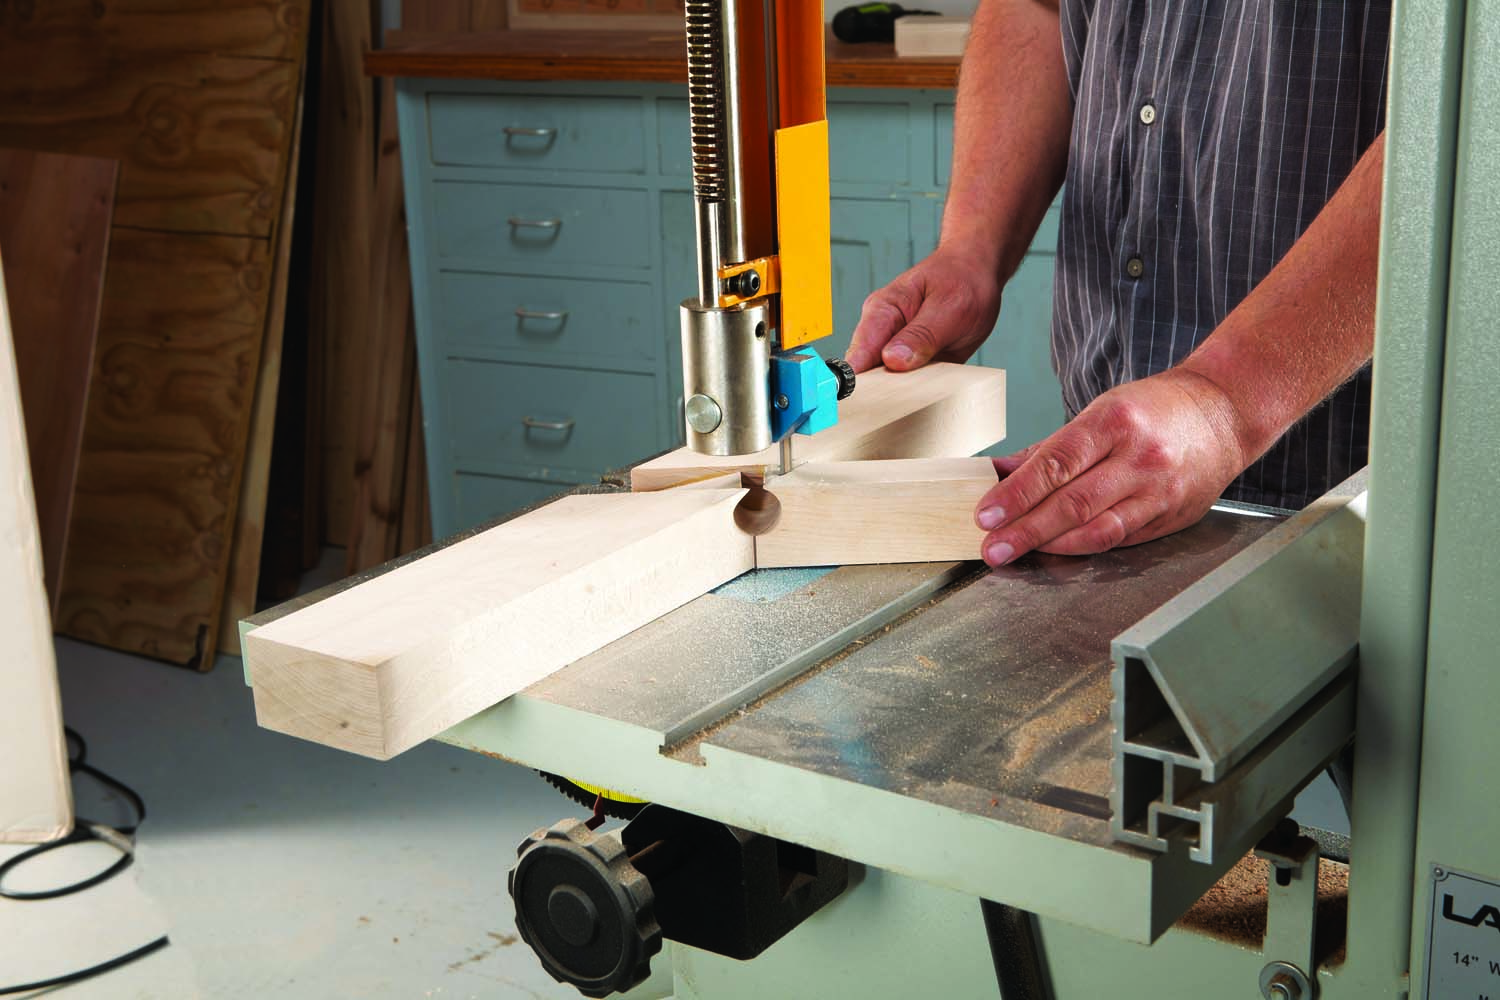
Photo 9. Bandsaw the frog’s ends flush with the infeed and outfeed.
Tilt your drill press’ table to make the escapement hole in the fence (Photo 10). Drilling a precisely located hole at a steep angle is difficult, so start with an oversize board and drill the hole in the center. You’ll trim the board’s edges to line up with the frog’s escapement hole later. The correct angle is 55°, but most drill presses only tilt to 45°, which is fine for this purpose.
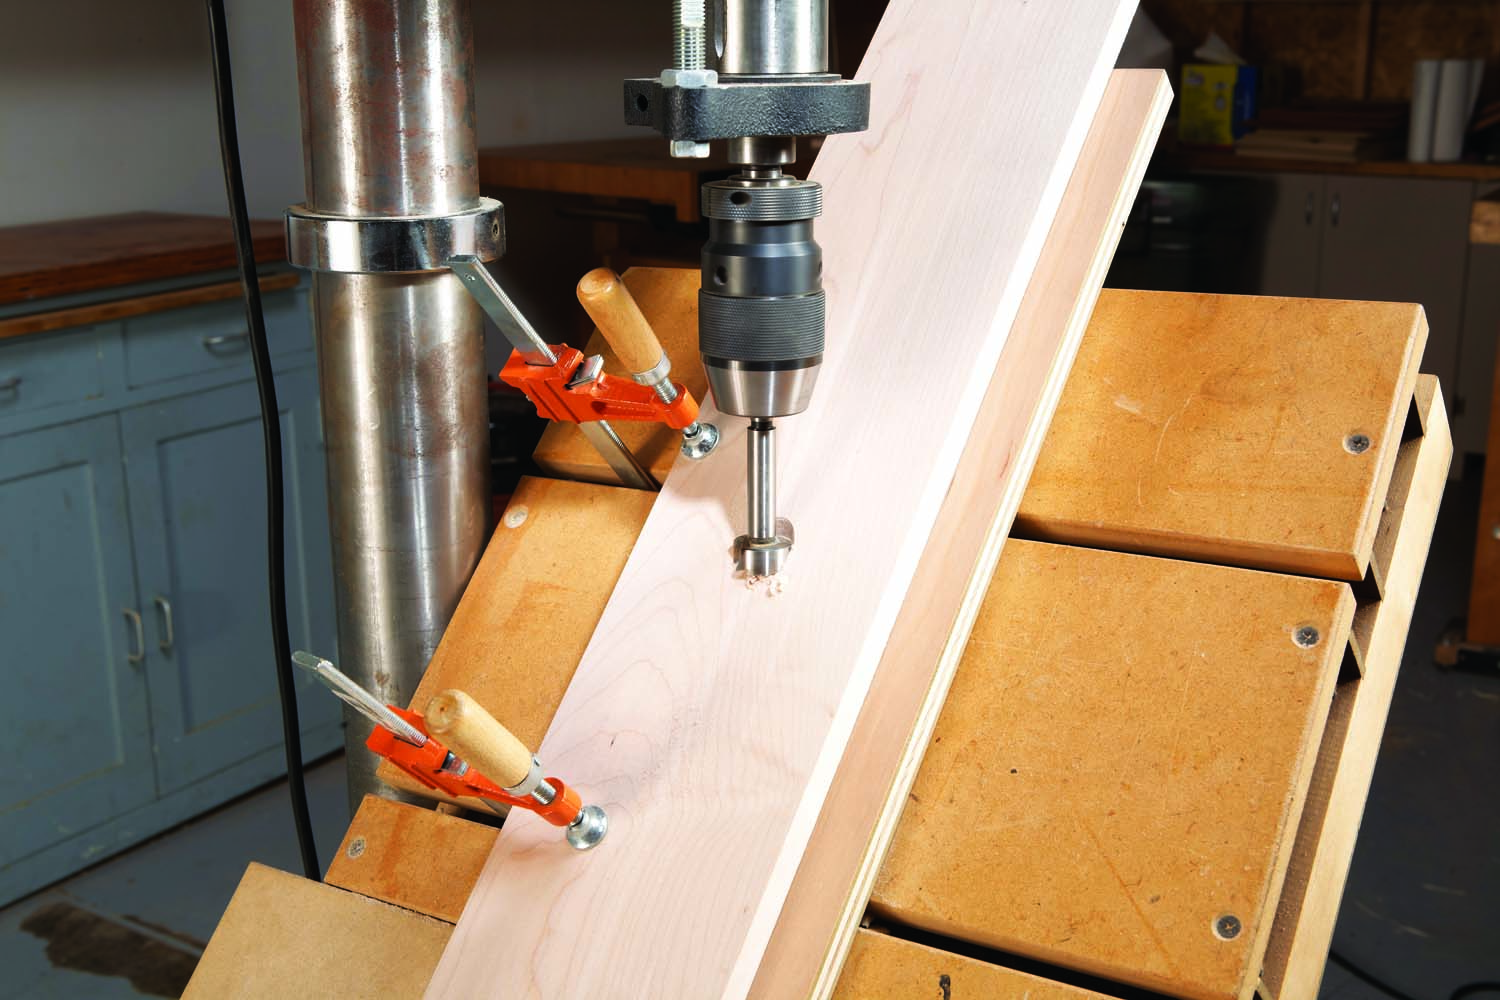
Photo 10. Tilt your drill press’ table, and drill the angled escapement hole in the fence.
Next, glue the body and frog assembly to the bottom. The bottom is wider than the plane’s body, creating a tab to clamp the plane to your bench for use.
While the glue is drying, make the wedge (Fig. 02). Use sandpaper on a flat surface to flatten its faces. You’ll probably need to refine the wedge’s angle slightly so that its primary contact is at the cutting end of the blade to prevent chatter (Photo 11).
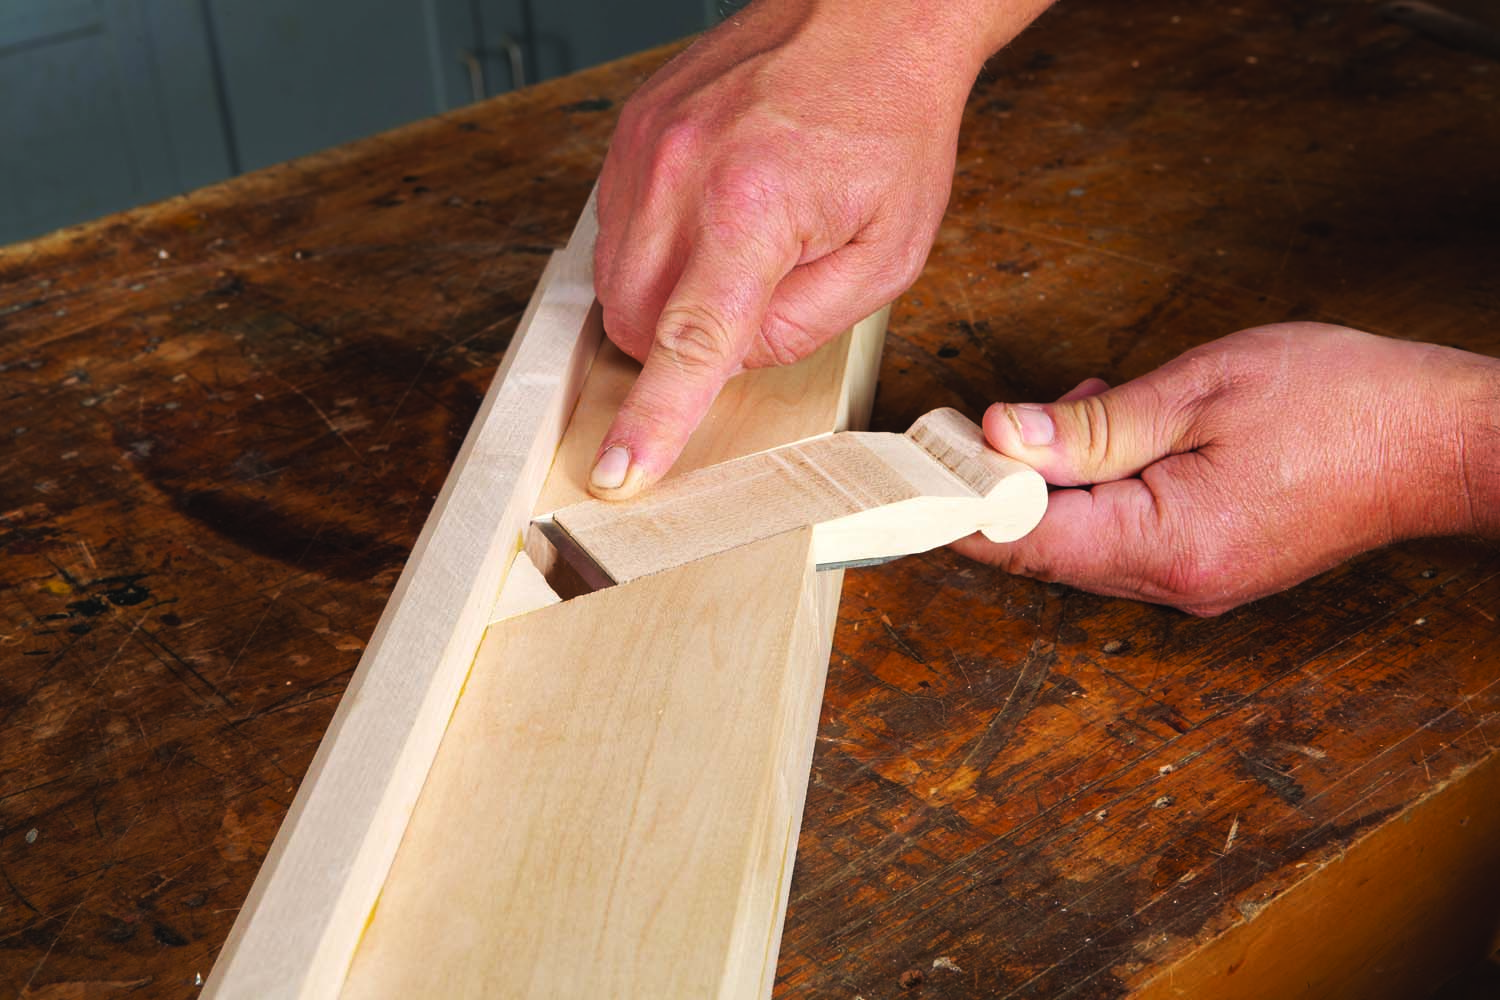
Photo 11. Check the wedge’s fit with the blade in place. The thin end should be flush with the body, while the thick end is not quite flush.
Before you trim the fence’s edges, make sure that its angled hole points the right direction; it should be a continuation of the frog’s escapement hole. Trim the bottom edge of the fence until its escapement hole lines up with the frog’s escapement hole. Trim the fence’s top edge so that the fence is 5/8″ taller than the body, and then glue the fence in place.
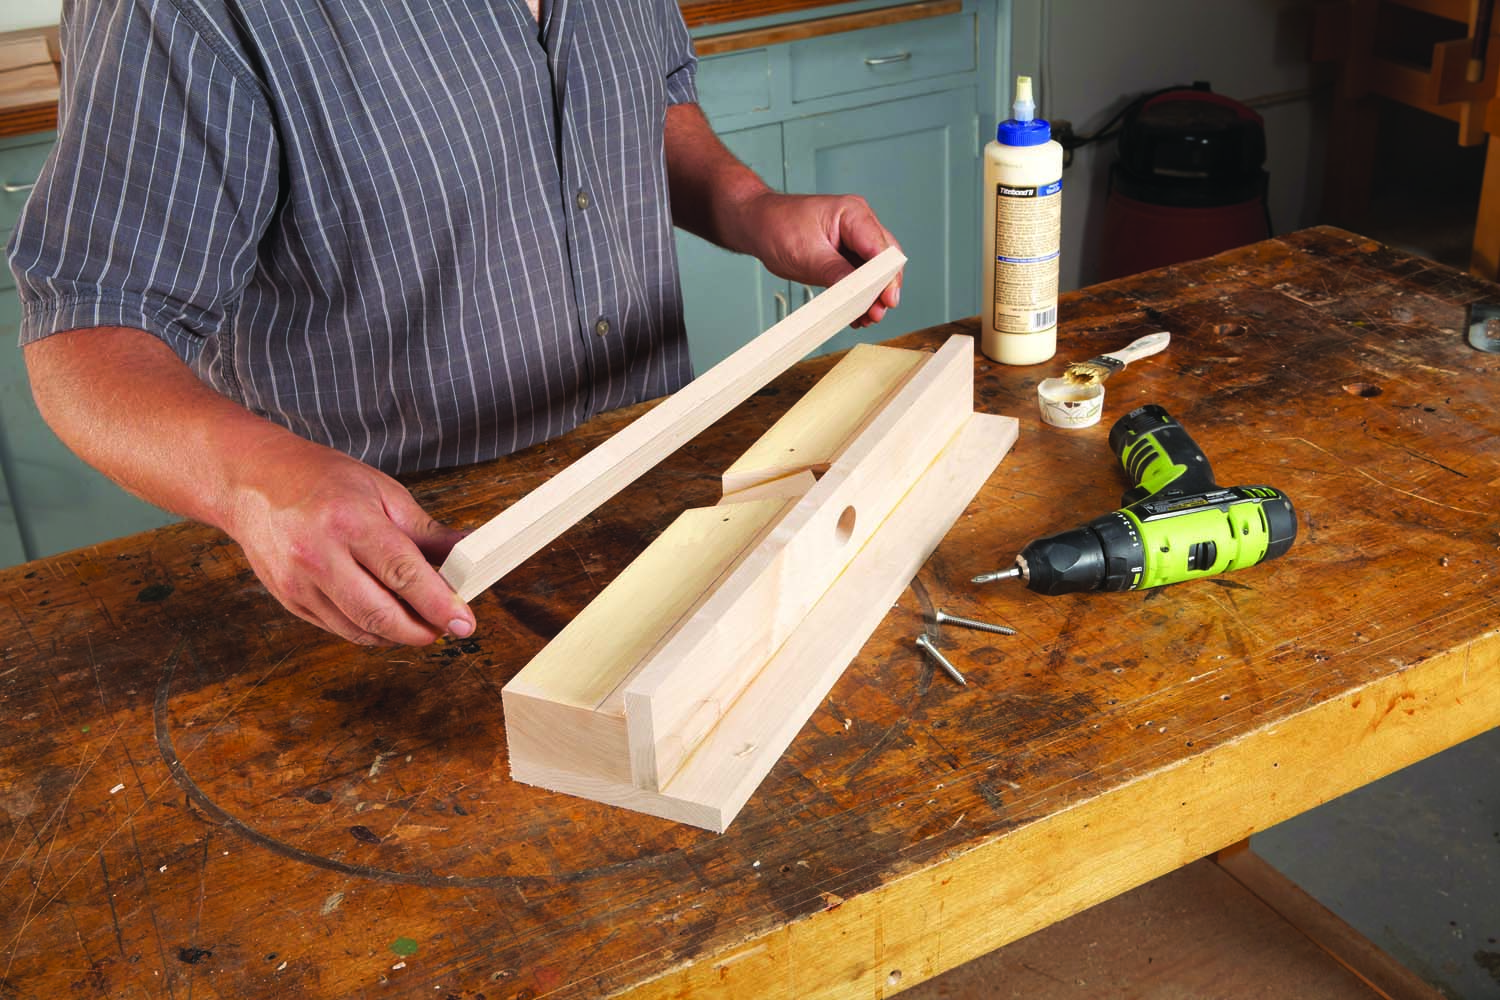
Photo 12. Fasten the top using glue and one screw on each side of the frog.
Glue and screw the top to the body (Photo 12). Unlike most wooden planes, this wedge’s relationship to the grain is like that of a splitting wedge, so I added a beefy screw on either side of the frog. It may be overkill, but a wedge exerts a tremendous amount of force when it’s tapped in place.
Give your plane whatever edge treatment and finish you wish. Don’t use any finish or wax on the sole, though. Wax heats up with the friction of planing, and can actually cause your spill stock to stick.
Making Spills
When you wedge the blade in place, you’ll notice that one of the wedge’s corners is visible in the track. This corner must be flush with the sole. The sole is the surface on either side of the blade, where you slide your spill stock. If the wedge’s visible corner is higher than the sole, it’ll prevent the blade from cutting. Mine was a little high. To fix it, I backed off the blade and tapped the wedge back in. Then, I sanded the wedge’s tip flush with the sole using a sanding block.
Setting the plane’s depth of cut requires experimentation, particularly if you’re not used to using a wedge-style plane. As a starting point, slide the blade in until it almost touches the fence, and then tap in the wedge. If your plane isn’t cutting, advance the blade by tapping its end until it takes a shaving. If you advance the blade too far, remove it and start over.
You may be tempted to make spills out of any old scraps, but that won’t do. You need clear, knot-free boards; and it helps if you joint one edge. Poplar works great; it cut easily, and doesn’t have a very pronounced grain. An 8″ – 12″ long piece is about right. Position the board so that its grain is rising away from you, so you’re not planing into the grain. Make sure that your blade is razor sharp!
Here are some supplies and tools we find essential in our everyday work around the shop. We may receive a commission from sales referred by our links; however, we have carefully selected these products for their usefulness and quality.


