We may receive a commission when you use our affiliate links. However, this does not impact our recommendations.
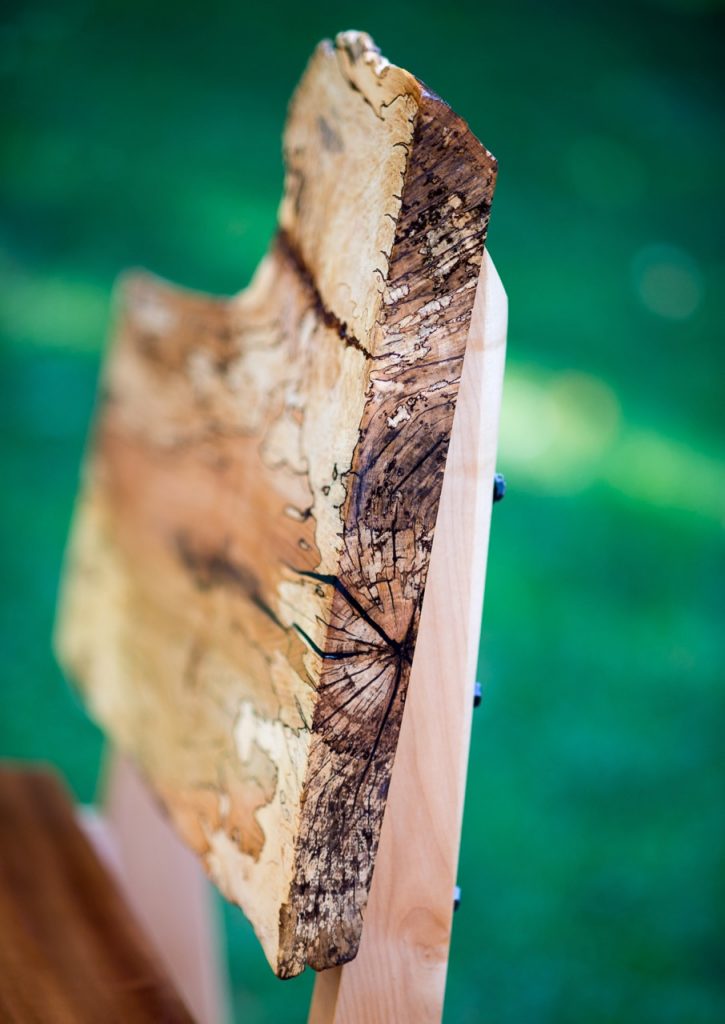
Photo by David Bolson
Last July I returned to Peters Valley School of Crafts to teach a six day-long class in live edge furniture making. Live edge, aka Natural Edge, is one of my most beloved wood mediums. If you love wood for its unique heterogeneous surface, live edge adds one more organic quality the picture – the irregularity and three dimensionality of the board’s terrain-like edges. Plus, when the live edge is enriched by veins and patches of spaltings, voids and checking, the richness of the surface is increased threefold.
Every project that is built in my live edge classes is unique by nature, as it stems from its proprietary features such as the shape and surface of the boards a student buys or self-mills. Unlike a follow-the-plans class, where the teacher is guiding all the students along a path to build, a tool box or a Windsor chair, when I teach a live edge class I have to work with each student to formulate a design that fits their wood, level of skills and of course – preferred aesthetics.
David’s Live Edge Bench
David brought a few boards to class: a generic, top grade hard maple, a warm colored mahogany, and a short slab of spalted live edge maple bought from a local sawyer. The owner of the one-man sawmill and air drying yard did not understand why the heck David offered to buy such inferior lumber. But David, with his keen artistic eye (David is a great photographer), knew that this board was a paragon of live edge. His plan for these boards was to build a small bench.
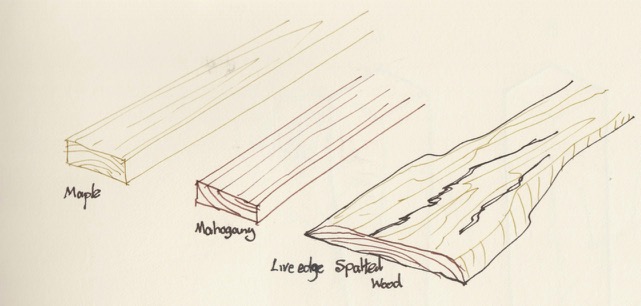
Since the live edge spalted maple board was the most intriguing and spectacular of them all, David wanted it to become the bench’s back. He proposed to craft the bench’s legs from the maple, and use the mahogany (Sapele mahogany) for the seat.
We began the design with a few sketches that showed a trajectory of distillation – from the crude to the refined, and from the thick to the tapered, or faceted.
When time and utilitarianism is what you have to contend with, we usually choose to make our furniture parts and structures square-ish, parallel and right-angled. These shapes are the easiest and fastest to make. But unfortunately they make our furniture balky, boring and clunky. So as skills, tools, and time are more prevalent and a pinch of good taste is added to the mix, a more sophisticated design is able to rise up for the occasion.
In the drawing below you can see how we developed the design.
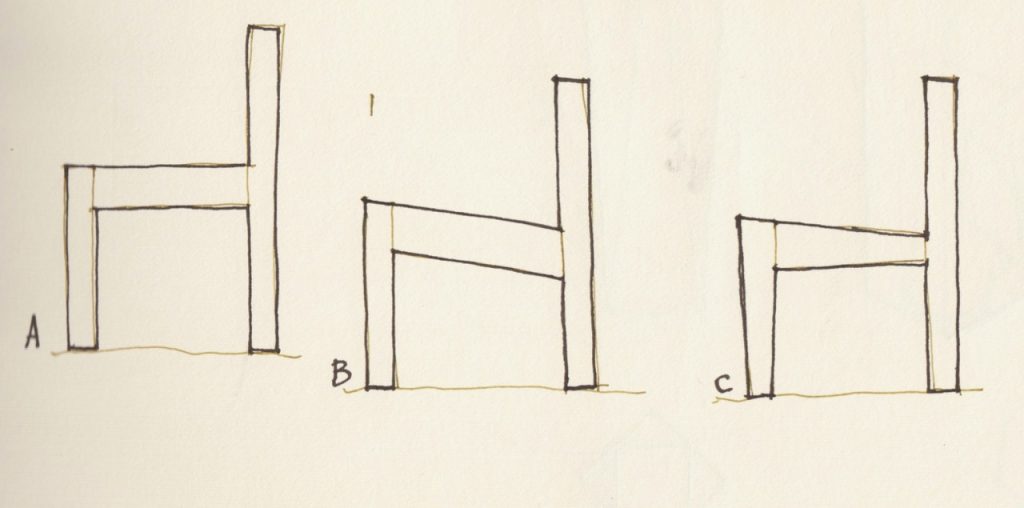
A. The most basic leg shape, where all the parts are boxy and meet at right angle. B. Slanting the seat makes the bench more comfortable. C. Tapering some of the parts will make the legs less clunky.
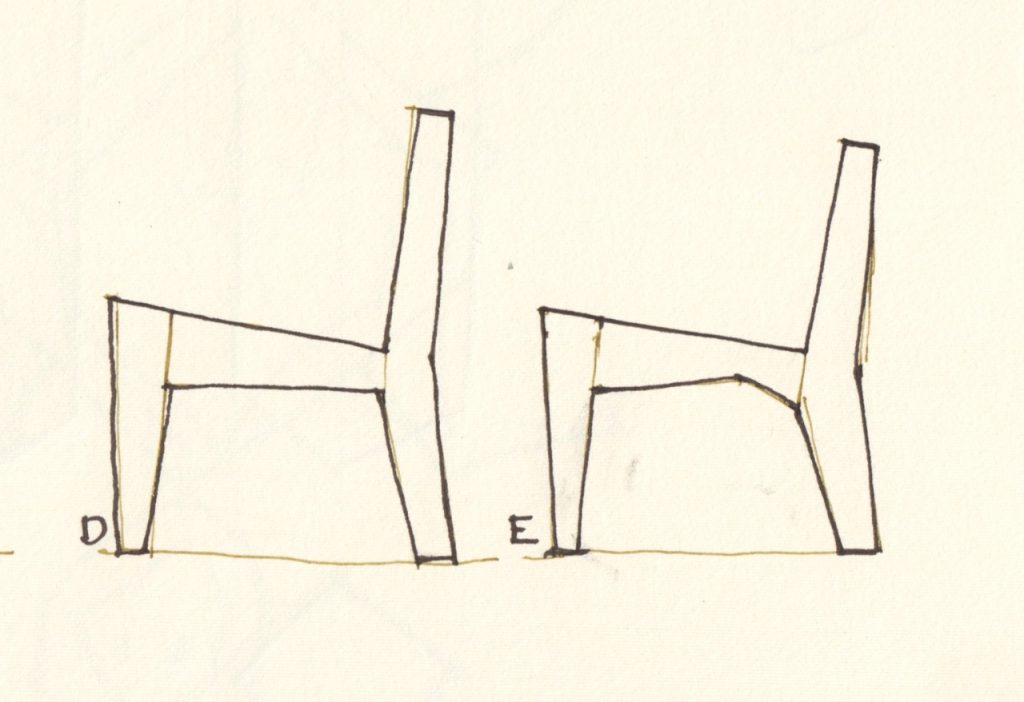
D. Slanting the back, and forming it in the shape of a chevron is even better. E. And here we echo the back chevron in the rail that carries the seat.
After we concluded the rough design, David drew the a full size elevation of the legs. Then he transferred the outline to the maple board and sawed off the pieces.
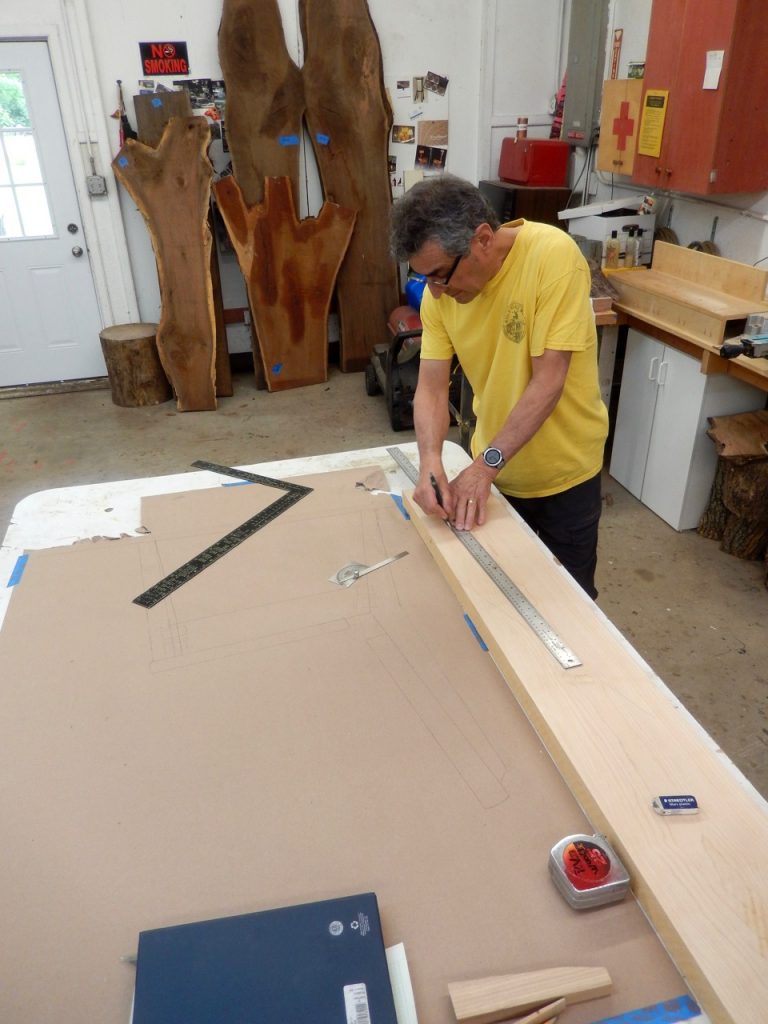
Next he staged the board arrangement of the mahogany seat: two boards together, two boards with an accent gap in between and a wide seat made of three boards glued together.


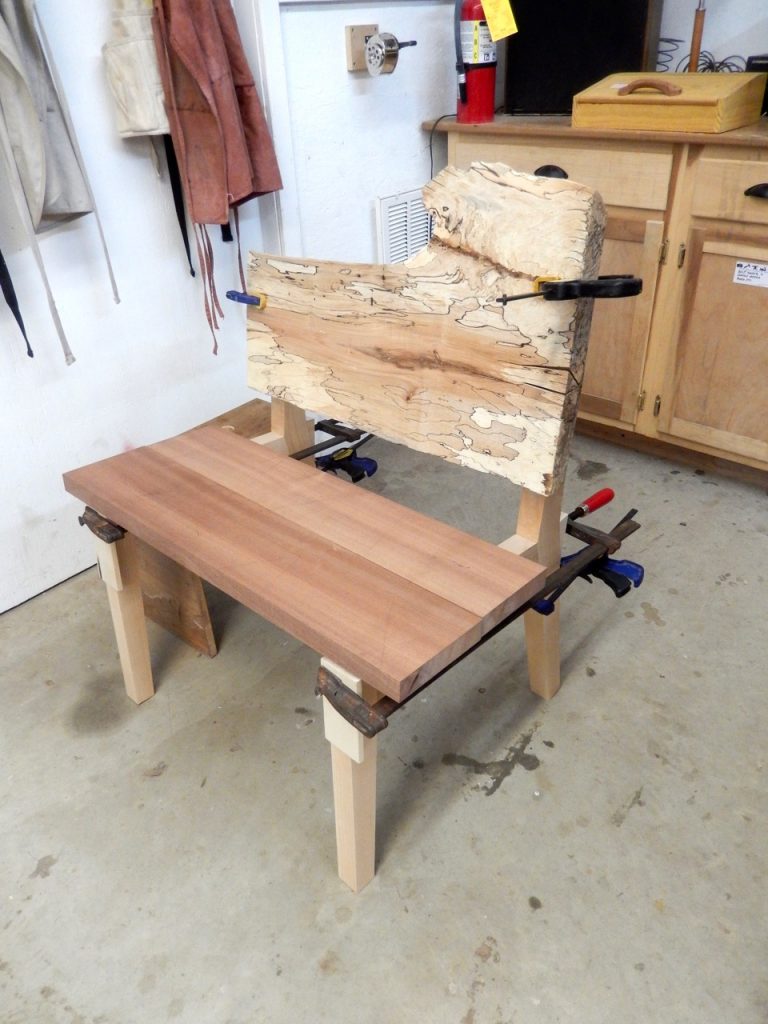

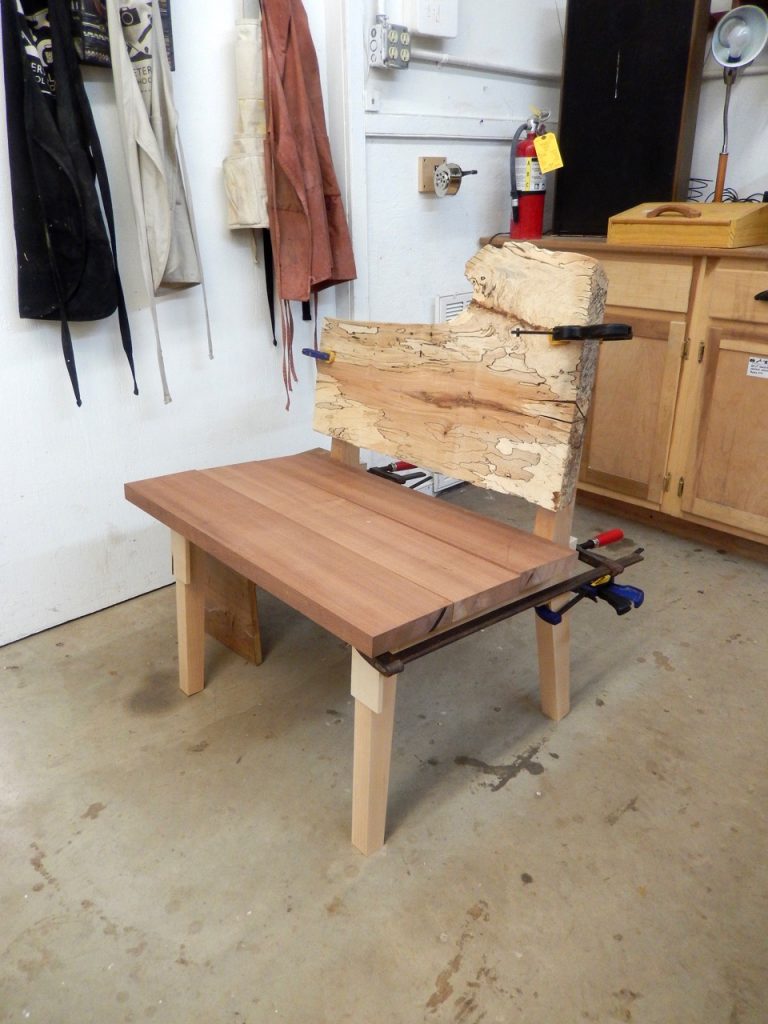
Next time I will talk about how we refined the legs even further, and the way the bench’s parts were joined together.
And here are two great photos that David took on the road from Peters Valley’s main campus to the wood shop.

Photo by David Bolson
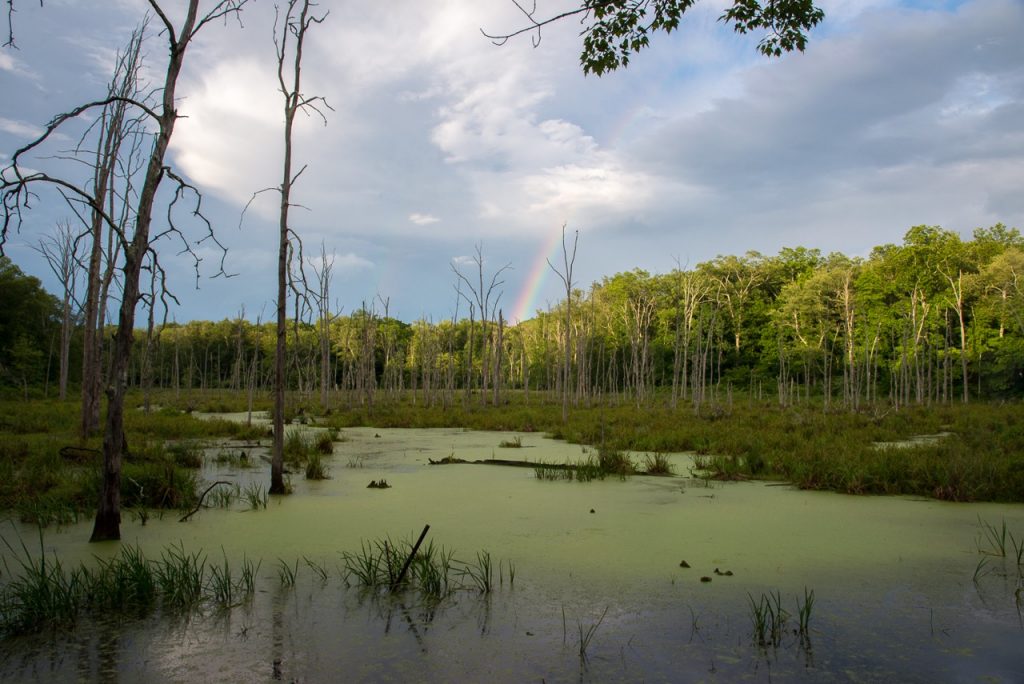
Photo by David Bolson
Here are some supplies and tools we find essential in our everyday work around the shop. We may receive a commission from sales referred by our links; however, we have carefully selected these products for their usefulness and quality.


The two photos are ideal examples of scenic woods photos. The curving road and waterway make the scenes. I see how the designer’s eye translates from photo to furniture design. Thanks