We may receive a commission when you use our affiliate links. However, this does not impact our recommendations.
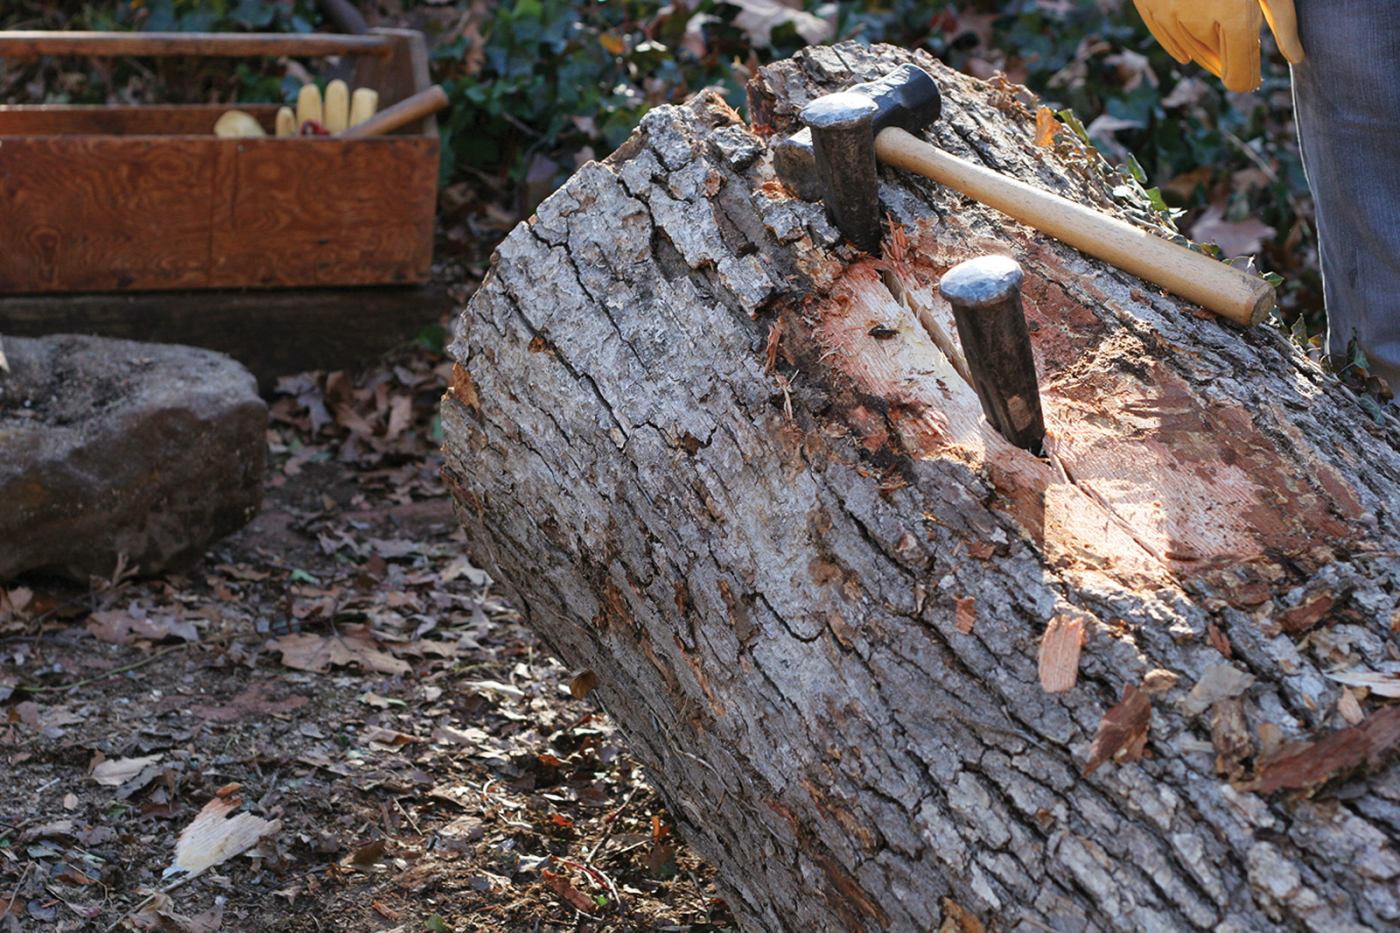
A gift from the storm. This 22″-diameter, 9′-long white oak log is from a tree felled in my yard by Hurricane Sandy. After splitting it, I’ll be riving boards to use in projects for my home. Riven oak is perfectly radial and thus dimensionally stable and very strong.
With sweat equity and a few simple tools, you can split strong, stable stock.
Though sawn lumber was available to 17th- and 18th-century European woodworkers in Colonial America, many American craftsmen split wood to produce stock for furniture. Rive or split marks are typical of 17th-century furniture and not at all uncommon on the finest pieces of “high style” late 18th-century American furniture.
For early craftsmen, splitting logs into lumber offered several advantages. Splitting could be done where the log was felled, saving the cost of hauling logs to saw yards. Because careful splits follow the grain of the wood, the resulting boards typically dry straighter. Perfectly quartered boards are both more dimensionally stable and easier to plane than modern quartersawn stock. For chairmakers, riven stock allowed them to bend wood more successfully and produce thin, high-strength spindles.
As we often learn in this column, not much has changed in the last 200 years. Logs can still be split efficiently with just a few simple tools. Moving logs or bringing in sawyers with specialized equipment is still expensive, and riven stock still behaves the same as ever.
The key to splitting logs like these is to set reasonable expectations for their use; it’s not wise to try to compete with the local mill. I use logs to produce lumber that I can’t buy anywhere else.
You can easily split a 4″- or 6″-thick slab for a workbench top. Philadelphia cabinetmakers split white cedar for perfectly quartered drawer parts, so even short sections of pine or other softwoods can be valuable. There are tons of tool parts better split than sawn. Tool handles, jaws for vises and clamps, plane blanks, saw handles and even simple items such as sawhorses are all best made from riven lumber. And if you have a lathe, you can add a pile of projects that are best turned from wood split from logs.
But there is no such thing as free wood. We purchase lumber with either money or sweat.
First Crack
The first step in the process is selecting the log. Different species split differently and have different uses. Experience and your particular needs will dictate when you should pass on a log. Where a tree is located, how it stood and how it grew will give you clues about the lumber inside.
Forested trees typically grow straighter and with fewer branches because they are anxious to reach the light at the forest’s canopy. Trees that stand alone sometimes twist to catch as much sunlight as possible or to counter prevailing winds. Bark can be an indicator of what is happening under the surface. Spiral shapes in a tree’s bark can indicate a twisted log. But I’ve been fooled by straight-looking bark that concealed twisted wood inside.
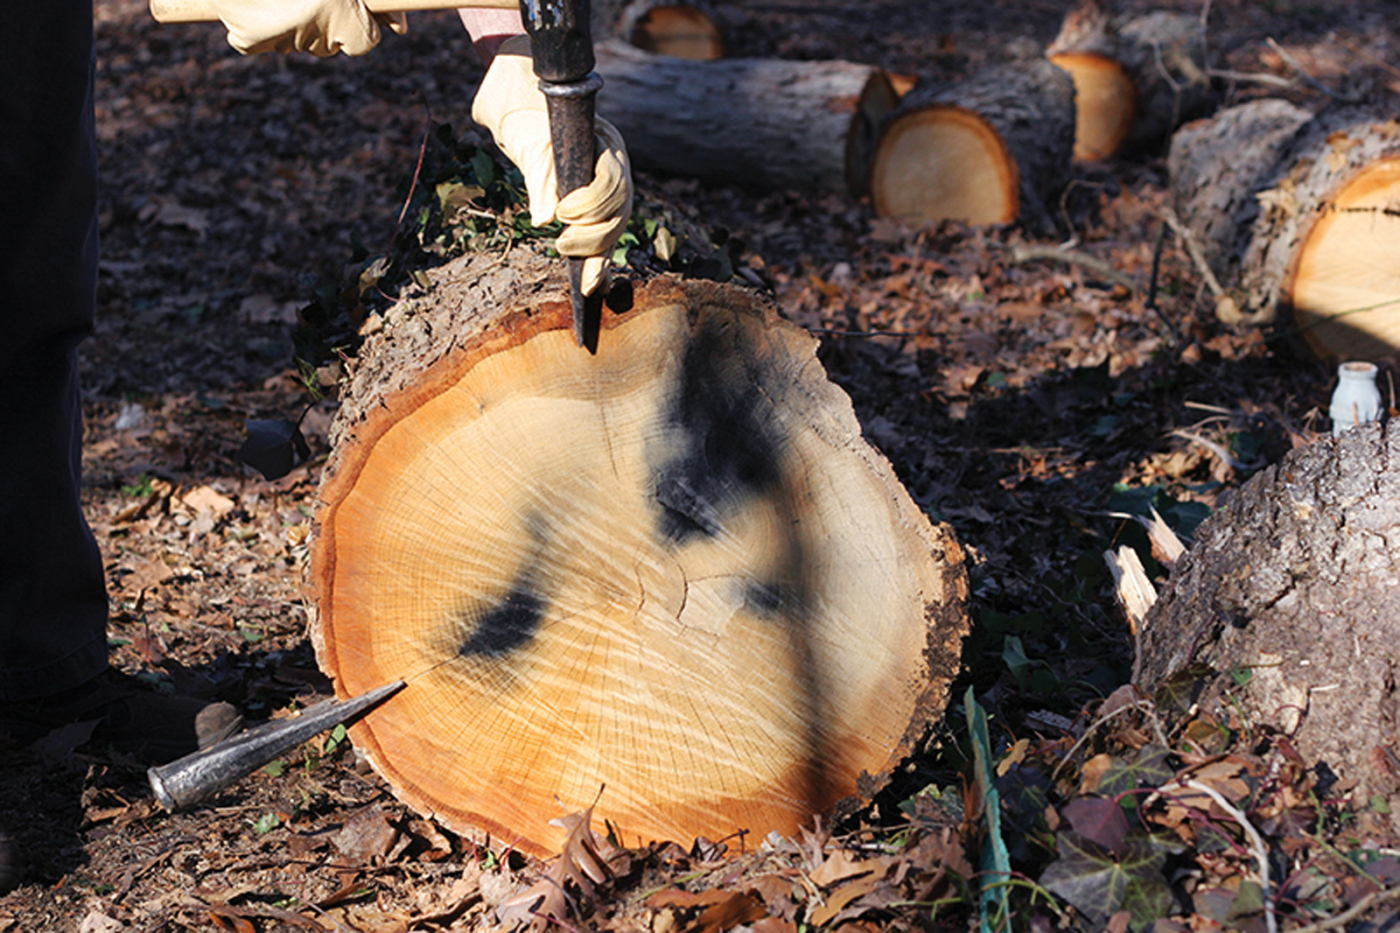
Get a handle on the material. I used the wedge in the 8 o’clock position as a handle to roll the log as I examined it. Once I had the log positioned, I set the first wedge to begin the split.
Before starting the first split, roll the log to check for nails or knots. When I see a single large knot, I roll the log to place the knot to the 3 or 9 o’clock position then start the split at 12 o’clock. The first wedge is placed in the bark, aimed at the heart along a ray – the lines that radiate from the heart to the sap and bark. Note that the rays are not always straight. The idea is to split the log initially along the rays. Hammer a wedge in until a crack begins to propagate beyond the wedge’s tip in both the end grain and the long grain.
Follow the Split
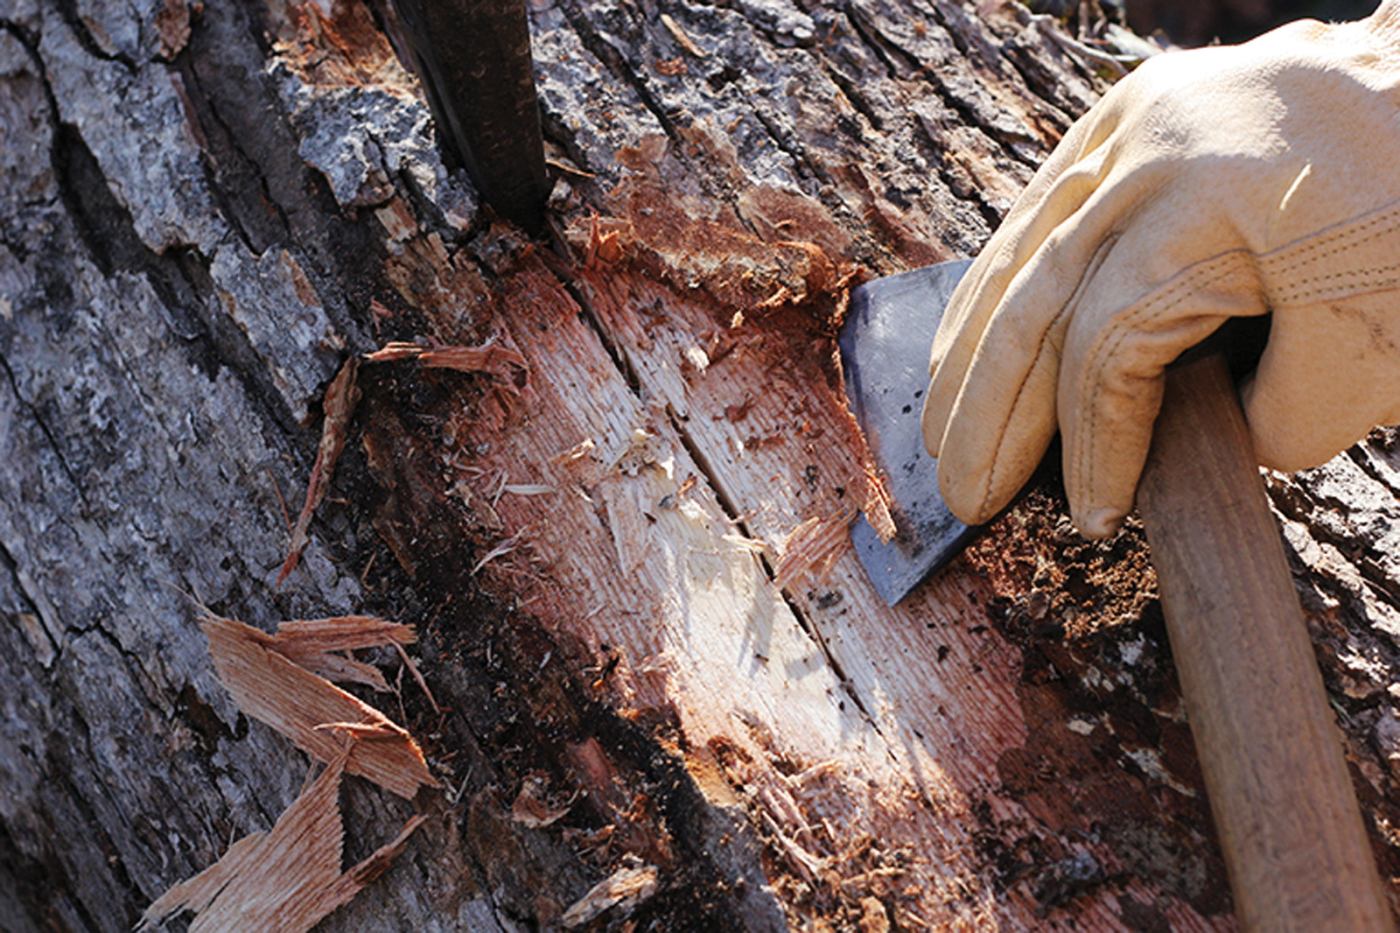
Below the bark. Oak’s rough bark conceals a split fairly well. I shave the bark away from the crack using my broad hatchet like a chisel so I can see what is happening.
Set the next wedge in the crack made by the first or just beyond it. I prefer to set the wedges at least a foot apart. To remove them, you have to knock them sideways, so leave yourself plenty of room. If the crack appears to be twisting round the log, there’s generally little you can do about it. You must follow the ray plane. For this reason, it’s important to remove the bark so you can see the crack made by your first wedge.
All Along the Log
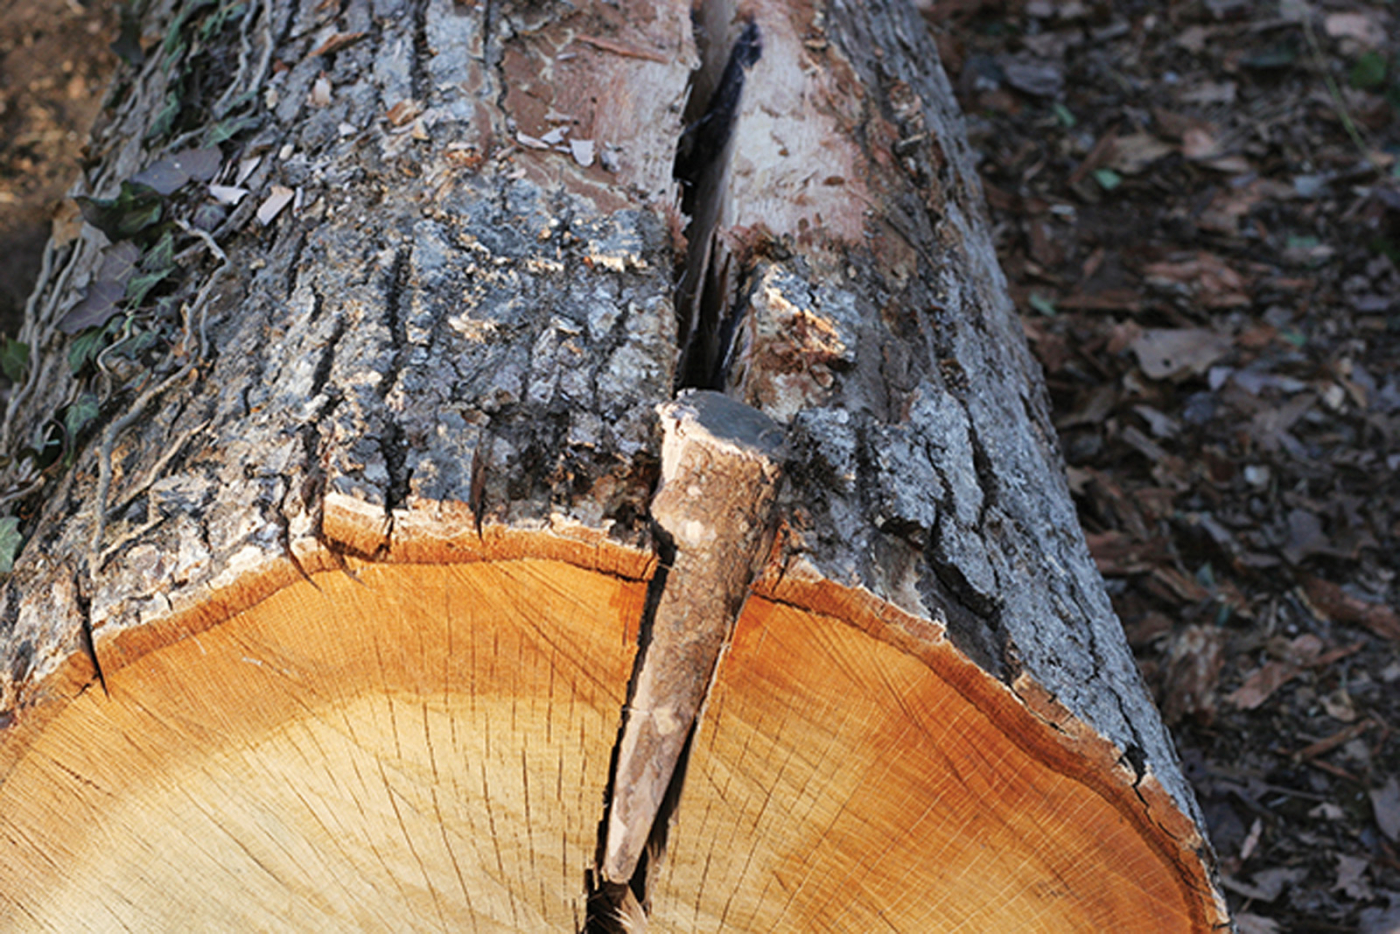
Glut work. A dogwood glut, fashioned in the shape of a metal wedge, holds the crack open. This allows me to chop the fibers holding the halves together without risking the edge of my hatchet.
Continue the process of setting wedges. I use a minimum of three metal wedges, leapfrogging the first as the second two open up the crack. You can work your way along the entire length of a log fairly easily.
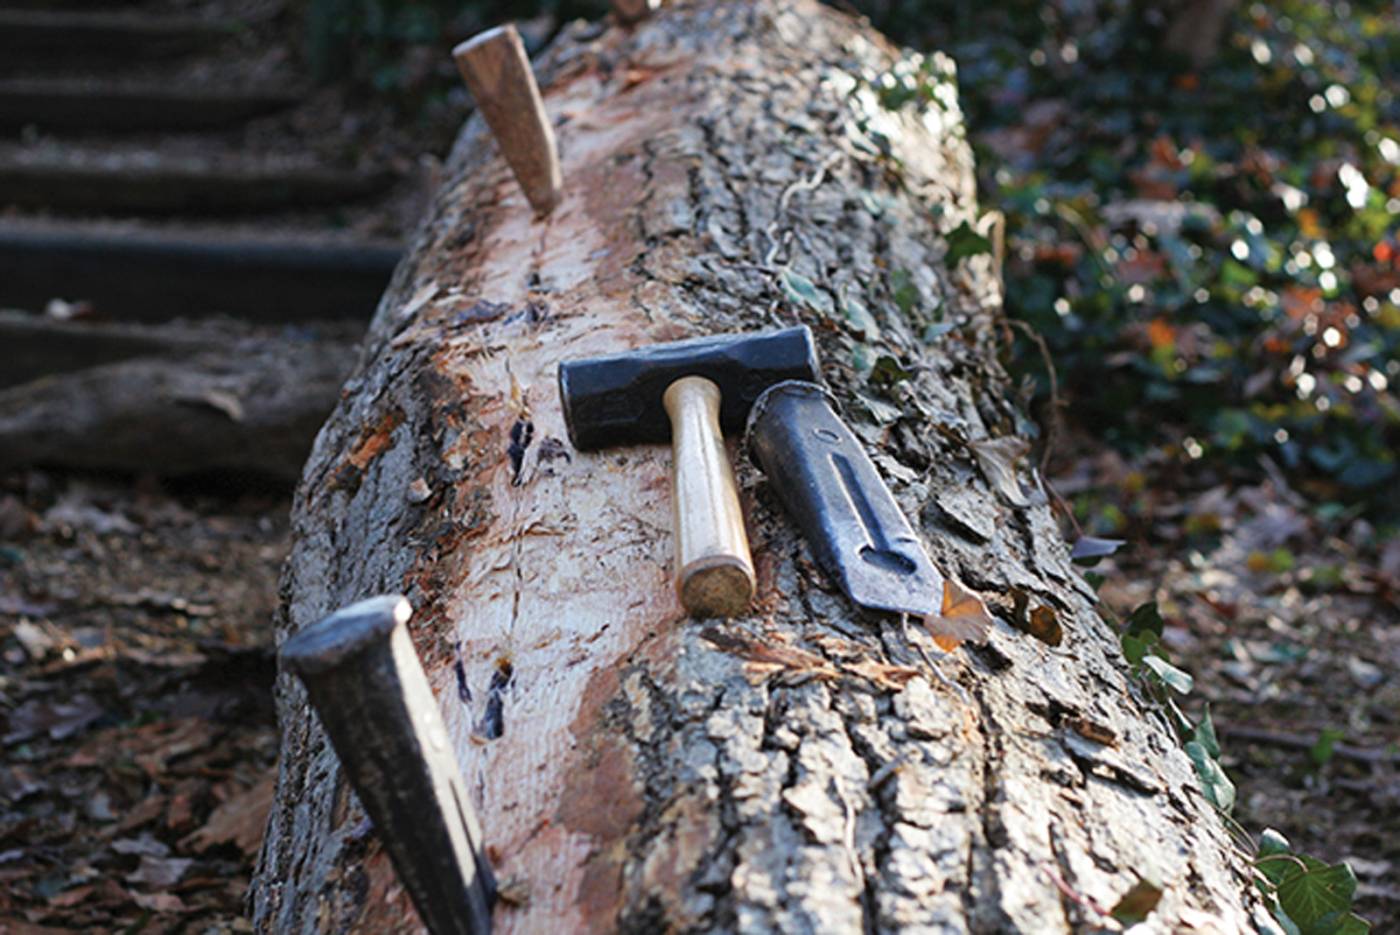
Leapfrog. I use three wedges when splitting logs. I’ll set the third at the end of the crack made by the second, then continue by leapfrogging the first wedge (which usually releases with a few taps to either side in the direction of the split).
White oak is special in the “cross links” it forms within its long grain. This makes it more difficult to bend, generally stiffer than red oak and considerably more difficult to split. When splitting white oak, you can successfully split a log in half and not be able to separate the halves. When this happens, use wooden wedges (properly called “gluts”). Mine are made from the shaft of a small dogwood tree, a split-resistant species that can be hammered fairly aggressively. Replacing the metal wedges with gluts allows you to cut the cross-linking fibers without worry of damaging your hatchet.
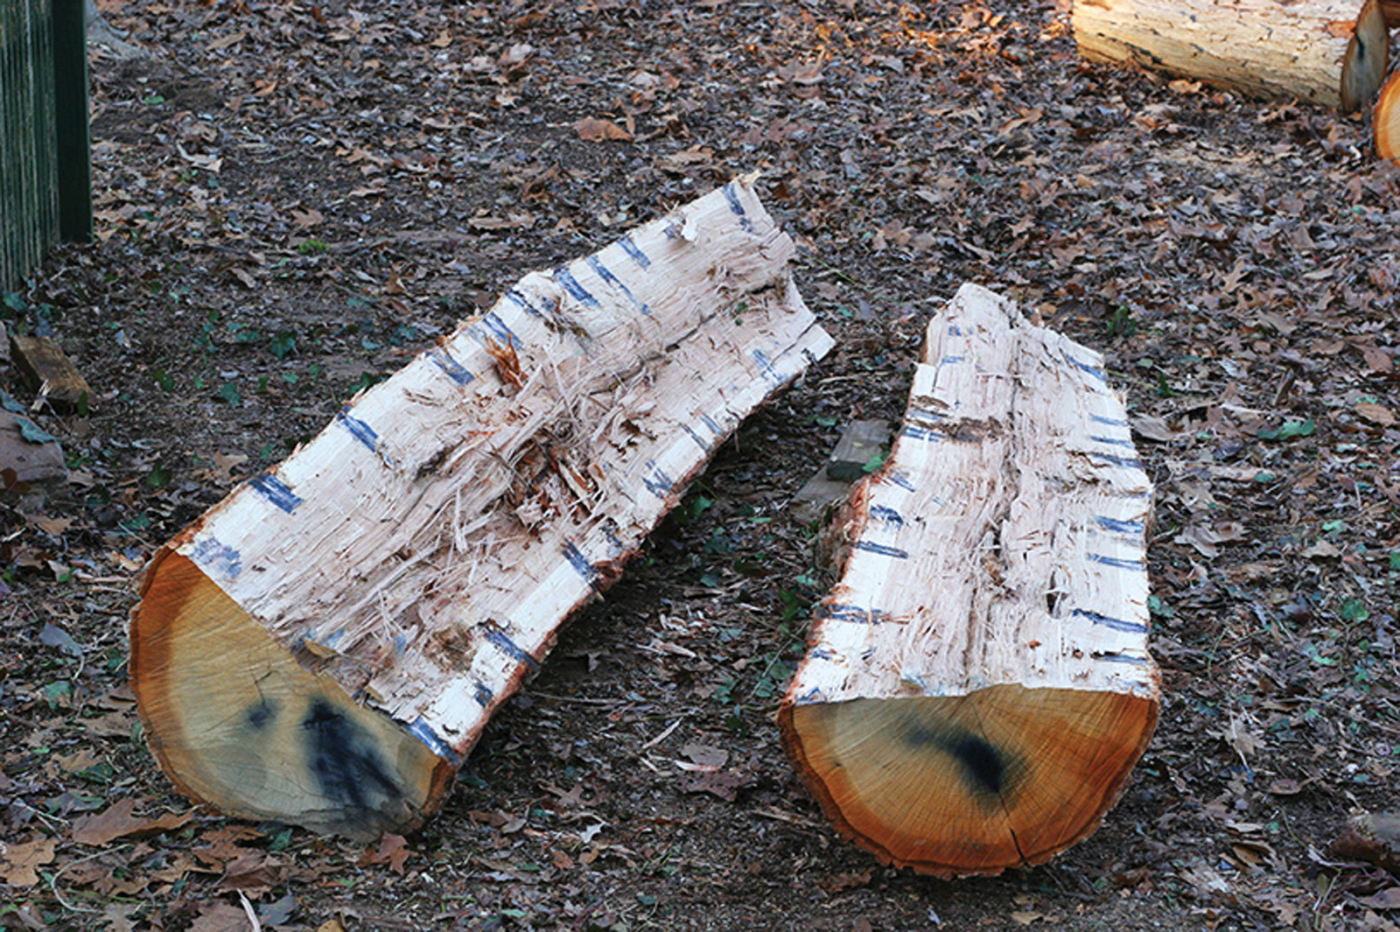
An afternoon of hard work has paid off. Beautiful, straight, clear white oak awaits my next project.
With my log halved, I’ll soon split the remaining pieces until I have manageable, usable boards. Then, I’ll coat the end grain with wax or some end-grain sealer before stacking the pieces up off the ground to dry. (Stickering is more important when storing boards that don’t follow the grain of the wood. There is little or no propensity for riven wood to warp. But airflow is important to prevent rot or fungus that can ruin your stock.)
Future Furniture
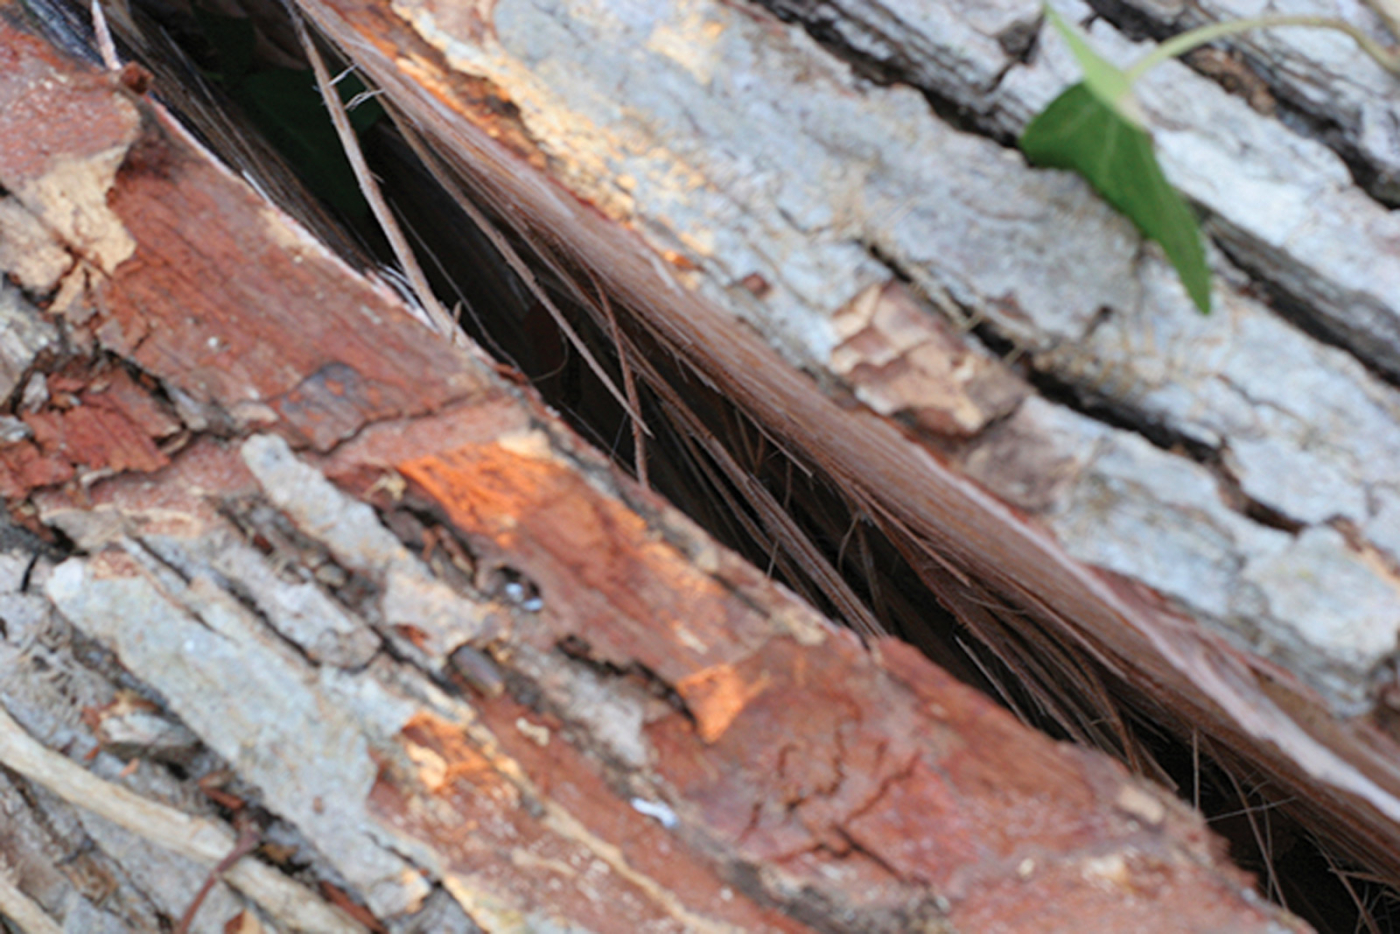
Fibers. White oak has cross-linked grain. These fibers are very strong and must be cut to separate the halves of this log.
This tree was uprooted by the hurricane that hit the Northeast last fall. It fell toward the storm and away from my home, sparing us from roof damage or injury. There is something fitting about using this tree’s wood to furnish my house and it has presented the opportunity for me to reacquaint myself with the material we all love in a very intimate way. I don’t think woodworking gets any better than that.
This article originally appeared in the August 2013 issue of Popular Woodworking Magazine.
Here are some supplies and tools we find essential in our everyday work around the shop. We may receive a commission from sales referred by our links; however, we have carefully selected these products for their usefulness and quality.


