We may receive a commission when you use our affiliate links. However, this does not impact our recommendations.

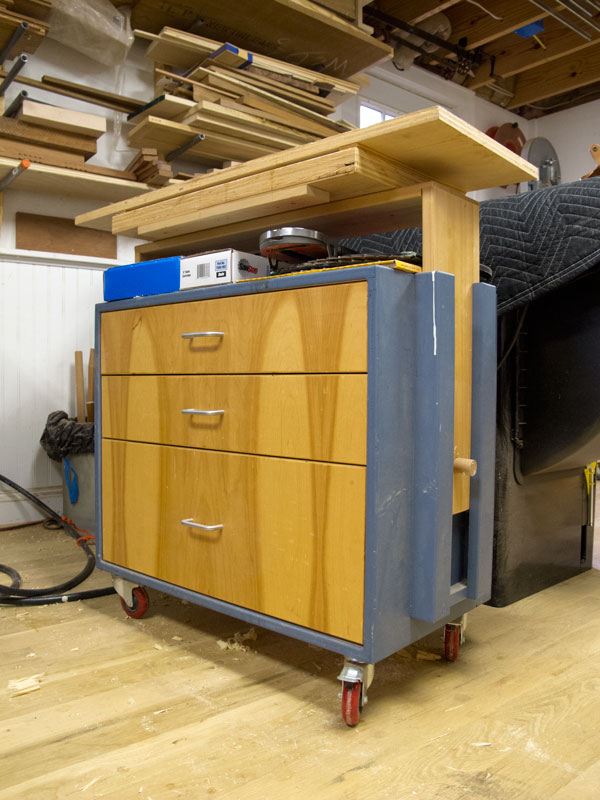
If you plan your storage correctly, you can maximize limited space. Here I’m using a rolling cabinet as an outfeed table.
My kids – even the 18-year-old in college – do not want their meats to touch their starches or vegetables. And so we have divided plates for them – just like at the school cafeteria.
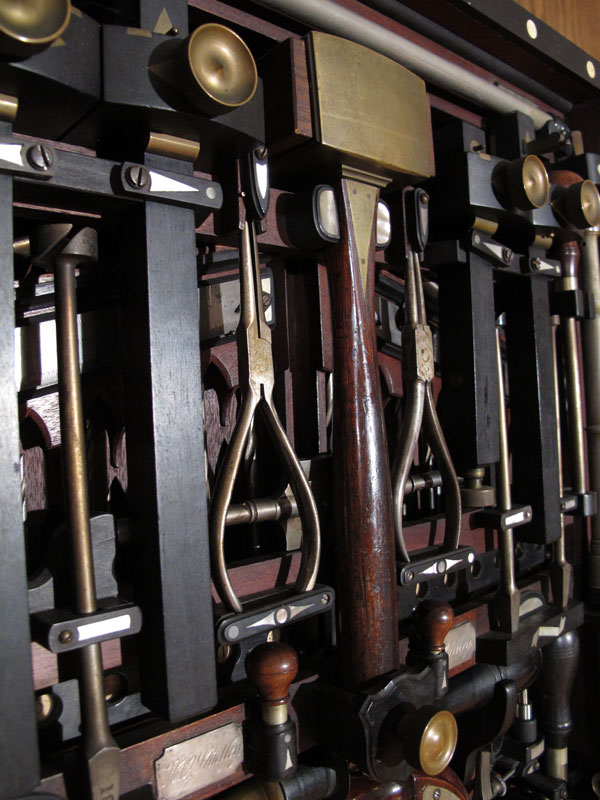
If they keep this habit up, I’m sure their weddings will be interesting, but I’m not one to mess around with their personal way of organizing their world. So this is my way of saying if you need to have a French-fitted spot for every one of your hand tools, go forth and go nuts.
However, if you are unsure about how to keep your tools organized, consider the pros and cons of French-fitting vs. the peas-mixed-with-turkey-and-taters approach.
7. French-fitting, pros and cons. If you run a school or shop where people share tools, I recommend some sort of system where every tool has a designated spot, and it is easy to tell whether or not all the tools are accounted for. So the first advantage of French-fitting is that you will always have an excellent accounting of the tools.
The second advantage is that the tools will be protected. Not just the tools’ sharp edges, but also their bodies and handles. No more toolbox dings.
And the third advantage is that your tools will have a fixed location. Your combination square will always be in its velvet-lined womb – not below the auger bits or covered by coping saw blades.
The obvious disadvantage to French-fitting is that it takes up a surprising amount of space. It also requires a good deal of planning, plus a considerable amount of work and material.
All those are personal choices – it’s just time, space and wood.
But for me the primary disadvantage to the fitted approach is that it reduces flexibility. There are times that I want my carving tools easy to snatch. If I’m building a workbench, the drill bits need to migrate to the top of the pile. I don’t change the arrangement of tools on a whim, but things do creep around as my work changes.
It was only when I didn’t have this flexibility that I noticed it. In 1998, after making chisel racks for a tool chest, plus cubbies for my shoulder plane, block plane and drill bits, I bought a 1/16” chisel for installing locks. I didn’t have a place for the chisel, so I stashed it in another drawer until I could figure out how to re-do the rack.
I never re-built the rack. Instead, I piled any new chisel sizes on top of the old ones. It wasn’t ideal, but it did get me accustomed to the idea that edge tools could live in a tool chest while touching one another.
Soon after that, I began to research traditional tool chests, and I found that most of them didn’t have much in the way of French-fit compartments. While they had dedicated spaces for unwieldy tools such as a framing square or handsaws, most had open trays with few dividers and tool racks that weren’t dedicated to holding only one kind of tool.
Edge tools that needed to be protected were stored in the rack or in a tool roll. The other tools (squares, gauges, mallets etc.) could float in the open trays. Yes, they would get the occasional toolbox ding, but I could get a lot more of these tools into a small space. To me, it was worth it.
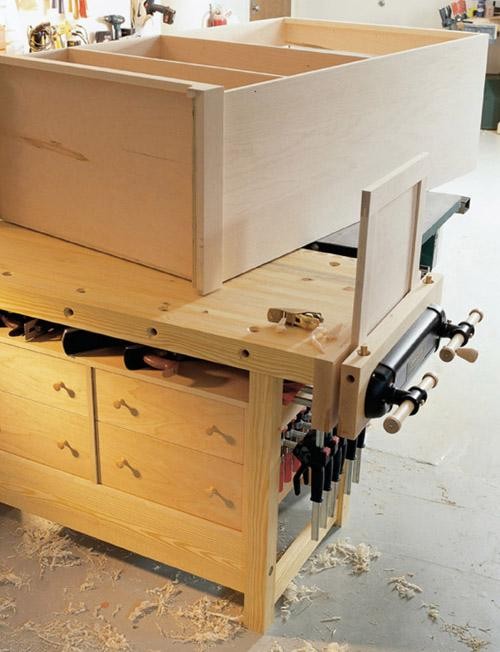
8. The non-interference principle. When you build your first workbench, one of the primary urges is to fill the space below the benchtop with drawers, doors and what-not. Just like the Shakers did with some (but not all) of their workbenches. I freely admit I did this with a couple of my benches (here’s one). After all, I’ve never heard anyone say: “I have too much storage space.”
But those below-the-benchtop tool chests are frequently in the way of other woodworking chores. Many woodworkers forget to allow some space for the shafts their holdfasts. Or they make it impossible to clamp things to the benchtop with F-style clamps. Or they make it so you can’t have a board jack and hold wide boards on edge for planing. Or if you do have a board jack, it is blocking the drawers you need to get into.
So you get to store a bunch of tools that are frustrating to use.
Another common problem is putting your wall cabinet directly above your workbench. We had some of these cabinets at the first shop I worked in. Inevitably, their doors would be closed and there would be a huge piece of cabinetry on the bench when you needed a tool inside the cabinet.
Other tips: Drawers below a benchtop are almost always a bad idea. You’ll have something clamped down when you need something in the drawer. I’d rather lock the shop than the tool chest if possible – the keys for a chest are easy to lose. Flat-top tool chests attract clamps, project parts and junk.
9. BONUS: Storage can serve other shop functions. While you need to keep your woodworking activities and your tool storage from interfering with one another, you also can have them work together at times.
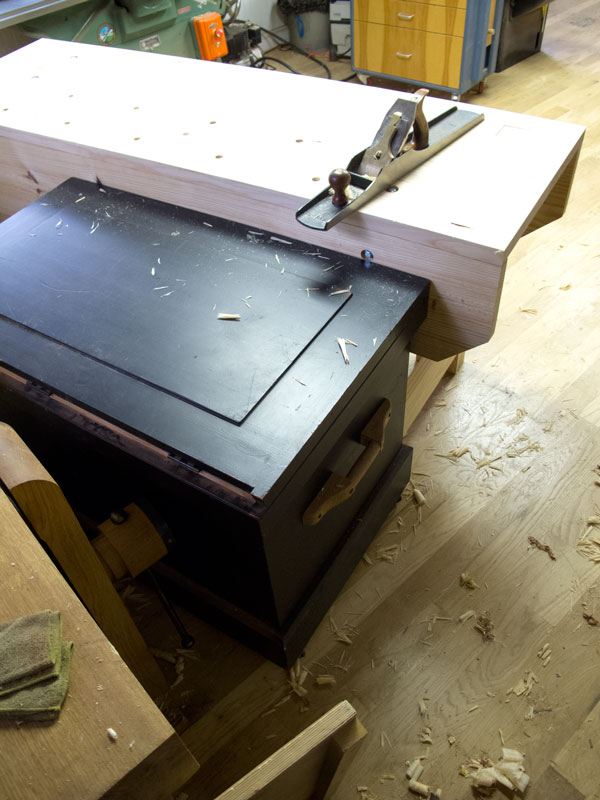
A traditional tool chest can also serve as a sawbench, an assembly table and a nice place to sit while you do some close-up work at the workbench. Small tool chests can be used as stepstools to get to things that are out of reach, or you can put assembled carcases on top of them so you can plane down their joints or surfaces.
I use a rolling tool cart as an outfeed table for my table saw. I have a second rolling cabinet that holds my portable thickness planer. Because I’ve thought these things through (after many years of doing dumb things), they never interfere with my work – they only help it.
— Christopher Schwarz
Here are some supplies and tools we find essential in our everyday work around the shop. We may receive a commission from sales referred by our links; however, we have carefully selected these products for their usefulness and quality.


Great set of principles. I just changed direction in my tool organization and storage with my geriatric tool chest .
I love your books and enjoy your blog writing. I must say that with the volume of your writing combined with your woodworking you could be considered a “workaholic”. But, when you are doing what you love that’s the only way to live!
Chris,
Do you have any shots of your portable planer cart?
Thanks,
Shawn
“My kids – even the 18-year-old in college – do not want their meats to touch their starches”
I’m guessing then, they do not know the joys of a properly made sammich, which of course is the quintessential mixing of meats, laid on starches. Yummmmm I’ll be eating their share.
Personally I have been really enjoying this series. If you end up writing a book about what you are covering here I wouldn’t mind that either. Seems you’ve gotten yer knickers all in a twist based on some drivel a guy wrote, who doesn’t know that names are Capitalized. Have one of the expensive beers tonight, life is too short.
Thanks Chris. This was helpful.
Kurt
As someone who’s only been dabbling in this hobby for less than a year so far, I’m enjoying this series, and waiting to learn about the flaws with the pegboard and shelving unit I use now. I know that I will need to develop something else before long, once my tool collection grows a bit.
So far the pegboard has worked well for me, for the tools can be stored on it anyway. It is on the wall just behind me while I’m facing the bench. There’s something like 4 feet between the bench and it, so it’s not so close that I ever feel crowded, and it’s not so far that I can’t reach it without leaving the bench.
I try to keep things that I use nearer to the parts of the bench I find myself using them at.
As stated, I’m enjoying this series, and still new enough in my system that I’m completely willing to change things up as I hear good ideas.
I firmly agree/believe that things were done particular ways in the past for a reason, and not being born into our professions, we have to work a bit harder to learn how and why our predecessors arrived at the way of doing things, especially when that system was seen repeatedly, unchanged much, for centuries.
Keep it up!
PS. My grandson loves that English chest that I despise. I’m happy that he’s putting it to good use. Everyone is different.
I’ve really enjoyed this series of posts. For a guy who likes a lot of tools (yes, I have two smoothers) and a very small shop, I need a place for everything so I have a place to work. I also need to have everything accessible quickly, since I don’t have much time to work. Its a constant search for the perfect balance as I get new tools that I think I need, and try to bang out projects at a speed which keeps my wife happy. I have a long shelf at eye level for all my moulding planes, all my bench planes are on a shelf under my bench, along with a few commonly used saws in a rack. I also have a relatively small chest with bits, layout tools, a chisel roll, and a few other tools in it. My most commonly used layout tools (folding rule and marking awl) are stored on a shelf right in front of my face. I’ve found that each tool I need is easy to get when I need it, and they often hang out on my bench with the other tools until I’m done with them, then they’re easy to put away. Since none of my planes have metal bodies, they don’t rust, and I occasionally rub some wax on my saws. Other than that, all the rustable tools are closed in the chests, so I haven’t had a problem in my non-climate-controlled shed in Michigan.
Aside from the wisdom of guys who work in a similar way that I do, with similar tools, I really like to seek the wisdom of my old tools and tool chests. They are the way they are for a reason, and I’m not about to throw them aside and reinvent the wheel just because I can’t figure them out. I just keep listening to them, trying different methods, and looking at them from different perspectives. I appreciate what guys have to say who have the opportunity to do this more than I do, and take the time to write about it.
So thanks Chris, keep it coming!
Not to hijack this thread, but are the plans for that rolling cabinet still available? I know I’ve seen it in the magazine, but I can’t seem to find it with a search. (I need an outfeed table and something that does more than just being a table would be helpful!) 🙂
Chris, I started with a Kennedy toolbox over 30 years ago. Being a toolmaker that’s what I was familiar with and I wanted a new one for work. The old one I brought home served me fine for a few years while I developed my woodworking patterns. After a few years I decided to build a roll around cart out of wood. I’m not a fan of bending over so I have it sitting high. The lowest drawer sits about a foot off the floor. It’s a tall drawer for those big items that need the height. Above that sits drills, drill bits, augers and the like. About half way up is a large drawer for my planes. At the top are things like marking tools, squares, straight edges, chisels, things that fit in short drawers. Saws hang in a till on the wall. Nothing is French fitted but everything has it’s place and stuff doesn’t get banged up . I never have to search for anything and it’s easy to put things away so it gets done. It’s all enclosed so dust and rust are never a problem either. My roll around takes up more vertical space than your English chest but less horizontal space. I find it ideal for me. I have tried using a chest that I inherited but I don’t like it. I’d never criticize anyone by telling them that my way is better and their way is wrong. I think that’s the biggest difference between us as woodworkers. I agree with many of your preachings but I don’t agree with them all and I’m not about to tell you that you are wrong on them. It’s what works for the individual in my book. I like my roll around cart. It works great for me. You like your chest storage. I’m not going to tell you you’re wrong for liking that. Your method has its merits. So does mine. Maybe if I had a book for sale on the subject I’d be pimping roll arounds and dissing chests. Nah, I’m not like that.