We may receive a commission when you use our affiliate links. However, this does not impact our recommendations.
In this posting I will describe how my students shaped the mallet's head.
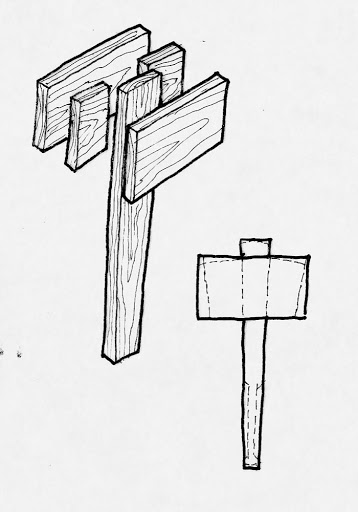
If you recall my last blog post, I described how we clamped the head's parts around the tapered handle. I designed the cut-list so that the head blank will intentionally be crafted larger before it gets trimmed and refined to its final shape. The reason is twofold.
1. Making the middle chicks longer helps us in clamping them flush with the handle.
2. Parts will never align perfectly when gluing.
Thus, cutting the parts bigger, gluing them together, and later shaping them to final form will ensure that our mallet head will look polished.
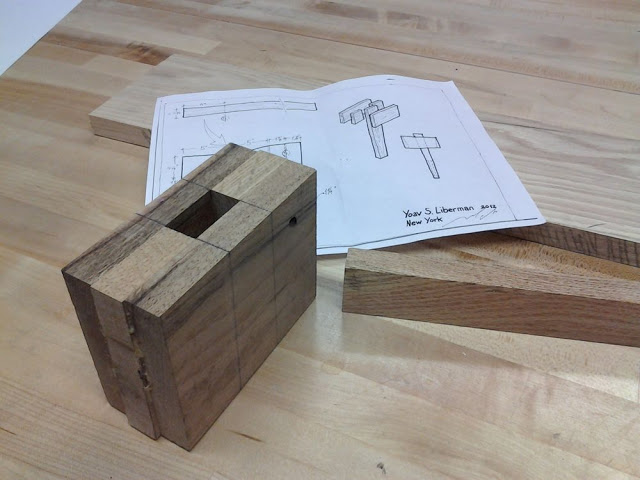
Here is one of the mallet blanks prior to final shaping.

The intended shape of the mallet head calls for a vaulted top and slanted sides.

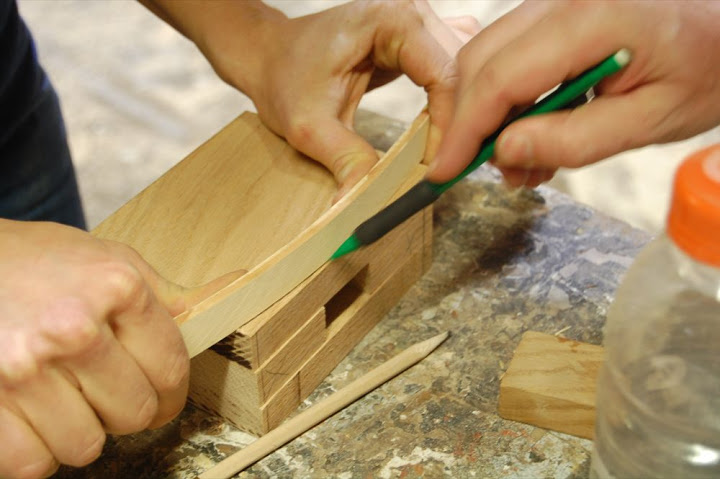
We start implementing the design by establishing a reference surface at the bottom of the mallet. This surface needs to be at a right angle to the axis of the head's mortise. We cut this lower surface on the band saw, then we plane it flat with our 4-1/2 Lie Nielsen plane. After this, we draw the two beveled faces with a sliding bevel and cut them on the band saw. We plane them flat with a low angle block plane. The last step is to mark and cut the vaulted top of the head. This part calls for a collaboration between two students: one holds a flexible piece of wood, bends it and places it on the head, then the other student traces the curve with a pencil.

After we cut the vault the mallet is almost ready to be used. All that is left is to sand the head and the handle, and break the sharp corners.
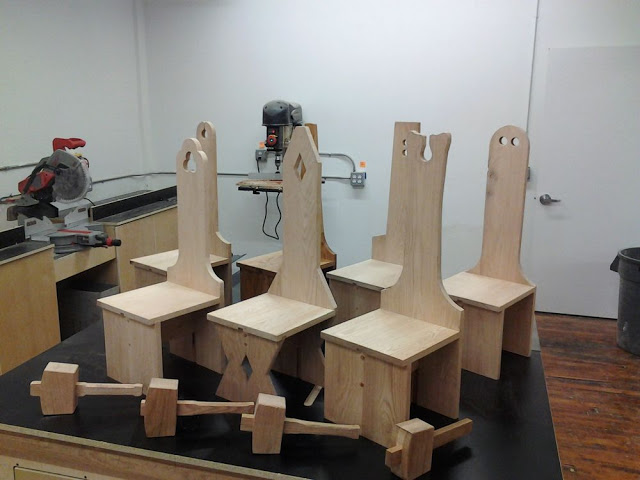
Here are some of our mallets and the class' final projects: the Shaker Step Stool.

Here are some supplies and tools we find essential in our everyday work around the shop. We may receive a commission from sales referred by our links; however, we have carefully selected these products for their usefulness and quality.


