We may receive a commission when you use our affiliate links. However, this does not impact our recommendations.
How do we teach design to a young student? Should we show him past "specimens" of good woodworking or furniture design, then use that new-found knowledge to inspire the student's next creation? Or, should we encourage him to pursue specific ingredients of sophisticated design such as novelty, high aesthetics, or even rebellion and de-constructivism? Another possibility to to simply let the student experiment and reach meaning in his work by himself. In the case of Alexi's project we really had to navigate carefully between all these important pedagogical approaches in order to reach a safe and worthy harbor. Here's the story… Alexi wanted to build a table. I remember that two years ago, while riding my bike in Cambridge, I saw a big dumpster on the side of Massachusetts Avenue. What drew my eyes were a group of long objects that, after getting closer to the dumpster, revealed themselves as staircase uprights; nice looking black balusters with new-classic motives. I did not know what kind of wood they were they made of or how old they were, but one thing I did know was that I did not want for them to end their lives in a land fill. For two years they stood idol in my studio and I had not yet envisioned a way to utilize them for them a project. When Alexi said he wanted to build a table I immediately remembered the balusters and knew that they had found their redeemer.
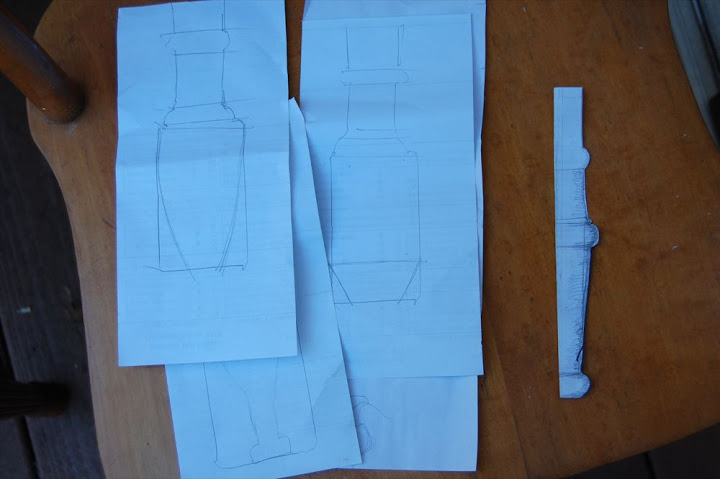
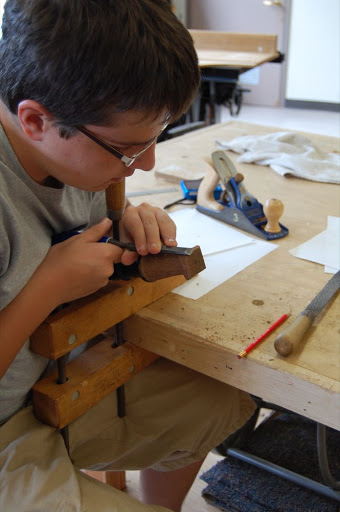
We decided that each of the four balusters would receive a different treatment and, in a more specific way, would get a unique footing. Why did we do that? Mainly to practice and experiment different shapes, proportions and carving techniques. Since all of the balusters are identical, I thought that a small alteration on each of the four would stand up and remind us of the importance of keeping our mind on the past and on rhythm, repetition, and tradition while at the same time allowing us to forge a new path. Alexi started with a series of drawings. Then he made a template for the first foot, planed the lower part of the baluster and laid out the design with a pencil. Planing the paint off the baluster revealed the wood, which was a great looking walnut – my favorite wood! He used a copping saw, rasps, and files to shape his first feet.
And the completed foot is seen in this picture…
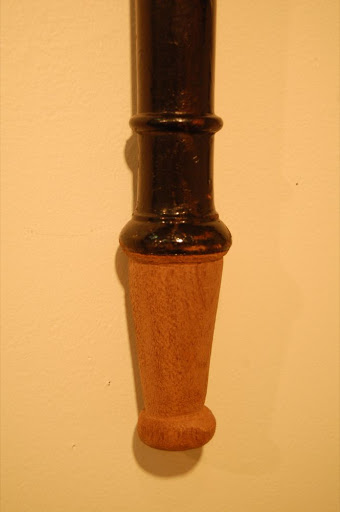
His second design was simpler, he shaped the feet with only flat planes, no round shapes at all.

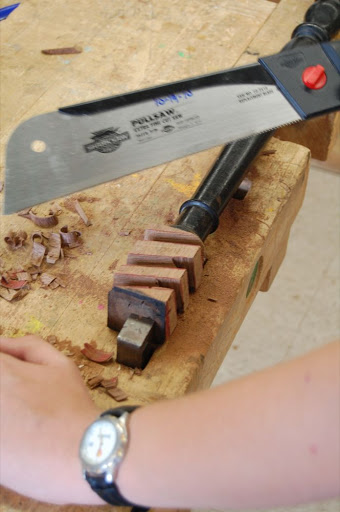
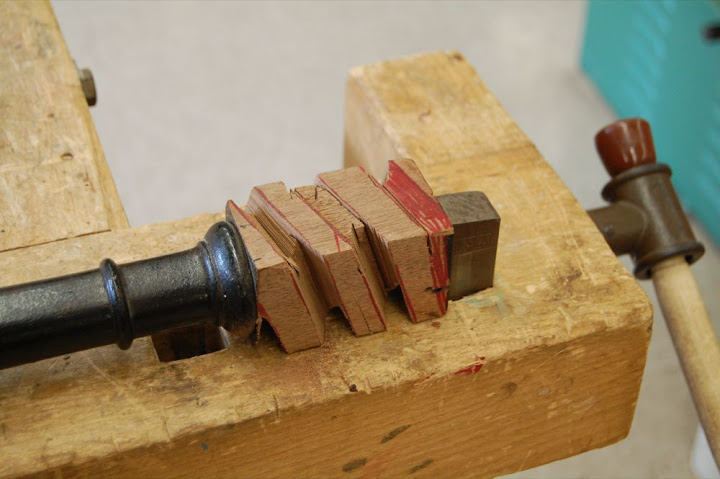
The third leg called for quite a lot of planning and some skilled execution with a saw and some files.

Here are some supplies and tools we find essential in our everyday work around the shop. We may receive a commission from sales referred by our links; however, we have carefully selected these products for their usefulness and quality.


