We may receive a commission when you use our affiliate links. However, this does not impact our recommendations.
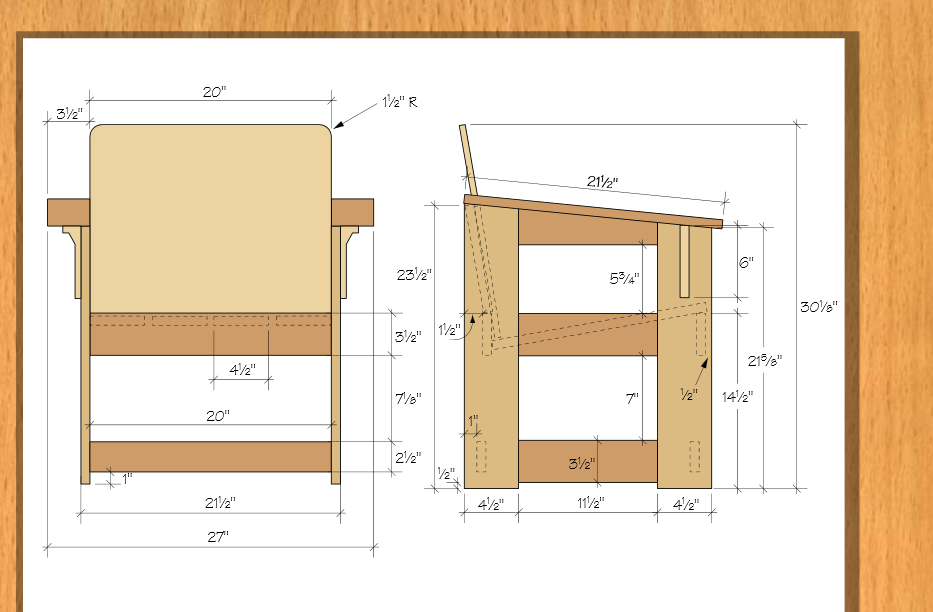
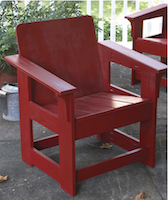
I’m taking a couple days off in the deep woods (way offline). During this break I thought I’d run one of our most popular “Woodworking Daily” posts of all time – the quick-start project plan for David Thiel’s Outdoor Limbert Chair. If you haven’t already started an Adirondack chair this spring, or if you want a different option for outdoor seating, you should be able to write your own cut list and build an outdoor chair directly from the instructions below. Enjoy the Arts & Crafts era inspiration!
Build an Outdoor Chair with this Quick-start Plan
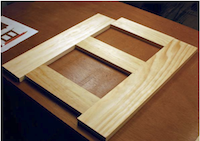
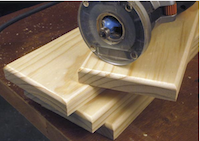
1. Cut parts for the 2 sides and align parts for pocket-screw assembly. Assemble the sides, then cut the top angle on each one.
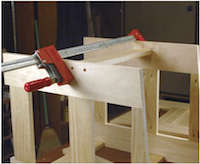
2. Screw the stretchers in place, connecting the 2 sides.
3. Fit the plywood back and align for screwing. Predrill holes and install back.
4. Cut, fit and install the seat slats. Hint: David used screws in back and pins in front.
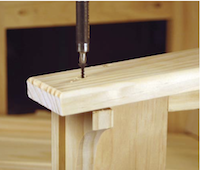
5. Add the arms and finishing touches, such as wood plugs. Paint the whole thing and you’re almost done!
6. Sit yourself down. Now you’re really done.
Step 6 is the most important. David tells me, “A pair of these chairs sits on my back porch with a small taboret table between them. It’s a wonderful place to sit and watch the sun come up (with coffee), or the moon come out (with wine).”
Note: the tools you need for this project are minimal. Always start by trying to use the tools you already own. If this is your very first woodworking project, check out our “I Can Do That” tool list.
Ready for more inspiration from the Arts & Crafts era, for cheap? “Arts & Crafts Inspiration” is on clearance in our store for around $9. Buy it and save!
–Dan Farnbach
Here are some supplies and tools we find essential in our everyday work around the shop. We may receive a commission from sales referred by our links; however, we have carefully selected these products for their usefulness and quality.


