We may receive a commission when you use our affiliate links. However, this does not impact our recommendations.
In the 15 years Dale Barnard has been making Greene & Greene furniture for clients, the style has experienced an explosion in popularity. Today woodworkers and informed furniture buyers recognize and love the look that Charles and Henry Greene pioneered, but Dale says that when he first spoke with a customer about it, “No one knew what this stuff was.”
Fortunately, the client did know. He paid for Dale’s first two trips to California to take measurements at Gamble House and Thorsen House – the epicenters of Greene & Greene furniture. At Thorsen House, Dale discovered a wall cabinet that would become one of the signature pieces that he teaches students to make. I spoke with Dale last week about the ins and outs of this cabinet. It’s now available as a project in our store, and there are some really interesting aspects to the build.
The Wall Cabinet – A Starting Point for Greene & Greene Furniture
What to know:
1. Dale has been teaching this project for 5 years in his Indiana classroom, so he can confidently say that it’s a very reasonable starting point for beginners.
2. It’s also terrific for woodworkers at more advanced stages, because it includes Dale’s stained glass work. Dale is well-known for his artistry with glass. Everyone can learn something new with this build.

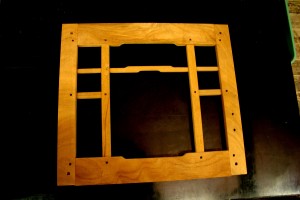
Greene & Greene furniture often features the “cloud lift” seen in the central pane of this cabinet door.
3. The design is based on a larger (horizontally longer) cabinet at Thorsen House. As such, you can modify the design and easily maintain its authenticity. The key, says Dale, is to make sure you extend the cabinet horizontally more than vertically. One way to do that is by making a door like the one at left, with a double cloud lift in the center and symmetrical right and left panels.
4. You can also modify the depth of the cabinet. Just be aware that the top is cut from one solid piece of wood, and is quite wide – so make sure you have a suitable piece of lumber.
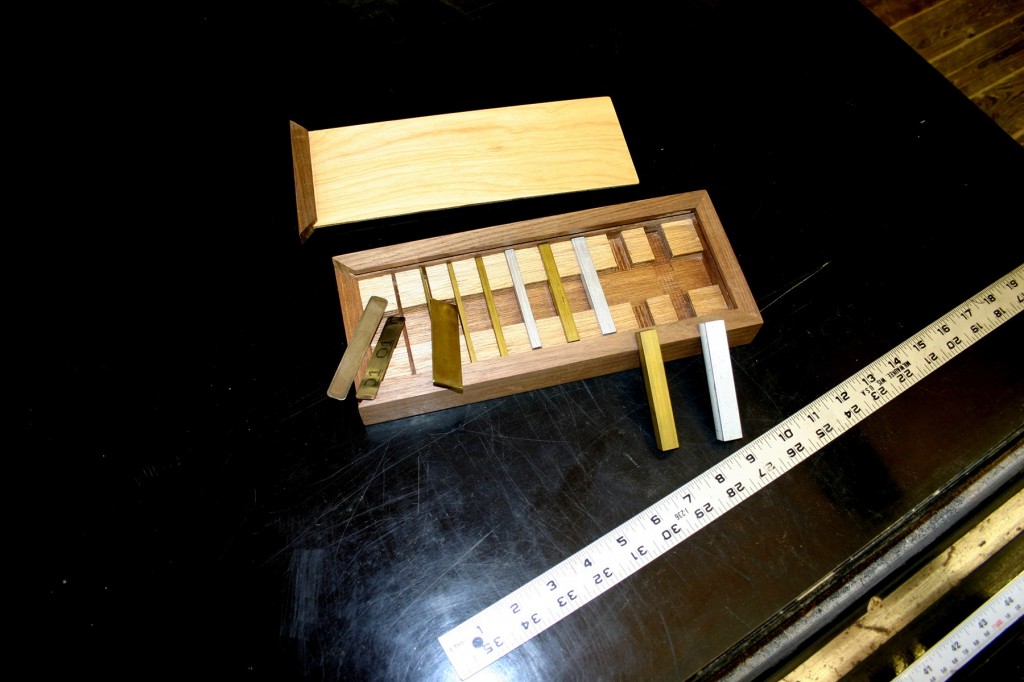
5. Gauge blocks will come in handy for completing the work. There are a number of 1/8-inch offsets throughout the project. Ever tried to measure 1/8 of an inch repeatedly, using only a tape measure or ruler? It gets somewhat tedious. Dale recommends a set of brass gauge blocks like the one in the photo below.

Dale Barnard recommends a set of brass gauge blocks for completing Greene & Greene furniture projects.
By the time Dale visited Thorsen House, it had been converted to a college fraternity. We are lucky that such beautiful furniture has survived for our enjoyment today! Buy yourself a copy of the new DVD, and get started.
–Dan Farnbach
Here are some supplies and tools we find essential in our everyday work around the shop. We may receive a commission from sales referred by our links; however, we have carefully selected these products for their usefulness and quality.


Hi Dan
Please can you tell me your experience with the Veritas spokeshave you purchased?
Thanks