We may receive a commission when you use our affiliate links. However, this does not impact our recommendations.
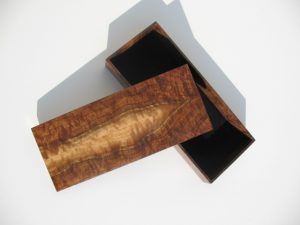 The editors were meeting recently to plan articles for future issues and it was decided that each of us would contribute to an article by sharing a favorite box we’d made or will make. I had just the candidate, a rectangular box I made several years ago from a spectacular piece of walnut I’d been saving for just the right project. By the time we’d concluded our discussions my contribution to the article got switched up because, as the turner in our group, I can contribute a turned, lidded box and that will add some nice variety to the article.
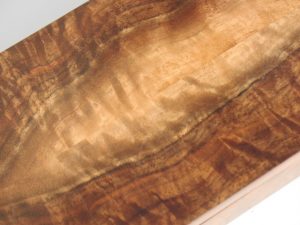
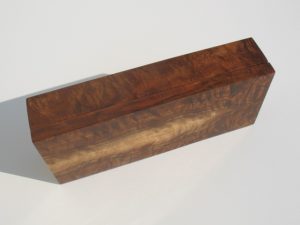
So, I wanted to share my walnut box with you here since you won’t find it in the magazine. As you can see, it’s simple enough. My objective with the project was to showcase the swirling, colorful walnut grain. And the best way to achieve this was to carefully resaw my single piece of air-dried 4/4 walnut that was only about 18″ long and maybe 6″ wide. I then edge glued the resawn stock to make a bookmatched panel that features a small amount of sap wood right in the center of what would become the box’s top. 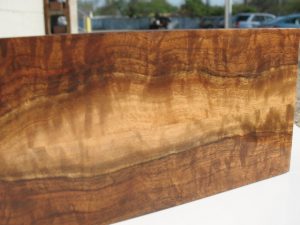
Next I did some very careful table saw cutting on the panel so that each of the box’s sides and ends would be a “waterfall” continuation of top. This is especially easy to see on the ends because of the cascading bookmatch. To retain the careful grain matching all the joints are miters. The only exception is the bottom, which was let into the sides with a rabbet. The four side pieces were glued up first using a band clamp and light pressure so as not to distort the thin, 1/4″ sides. When this was dry, I lightly clamped the mitered top and rabetted bottom. When this was dry I had a complete six sided box– with no top. To make the top, I cut the box on all four edges to separate the top from the bottom.
Of course, the technique of separating a top like this allows no way to keep the top in position on the bottom. To keep the top where it belongs, I “lined” two interior sides of the top with thin strips of curly maple. The maple simply projects down an extra 1/4″ into the lower section. The box is finished with numerous coats of blond shellac. Because the bottom was not a matching piece of walnut, I flocked it, covering it up while adding a nice, elegant feature to the interior. 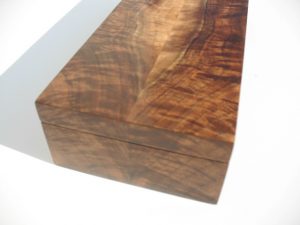
I’ve always liked the box. It very much expresses my kind of woodworking – creating objects with little or no ornamentation to distract from the star of the show, the wood itself.
And lastly, if you have a favorite box you’d like to show off and share with other woodworkers you can post photos of your work on our Popular Woodworking Magazine facebook page (facebook.com/popularwoodworking).
If you like building small boxes our online store has several products that may interest you. Check out “Box by Box” by Jim Stack, or “Box Builders Handbook” by A. J. Hamler. Or if you have a large appetite for making wood boxes, we CD called “Box Making Bonanza“that includes box projects from three separate books by Jim Stack and Doug Stowe.
Here are some supplies and tools we find essential in our everyday work around the shop. We may receive a commission from sales referred by our links; however, we have carefully selected these products for their usefulness and quality.




Bueatiful box. Thanks. I was wondering though, is there an end grain to long grain connection between the sides and the ends of the box? If there is, it looks like they have held together well. Did you reinforce them?
Gary
You took an incredible piece of wood, and used it to completely wrap itself into a very nice box, thanks for sharing.