We may receive a commission when you use our affiliate links. However, this does not impact our recommendations.
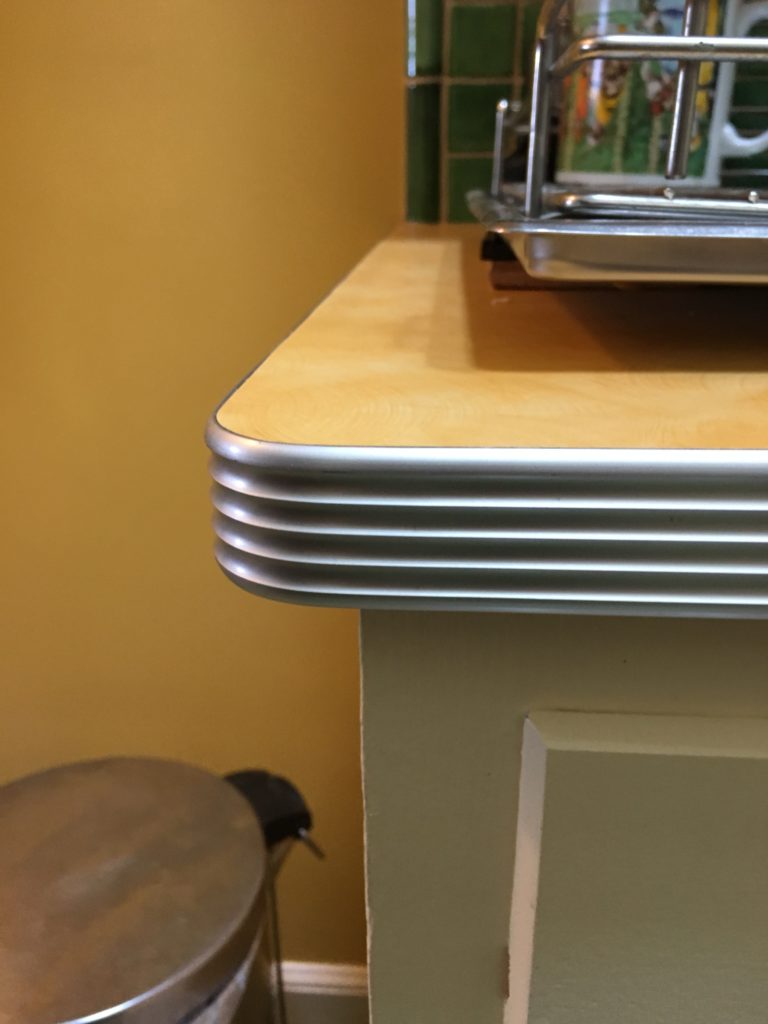
A smooth radius on a kitchen counter in the home of one of my clients. This counter is covered with laminate, not linoleum, but you can get the same basic look (at least where the corner’s concerned) with linoleum. (Please note: The cabinet visible here is original to the 1940s house. My clients hired me to tune up the original cabinets, add a few new ones that would match them, and install retro counters.)
This is the third and last post in a series about making linoleum counters and table tops.
Let’s talk about corners.
I find corners, whether square or rounded, the most challenging part of making a linoleum topped counter or table. When you’re working with metal edging, measurements have to be ultra-precise, and bending the material can be a challenge. Here are some tips.
Square corners are sharp — never more so than when metal edging is involved. If you have small children or are making a top for a confined space, sharp edges may be inadvisable. On the other hand, square corners are the easiest to pull off; simply miter the material and apply it.
Measure as you would for any edging. Mark the miter with a soft pencil and cut with a hacksaw in a miter box.
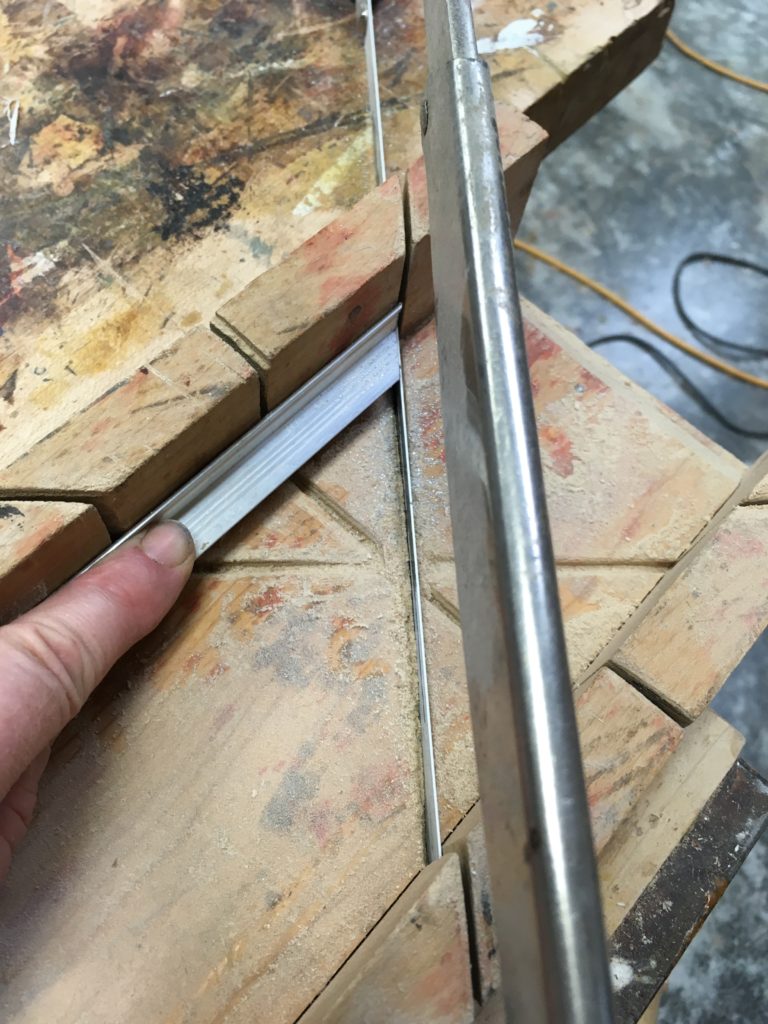
Cut the edging as you would any moulding. I hold it firmly against the back of my old miter box and cut with a hacksaw.
Once you’ve made the miter cuts, remove the burr with a fine file and check the fit. When the fit is good, cut the other end to length and install: Start at the mitered end. It’s helpful to run in a screw (see my last post) somewhere near the corner — say, an inch or so away from the corner on each piece of metal edging, to keep the miter tight while you tap the rest of the piece home.
Alternatively, you can miter the edging on a chopsaw or tablesaw, using a fine tooth blade. Just be aware that if you have a SawStop aluminum will activate the safety switch. (Please don’t ask how I know this.)
Rounded corners are likely to cause fewer bruised hips or bloody noses in tight spaces, but bending the edge material is a challenge. Begin by cutting the radius on your work piece. I like to do this at the bare substrate stage, using a 1/4″ or 1/2″ plywood pattern and a pattern-cutting router bit; that way I can trim the linoleum to the necessary radius at the same time as I’m trimming it along the rest of the work piece.
After cutting the radius, form the slot along the entire length of the work piece, as described in Part 2 of my series.
Now comes the slightly tricky part – which, like most tricky things, is incredibly satisfying when you get it right. The section of moulding that will go around the radiused corner needs to have its barbed tongue notched in order to bend. The first step here is to mark the area that needs to be notched.
Lay your length of metal edging roughly in place on your work piece to determine where the radius will fall along its length. If you have just one curve — say an outside corner — you can measure from one end of the edging.
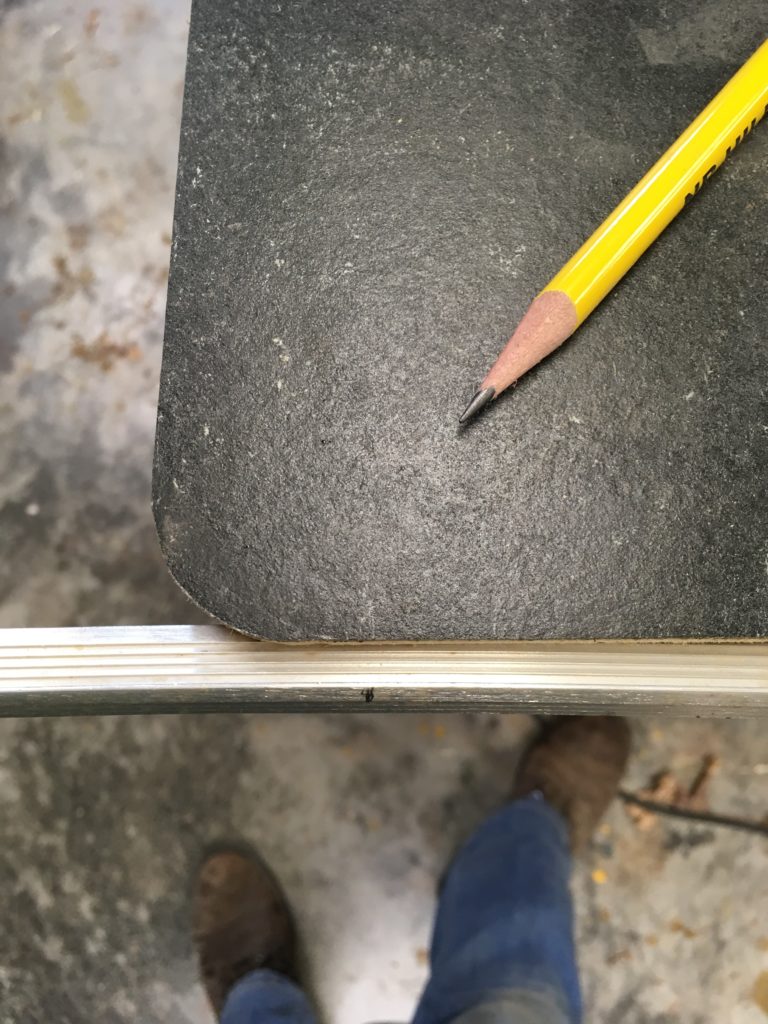
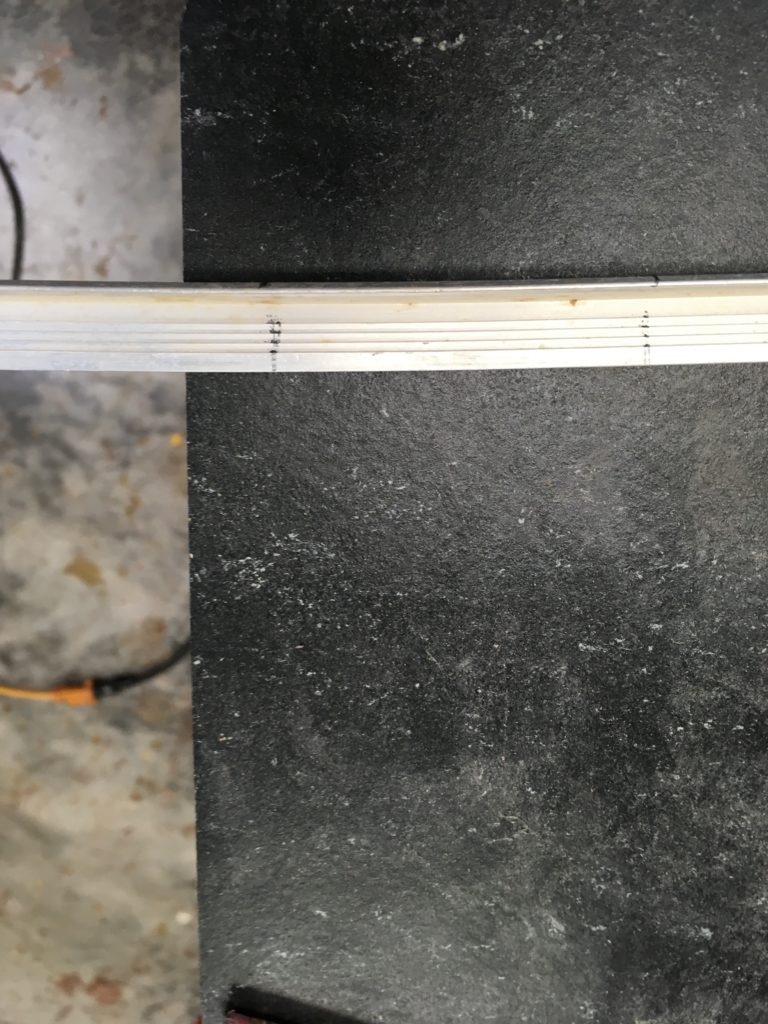
The metal edging is just barely inserted into the slot so that I can mark the approximate location where the radius starts. It’s a good idea to go a little farther away from the radius than strictly necessary, to make sure you notch enough of the tongue to let the moulding bend smoothly around the curve. You can see the pencil mark I made to mark the right end of the radiused section at the front face of the metal edging here.
Be sure to go a little way past the actual radius; it’s better to notch a bit more than to notch too little. Mark the metal edging at this point, as in the image above.
Now you can measure the distance of the section that will be bent by simply using a tape. I start at the 1″ mark for accuracy.
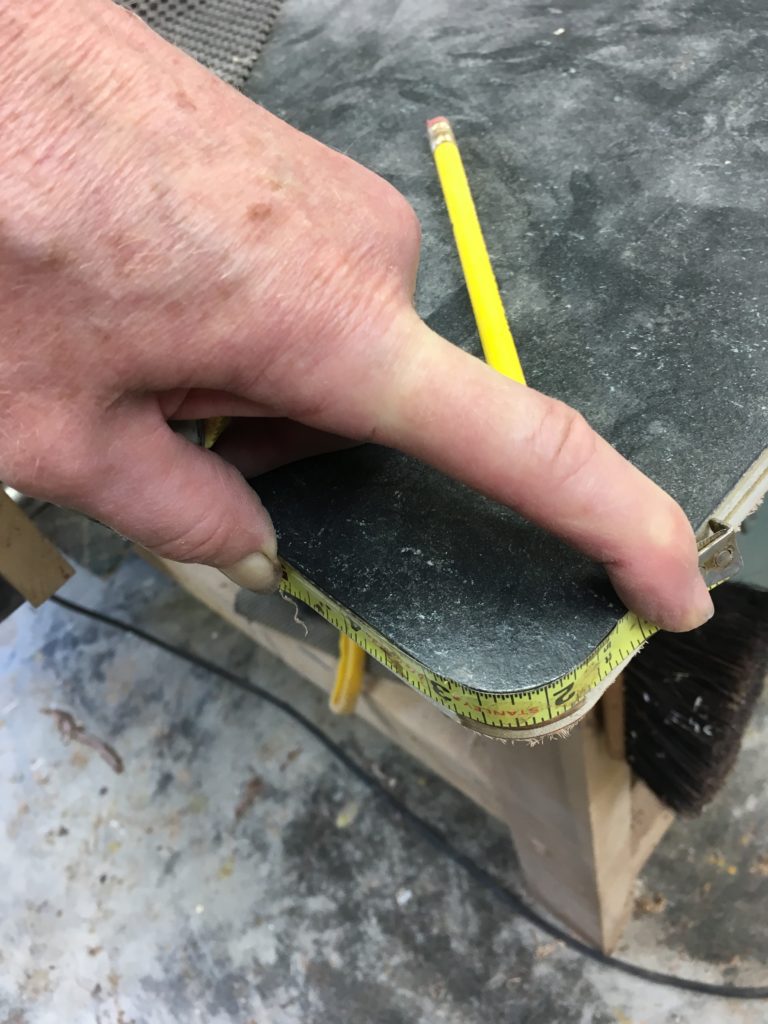
Transfer the measurement onto the metal edging, as shown below:
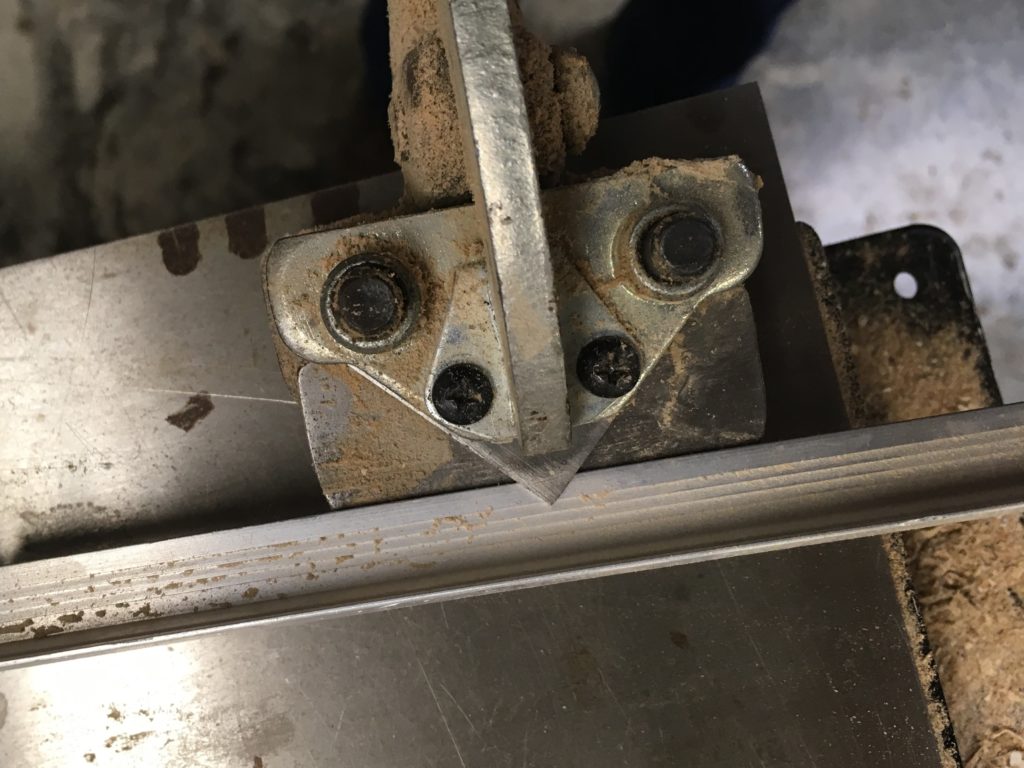
There are a couple of ways you can do the notching. The simplest uses a special notching tool, though the tool itself is not inexpensive. It takes a good bit of hand strength to notch the thicker parts of the metal, so I usually start small and nibble my way up.
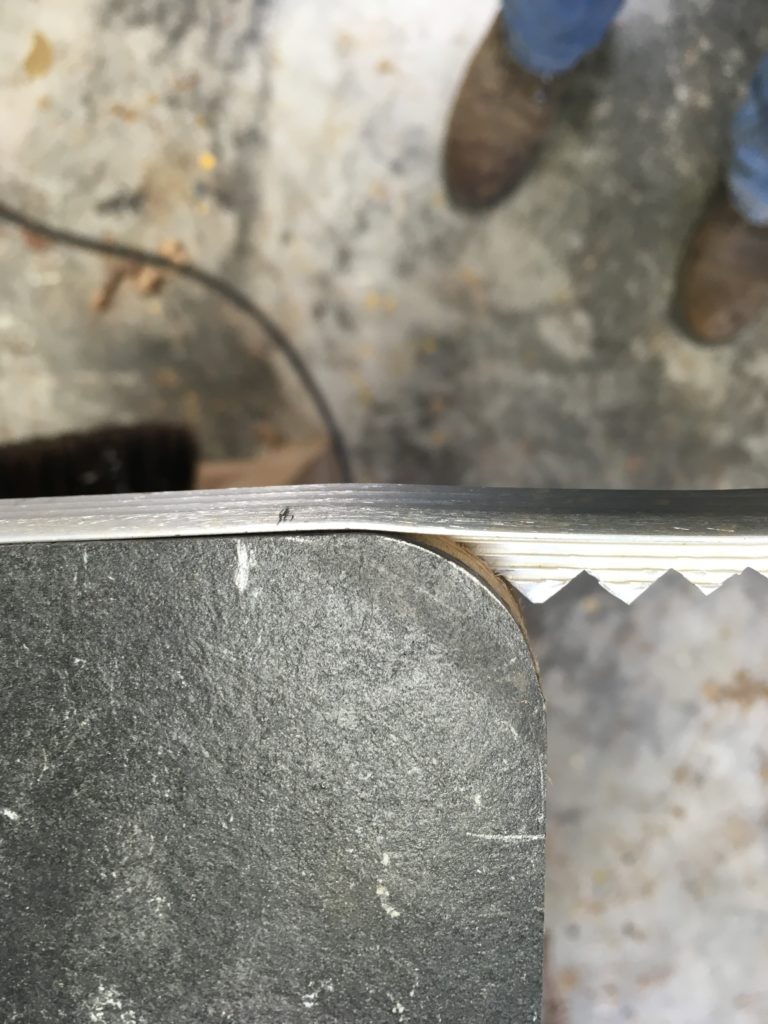
Alternatively you can cut notches with a hacksaw. You need to notch the material sufficiently to allow it to bend. The following image gives a sense of the depth and frequency of notches necessary for a tight radius such as the one on this work piece.
Note: You must work carefully with the material, or you may kink it.
Once you have notched the area for the radius, begin applying the metal edging at one end and gently ease it around the curve, working in one direction and making sure you’ve got it fully inserted and tight to the radius before you move forward. You can use a rubber mallet to gently bend the top of the edging inward to hug the curve.
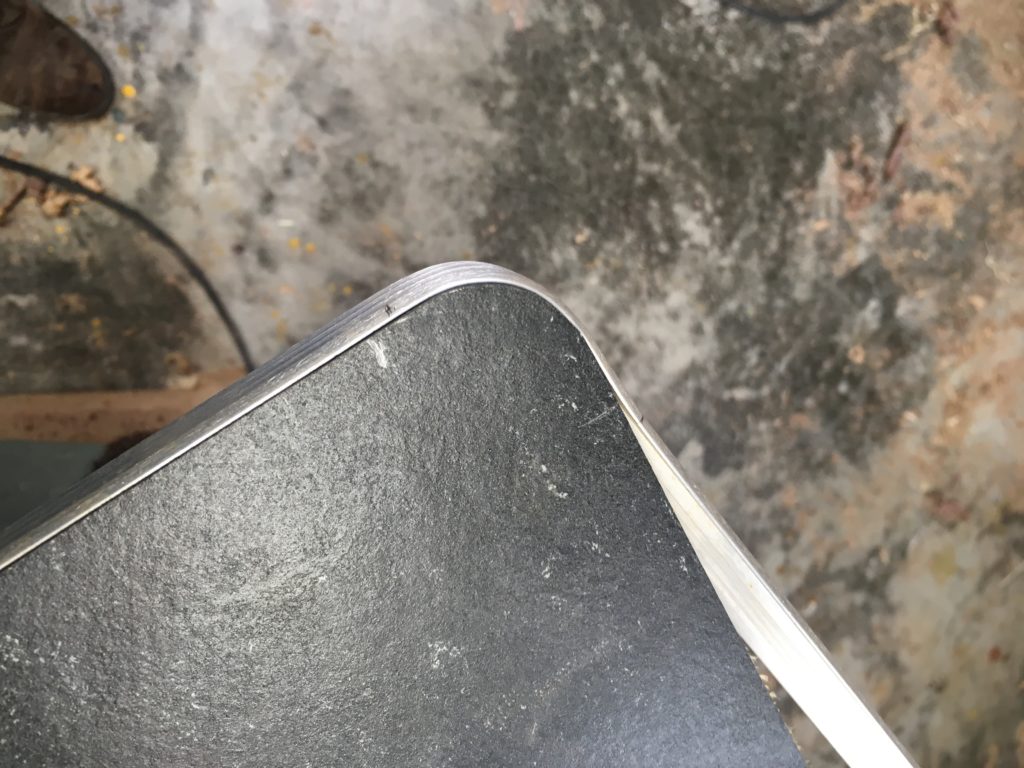
Around the bend
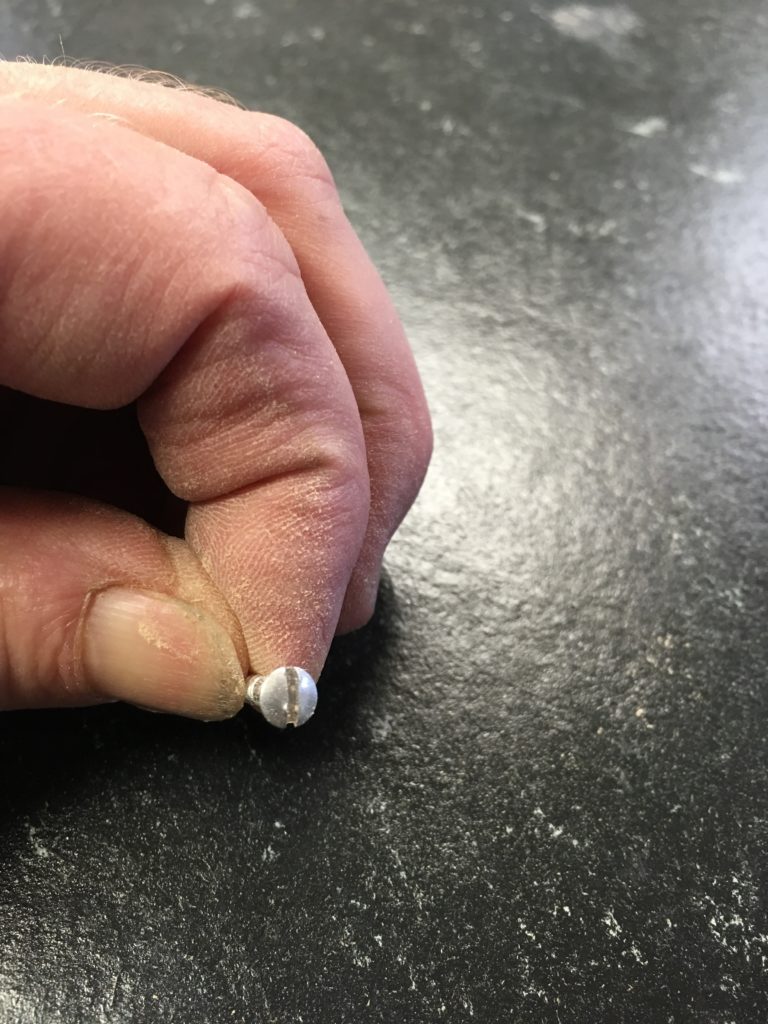
Don’t forget to insert oval head, slotted aluminum screws for a practical finishing touch. (There’s nothing like finding the hair on your fingers magnified for all the world to see.)
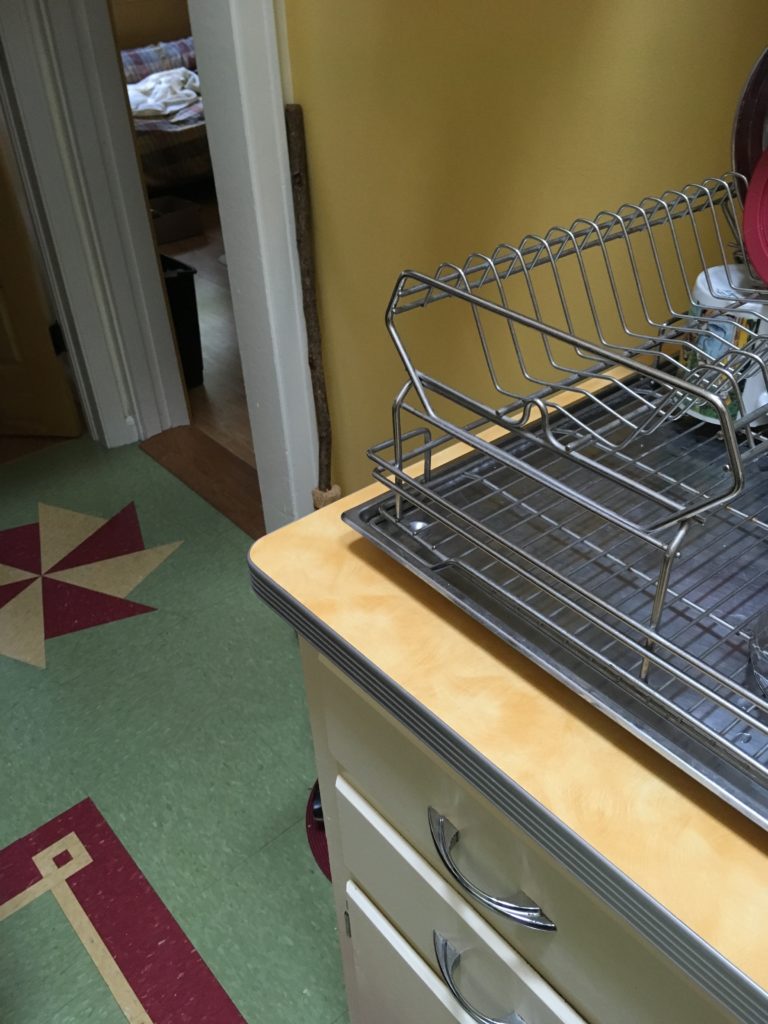
Another view of a finished counter with radiused corner. The clients did the work on the floor themselves; the material is vinyl composition tile, a commercial grade product available in 12″ squares.
Here are some supplies and tools we find essential in our everyday work around the shop. We may receive a commission from sales referred by our links; however, we have carefully selected these products for their usefulness and quality.


That’s great work, Nancy. Getting the details of that look just right is hard to achieve.
“Just be aware that if you have a SawStop aluminum will activate the safety switch. (Please don’t ask how I know this.)”
I presume your pocketbook bled a little?
Just be aware that if you have a SawStop aluminum will activate the safety switch. (Please don’t ask how I know this.)