We may receive a commission when you use our affiliate links. However, this does not impact our recommendations.
 When dealing with round tenons, you have an important choice about their shape. Should they be tapered (like a cylindrical cone)? Or straight (like a dowel)?
The engineering answer seems obvious: use a tapered tenon. This form of joint gets tighter the more you use it, like a Morse taper on a lathe or a drill press’s chuck.
But the historical answer is more complicated than that.
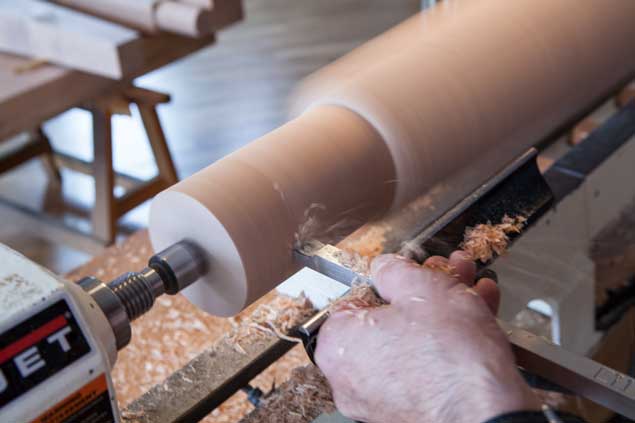
When you look at a lot of old furniture, you are more likely to see straight tenons than tapered ones. Why? I suspect the answer has to do with tooling. To make a straight mortise and tenon all you need is a hole-making tool (auger, drill etc.). And some way to make the straight tenon – a lathe, knife, drawknife, hollow auger.
To make a tapered mortise-and-tenon joint you need a drill, plus at least one reamer to make the mortise the correct shape. You might need more than one reamer if you do small-scale work and large-scale work. To make the tapered tenon you can use a lathe, knife or drawknife. But it takes more skill because you have to match the size and shape of the reamed mortise.
Historically, both forms of the joint survive. So you can get away with using either joint and have justification from the historical record.
But I’d like to lay out a practical approach about which to choose based on my experience.
I’ve built a lot of chairs, tables and stools with both forms of joints. When designing the joint I decide what shape the tenon should be based on the diameter of the joint. Small joints, about 1” in diameter or a little smaller, are easy to taper. The reamer required for this sort of job is inexpensive (I use the Lee Valley standard reamers) and – this is important – they don’t require much effort to use.
Once you get into larger-diameter tenons (2” to 3” in diameter) you need to make your own reamers (here’s a good plan you can follow). I don’t know of any large-scale reamers that are affordable for woodworking. So when I do large-scale work I use straight tenons and straight mortises. And I wedge the bloody heck out of them to ensure they will stay in place.
I also make sure that the annular rings in the tenon are perpendicular to the wedge I’m using. There is more wood movement along the annular rings, so wedging against the rings adds pressure if the tenon tries to shrink during the dry season.
And – no matter what shape the joint is – I go for an accurate fit. The tenon should stick in the mortise no matter what shape the are.
— Christopher Schwarz
If you’d like to learn more about tapered joints, see my video “No-Fear Chairmaking” from ShopWoodworking.com.
Here are some supplies and tools we find essential in our everyday work around the shop. We may receive a commission from sales referred by our links; however, we have carefully selected these products for their usefulness and quality.


I always been a bit confused on this: Does one use a reamer in order to give space on the back side of the mortise to make room to expand the wedged tenon? For example in the top of a Windsor chair seat. This is what is pictured in the Lee Valley link.
Or does the tapered tenon go into a tapered mortise as you seem to imply when you say “the joint gets tighter as you use it”?
Chris this is an interesting to me. I have just started using the spoke pointe, hollow auger, center-bit method. First repaired a stool using dry birch dowing without issues. Then I built a decorative display ladder for my wife’s fibre art out of fresh harvested bich saplings. Hence working green wood. I had a problem, the tennon’s were stringy. Does this mean I got too close to the pith? I will need to do some experiments.