We may receive a commission when you use our affiliate links. However, this does not impact our recommendations.
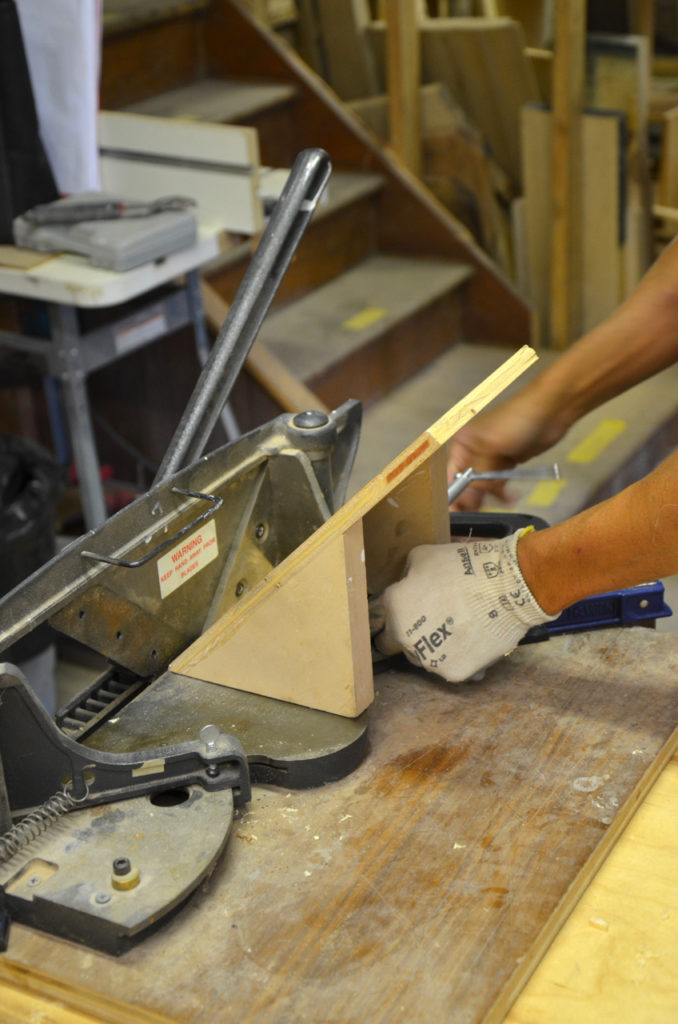
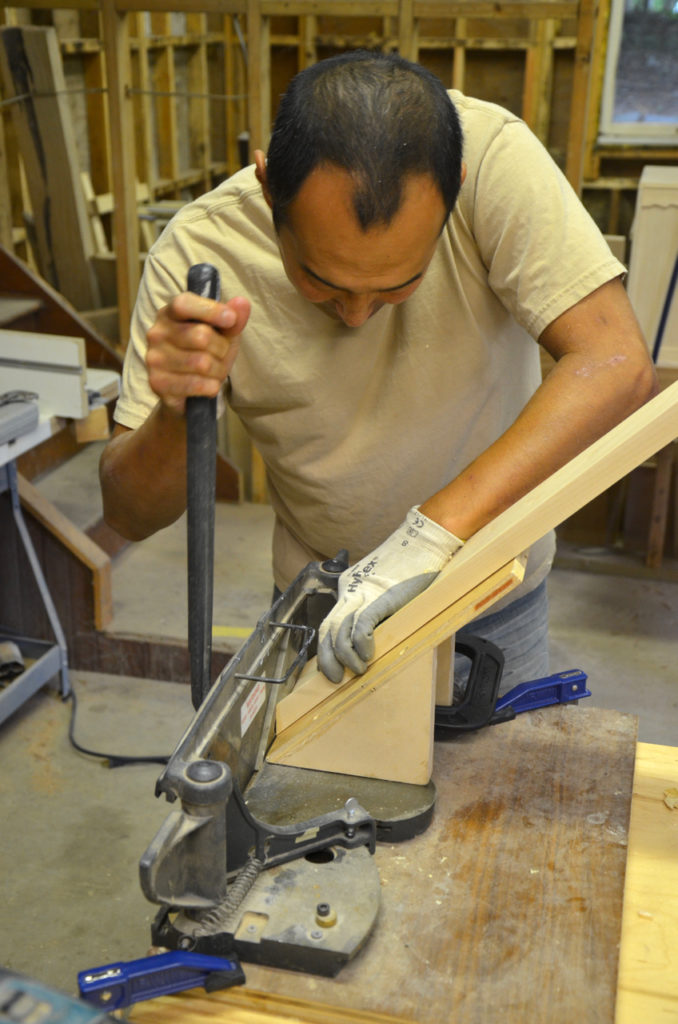
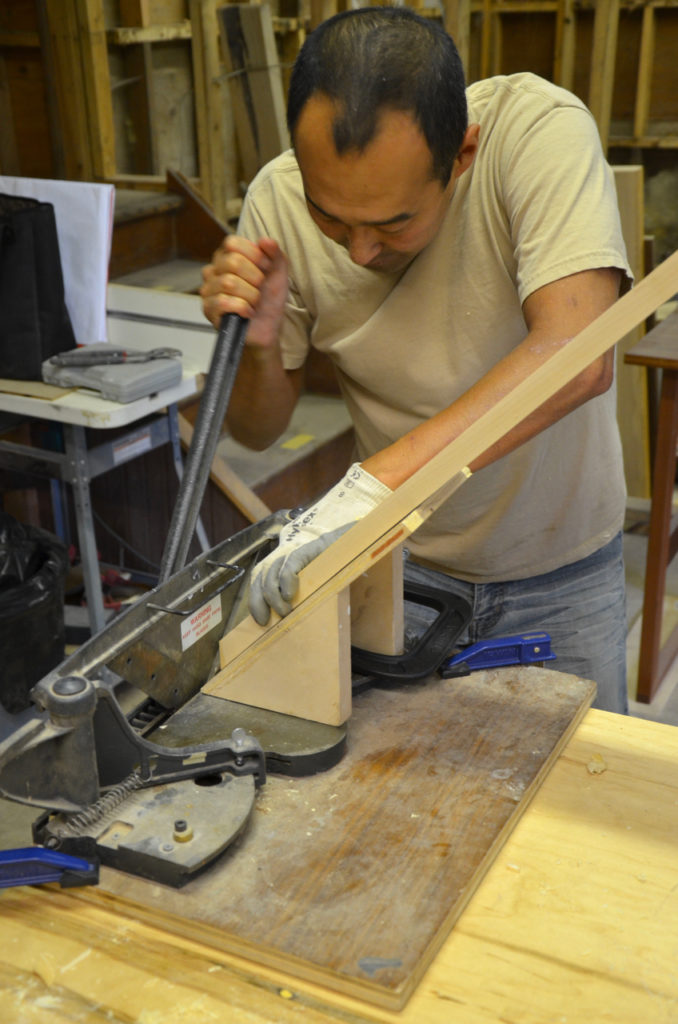
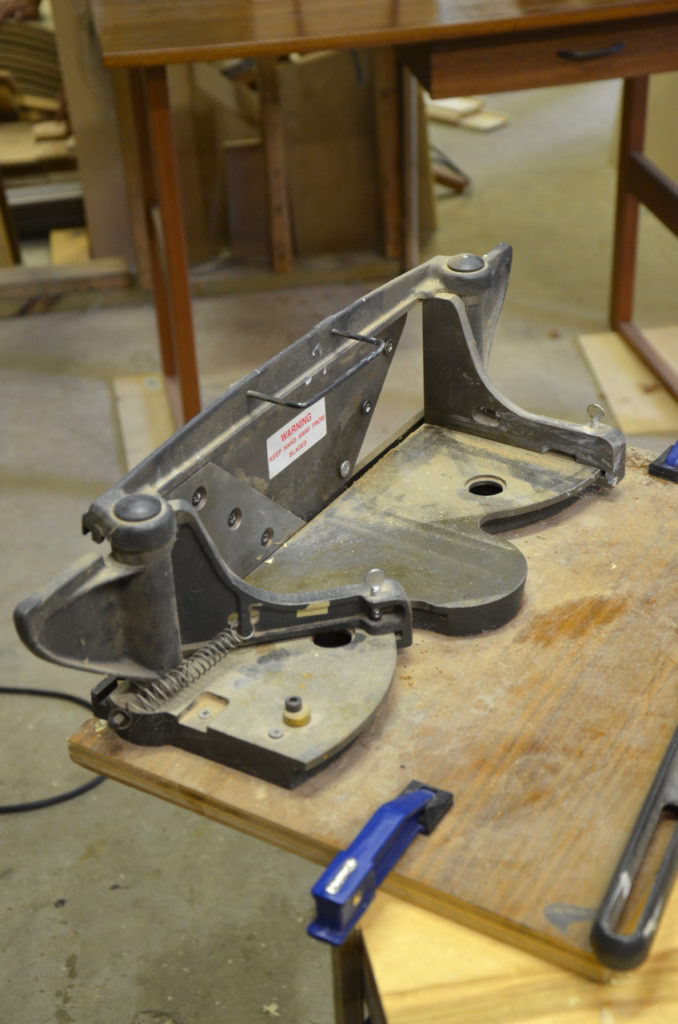 Although Takuji owns a miter saw but he likes to use a miter trimmer for the final adjustment of his miters. He uses a two blade mitering trimmer which, if placed in the conventional (manufacturer recommended) position, enables him to process workpieces up to 4” or so wide. But he is also able to slice away much wider parts once his homemade mitering ramp is deployed. He built this ramp from plywood and clamps it to the bed of the mitering trimmer.
Another mitering trick that I learned from Takuji is to wet the end grain of the miter with water before severing their fibers. This softens the fiber and makes the slicing operation effortless. The softer fibers will extend the time between sharpening – the blades are extremely heavy and difficult to sharpen.
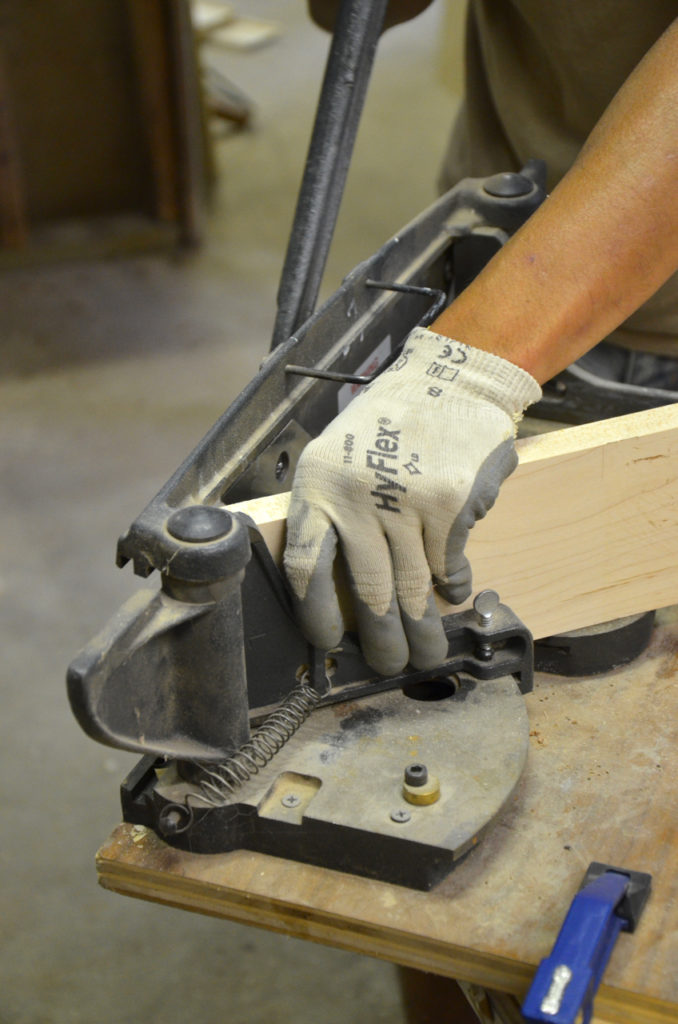
This is the traditional way in which a mitering trimmer is used. The workpiece is held upright.
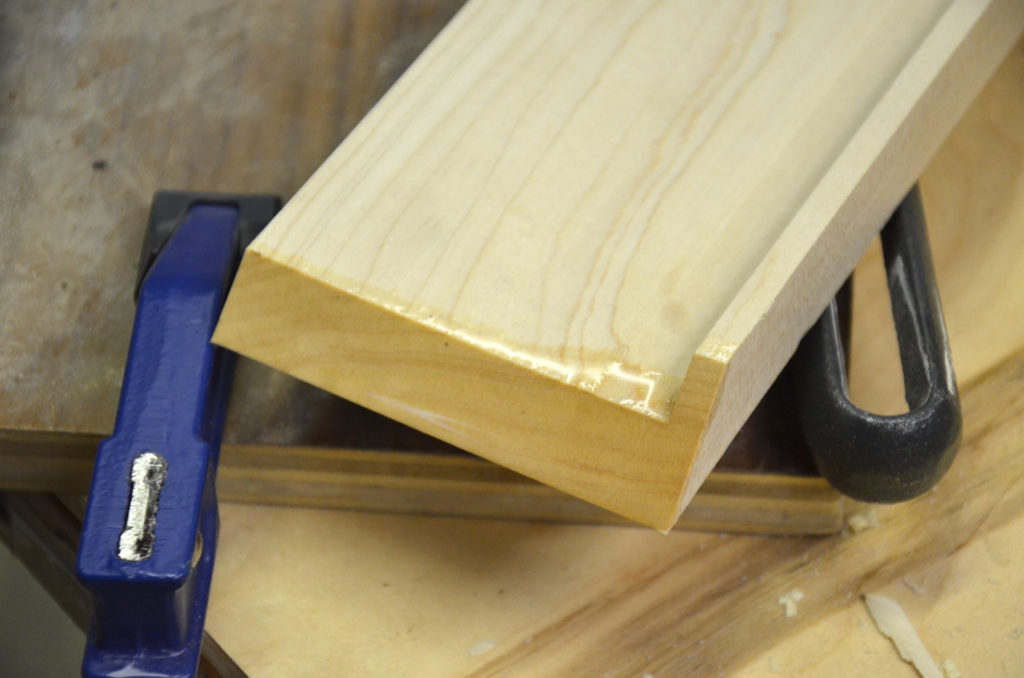
By wetting the end-grain with water the blades are able to slice the wood faster and with less resistance.
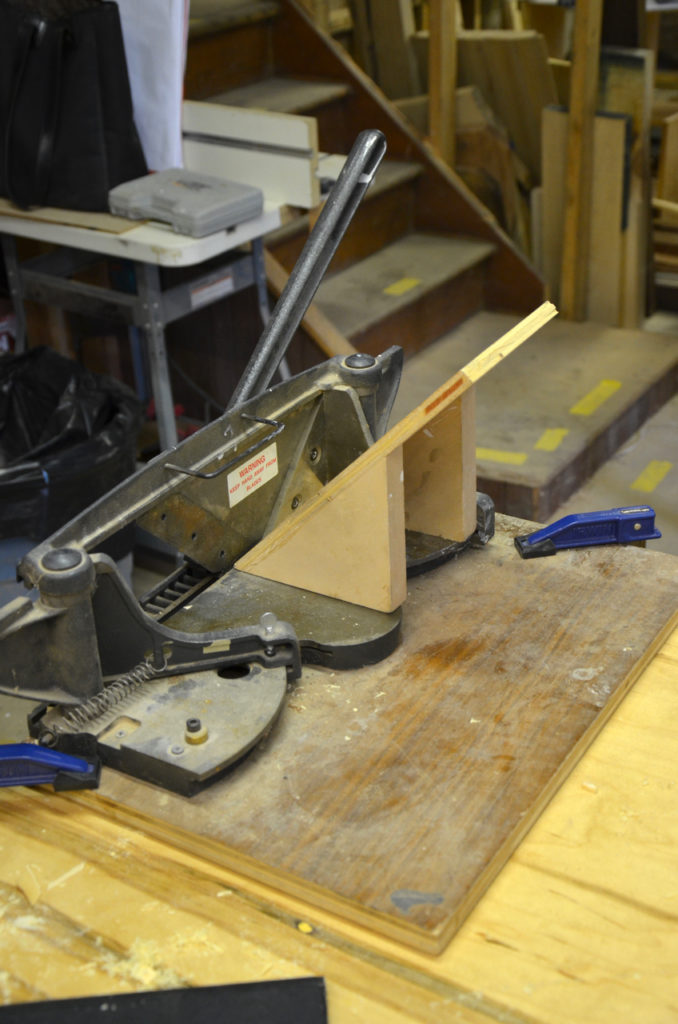
After clamping his homemade mitering ramp Takuji is able to miter much wider parts.
We have an identical mitering trimmer in our woodworking program, which I find very handy for trimming accurate miters in boxes and frame making projects. Recently after a mischievous student tested the resiliency of the blades over a hard lead pencil, the blade got nicked. When I dismounted the blade for sharpening I found out that it is made of two pieces of metal laminated together: hard steel for the cutting edge and softer steel to support it and for adding mass. It wasn’t that easy to sharpen the blades but with a steady hand on a diamond plate, I was able to do it.
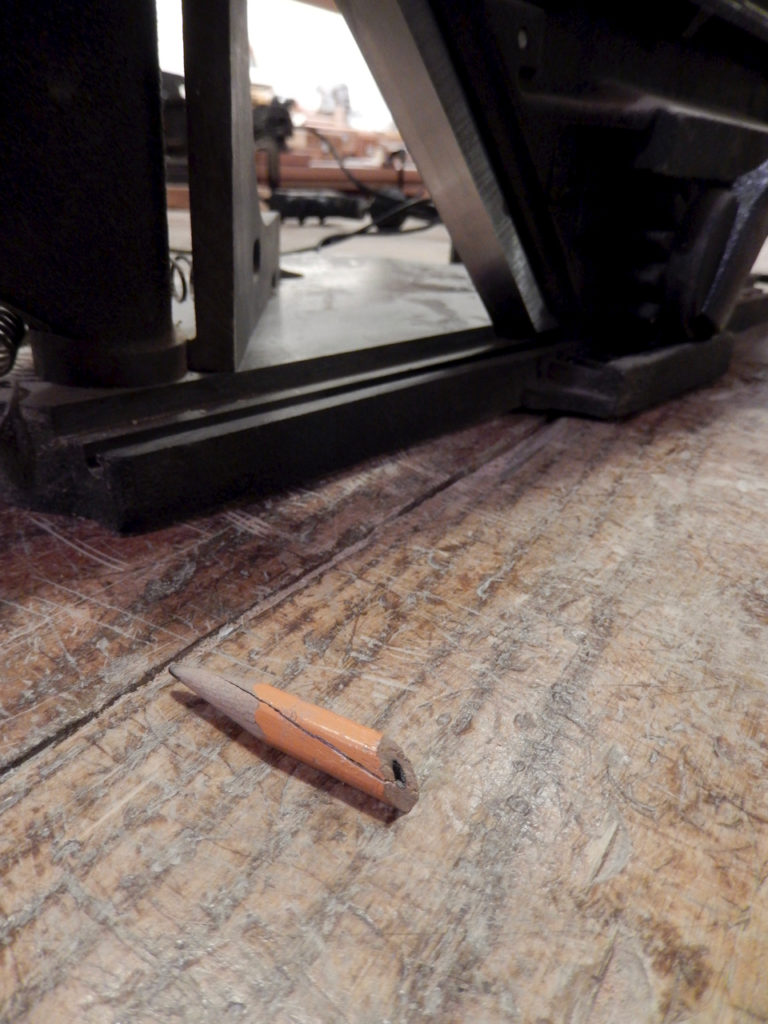
A mischievous student makes his teacher’s life “interesting.”


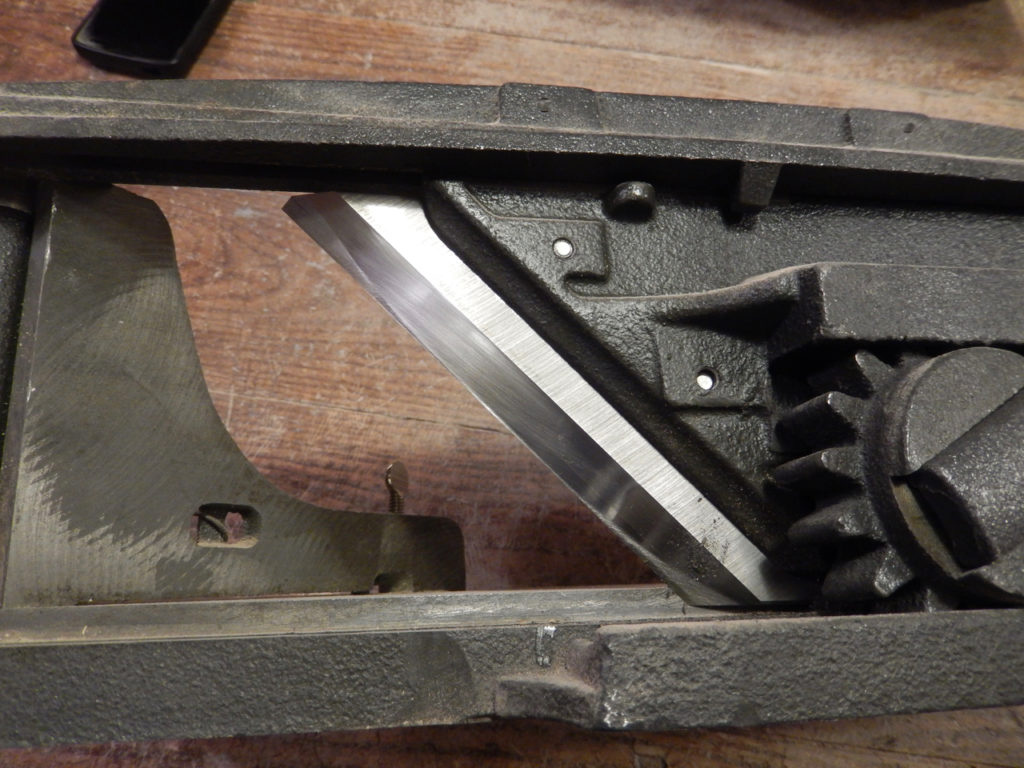
Our mitering trimmer is back in business.
– Yoav Liberman
Here are some supplies and tools we find essential in our everyday work around the shop. We may receive a commission from sales referred by our links; however, we have carefully selected these products for their usefulness and quality.


Thanks for the reminder about wetting the end grain.