We may receive a commission when you use our affiliate links. However, this does not impact our recommendations.
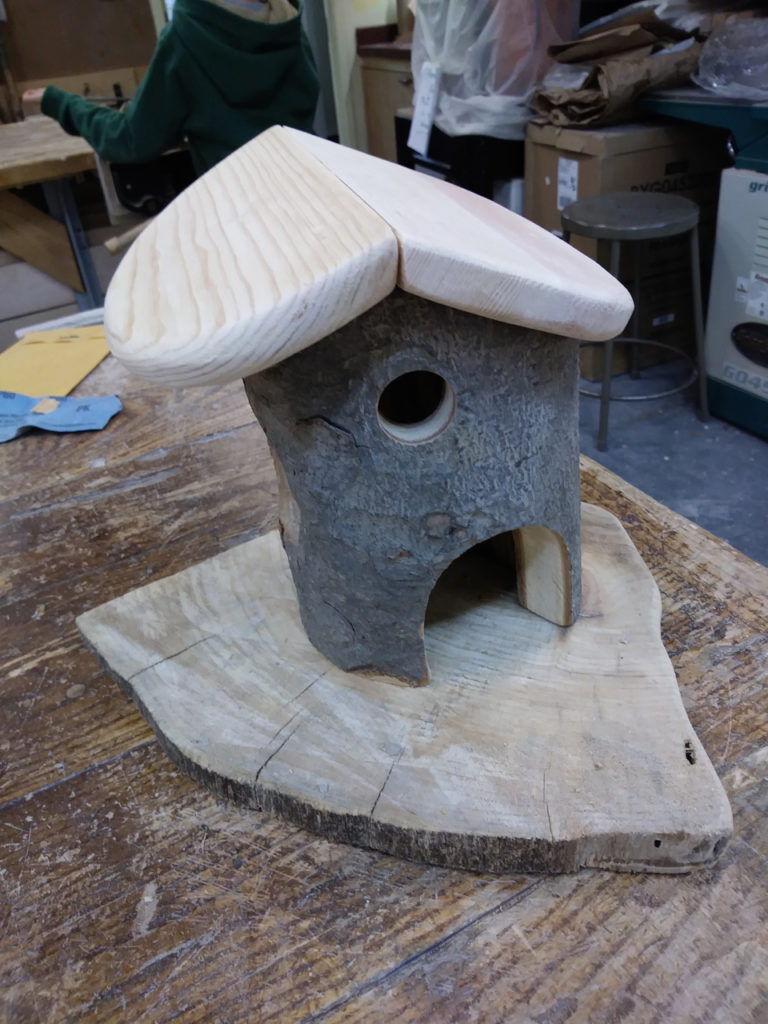
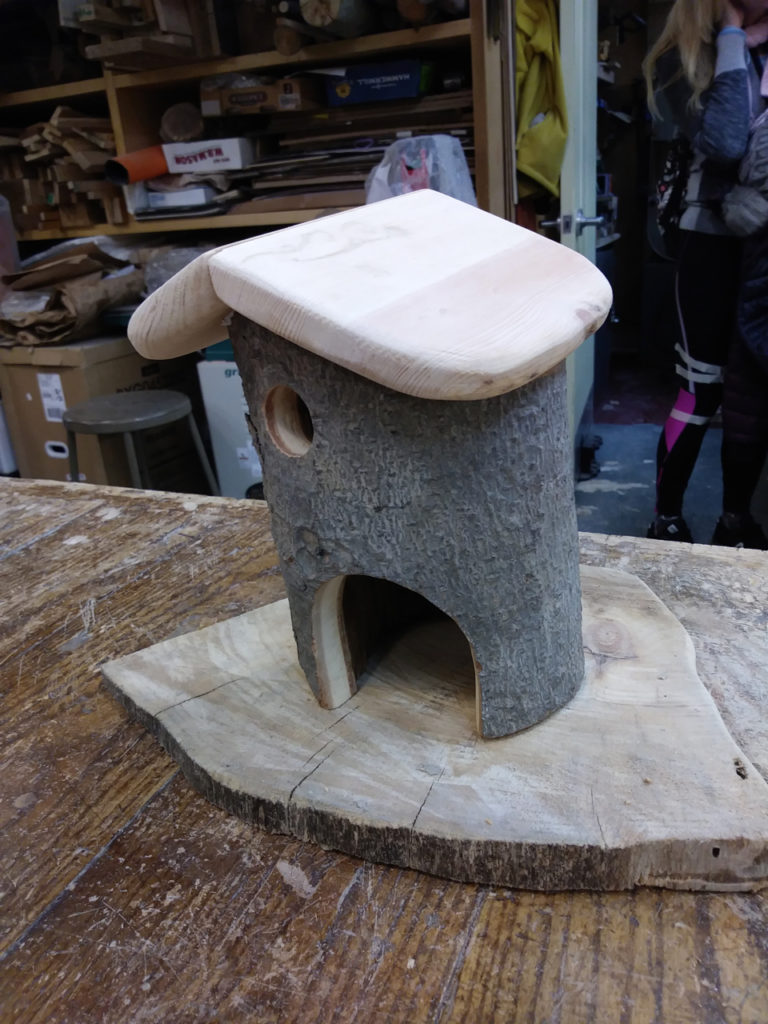
 When our School’s Fall fair is over, we have the opportunity to pick up some of the leftover forest decor materials and store them for future use in our Manhattan-based woodshop. One find from past years’ Fall Fair was a hollow branch of about 8 inches in diameter. A week after the Fair ended, a volunteer parent mentioned to me that she wanted to build a Gnome house for her son as a surprise holiday gift. Since we never built such a delightful project, I said that it would be worthwhile to take it on – plus I thought this could be a great prototype to learn from, perhaps a “product” that we could reproduce for next year’s fair. After showing Lixiao the branch, we started to design the house. Traditional Gnome houses are made from hollowed or hollowed-out trunks and limbs. The roof of the house is simple and can be made with one slanted board, made as a gable roof or even some kind of a cone-like structure. Doors and windows are round or arched and are often laid out around the cylindrical shape of the house.
The plan that we devised was quite simple. We intended to saw a segment from the hollow branch. Then saw two slanted segments for a gable roof. After that Lixiao was going to drill some windows using a Forstner bit, and make an opening for the front door by drilling a series of holes along the trajectory of the door opening. Granted that this can also be done with a jigsaw, coping saw, or a keyhole saw, and of course with a combination of a Forstner bit followed by a regular saw. 

After sawing a segment from the hollow limb and sawing off two slopes for the gabled roof, Lixiao rasped smooth the inside.
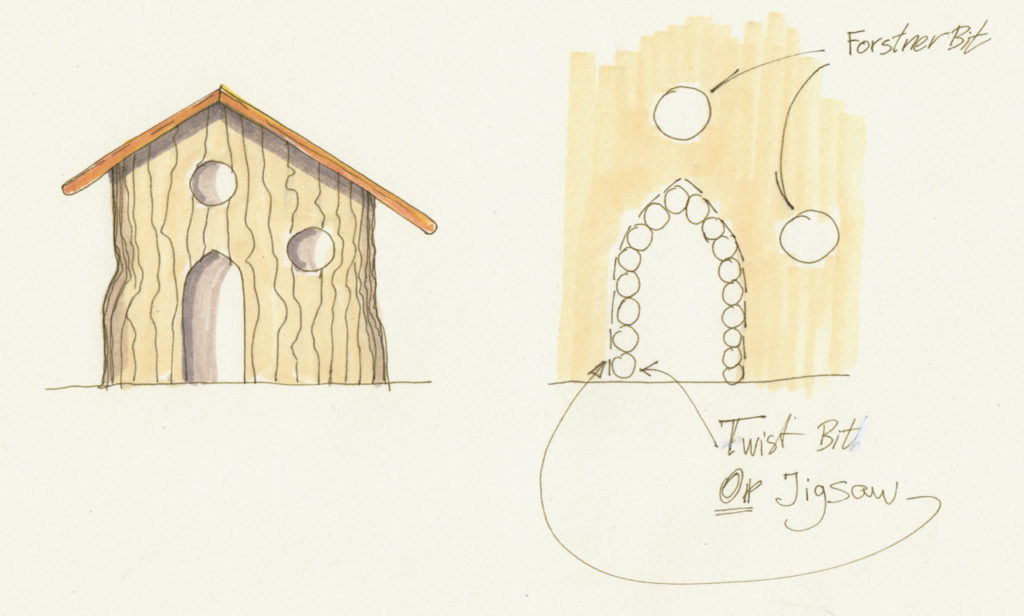
The method we came up with in order to make the door was to use a small diameter drill bit and drill many overlapping holes in the trajectory of the door opening. Then, when the opening was completed Lixiao took a rasp and removed the remaining wood until she reached the door frame contour.
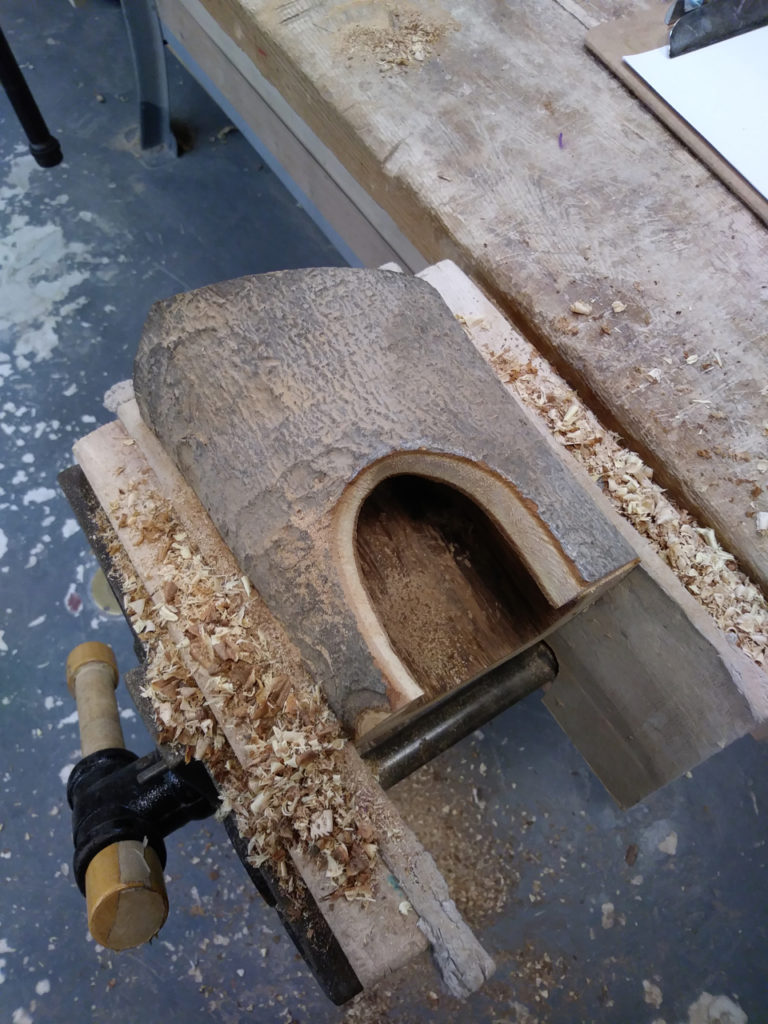

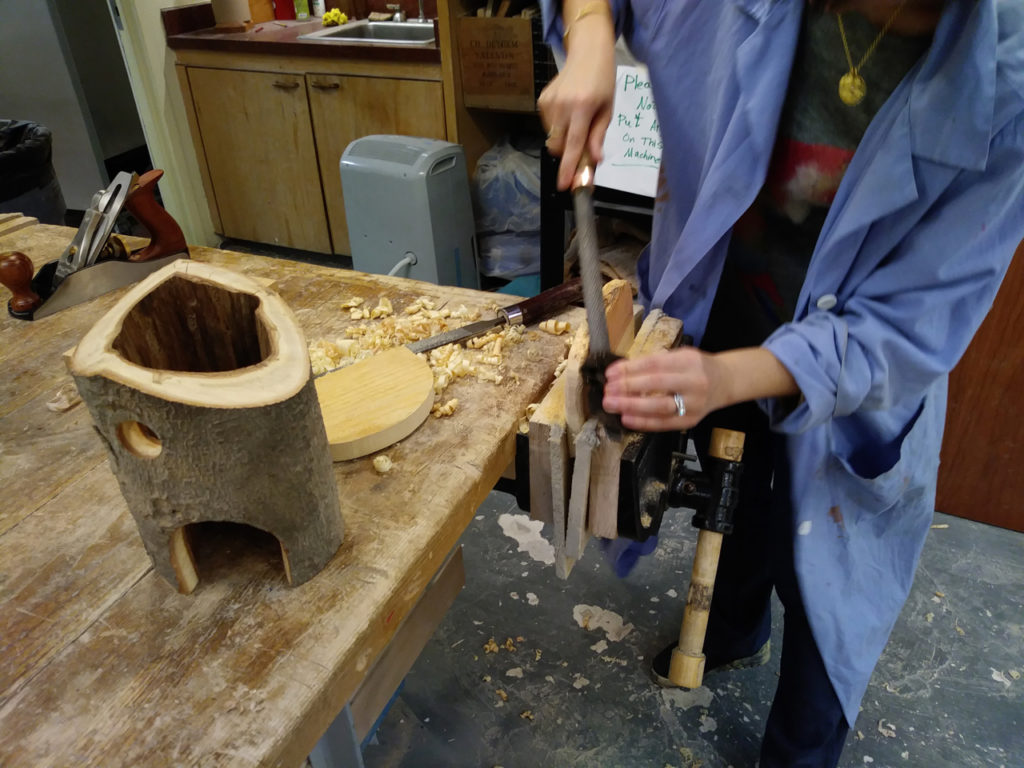
Using a rasp, Lixiao shaped the two boards that made the gable roof. She used a hand plane to form the correct angle on the board’s straight edges to ensure that when the two meat the roof’s ridge will look neat.
If you can’t find a hollow limb or trunk billet for your Gnome house take a short billet of wood and place it base down on your bandsaw table. You have two options for hollowing the billet:
- Saw it in half, then saw off the cores of the the two parts, and lastly glue them back together.

- Saw into the core of the billet and circle around the core to separate it from the outer layers which are closed to the bark. Exit the billet from the same kerf you made in the beginning and glue the kerf close. Using a band clamps to close the billet until the glue dry is a good and practical approach.

– Yoav Liberman
Here are some supplies and tools we find essential in our everyday work around the shop. We may receive a commission from sales referred by our links; however, we have carefully selected these products for their usefulness and quality.


