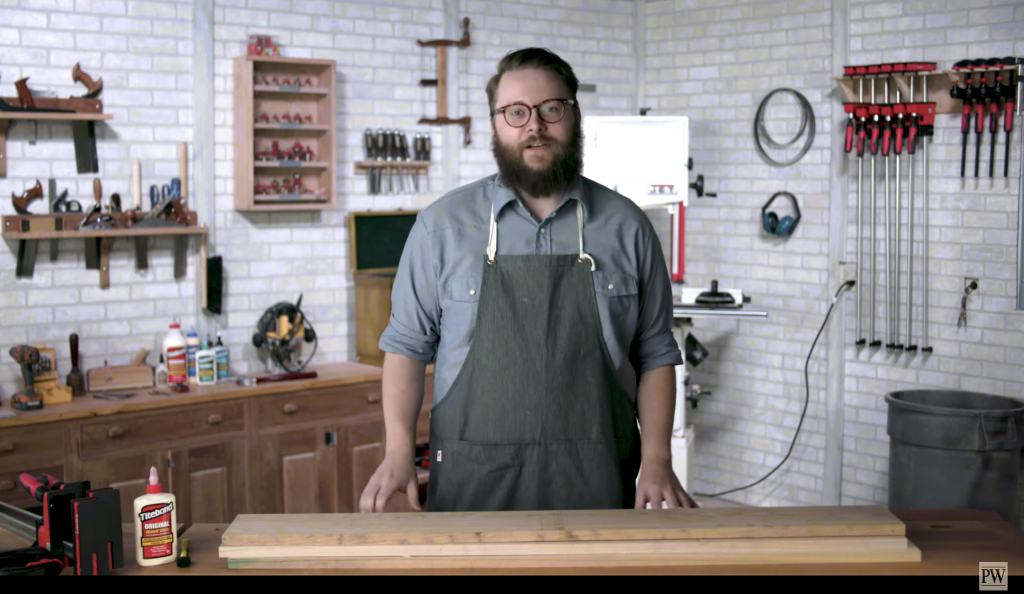
Experts Guide to Gluing & Clamping Wood
Sponsored by Bessey Tools and Titebond

Gluing and clamping is one the the most widely-used skills for woodworkers. Done correctly, you can make strong, lasting bonds in your projects. Done incorrectly, you’ll add additional time and frustration down the road. We’ll address best methods and practices and also look at possible variations. We’ll look at edge joints, mitered joints, casework and clamping and gluing curves. Our special thanks to Bessey and Titebond for sponsoring this series.
Episode 1: Edge Joints
In this first episode of our four-part series on Gluing & Clamping Wood, we address the issue of one of the most common of gluing and clamping tasks: edge joints. Used to make tabletops, cabinet sides, bookcases and a huge number of other tasks, this simplest of joints can cause a number of headaches. Follow along as our experts simplify the process.
Episode 2: Mitered Joints
In this second episode, it’s time to look at mitered joints. Whether for a four-sided or ten-sided project both gluing and clamping can be a challenge. The solution is made easier by understanding the properties of the wood to determine the best glue for the project. Next, your clamping choice can lead to a simple step or a sticky mess.
Episode 3: Case Work
In this third episode of our four-part series we tackle a furniture task on a larger scale: case work. Building cabinetry requires slightly different skills and assembling those cabinets also raises new issues to be addressed. But all are easily overcome with the proper preparation and tools.
Episode 4: Making Curves
In this fourth and final episode, we’re throwing you a curve — literally. Gluing a bent lamination is a great skill and can be handled with success by planning ahead, being prepared for the glue-up and having all the tools ready to work. Of course, an extra pair of hands doesn’t hurt either!


