We may receive a commission when you use our affiliate links. However, this does not impact our recommendations.
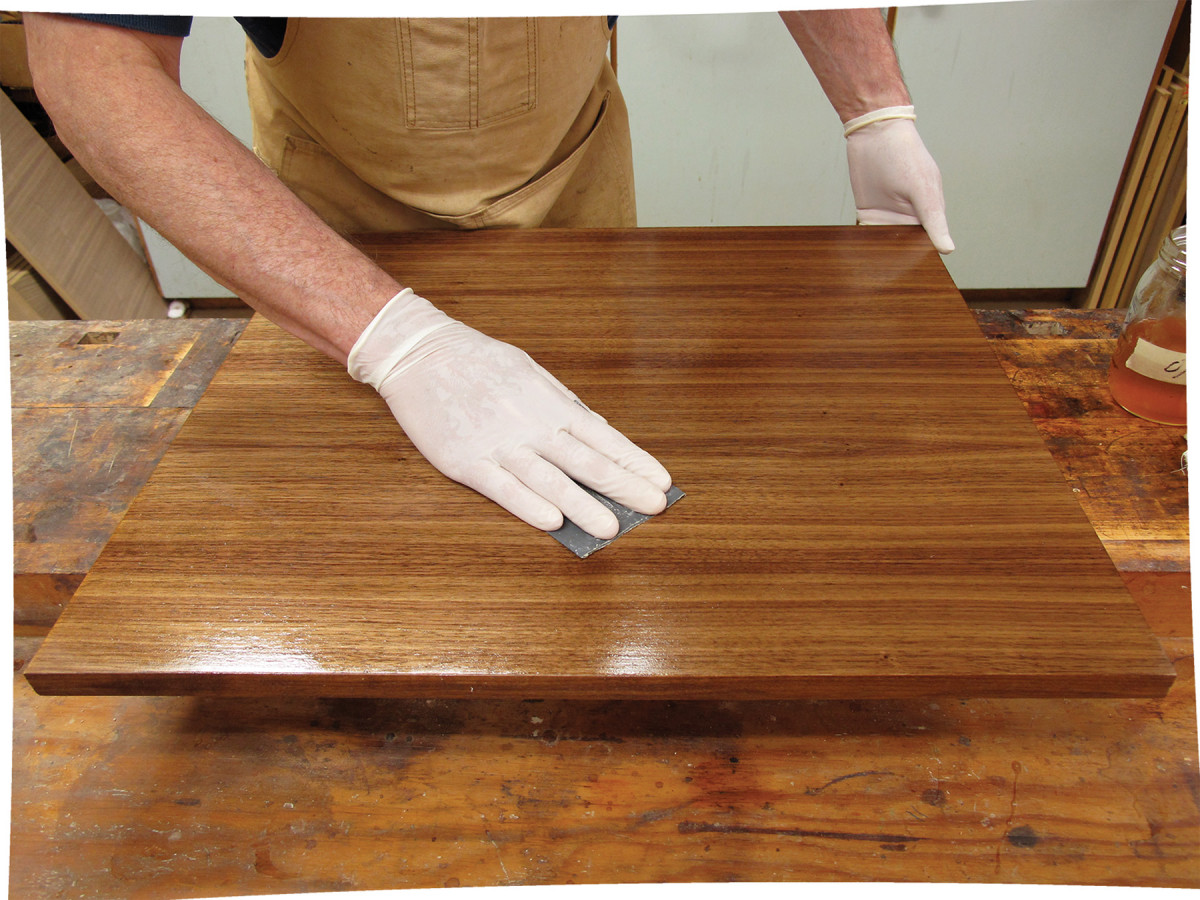
Smooth sailing. A project is not really finished until it’s finished. A few simple shortcuts can help make finishing go smoothly, so to speak. For example, sanding oil finishes wet can save time.
Here are some finishing tips I hope you find of value. They are arranged in roughly the order of the typical finishing steps.
Sand Oil Finishes Wet
It’s not at all necessary to sand wood to very fine grits with oil finishes to get very smooth results. After sanding the wood to about #180 grit, apply a wet coat of finish to the surface, then sand wet with #600 grit. Use just your hand to back the sandpaper.
This will smooth the surface even better than sanding the bare wood up to #600 grit first because the oil acts as a lubricant.
Countersinks & Chamfers
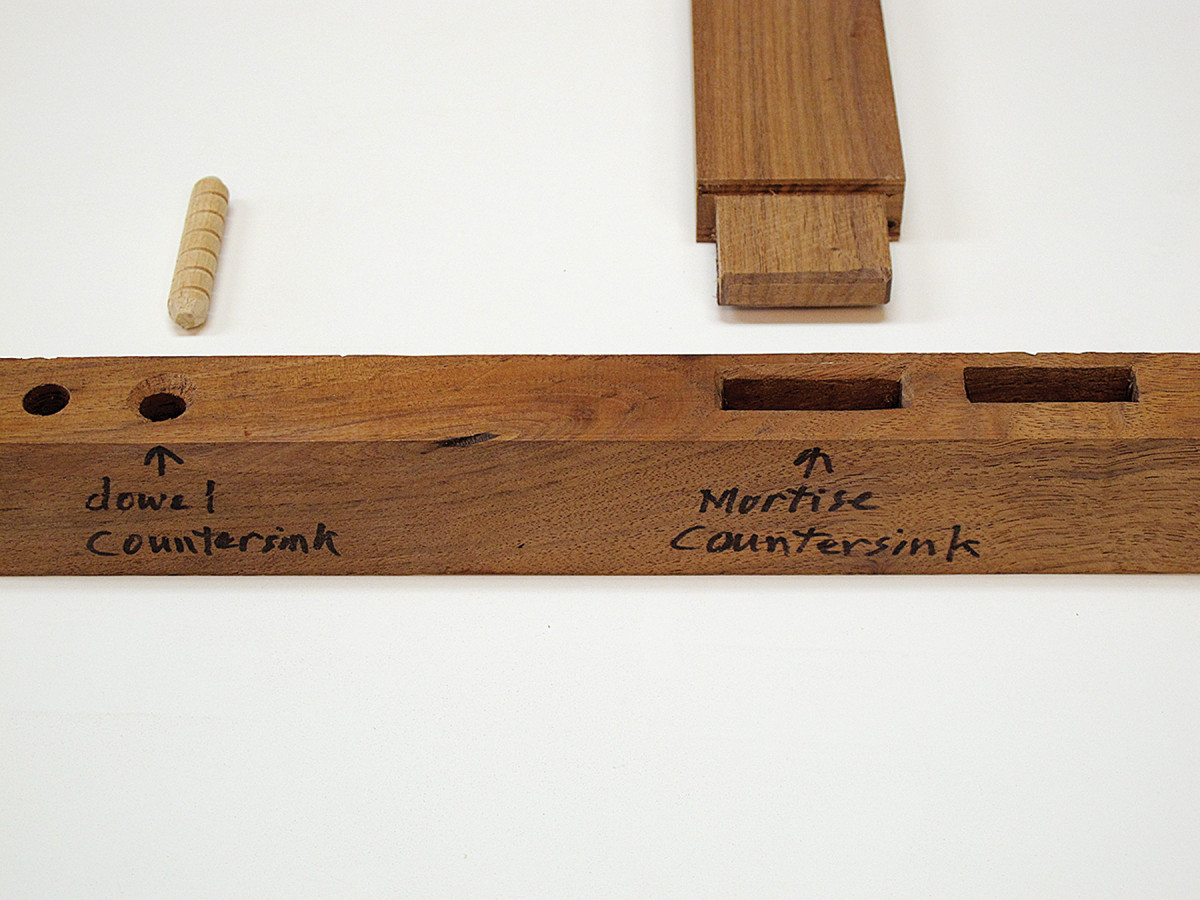
Glue trap. Stop squeeze-out by leaving space for glue to collect.
To significantly reduce the likelihood of glue squeeze-out in dowel and mortise-and-tenon joints, countersink dowel holes and mortises and chamfer the ends of dowels and tenons to create reservoirs for excess glue to collect. This takes only a few extra minutes and can save a lot of headaches caused by the squeeze-out.
Unfortunately, there’s no easy equivalent for stick-and-cope joints on cabinet doors.
Sanding Basics
When sanding in preparation for a stain or finish, you need to remove all the problems in the wood – mill marks, tear-outs, gouges, etc. – with the coarsest grit sandpaper you’re using before moving on to finer grits (to remove the coarse-grit scratches).
This means that the coarse-grit sandpaper you begin with should be coarse enough to remove the problems quickly and efficiently to reduce the amount of work required.
Suggested examples are #100 grit for wood you have machined yourself and #150 grit for factory pre-sanded veneered plywood or MDF.
Aerosol Finishes
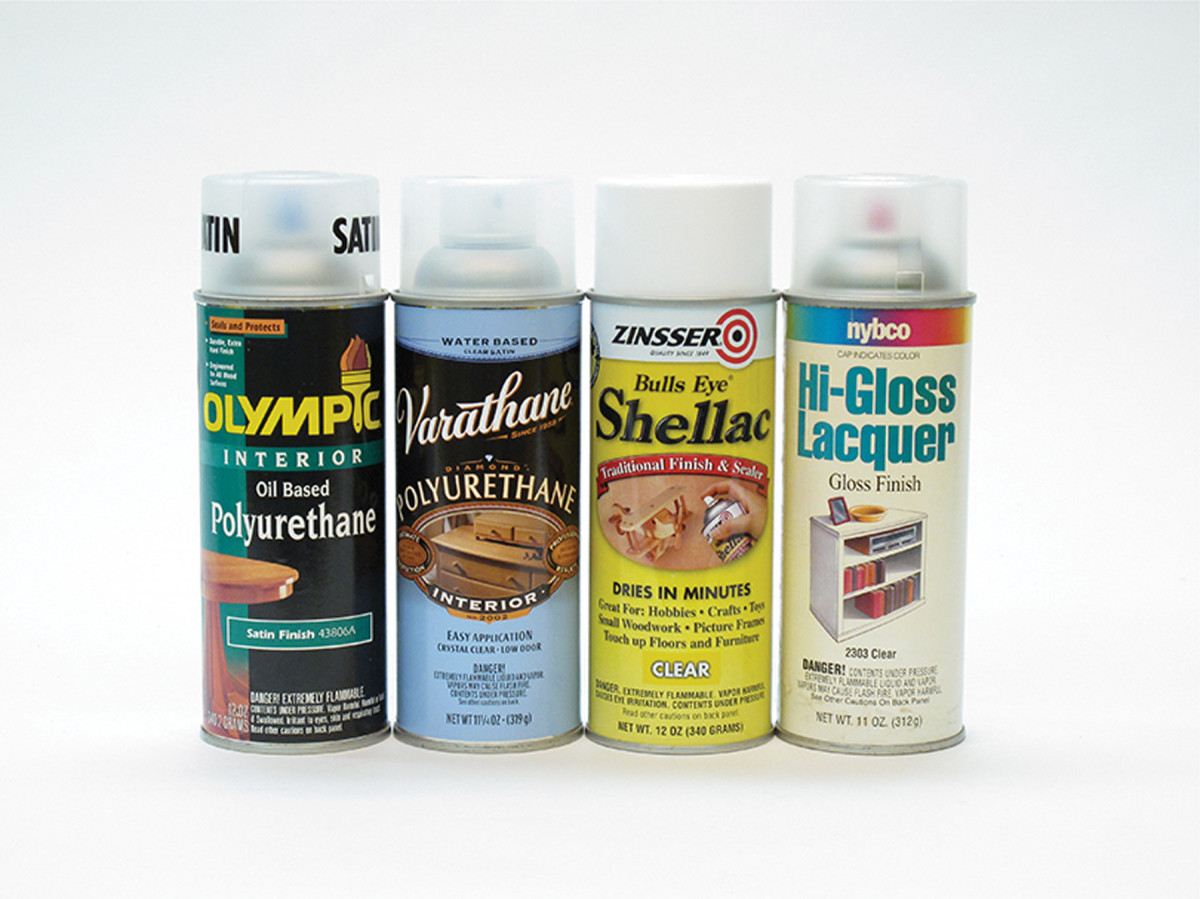
No spray gun? Try aerosol cans.
If you don’t have a spray gun, keep in mind that you can buy all the major film-building finishes in aerosol containers at many stores. These finishes include polyurethane, water-based finish, shellac and lacquer. Specialty suppliers also sell pre-catalyzed lacquer. All of these finishes are available in gloss, semi-gloss and satin sheens except shellac, which is always gloss.
These finishes are the same as you buy in cans except they have been thinned more so they flow easily through the tiny hole in the nozzle. Therefore, the build you get with each coat is less.
Pour Off Gloss
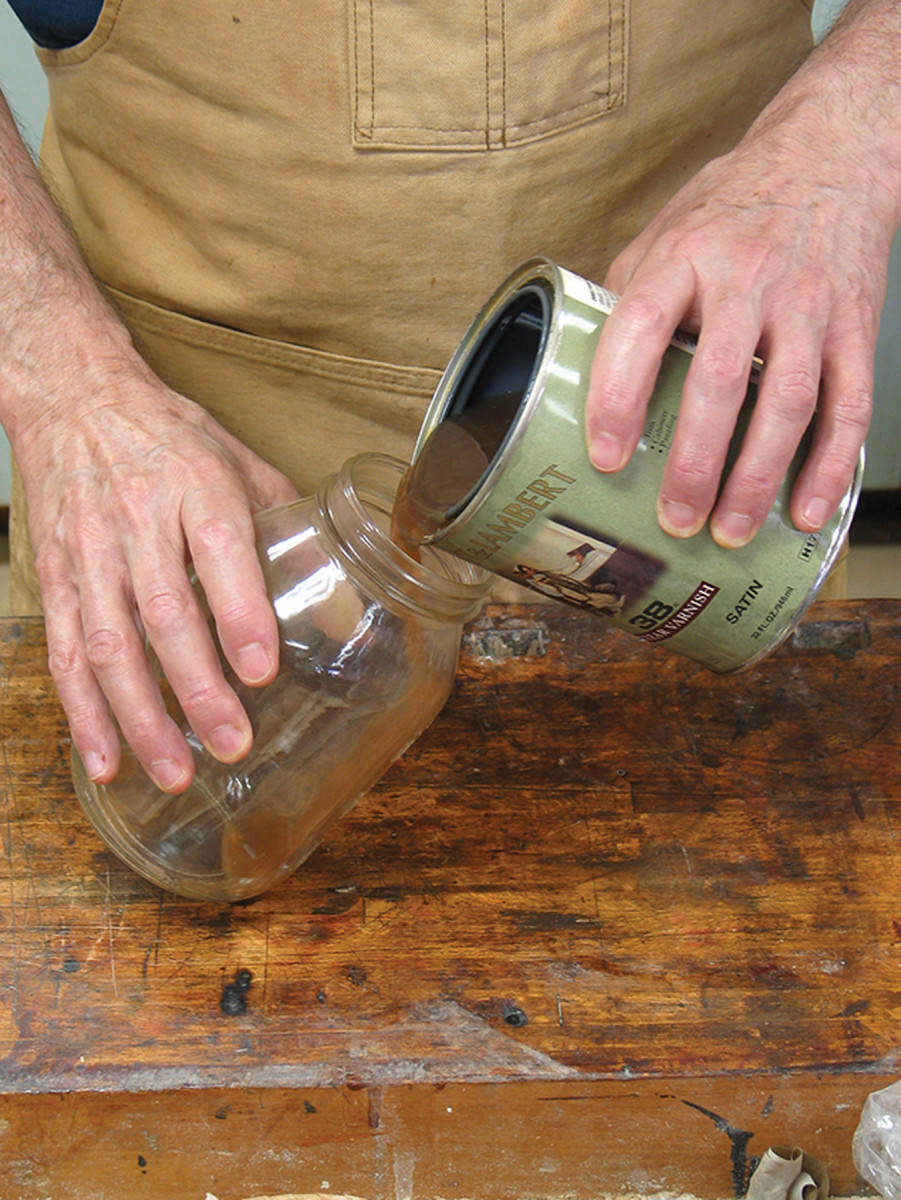
Made-to-order sheen. Create the sheen you want from a single can of satin finish.
You aren’t limited to the sheens of commercially available lacquers and oil-based alkyd and polyurethane varnishes. You can create any sheen you want from just one can of satin finish.
First, let the flatting agent (the stuff you have to stir into suspension before use) settle to the bottom of the can. Then, pour off some of the gloss at the top into a separate container. Now you have two parts you can mix to any sheen you want. You’ll have to experiment a little because you don’t know the sheen of the mix until the finish has dried.
Keep in mind that it’s the last coat of finish that is responsible for determining the sheen. So if the sheen of one coat is too glossy or flat, you can change it with the next coat.
Bury Raised Grain
The easy way to deal with raised grain caused by water-based stains (including dyes) and finishes is to bury the roughness with the first or next coat of finish. Then sand smooth, being careful not to sand through.
This is much easier than pre-wetting the wood, letting it dry, then sanding smooth before applying the stain or finish.
Blotching in Cherry
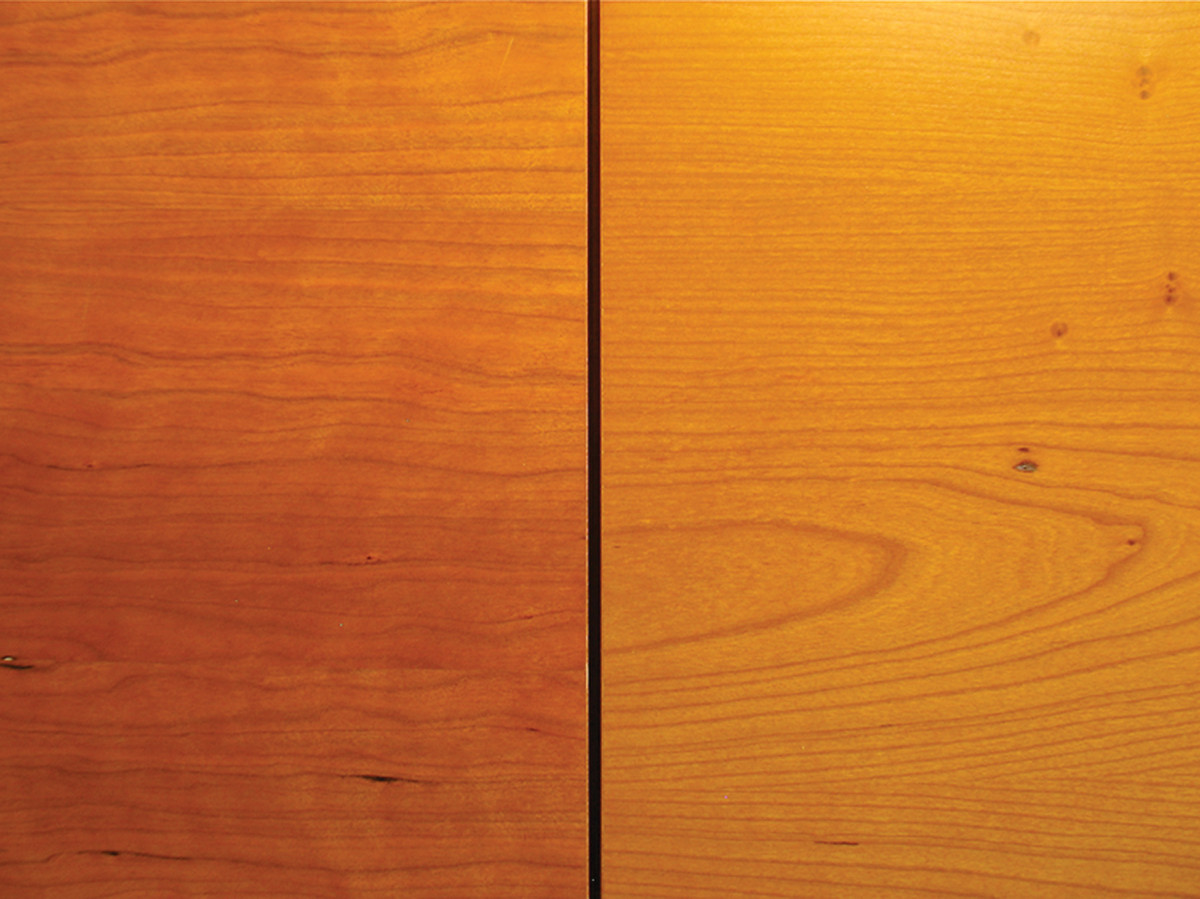
Cherry blotching. It’s the board or veneer that determines whether cherry will blotch.
Everyone wants to know how to avoid blotching in cherry, and lots of theories are put forth. But the simple fact is that it’s impossible to avoid the blotching unless you choose boards or veneers that aren’t going to blotch. Even clear finishes, such as the catalyzed varnish used on the two veneered panels pictured above, cause blotching if the wood is prone to blotching.
There is no grading for blotching that I know of, so the only way to determine if the wood is blotch-prone is to wet it (with any liquid, including a solvent) and see what happens.
Brown-paper-bag Rub
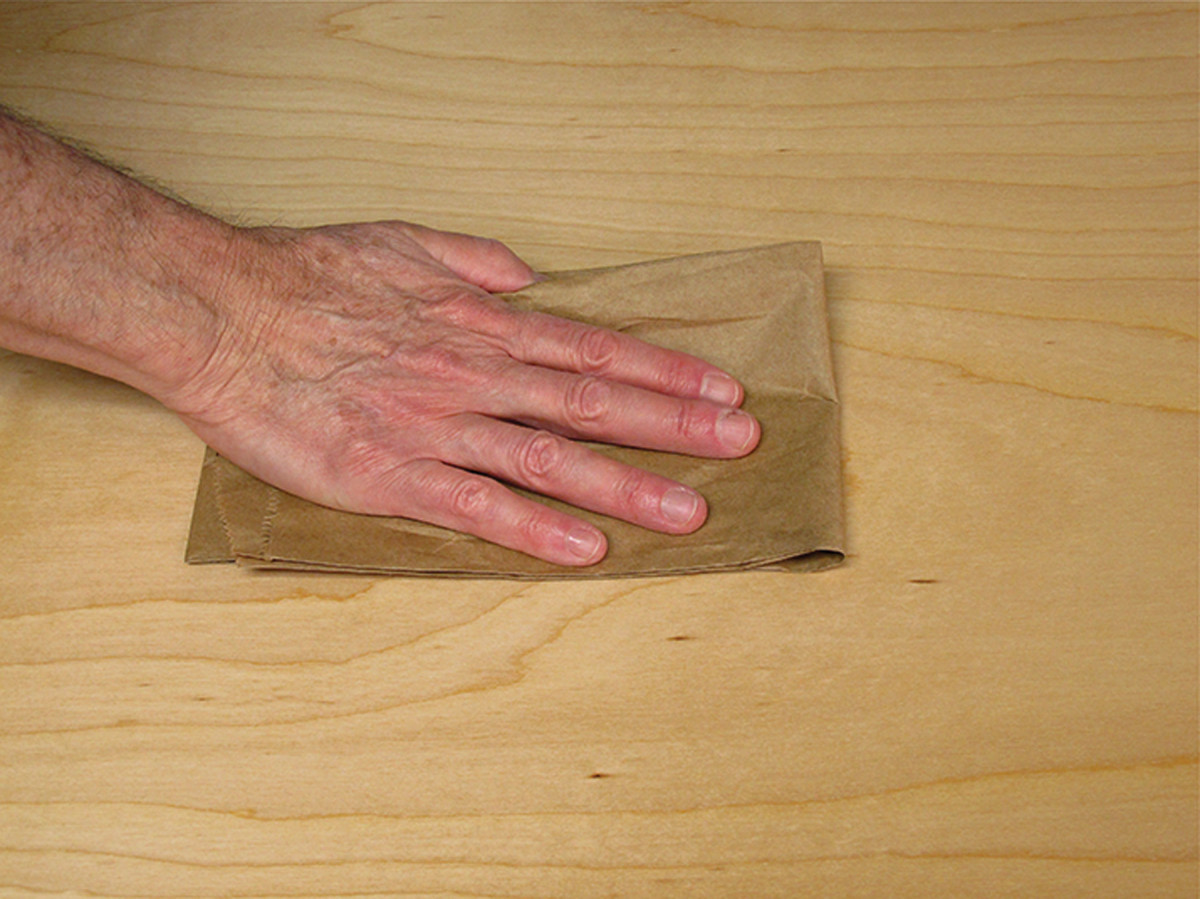
Lunch-bag reuse. A brown paper bag can smooth a finish.
It’s virtually impossible to get a really smooth-feeling finish straight off a brush, rag or spray gun. You can sand the finish level, then rub with fine abrasives to raise the sheen, but this is a lot of work. There’s an easier way to get good results.
As long as the dust stuck to the finish isn’t excessive, and as long as the particles aren’t large, you can make the surface feel smooth by rubbing with a folded brown paper bag. Give the finish a couple of days to dry first so you don’t scratch it.
Stripping Shellac & Lacquer
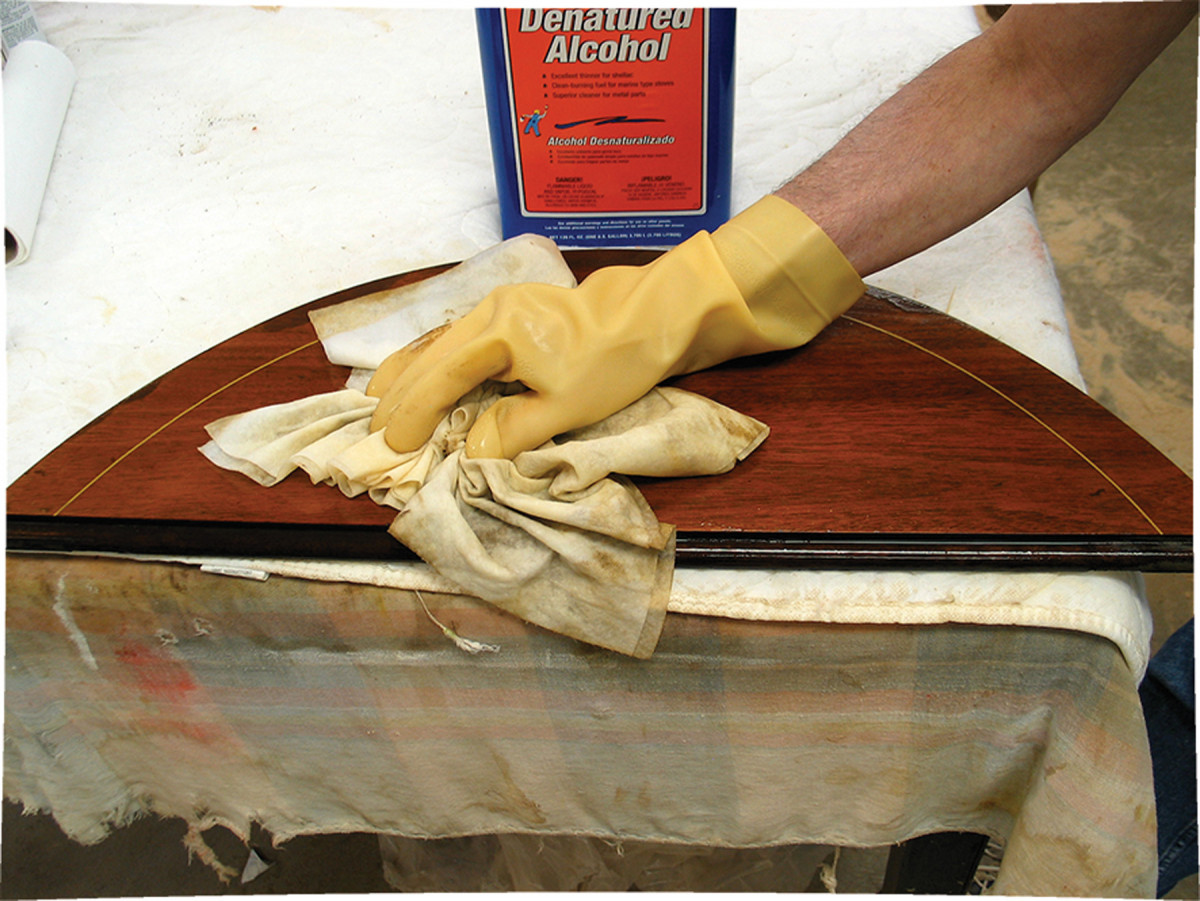
Soak it off. Remove shellac or lacquer with rags wetted with alcohol or lacquer thinner.
If you would rather avoid using paint strippers, you can instead substitute widely available denatured alcohol or lacquer thinner as long as the finish is shellac or lacquer. Because these were the finishes used on almost all old furniture and woodwork, this solution works most of the time on clear finishes.
Simply wet some rags or paper towels with denatured alcohol for shellac (or lacquer thinner for lacquer) and place them on the surface. Keep them wet by pouring more solvent until the finish has liquefied. Then you can easily wipe off the finish with the same wetted rags.
Here are some supplies and tools we find essential in our everyday work around the shop. We may receive a commission from sales referred by our links; however, we have carefully selected these products for their usefulness and quality.


