We may receive a commission when you use our affiliate links. However, this does not impact our recommendations.
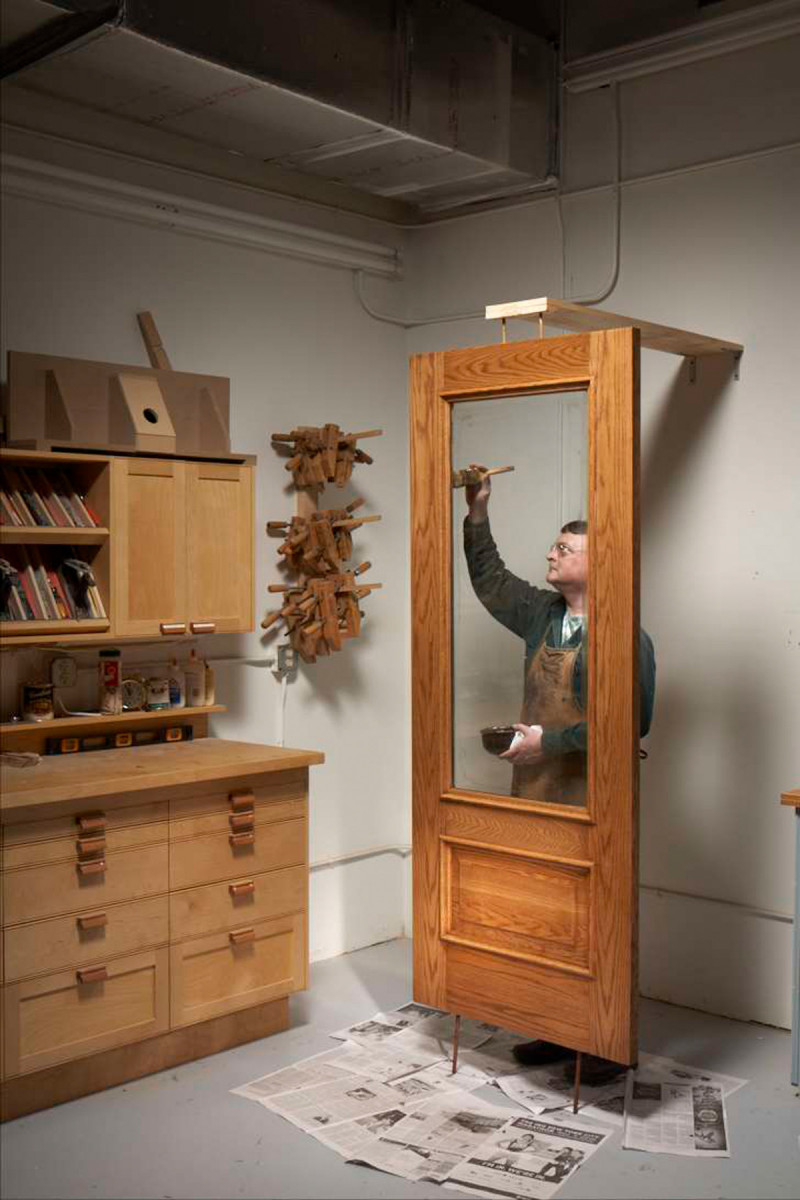
How to choose and apply a long-lasting clear finish.
What do fancy wooden boats and beautiful wooden front doors have in common? They both need a clear finish that can really stand up to the elements. Sunlight, water, extreme temperature changes and abrasions are bound to occur in both situations. Most clear coatings just can’t take that type of abuse and will fail in a year or two, allowing discoloration and damage to the wood.
Clear exterior varnishes
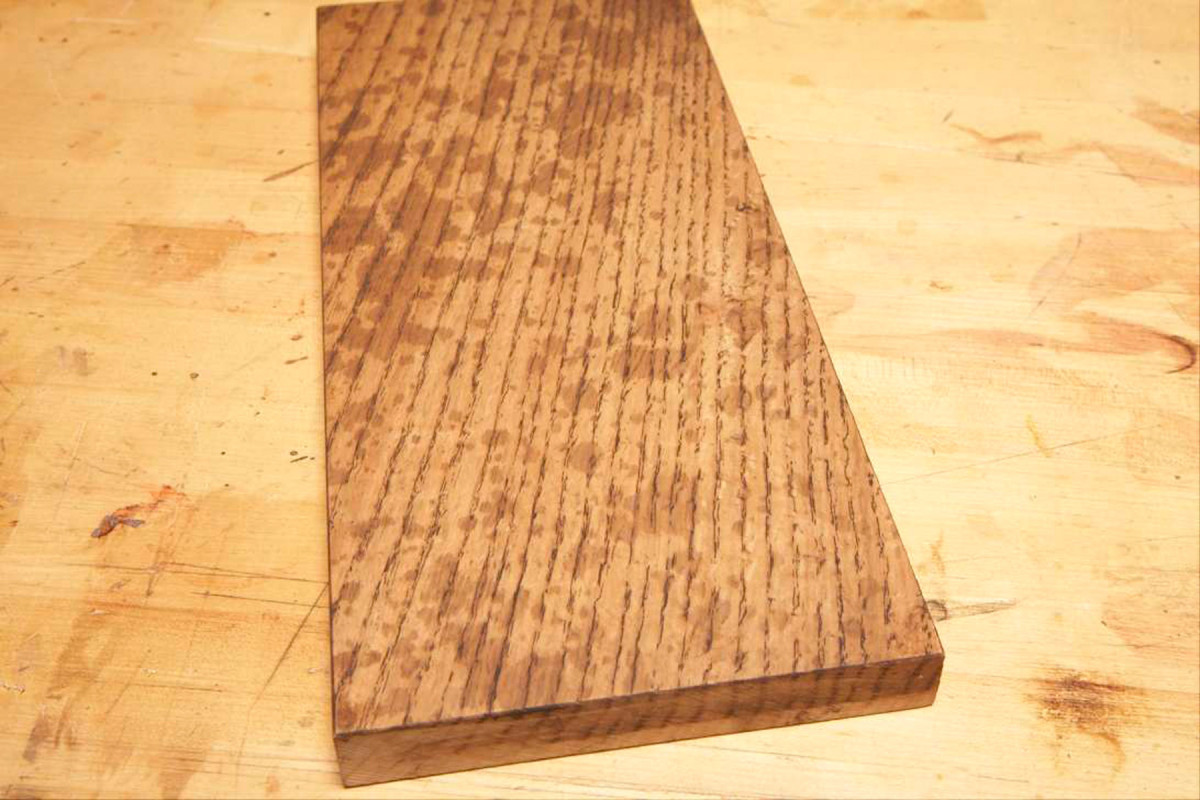
1. Saturate the raw surface with distilled water to eliminate a possible catastrophe. Moisture (from rain or wet fingerprints, for example) that inadvertently gets on the surface leaves invisible marks that show up as ugly splotches when stain is applied.
Spar varnishes are formulated to be resilient under outdoor conditions. They’re more elastic than regular varnish, so they’re less likely to crack as the wood continuously expands and contracts with changing outdoor conditions. Some spar varnishes also contain very effective UV inhibitors. The finishes with the best track record for exterior use come from the marine industry, where spar varnish originated.
1B.
Spar varnishes are usually glossy. A glossy sheen looks good on a wooden boat and also tells the owner when it’s time to apply a fresh coat of finish. A loss of sheen indicates that the finish is beginning to degrade and it’s time for recoating. Some brands offer a lower sheen option, usually recommended for application as the topcoat over several coats of high gloss for the best results.
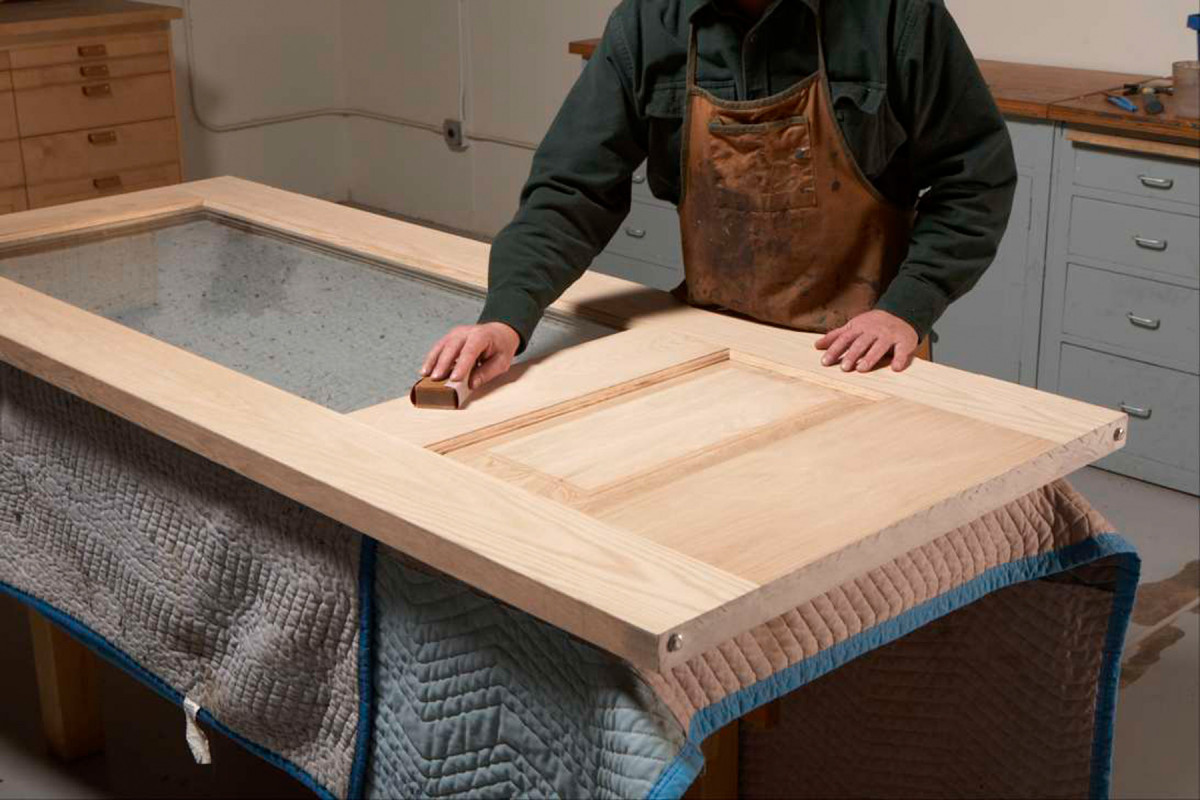
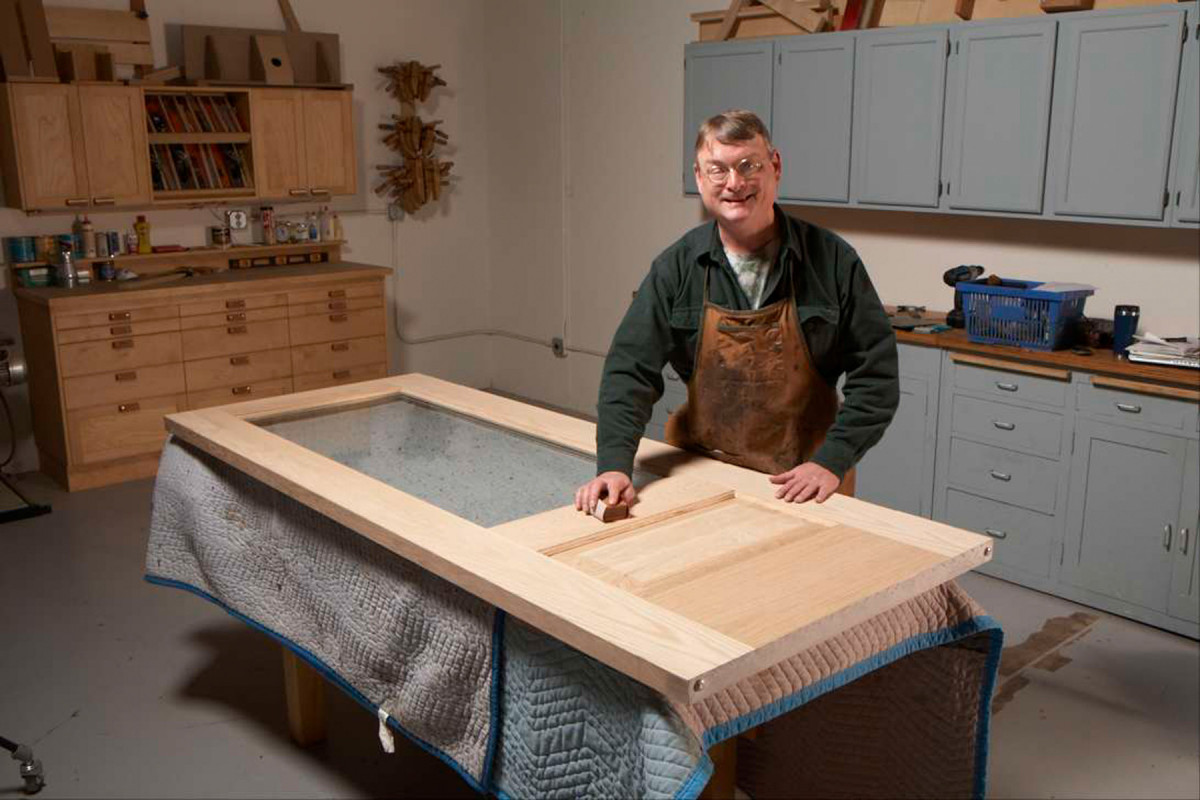
2. Remove factory sanding marks by carefully and thoroughly sanding with the grain by hand, using 120 grit paper. These factory sanding marks are especially problematic on the rails, where the scratches run across the grain.
Most of the spar varnishes at hardware and paint stores will work well on an exterior door that’s tucked under a front porch, where the sun and rain are kept at a distance. But for a door that will be fully exposed year round in a harsh climate, a high quality oil-based marine-grade spar varnish will provide both good looks and a long service life before it requires maintenance.
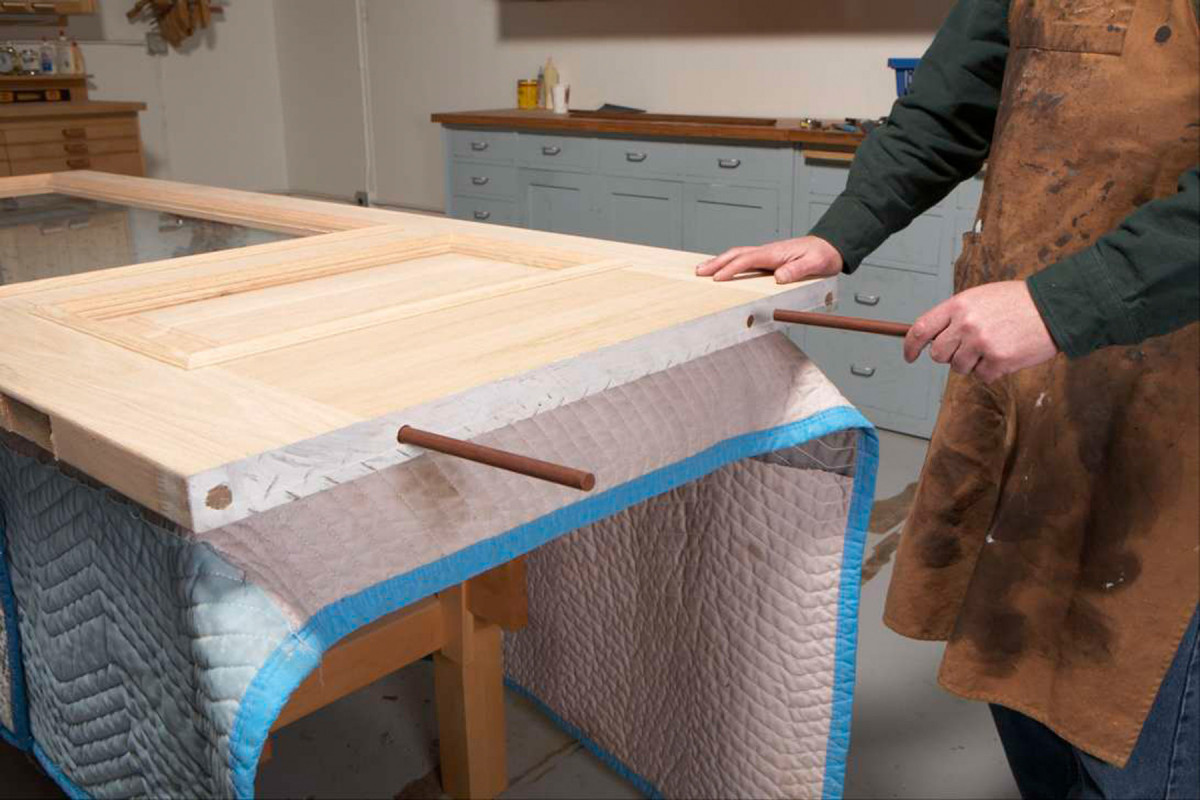
3. Install hardwood dowels to create temporary legs for standing the door for finishing. Fill the holes with epoxy putty after the finishing process has been completed.
Tung oil and phenolic resin are the key ingredients in many marine-grade spar varnishes. The most technically advanced marine spar varnish formulations also contain ultra violet light (UV) inhibitors. UV inhibitors reduce the effect of the sun’s rays by changing UV light energy to heat, which can then dissipate without harming the finish or the wood beneath it. These are expensive ingredients and are reflected in the cost. A quart of the good stuff can cost $40 or more, but this is a small price to pay compared to a finish that fails after a year or two.

4. Stabilize the standing door with additional dowels and a wall-mounted bracket, so both faces and all the edges can be finished at once. Coating every surface is important for protection and is required by the manufacturers’ warranties.
Unfortunately, it’s almost always impossible to identify the ingredients by reading the label (or even the Material Safety Data Sheet), because they’re rarely listed. Some brands do list ingredients on their websites or other literature. Be aware that labels can carry misleading claims, such as “maximum UV protection” or “UV stabilized,” even though the product doesn’t contain any significant UV inhibitors. That’s why the spar varnishes that I trust the most are specifically designed for and tested over time in the most extreme conditions. These premium spar varnishes are also formulated to level well (reducing brush marks) and to allow ample working time. Finding such spar varnishes usually requires shopping at a marine supply store or in the advertising pages or websites of boating magazines.
Applying spar varnish
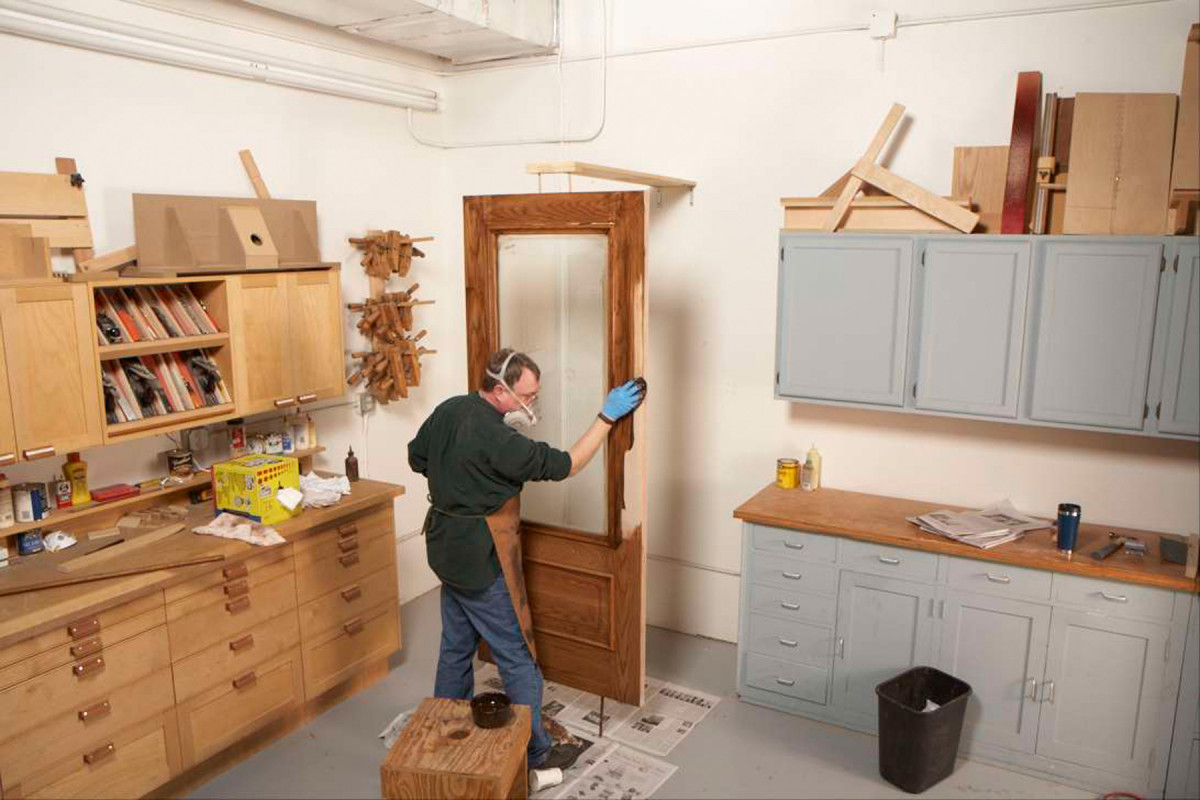
5. Apply stain, starting at the bottom, including the bottom edge. Work up one side and adjacent edge, across the top and down the other side and edge. Then move to the other side and repeat the process.
I’ll start by preparing this new entry door for finishing by wetting it to eliminate hidden marks (Photo 1), sanding it to remove unsightly factory sanding marks (Photo 2)and standing it, so both sides and all the edges can be finished at the same time (Photos 3 and 4).
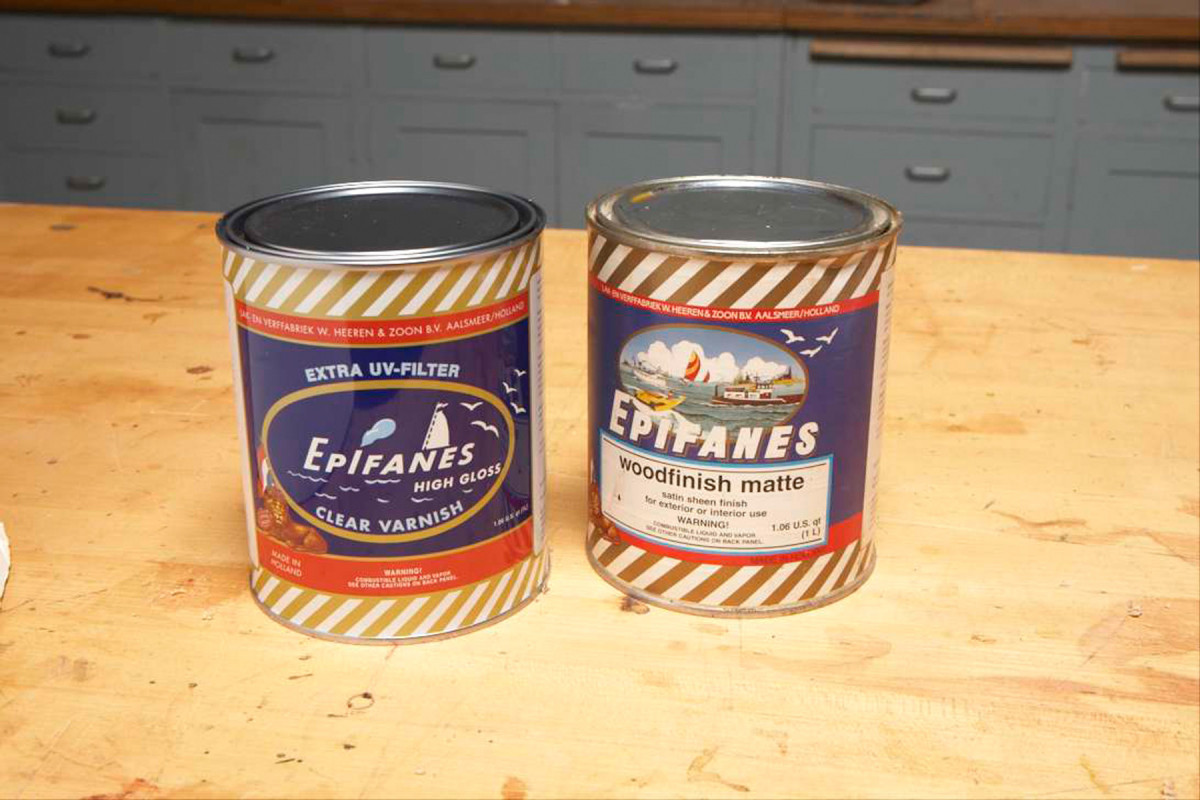
6. Marine spar varnish developed and tested for use on boats provides the best looking, longest lasting clear exterior finish. You’ll pay a premium price to buy it, but it’s worth every penny.
Next, I’ll apply a dark brown oil-based pigmented stain (Photo 5 and Sources). Pigmented stain adds more than color—the pigments provide some UV protection for the wood as well.
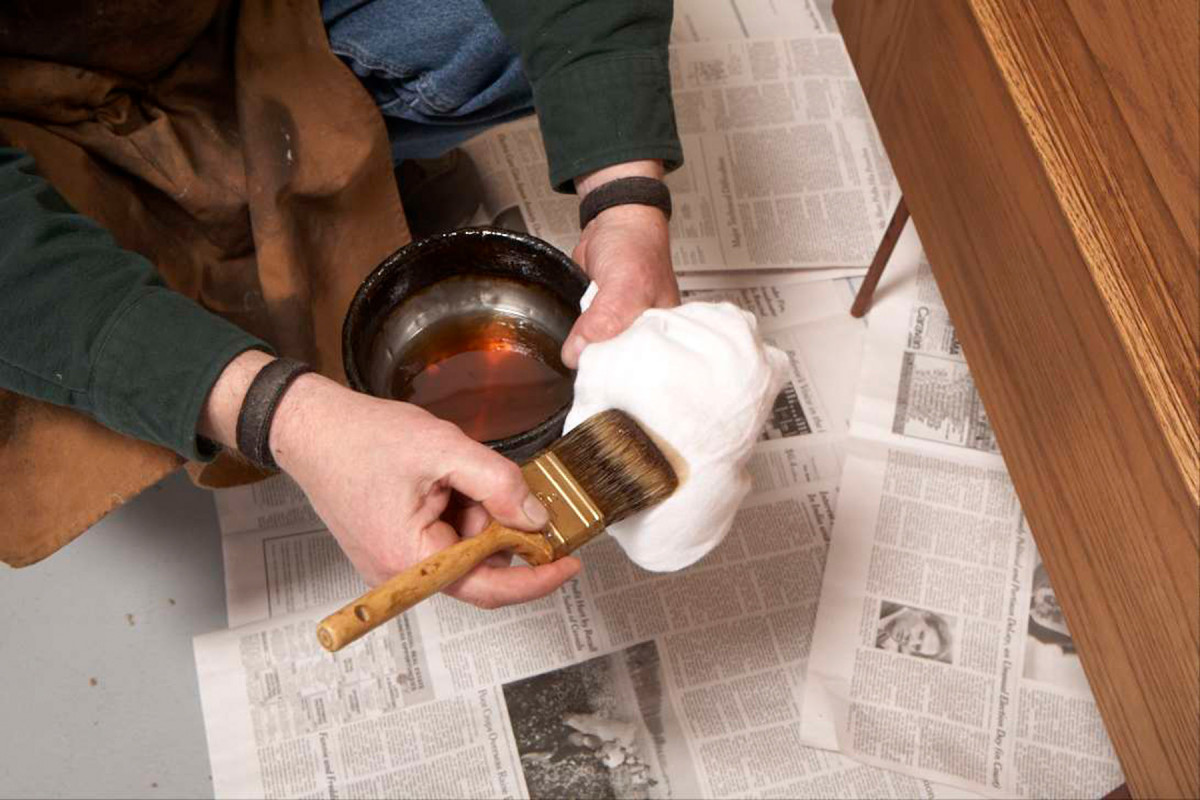
7. Load the brush with varnish and dab off any excess on a clean lint-free cloth to help avoid drips and runs. I prefer a 2″ brush with natural china bristles.
When the stain is thoroughly dry, I’ll apply three coats of Epifanes clear high gloss varnish—my favorite premium marine spar varnish (Photo 6). To give the door a hand-rubbed appearance, I’ll switch to Epifanes wood finish matte for the final coat.
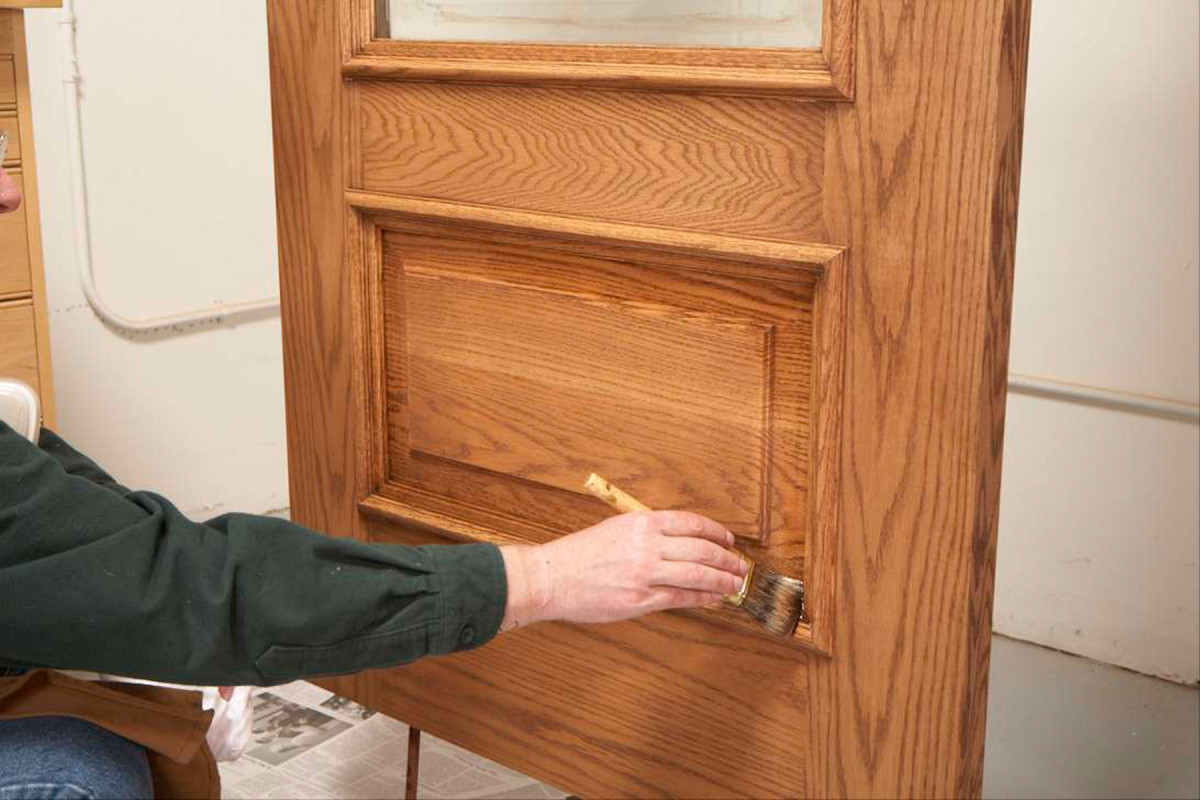
8. Brush the panels first, working from the bottom of the door to the top. This door has only one panel, at the bottom. Start by dabbing finish into the corners and brushing the field that surrounds the raised panel. Then brush the raised panel.
This finish—five layers all told—will provide many years of protection before requiring maintenance.
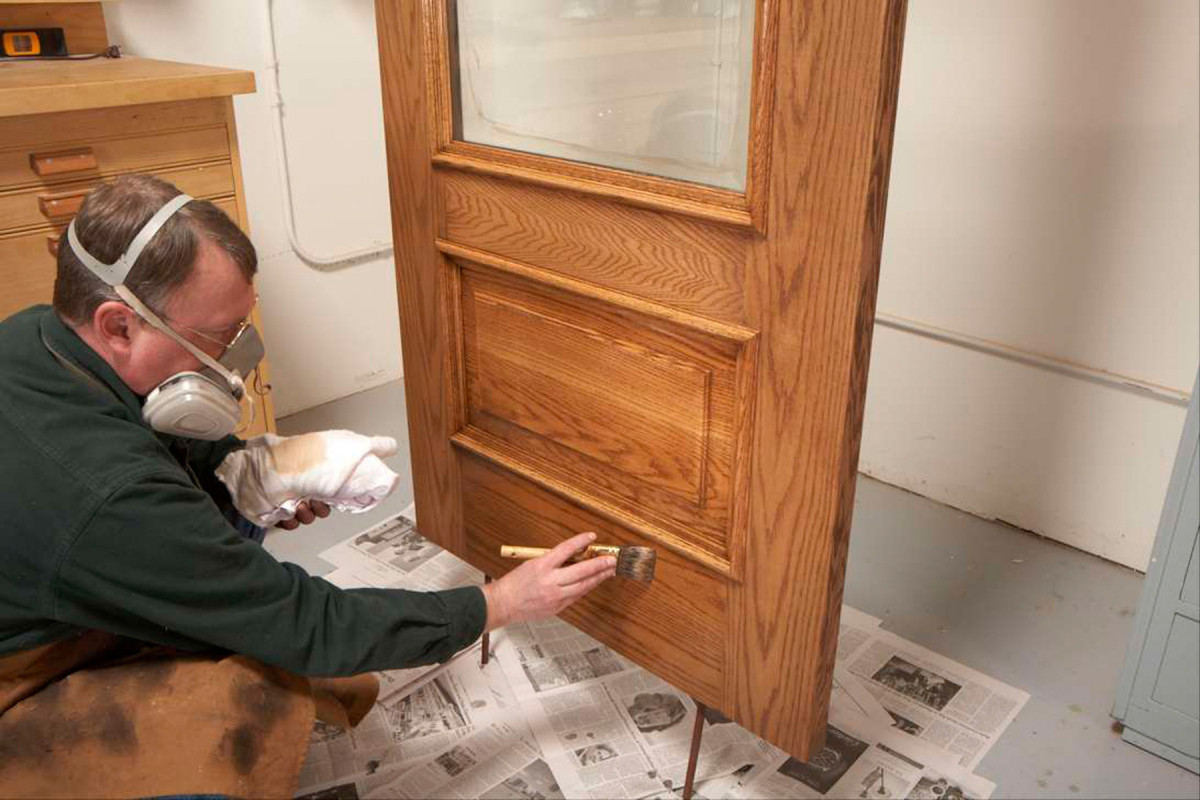
9. Move on to the rails. Again, start at the bottom of the door (including the bottom edge) and work to the top (including the top edge). Brush the varnish a couple inches beyond the joints with the stiles.
I’ll use a 2″ natural bristle varnish brush and small round sash brushes to apply the varnish (see Sources, below).
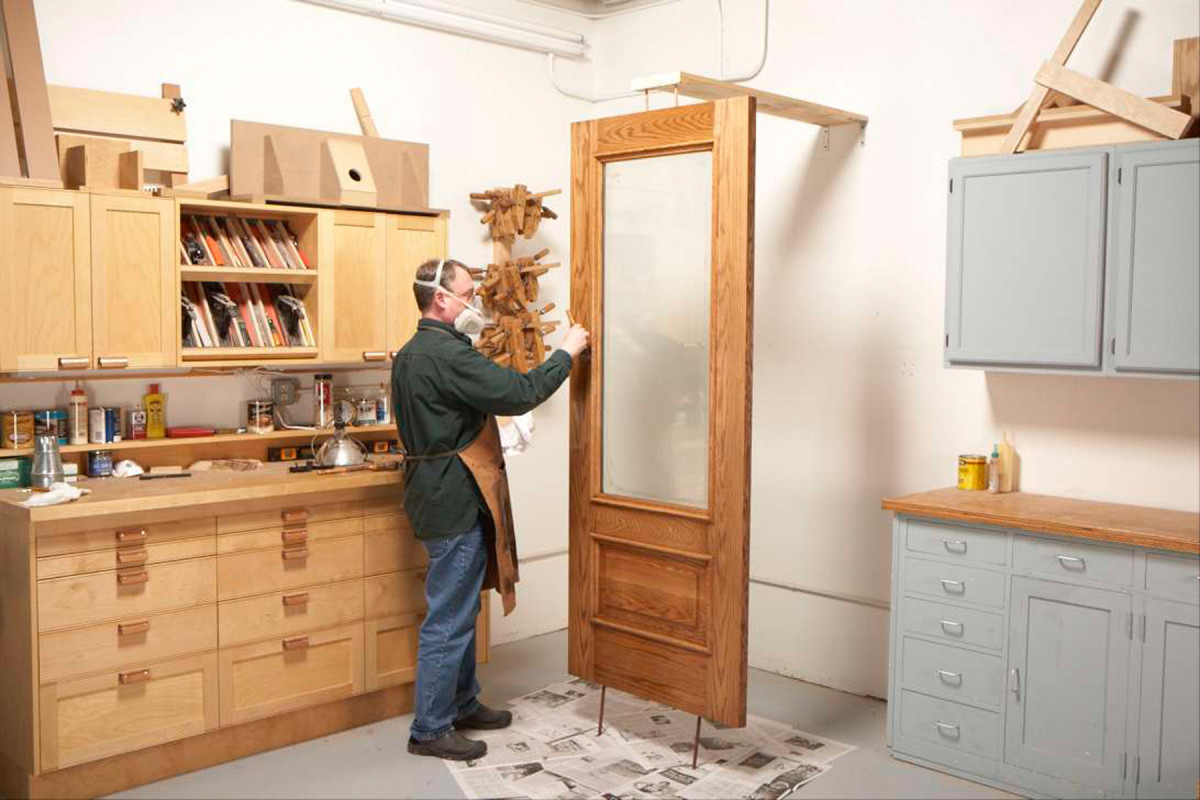
10. Brush the stiles and edges from bottom to top. Be careful not to brush onto the rails; stop at the joint lines. Check for drips and then move to the other side of the door and repeat the brushing process.
The 2″ brush will do the bulk of the surface (Photos 7–10); the sash brushes provide better control on the moldings around the raised panels (Photo 11).
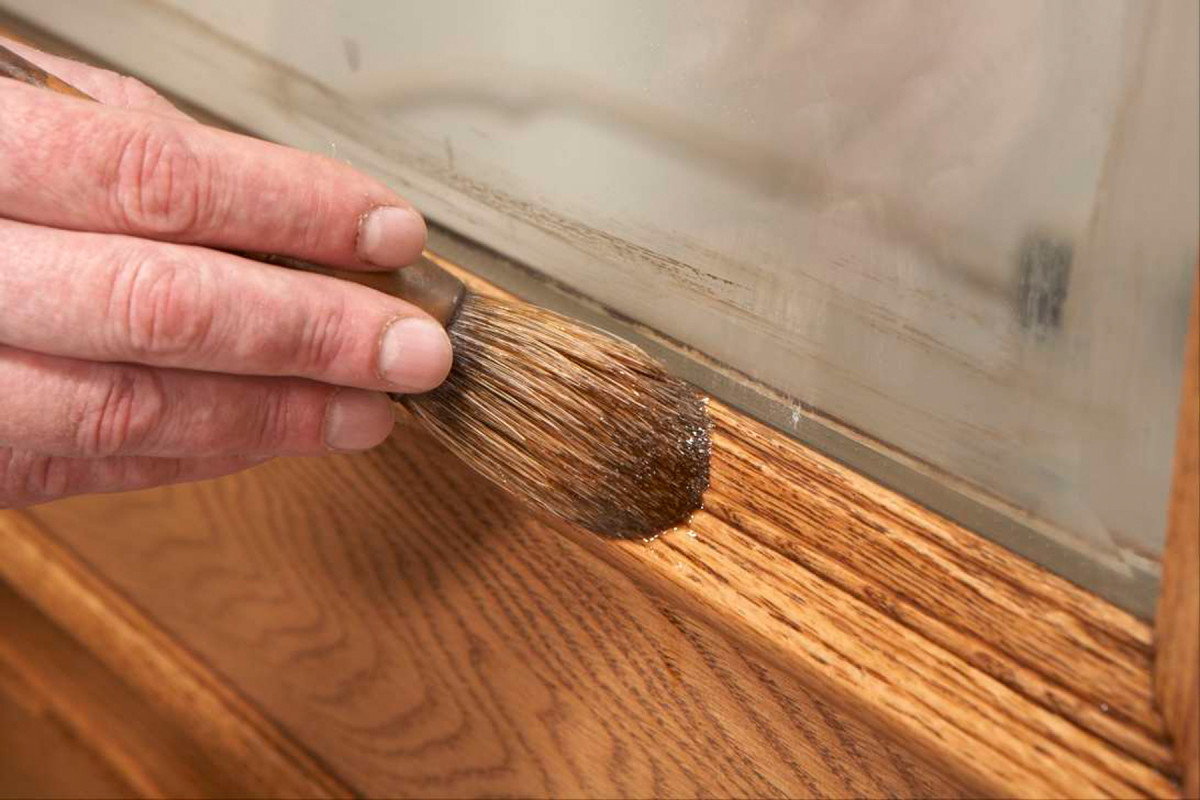
11. A round sash brush closely follows the molding’s shapes and makes it easier to neatly seal the glass to the wood, as recommended by door manufacturers.
They’re also the best tools for removing drips (Photo 12). Avoid multiple cleanings by submerging the brushes’ bristles in paint thinner between coats.
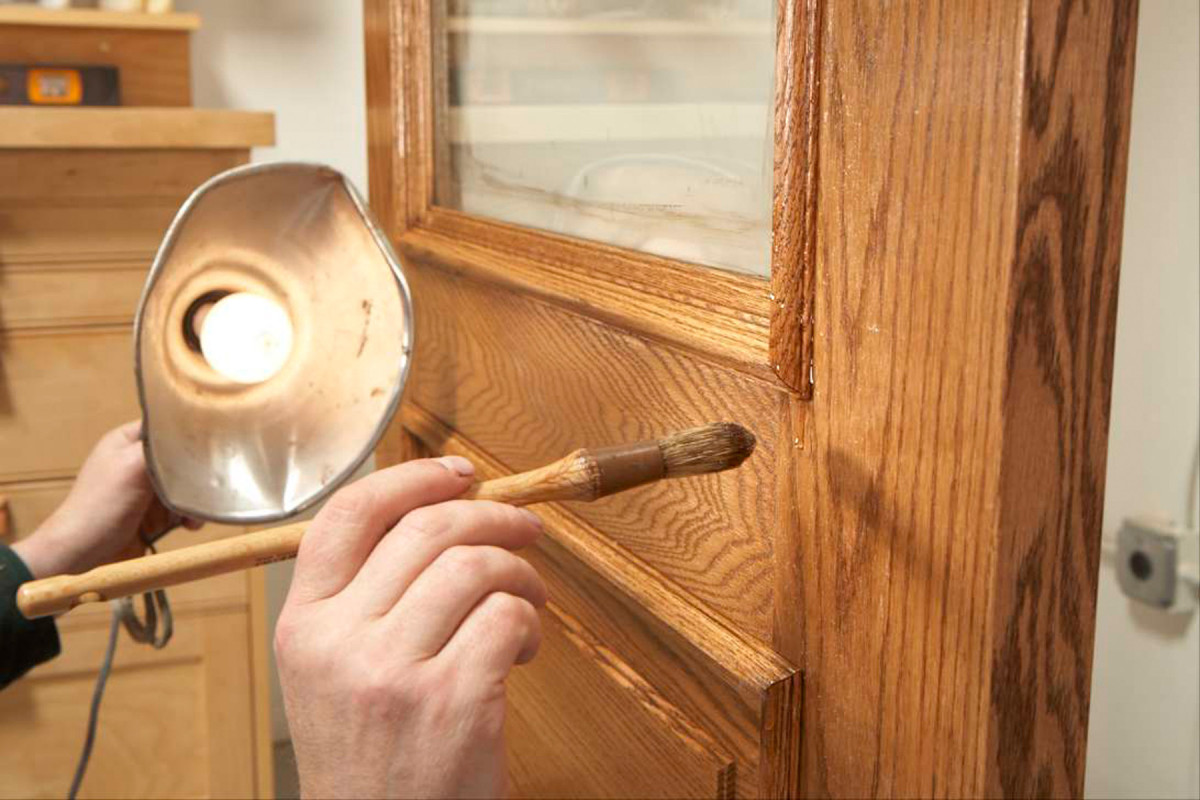
12. Check for drips using a light held at a low angle and remove them by stippling with a small, dry sash brush. Most drips result from varnish scraping off the brush on moldings or raised panels, or from puddling in panel corners.
SOURCES
General Finishes Antique Walnut Gel Stain
2″ Natural Badger-Style China Bristle Brush
Escoda Olive Shape Bristle Round #2 Sash Brush
Here are some supplies and tools we find essential in our everyday work around the shop. We may receive a commission from sales referred by our links; however, we have carefully selected these products for their usefulness and quality.


Great idea. I have an exterior door the was stained and finished with spar varnish (?). The inside face of the door is a rich, walnut finish that still looks great. The outside face has yellowed and appears in some areas the finish is all but gone. I don’t want to touch the inside face and wandering what advice you might have for this project?
Thank you,
SilPic
Lot of work to paint the hard way, upright.
Painting flat gives a better overall finish
with less chance or dripping.
Flay also allows for the light sanding
between coats to produce a flat finish.
free of blobs or drips.
This looks, awesome mate.