


We may receive a commission when you use our affiliate links. However, this does not impact our recommendations.
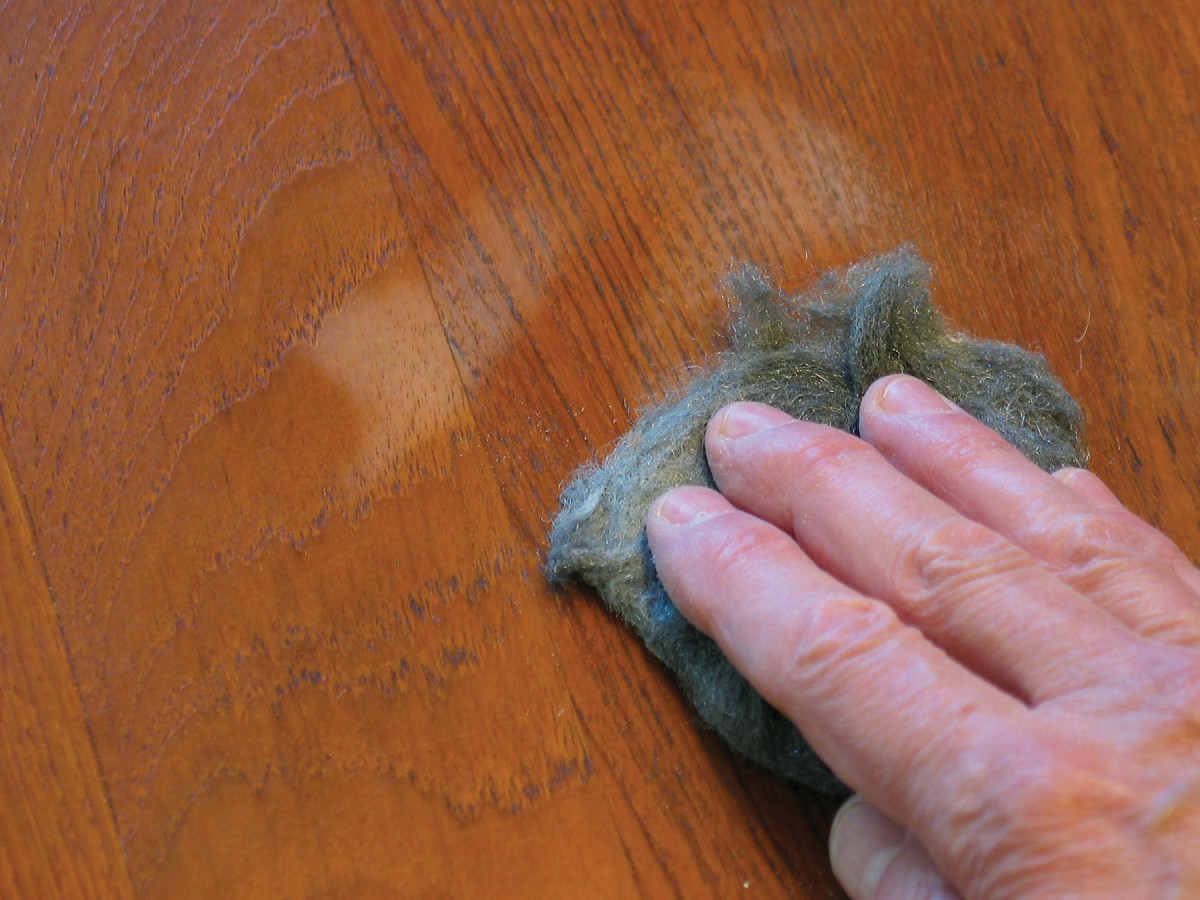
Watermark. Probably the most common damage from contact with water is a color change in the finish, often caused by sweaty glasses, but also by water just not being wiped dry quickly enough. The most surefire way to remove these marks is to rub them with a fine abrasive such as steel wool.
Water can cause many problems to finished and unfinished wood.
As woodworkers, most of us have come across problems caused by water that we may be asked to repair. The problems can occur in the finish or in the wood if the water gets through the finish.
Here are some of the most common problems and methods of handling them.
Milky-white Watermarks
Probably the most common is water rings – light gray to white marks in the finish that destroy the transparency. These marks are almost always very near the surface of the finish film. There are two ways to remove them: by abrading or redissolving.
On all finishes except some very high-performance ones such as catalyzed varnish, which are often impossible to repair, cut the finish film back to below the damage. Rub using #0000 steel wool or any rubbing compound – even non-gel toothpaste if the damage is superficial. The finer the grade of abrasive, the slower the cutting and the glossier the sheen you will leave.
On shellac, wipe the surface lightly with a cloth barely dampened with denatured alcohol. On lacquer, dust on some lacquer retarder using a spray gun. Aerosols containing the retarder Butyl Cellosolve and labeled “blush remover” or something similar are available from many finish suppliers or online.
Fissures in the Finish Film
It’s sometimes possible to repair fissures by sanding the ridges level and applying more finish on top. Sand with very fine sandpaper (#320 grit or finer) so you don’t remove more of the finish than necessary. It’s best to sand the entire surface to scuff and clean it so the new coat will bond well.
You can apply any finish. But if the finish contains lacquer thinner, begin with very light mist coats because the lacquer thinner may blister an existing finish if applied really wet.
Peeled Finish
When the finish begins to separate from the wood, there is no way to reattach it. The finish has to be replaced. Begin by removing all the loose finish. If you can bring the color back to the bare areas by wiping them with a non-destructive liquid such as mineral spirits, then all you have to do is apply a clear finish to complete the repair.
If the color of the bare areas is light or uneven, you will have to darken or even it. Sometimes wiping the entire surface with a stain works. Other times you can brush stain or spray a toner onto just the lighter areas.
Raised Grain
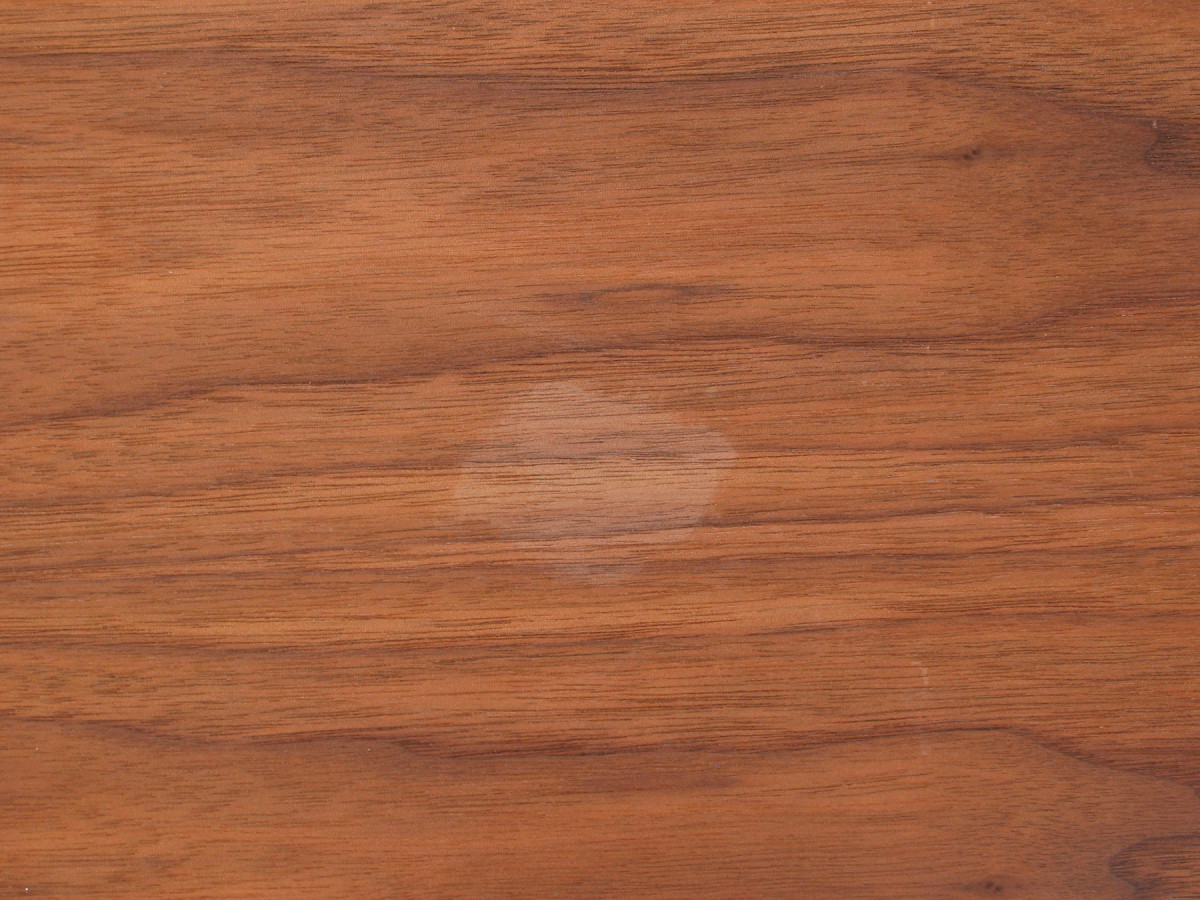
Raised grain. Close in appearance to milky-white watermarks is raised grain in a thin oil or wax finish. Water penetrates these finishes quickly because they are so thin, and it raises the grain, which reflects light differently and makes the area appear lighter (center). You need to smooth the raised grain with an abrasive and apply more finish.
Fuzzy wood most commonly occurs under oil and wax finishes because these finishes are so thin. Unlike a thicker film finish, they aren’t good at preventing water penetration.
The raised grain caused by the water reflects light so that the area appears lighter, but not as light as milky-white watermarks. Correct the problem by smoothing with #000 or #0000 steel wool or fine sandpaper. With an oil finish you can lubricate the abrasive with some of the same oil. Then add more coats of oil to the entire surface.
Black Marks
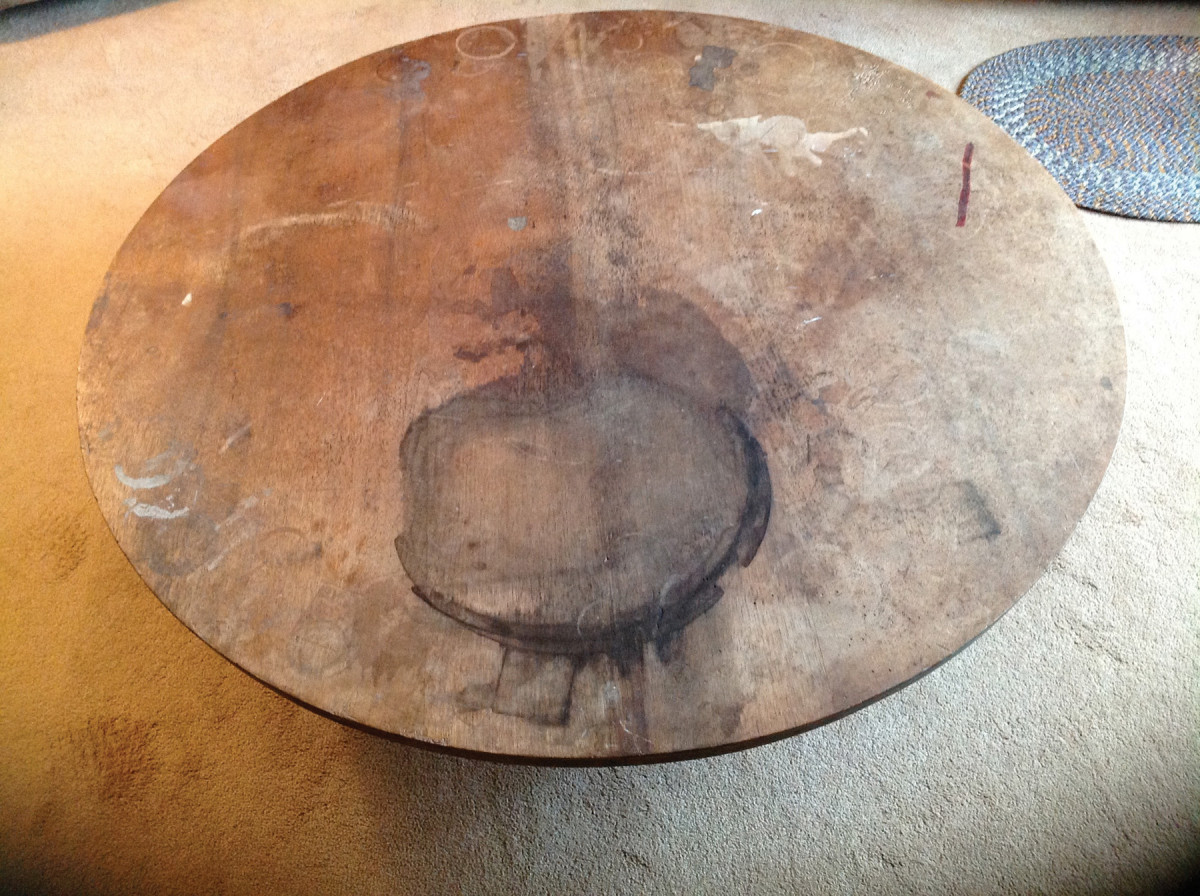
Black watermarks. When water gets into the wood through a finish (or because there’s no finish), the water can cause unsightly black marks. It’s hard to imagine them being worse than this. But they can usually be removed entirely by brushing on a hot solution of oxalic-acid crystals.
Dark stains are caused by water, in combination with metal residue, getting through the finish and staining the wood. You can remove these marks with oxalic acid. But you usually have to remove all the finish first so the acid can penetrate evenly.
Dissolve some oxalic-acid crystals, which are available at paint stores or online as “wood bleach,” to a saturated solution in hot water. Brush the hot solution over the entire surface, not just over the stains, so the bleaching will be even.
Then wash off the residue crystals when the solution dries.
Let the solution dry, then wash the crystals off the wood with a hose or well-soaked sponge or cloth. (Don’t brush the crystals into the air or you may inhale them and choke.) Wash the surface well with water. I’ve never found it necessary to neutralize the acid residue in the wood.
Sometimes, a second or third application after the previous one has thoroughly dried is necessary.
Peeling Veneer
Veneer usually separates first around edges. Blisters in the middle of surfaces are more difficult to repair.
If you can get under the veneer, remove the old glue by sliding a folded piece of sandpaper (#100 grit to #180 grit) back and forth between the veneer and the substrate while pressing on the veneer. If the veneer has cupped and won’t lay flat, moisten the topside enough so it will.
Blow out the dust and insert new glue under the veneer using a putty knife, strip of veneer or a syringe. Then clamp it using a flat block (curved if the substrate is curved) and a piece of waxed paper between the block and the veneer to prevent them sticking together.
You usually can’t get under blisters to remove the old glue, so you will have to reglue without cleaning. Dampen the veneer if necessary to make it flexible enough so that it can be pressed without splitting.
Warps & Splits
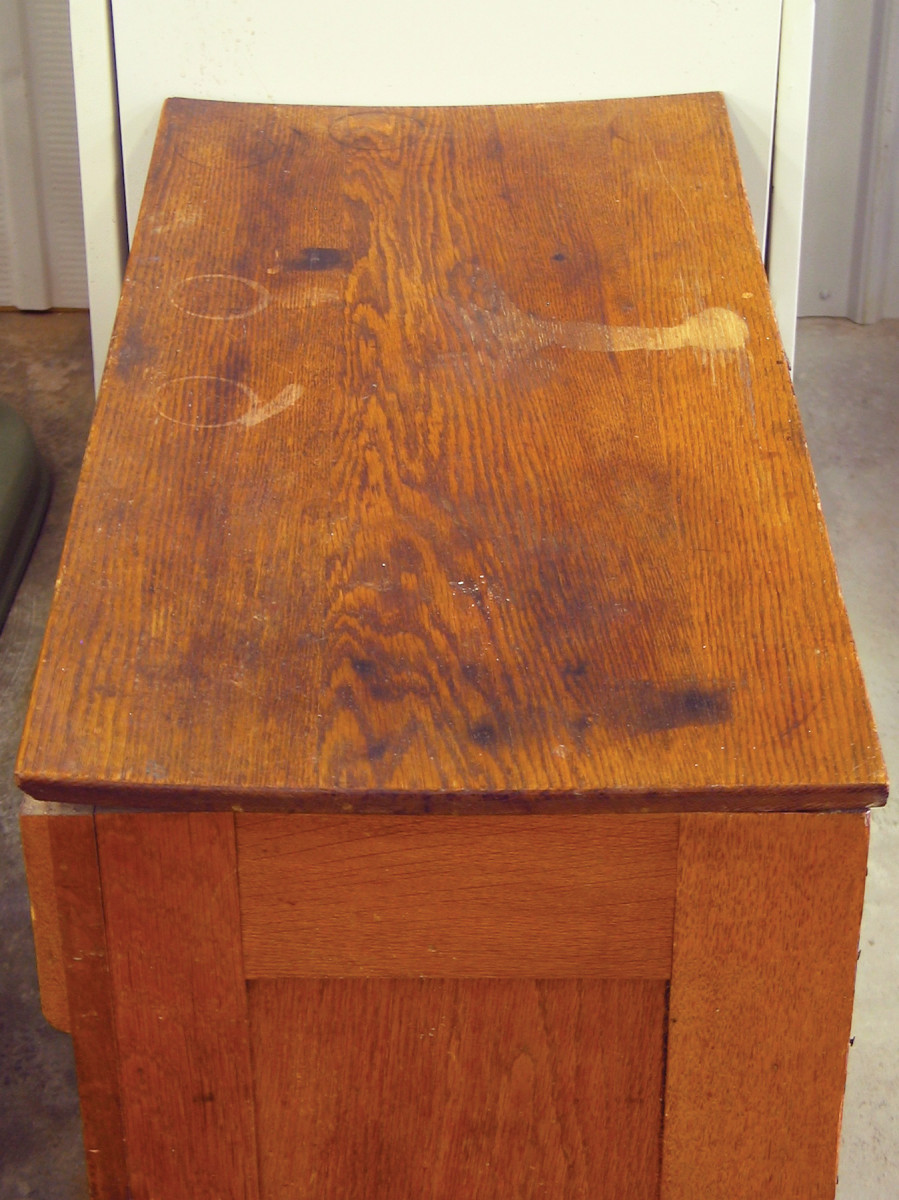
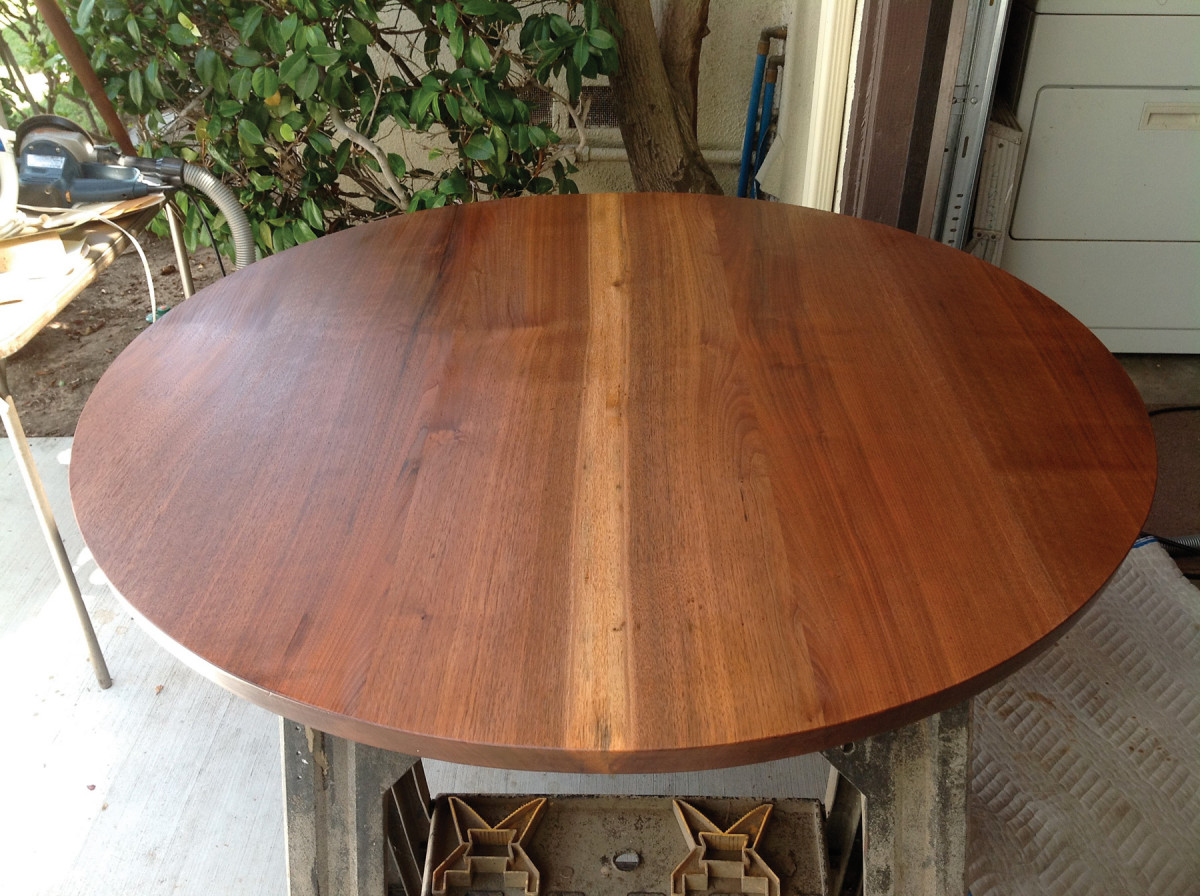
Warped top. Besides watermarking table and chest tops, water can cause warping if it comes in contact with a wooden surface often enough. The repeated wetting and drying out of the wood causes it to non-intuitively shrink rather than swell and expand due to the phenomenon of compression shrinkage. The cupping can often be reversed by repeatedly wetting and drying the bowed side.
Repeated wetting and drying, especially on one side only, causes wood to cup. The wood cells on the wetted side become compressed due to “compression shrinkage.” Eventually the stress is so great that splits appear.
You see this cupping and splitting most commonly on cutting boards and wood decks though it also happens on the tops of tables and chests.
Although it involves a significant degree of work, the most effective method of flattening warped boards is to expose the opposite (bowed) side to the same sequence of wetting and drying.
Joint Failure
Though it usually takes extended contact with water for joints to fail, this problem is seldom difficult to fix as long as the joints still fit. Simply remove any remaining old glue and reglue.
Waterlogging
When wood becomes waterlogged, there is nothing to do but let it dry out and see if it is still functional. Solid-wood parts will usually survive. MDF or particleboard usually won’t, though sometimes you can add some trim to disguise the swelling.
Here are some supplies and tools we find essential in our everyday work around the shop. We may receive a commission from sales referred by our links; however, we have carefully selected these products for their usefulness and quality.


