We may receive a commission when you use our affiliate links. However, this does not impact our recommendations.
Here are the online extras for the June 2024 issue of Popular Woodworking Magazine. Interested in having the magazine delivered directly to your mailbox (physical or email) six times a year? Subscribe here.
Download: Nautilus Star Instructions
Download: Kitchen Utensils Template and Sled Dimmensions
Download: Kitchen Utensils DXF Files
Deep Dive: Shop Cabinet Details
 A few details will complete your cabinet project, so you can take full advantage of the new storage space. A custom backsplash is the final touch to give the project a finished look – and you can get creative here. I made decorative “tiles” from 1/4″ MDF painted with three different cabinet paints. If you’re spraying the cabinet boxes anyways, it’s not too much more work to paint the MDF squares. I alternated 9” squares and 9” x 18” rectangles for an interesting look. Chamfer three edges of each tile to add some texture to the wall. A 1/2″ wide trim is chamfered and painted with an accent color, because no shop is complete without a racing stripe, right? A quick coat of black paint on the wall ensures a good-looking end result. If you have a wall outlet, use a 1/4″ box extender and check local electrical codes. Attach the tiles to drywall with 100% silicone adhesive.
 Locking Rabbet Drawers are Bulletproof
Let’s back things up and talk about a simple drawer solution for your new cabinets. Sure, you could break out the dovetail jig, but a utility cabinet like this screams for locking rabbet drawers. Luckily, it’s one of the easiest joints to make with a dado blade at the table saw. Plus – this method works equally well with solid wood or plywood construction. I had just enough poplar left over, so I decided on 5/8” solid wood drawer boxes. Size the drawer parts to fit the cabinet openings, minus 1” width for the drawer slides. The drawers can pretty much fill the full height of the openings, just allow 1/4″ at top and bottom for clearance. Start by setting up a 5/16” wide dado blade and cut a dado in each of the drawer sides. Space the dado 5/16” from the ends of the boards and make the cut on both ends. The idea is to use dimensions that are truly half the thickness of your stock, so if your drawer boxes are a different dimension, keep that in mind. Next, cut a tongue on the drawer fronts and backs to match.
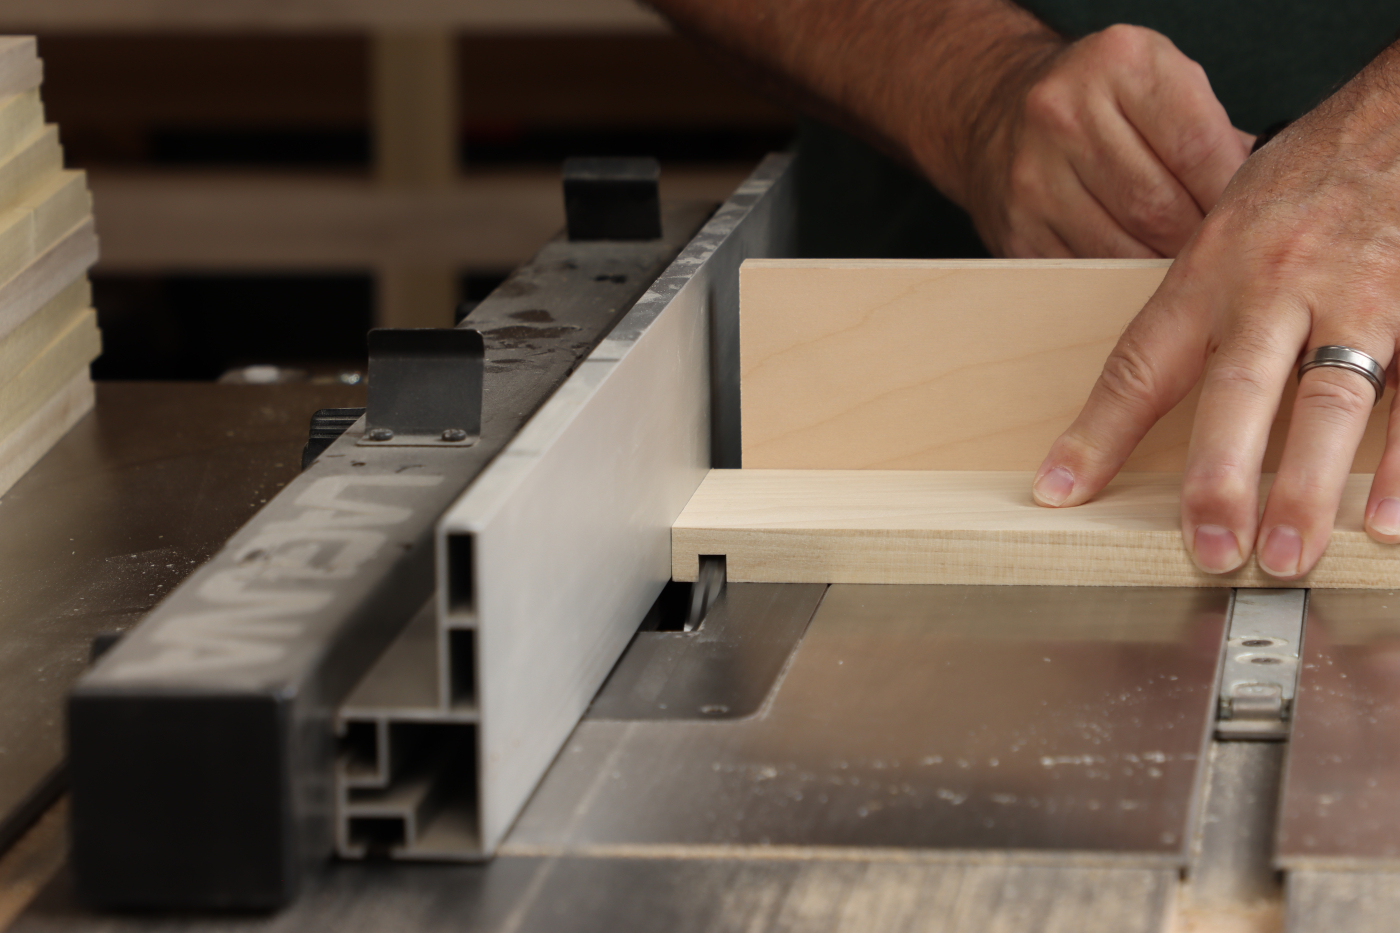
1. Cut a 5/16” wide dado in the drawer sides, spaced 5/16” from the end. Use your actual drawer stock to set the rip fence.
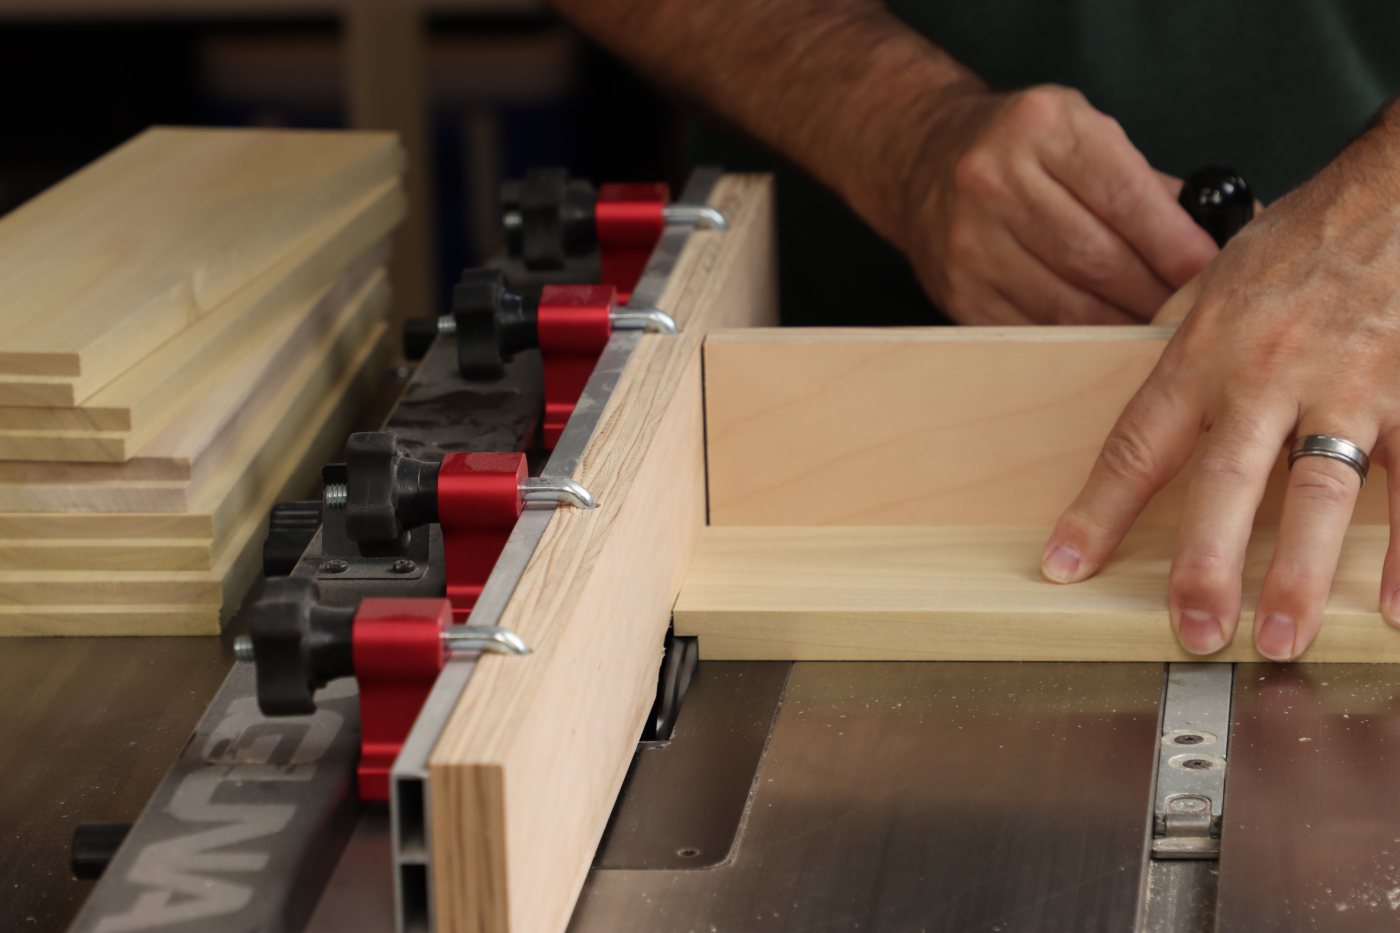
2. Keep the blade height at 5/16” from the previous step and adjust the rip fence for rabbets on the drawer fronts and backs
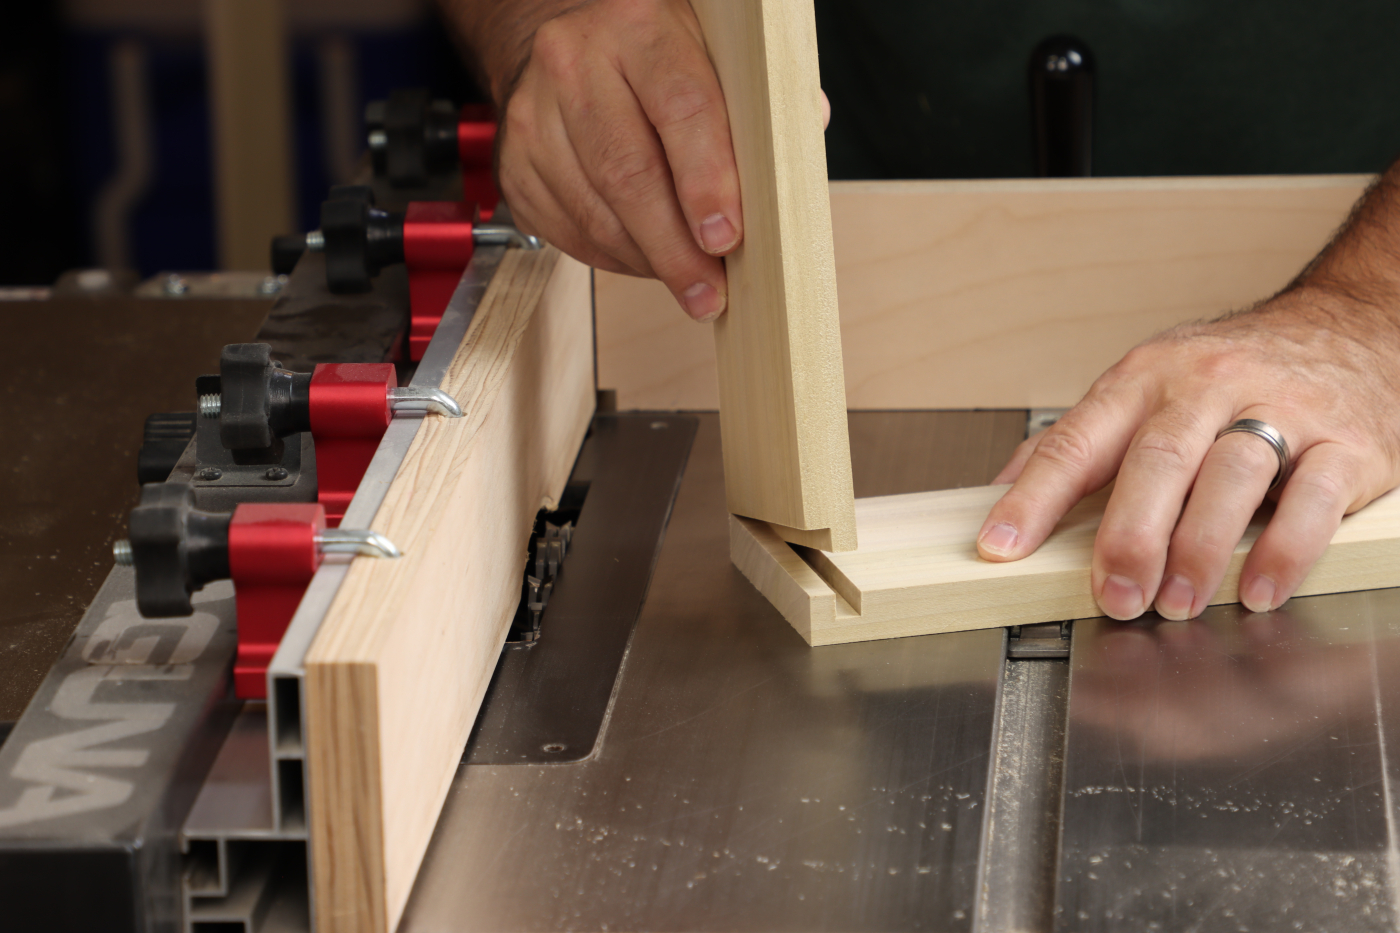
3. Test the fit and batch out the rest of the rabbet cuts.
Some builders advocate a “Half / Half / Half” method where all the cuts are made with one setup. I find that approach problematic because it requires one cut to be made vertically over the dado blade. Unless you have a zero-clearance dado insert for a 5/16” wide blade, I suggest going a different route. Instead, simply setup the second cut with a scrap board of the same thickness and cut the tongue with your workpiece flat on the cast iron saw. Once the sample board fits the dado well, go ahead and batch out all the drawer fronts and backs. Then use the same 5/16” dado stack to cut a groove in all the drawer parts to receive the 1/2″ plywood panel. The plywood bottom panel is rabbeted to fit in this groove and is usually slightly recessed from the bottom of the drawer.
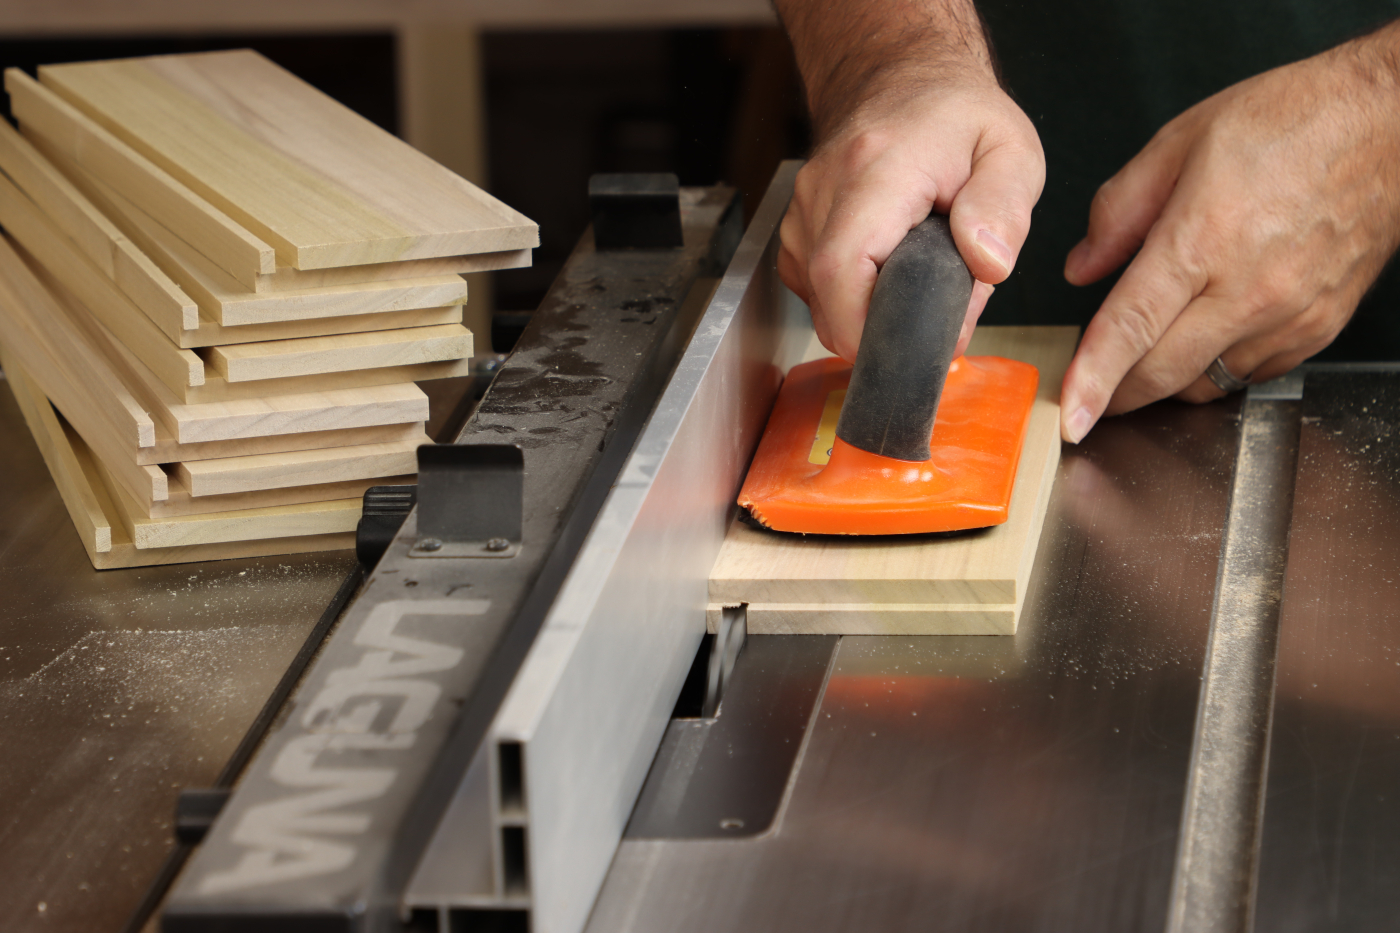
4. Cut grooves in all the parts for the drawer bottom. I used 1/2″ plywood bottoms, rabbeted to fit a 5/16” groove, but thinner ply would work too.
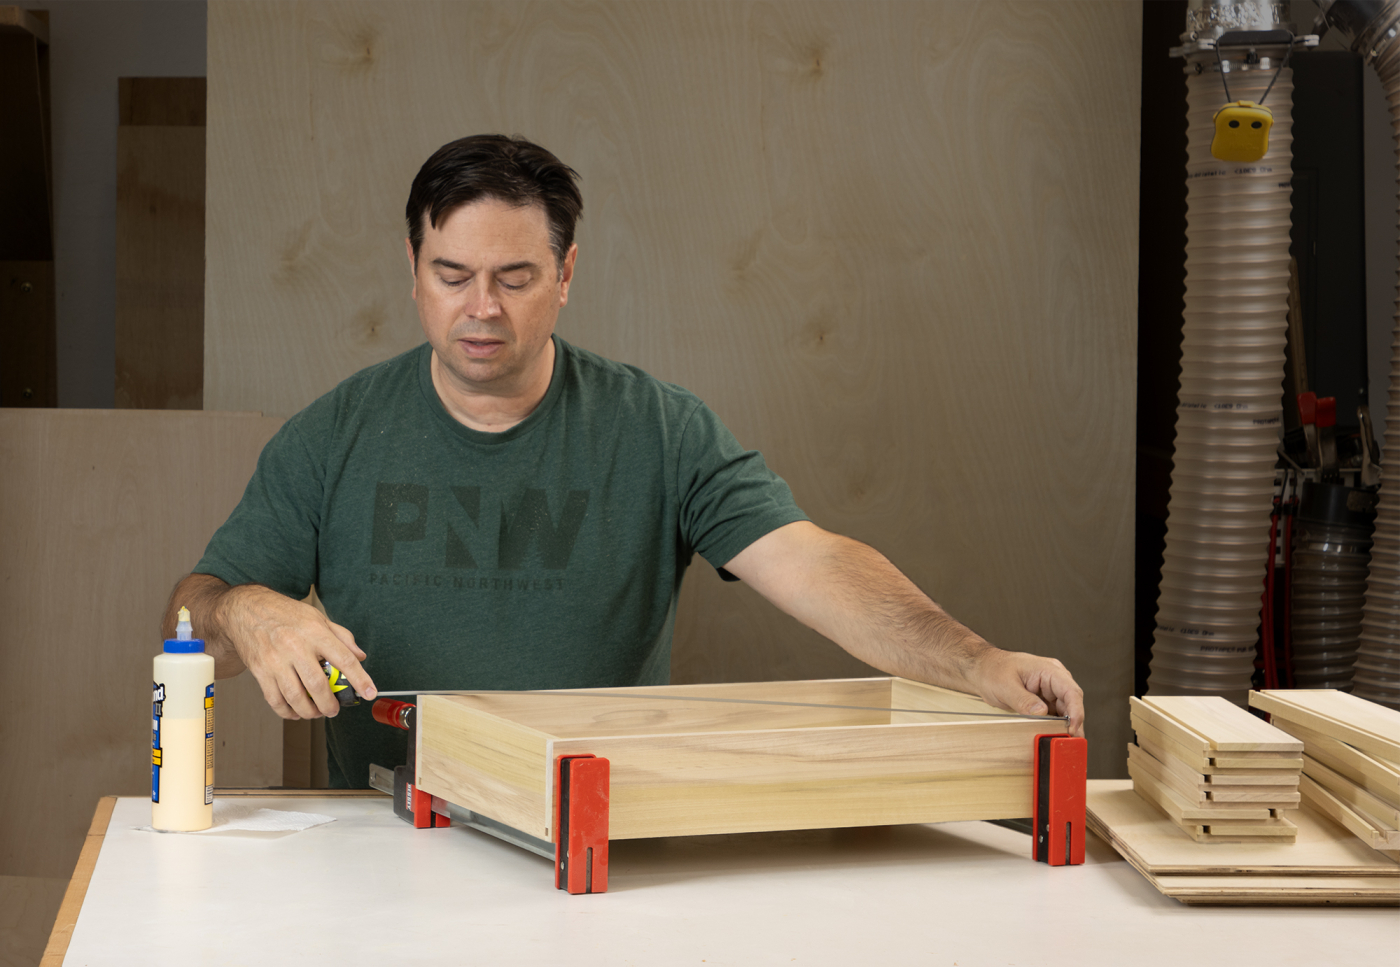
5. Assemble the drawer box with just two clamps and check diagonals for square.
Installing Drawers & Hardware
It’s typical to need spacer strips inside the cabinet for a nice flush surface to mount ball-bearing drawer slides.
Use a combination of plywood and solid wood to bring the surface even with the face frame, and brad nail them in place. Mount the 22” long over-travel slides to the cabinet, then add the drawer. Add screws through slotted holes to allow some adjustment and slide the drawer out a bit more and repeat the process. Soon you’ll have sturdy drawers for easy access to small shop accessories. Drill holes in the drawer fronts for pulls and use these holes to temporarily mount the drawer front. It’s quicker and easier than double-sided tape or clamps. Next, permanently attach the drawer fronts from inside the box and add the hardware as usual.

6. Add plywood or hardwood spacers as needed for a flush surface to mount the drawer slides.
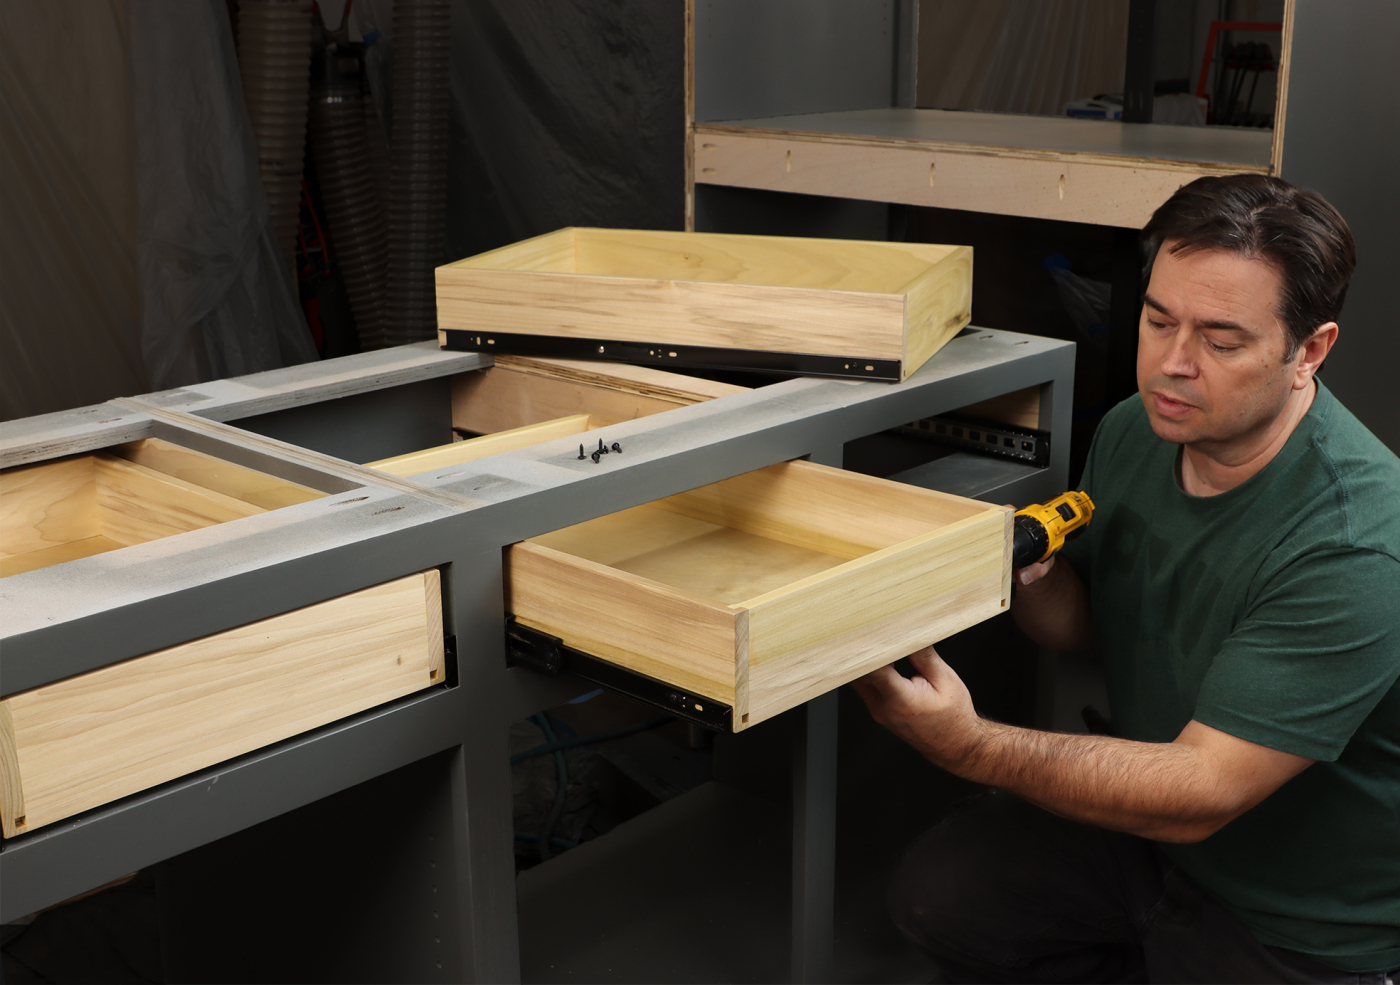
7. Set the drawer on 1/4″ spacers and install the slides starting at the front and working toward the back.

8. Use a jig to drill 3/16” holes for the pulls, which have 5” on-center spacing.
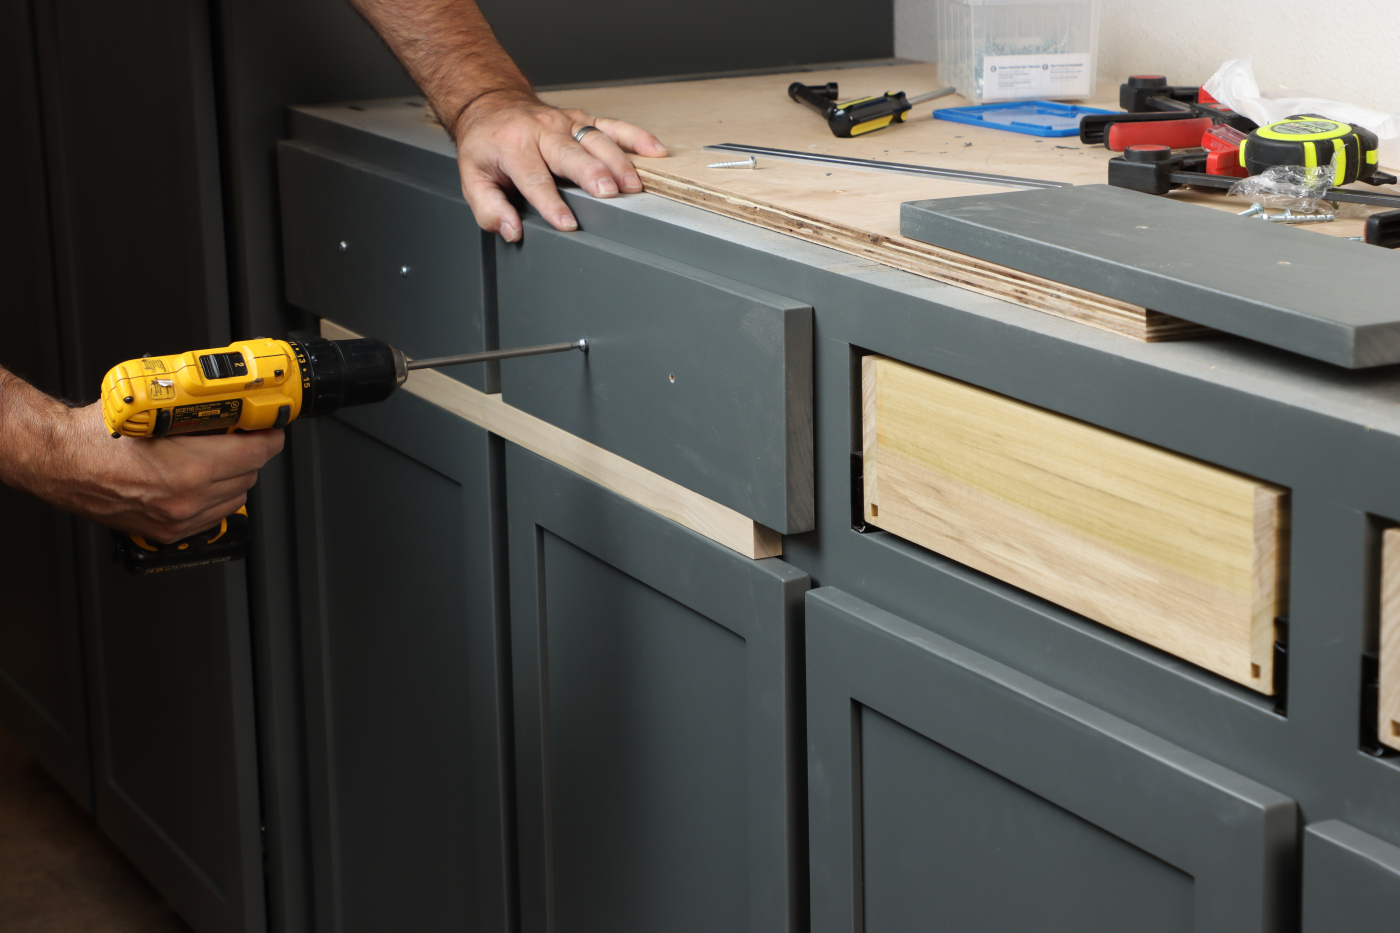
9. Rest the drawer fronts on a 1” wide spacer and temporarily attach it to the drawer box through the hardware holes you drilled.
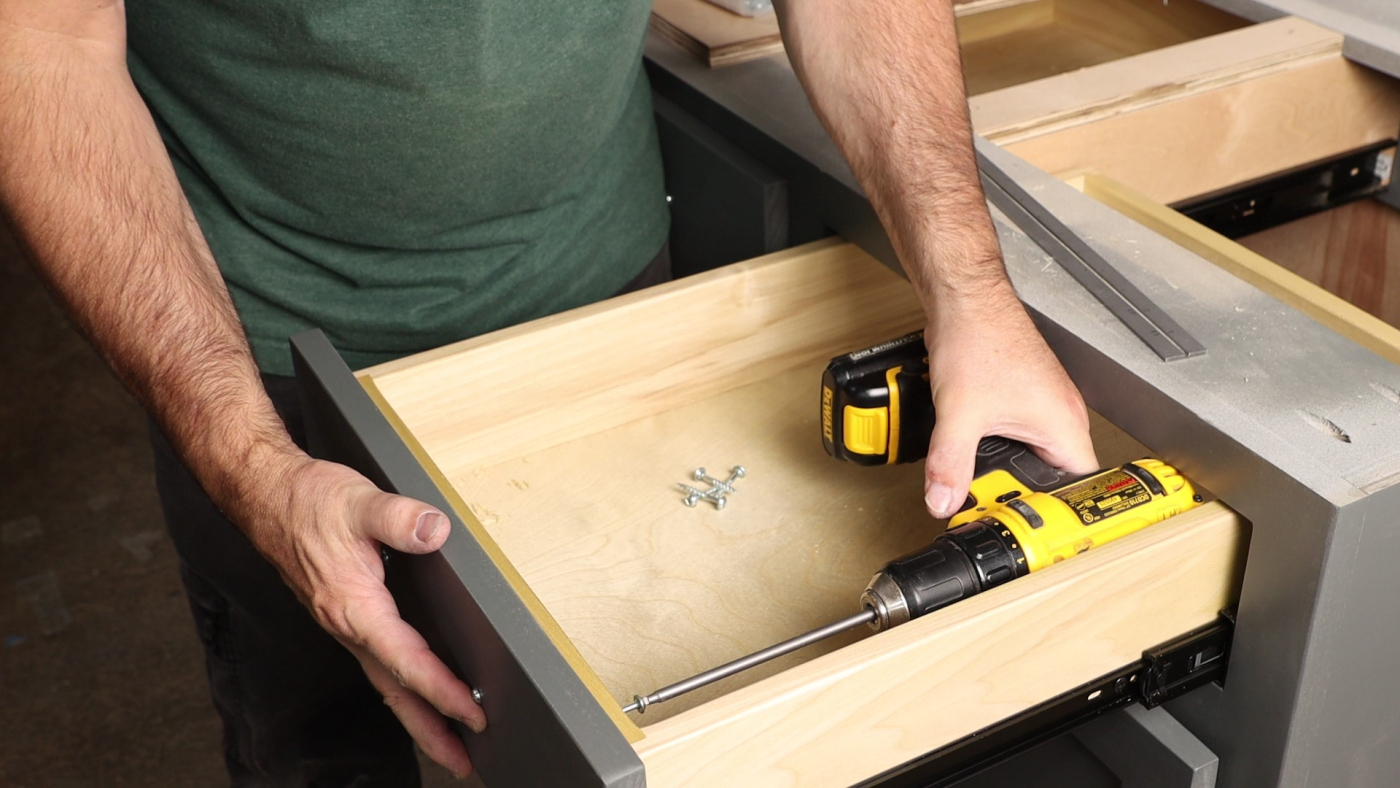
10. Finally, secure the drawer front permanently from inside the drawer with four screws and mount the hardware.
A Counter Tops it Off
There are several good options for a shop countertop and I debate briefly on a butcherblock top. However, few solutions rival plastic laminate for ease of use. Plus, if you wrap the edges with T-molding it doesn’t look half bad – and avoids the usual sharp edges. The challenge with gluing two pieces of MDF together is getting adequate clamping pressure in the middle. Most thrifty woodworkers set a couple gallons of paint in the middle while the glue dries and call it a day. I found panel clamps, such as Clampzilla 4-way panel clamps from Woodpeckers, to be extremely useful for a good bond. Just apply glue with a disposable roller and add the panel clamps. A few well-placed deep-reach clamps finish the job. Cut one of the MDF layers to final size and leave the second layer slightly oversized. Glue will naturally run down the edge of the counter slab, so make sure to place the smaller panel on top. This will maintain a clean surface to flush trim the edges with a router, once the glue dries. Shape the outside corner to the radius of a quart can of paint and add plastic laminate with contact cement. Remember to let the adhesive tack over for about 20 minutes before setting the laminate in place. Give it a good rolling with a J-roller, or just a shop outfeed roller will do. Trim the laminate with a flush trimming bit and this counter is nearly complete. The final step is to cut a thin slot to accept the 1-1/2” wide T-molding. Most T-molding manufacturers will indicate the correct slot width for the product you purchase. TMolding.com calls for a 0.80” wide slot for T-molding with a 7/64” wide barb. I usually trim a few small notches in the barb to help it bend around corners, but otherwise installation is stone simple. Just tap the molding in place with a rubber mallet and trim to length with tin snaps or a safety razor.
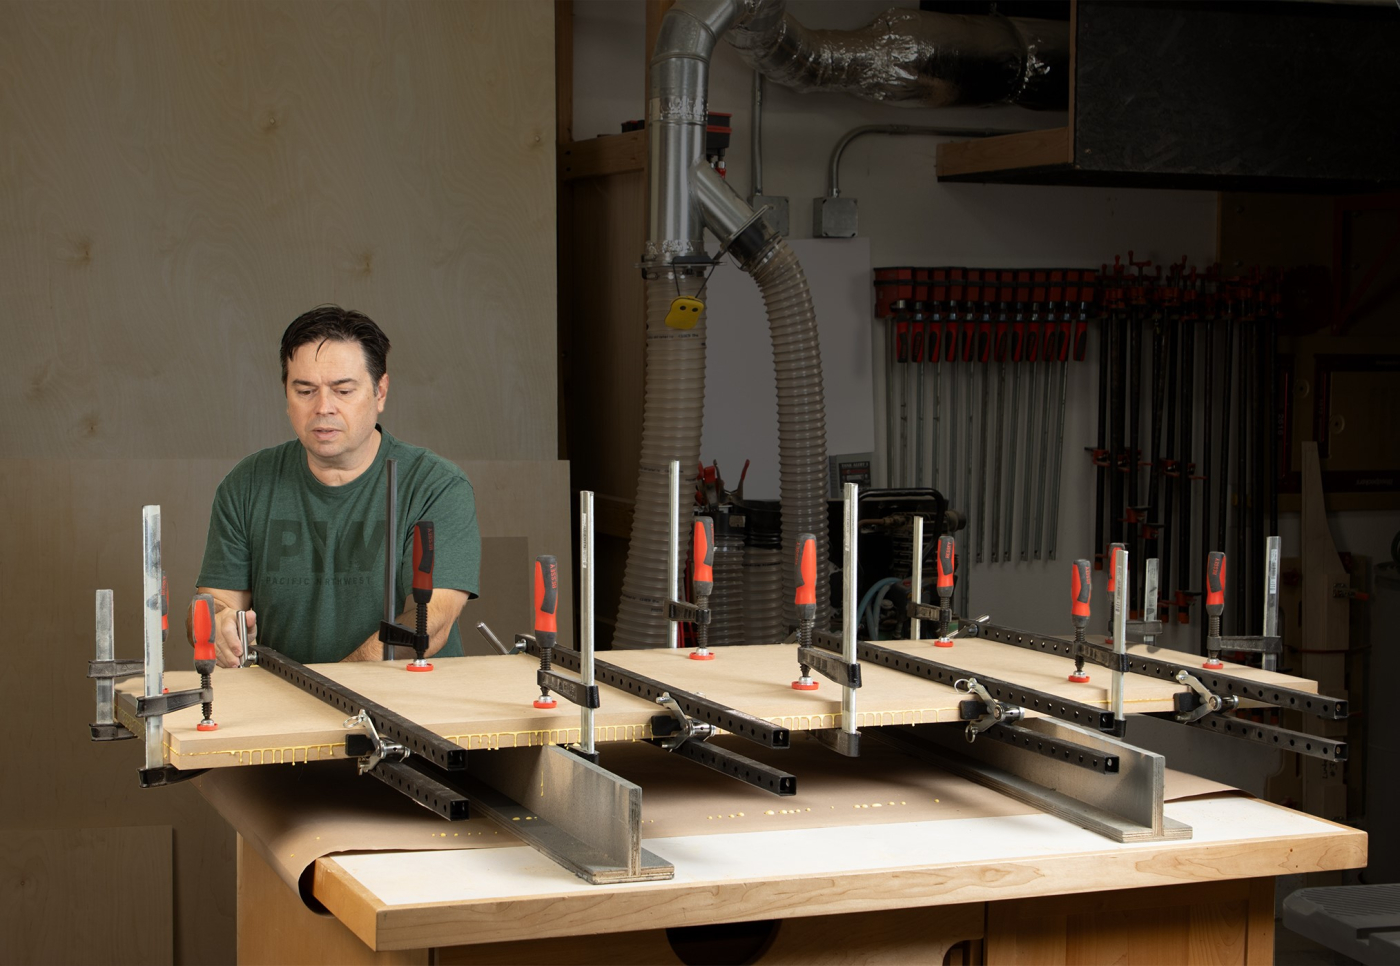
11. Panel clamps help sandwich two layers of 3/4″ MDF together for a countertop.
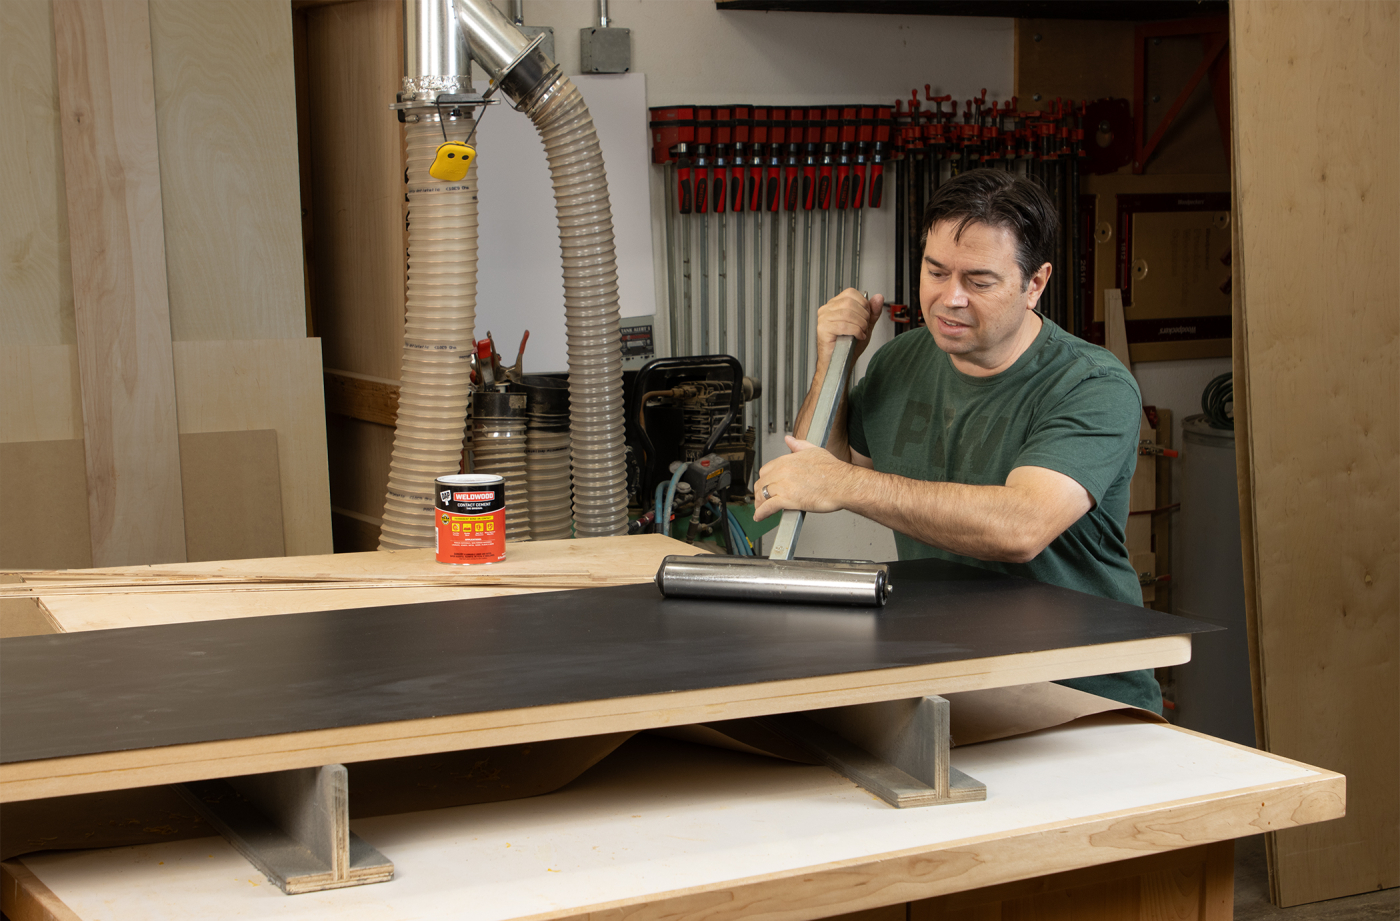
12. Use contact adhesive to attach plastic laminate and roll it with an outfeed roller.

13. Trim the laminate flush with a bearing guided router bit. A compact trim router works great for this task.
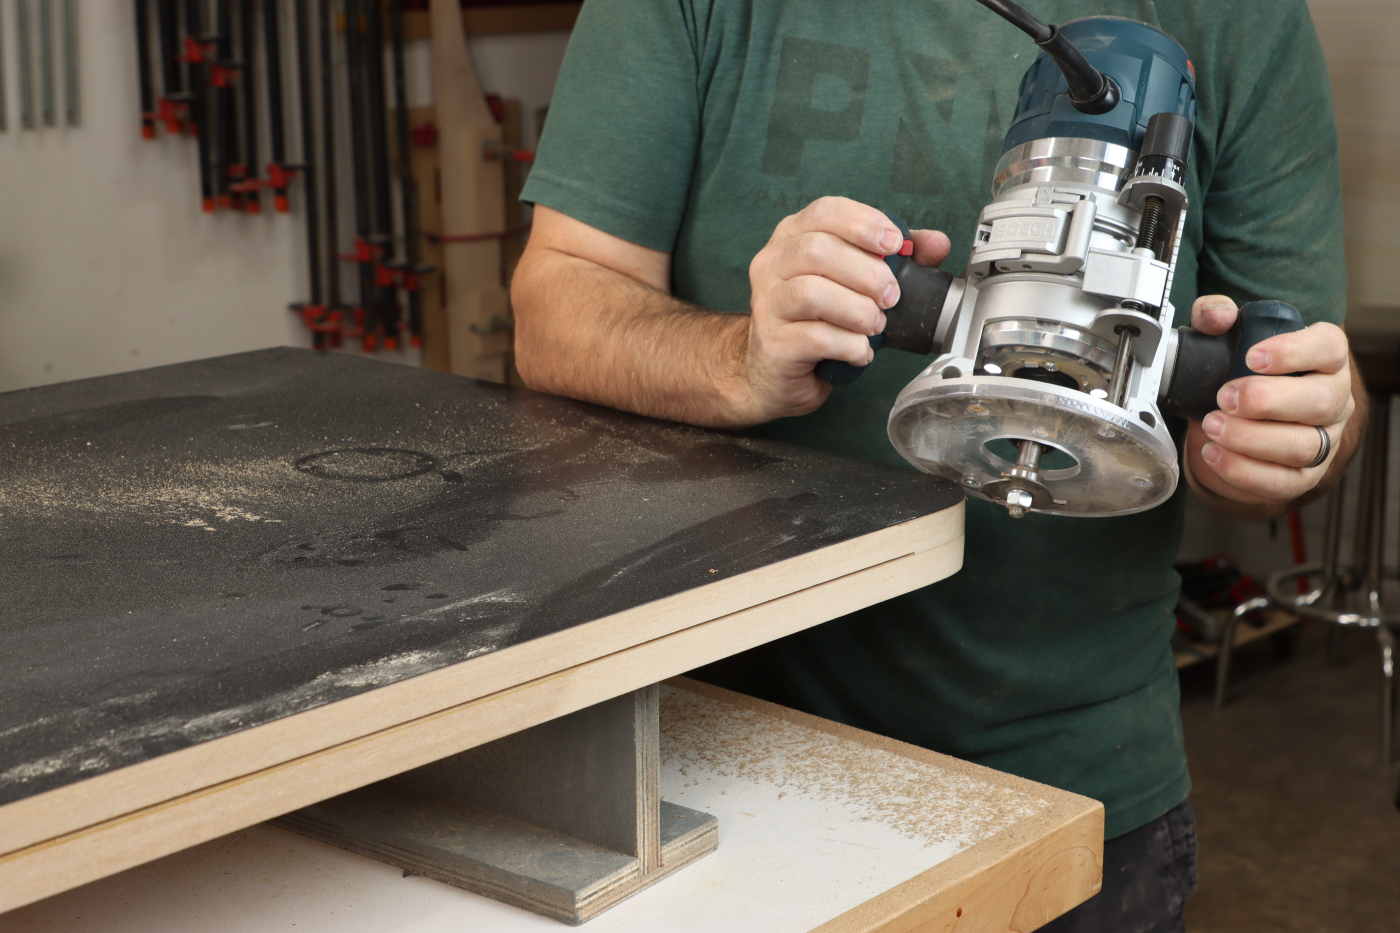
14. Use a slot-cutting bit on the two exposed edges of the countertop.

15. Tap 1-1/2” wide T-molding into the slot and trim with tin snips as needed.
Attach the counter with brads or screws through the cleats of the lower cabinet and stand back to see how it looks. All that’s left to do is load up the cabinets with shop essentials and be amazed that your workspace finally looks clean and organized. – Willie Sandry
Here are some supplies and tools we find essential in our everyday work around the shop. We may receive a commission from sales referred by our links; however, we have carefully selected these products for their usefulness and quality.


 Locking Rabbet Drawers are Bulletproof


