We may receive a commission when you use our affiliate links. However, this does not impact our recommendations.
 My son Asher likes gardening. He loves digging, planting, harvesting, and building makeshift bug habitats for earthworms, beetles, moths, and ants. A few weeks ago, he asked me if we could make a solitary bee hotel for our garden’s bumble bees. I wasn’t sure what a solitary bee hotel was, so I researched and found some fascinating facts about wild bees that I didn’t know. Working with him on this project was fun for us but also very helpful for these incredible buzzing insects. On top of helping our most hardworking pollinators, building the “hotel” was an excellent opportunity to teach Asher about measurements and let him practice drilling with a hand drill and a cordless drill. This project is mainly an educational project, nothing fancy but rather practical, fast, and rewarding.
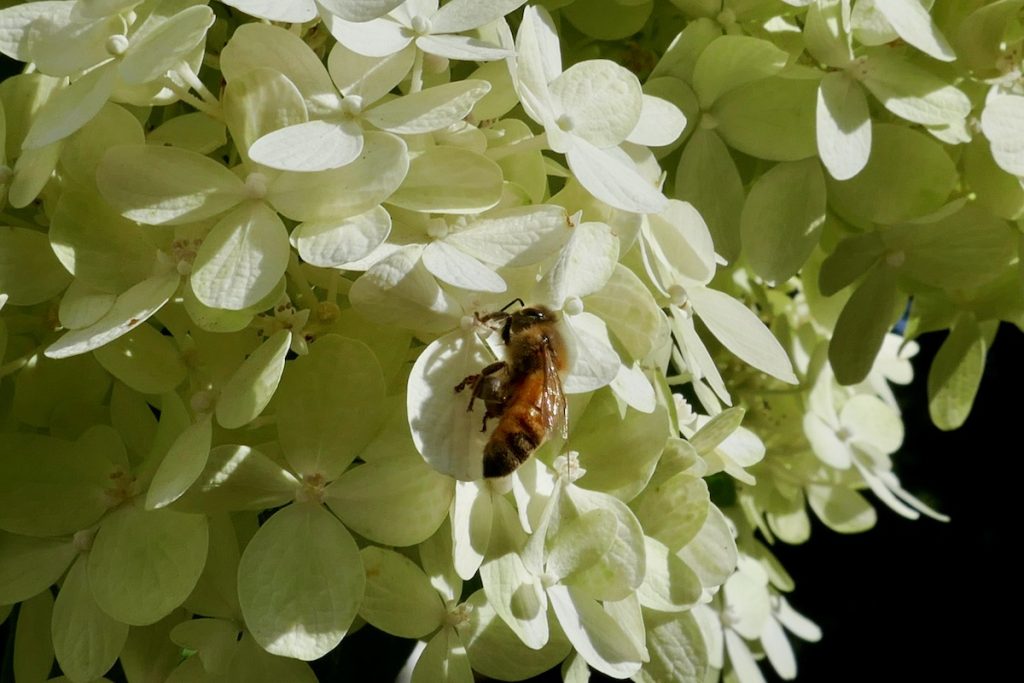
A honey bee at work sucking hydrangea flower nectar.
But before we get into the building process, let’s spend some time with the bees and their wonderful world. While we have all heard about honey bees, not many of us know how significant the contribution of solitary bees (those that don’t live in a hive but instead spend their lives on their own) to our ecosystem. From the chubby and fuzzy bumble bee to the smallest of them all, the tiny Perdita minima, these solitary insects are in charge of delivering pollen from flower to flower, which is the mechanism for plant reproduction, not to mention the catalyst for producing tasty fruits. Solitary bees don’t live in a colony that provides shelter and security but instead need to find safe places to lay their eggs to facilitate the next generation.


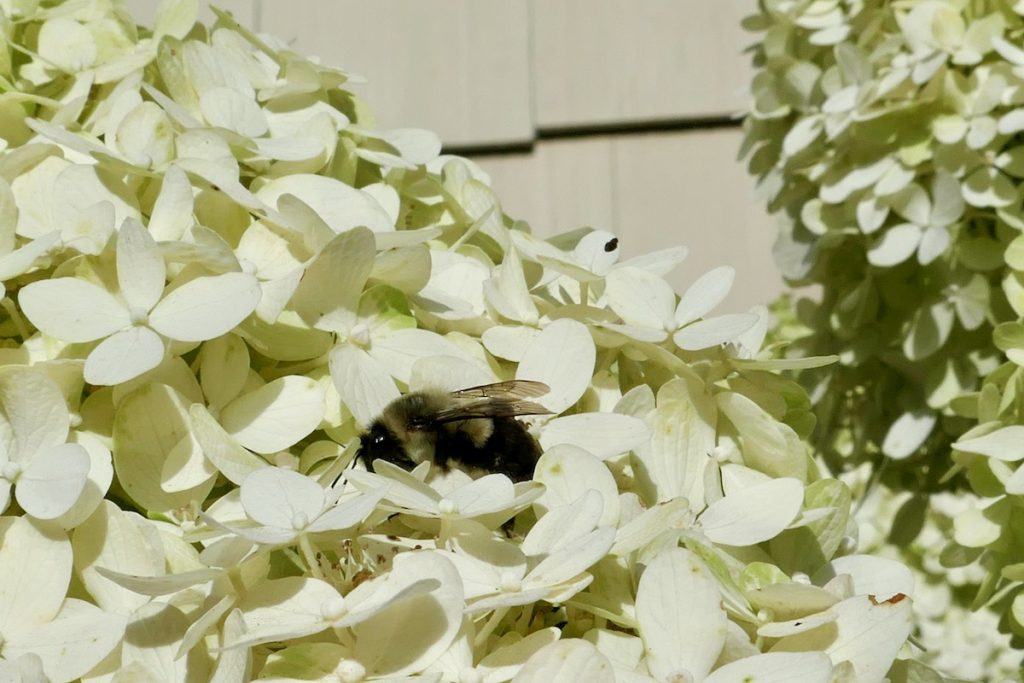
A Solitary bee. I think this one is a bumblebee.
A standard solitary bee hotel (Should the correct name have been: Solitary Bee Nursery?) is made of tubes, groves, or holes staggered together to invite the bee to lay its eggs.

Each species of bee prefers its specific cavity diameter. Giant bees like wide cavities, while smaller species prefer narrow. The bee will enter deep into the hole and pack it with pollen and nectar. Then lay her first egg and seal that chamber behind her. She will repeat this process a few times until the entire cavity is laid out with nursery chambers, between five and eight. You can read more about this fascinating process here.
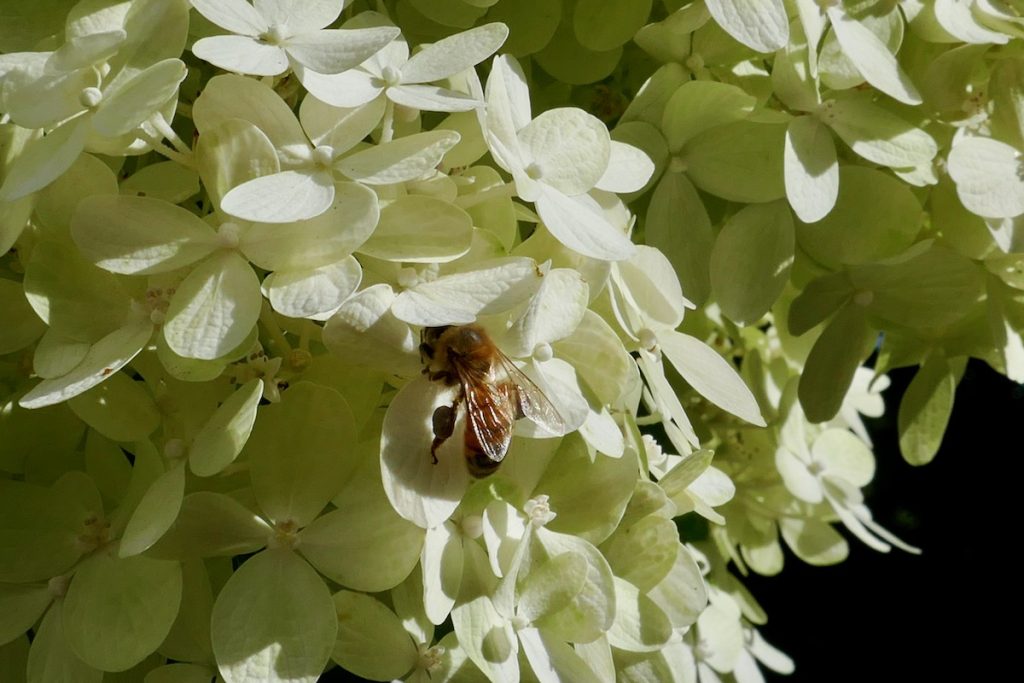
A honey bee
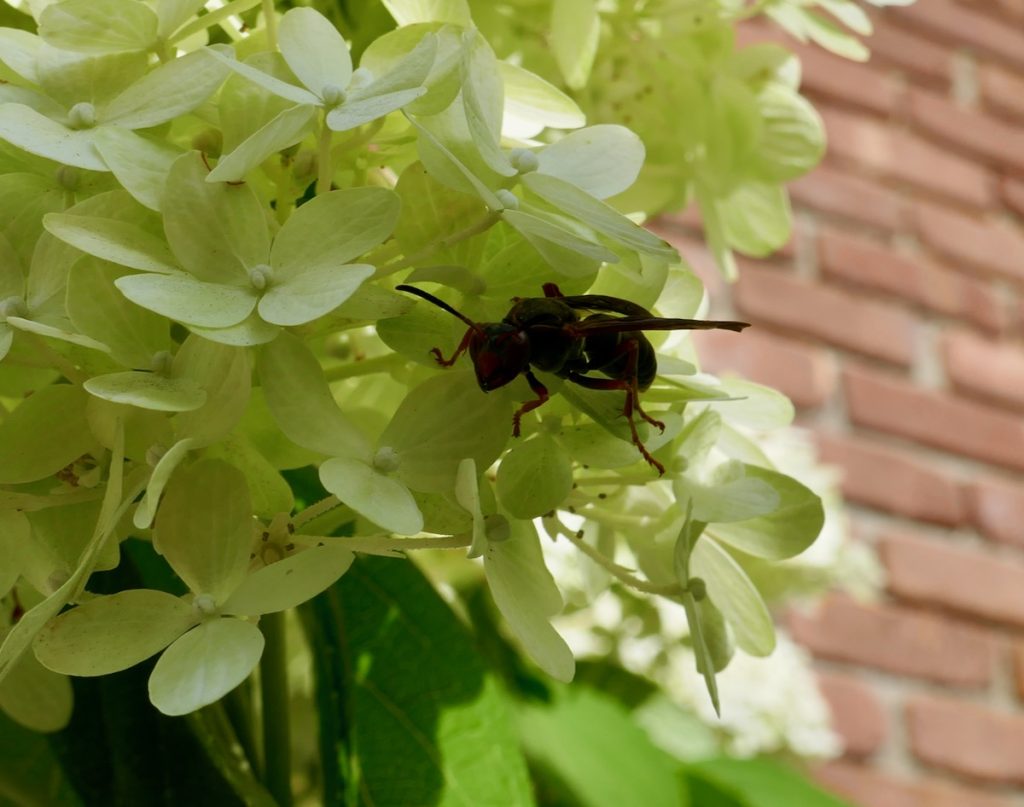
A pollinating hornet.
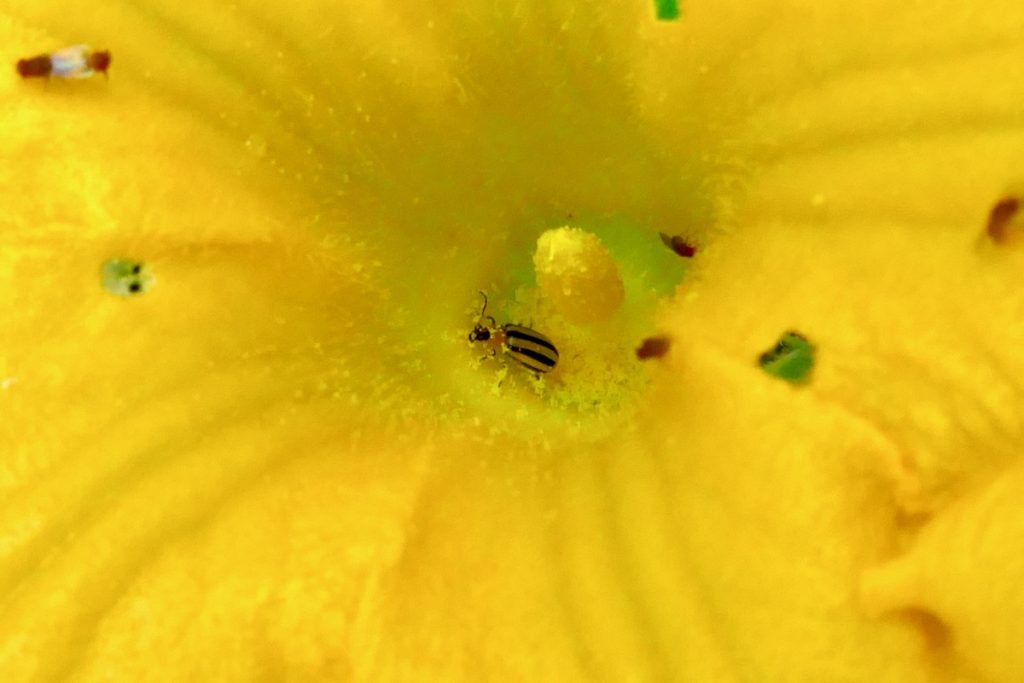
A beetle covered with pollen.
There are many commercial and artisan-made bee hotels out there. Some are made from a bundle of paper tubes, others are bamboo, and then there is the block of wood drilled with many holes of different diameters – which I believe is the simplest of them all. That last design is the subject of our project. Since each species of bee prefer a different diameter, we will have to choose a few drill bit for the project. The smallest cavity diameter (⅛”) will require only a three to four inches deep hole, while the deepest cavity (made by a ⅜” or 7/16” bit) will require a deeper hole of about 6” long. Working with the drill bits and marking them with a masking tape to indicate when to stop drilling was a good exercise in understanding the Imperial measurement system and how it is broken down into fractions. This was the first time I showed Ash a drill-size gauge plate, the extra long drill bits I own, metal snips, and roofing nails.
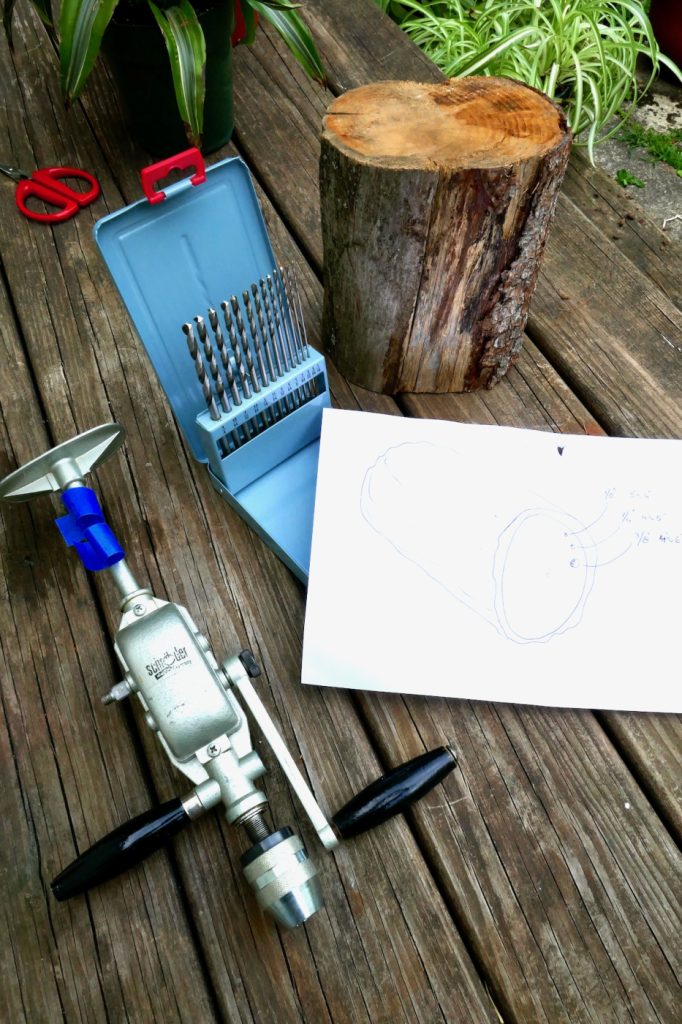
The tools you’ll need.
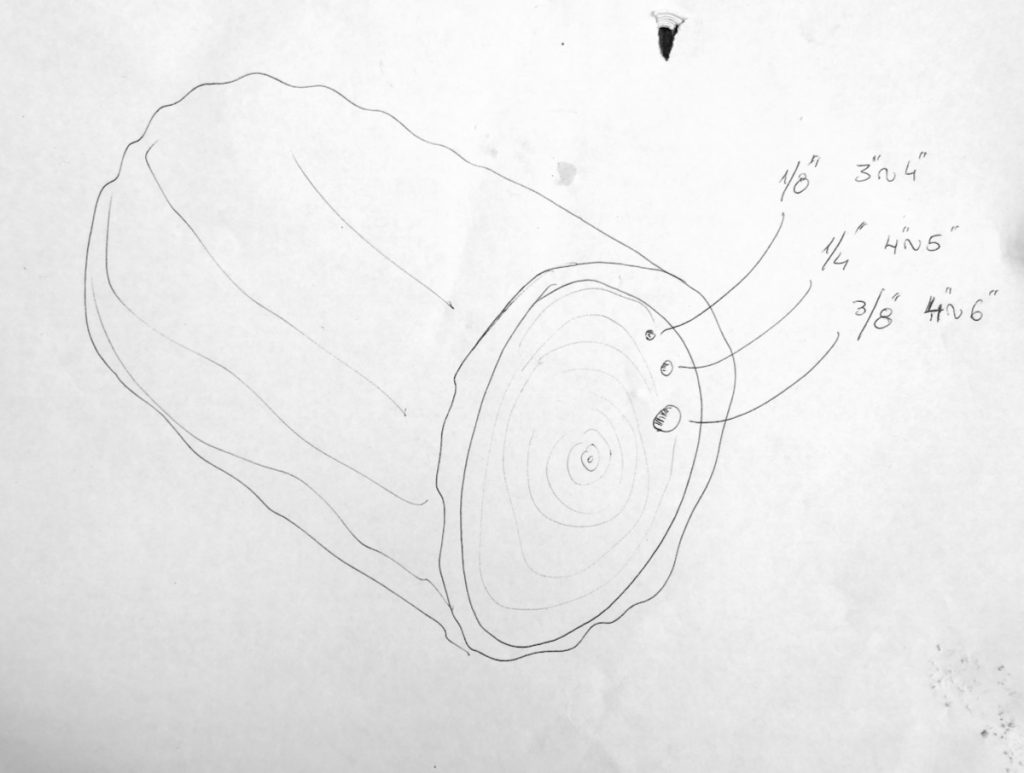
Hole diameter and length.
Start by finding a piece of wood. We used a trimmed branch from our eastern white pine tree.

Mark the holes and their different diameter. I used a sharpie and roughly circled three kinds of diameter ⅛” ¼” and ⅜.”

Affix masking tape to each drill bit to indicate when to stop drilling.

Drill a bit, retract to clear the shaving, and then resume drilling to deepen the hole.


Give your child a chance to try the electric drill – I can promise you that they will love it.

A long drill set like this one is paramount for drilling the small diameter holes to the required extended depth.
Use a plumber’s perforated metal tape (Pipe Hanger Strap) to hang the nursery on one of our trees.
 We cut the tape and rounded the edges using a pair of snips.

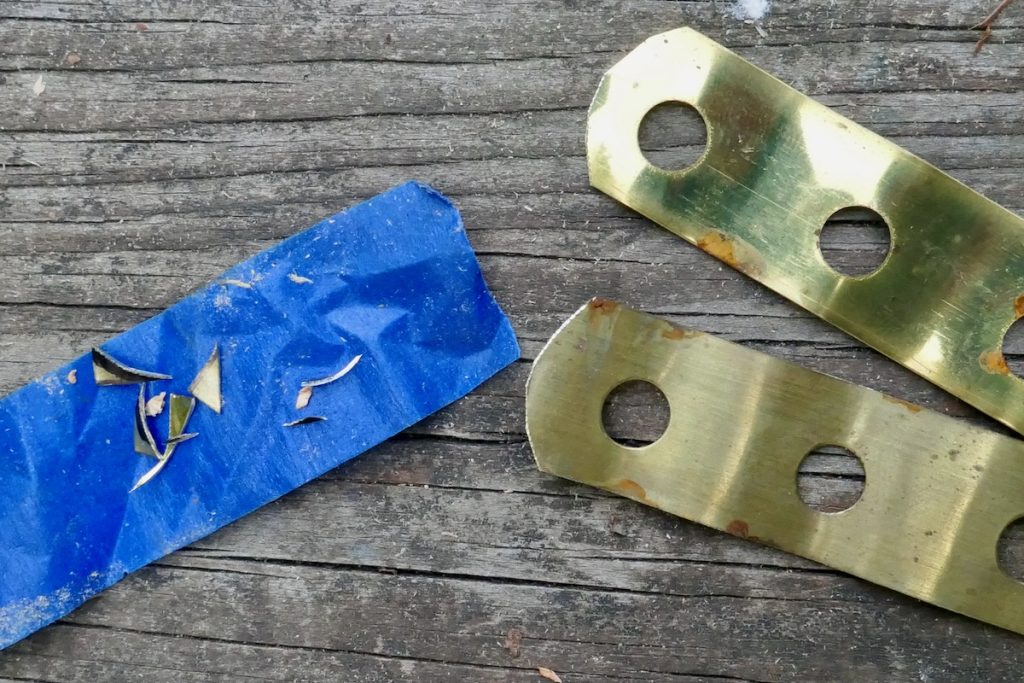
Make sure to collect and throw away the small metal snips. Our son likes to run around barefooted, and any metal shards, like one of these, have the potential to embed nicely under his skin.


We hung the hotel on the tree trunk using a roofer’s nails and made sure that the bark of our hotel faced upward.


After hanging the hotel, I thought a small shingle roof would extend its life and fend off water from the nursery chambers. I found an old shingle and hammered it over the hotel.


This video will walk you through all the necessary steps if you decide to build a nursery from solid wood.
And the below video is a tremendous all-around intro to the different design approaches when planning and building bee hotels.
Here are some supplies and tools we find essential in our everyday work around the shop. We may receive a commission from sales referred by our links; however, we have carefully selected these products for their usefulness and quality.


A great project idea to help one of nature’s workhorses while getting your kids into woodworking at an early age! Fantastic!
Is there an alternative to nailing into a live tree? Not really healthy for the tree.
It could be attached to a fencepost as well.
John, I am not an arborist, but I think that because the nails are relatively narrow and short, they would not harm the tree. The coniferous tree I nailed the bee hotel into immediately secreted resin to seal the hole, so I think it knew how to deal with the punctures quite effectively and naturally. If you don’t want to affix the hotel to a live tree, consider a dead tree, a post, an exterior wall, a fence, or on a support structure.