We may receive a commission when you use our affiliate links. However, this does not impact our recommendations.
Compact Turning Center
Put all your tools and accessories at your fingertips by building this storage rack.
By Jim Williar
|
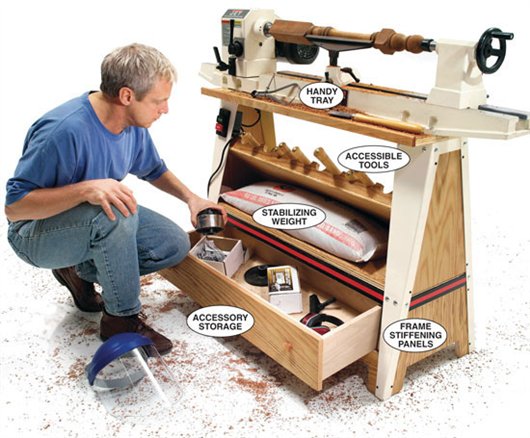
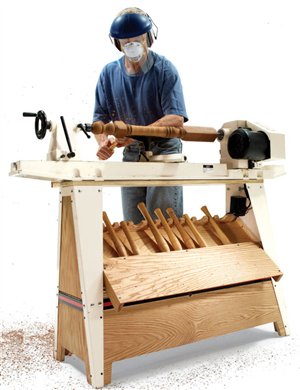
I made turning on my lathe much more enjoyable by trimming out the metal stand that it came with. Now all my turning tools are right at my fingertips, thanks to the built-in tool storage rack. The tool tray keeps calipers and other measuring tools close at hand. Large accessories are stowed in the drawer. The screwed-on panels stiffen the metal frame and dampen it, so my lathe is less noisy. Adding weight (a bag of sand) makes my lathe more stable.
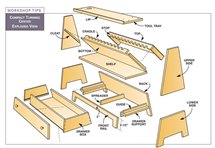
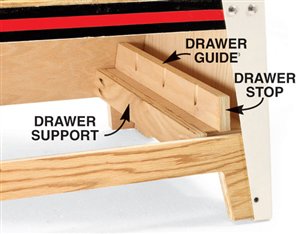
Building Steps1. Remove the lathe from the stand (a two-person job). 2. Determine the width of the drawer front. Measure from the floor to your stand’s horizontal strut and subtract 5-1/2-in. for the toe space and front rail (see Fig A, below). 3. Cut the plywood back, lower sides and front rail and screw them to the frame. 4. Install the L-shaped (two-piece) drawer supports and the spreader. 5. Cut and assemble the drawer box. The ends of the box sides are angled to match the base. 6. Install the drawer guides. First, center the drawer box in the opening, making sure it recesses at least 3/4-in. from the front of the frame, so there’s room for the drawer front. The drawer guides also act as drawer stops. 7. Make and attach the drawer front and drawer knobs. 8. Cut and install the shelf for the sandbag. 9. Make and install the upper sides. 10. Build the tool storage rack. First cut its plywood bottom to fit your stand. Locate the cleats while resting the plywood bottom on the back edge of the sandbag shelf. Fasten the cleats to the side panels. Then fasten the plywood bottom to the cleats. 11. Cut 2-1/4-in.-dia. holes on a length of 4-1/8-in.-wide plywood. Rip this stock in half and fasten the two pieces to the bottom so one piece cradles the tools and the other stops them. 12. Cover the exposed tool edges with a 1/4-in. plywood top. 13. Make and install the tool tray. It should extend no more than 2-1/2-in. in front of the lathe, so it doesn’t interfere with turning operations. Transfer the bolt holes (and one for the power cord, if necessary) from the metal frame to the plywood tray. Drill these holes oversize to allow wiggle room. 14. Sandwich the tray between the frame and the lathe, and bolt them together (you’ll need longer bolts and someone to help lift). 15. Attach a lip to the tray to keep things from falling off. Leave the ends open, so the tray is easy to brush clean. Fig. A: Exploded ViewThis story originally appeared in American Woodworker September 2004, issue #109. |
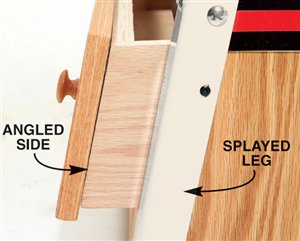
Click any image to view a larger version. The drawer front is shaped to fit. The angled drawer is parallel to the splayed legs so it closes flush. The drawer guides double as stops. Tools nest in the storage rack. |
Here are some supplies and tools we find essential in our everyday work around the shop. We may receive a commission from sales referred by our links; however, we have carefully selected these products for their usefulness and quality.


