We may receive a commission when you use our affiliate links. However, this does not impact our recommendations.
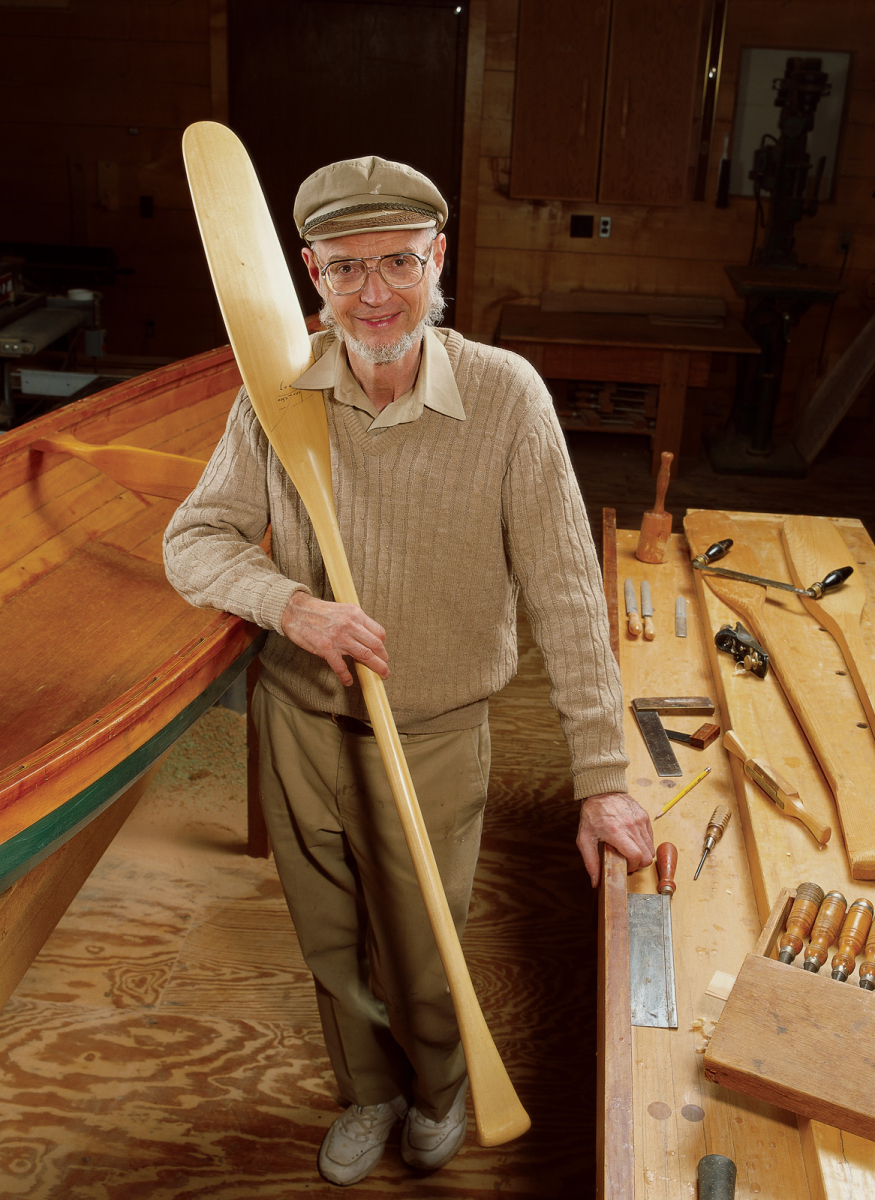
A single length of framing lumber will help you hone your skills with a spokeshave, a drawknife and a block plane.
It was a bright summer’s day in 1993 at historic Strawberry Banke in Portsmouth, N.H. My wife, Sally, and I were unexpectedly in town and noticed a craft show and demonstrations on the green. The area is famous for such crafts as coopering and building Windsor chairs and wooden boats. I’ve always been fascinated to watch skilled demonstrators, and this demonstration by boatbuilder Geoff Burke would not be a disappointment.
Burke captivated onlookers while he made a canoe paddle. Here was a familiar object being made with a few hand tools. The material was a straight-grained 2×6 plank of spruce commonly used for residential framing. The time it took him to carve the paddle: less than one hour.
Everyone appreciated the efficiency with which the job was accomplished (not that reducing the blade thickness with a drawknife is easy – it’s not). But the key is choosing the right tool for each step of the project, knowing how to put the right tool to use and having an eye for proportion to guide it.
But you should be forewarned. A paddle is sculpture in a traditional form and requires a practiced eye for proportion. This is something we’re all born with to a degree, and we can develop it with practice. The exact ratio of “birth-given” and “practice-acquired” is a mystery. I have observed a wide range of accomplishment among my boatbuilding students when assigned this task. Most of my students made a functional paddle; few were able to make a graceful one their first time.
Today, paddle blanks stand in a corner of my shop, some cut out, some waiting as a piece of spruce framing. There are a few that are shaped, ready to be sanded and varnished. And there is Burke’s demonstration paddle, signed and dated to remind me of that summer day when I was blown away by the accomplishment of tools in the hand of a craftsman with an eye to make something of utility and grace.
Choosing the Right Wood
The best wood for paddles will be stiff, strong and lightweight. Maple or ash are fine for structure, but they are a bit heavy for long use on the water. Spruce is lighter and easier to shape. Sitka spruce is acclaimed, and rightly so, for being strong and light. But the effort required to secure that species is quite unnecessary.
There is a classification of construction framing called SPF, which stands for spruce-pine-fir (in this case “hem fir” or “western hemlock”). All three species designated for this class will work in paddle-making. Black spruce is most prevalent, and perhaps the best of the three. Pine has more flex, while hemlock is a little more difficult to work with hand tools.
The wide availability of residential framing stock at a reasonable price is one of the attractive aspects of this project. What is essential is straightness of grain, followed by clear lengths free of knots. Spruce is bedeviled by small knots, and an occasional pin knot will not significantly affect the paddle. I use a drop of cyanoacrylate glue (such as Hot Stuff) to seal small imperfections.
While you need only a 2×6 plank that is 6′ long, you are unlikely to find the best lumber in small sizes of framing stock. The longer (16′ to 24′) and the wider (10″ or 12″) the stick, the better luck you will have getting your clear paddle blank. I believe this is because the mills use the better grade of logs for the longest lengths, resulting in some portion of a long joist (in a house) being clear. Buy the long length, cut your paddle blanks from the best portion and use the rest of the wood for some future project.
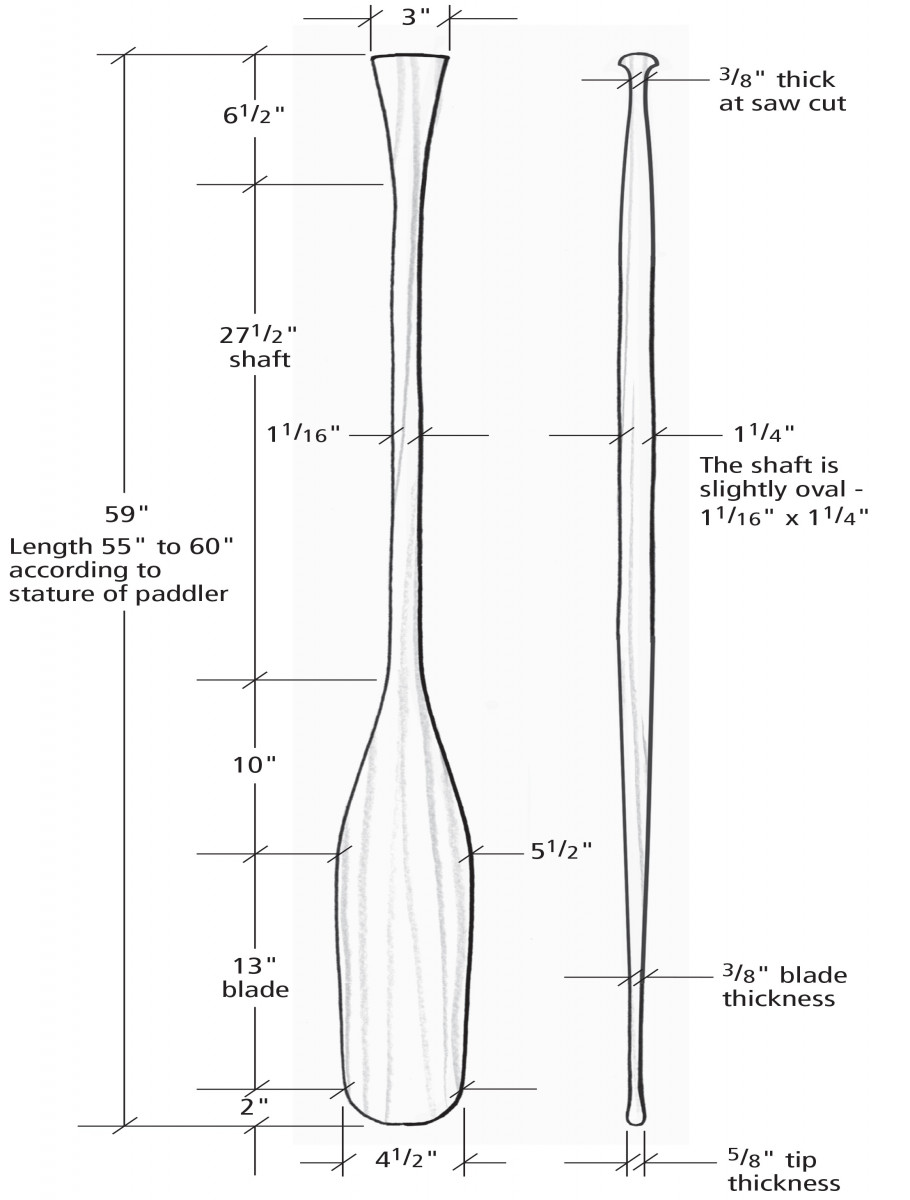
Ten Steps to Making a Paddle
Briefly, here is how the process works: Plane the plank to 1 1⁄4” thickness. Trace and cut the silhouette. Block plane and spokeshave all the sides smooth.
Draw lines around the edges to define the center of the paddle and its thicknesses. Thin the paddle’s blade using a drawknife and a plane. Shape the handle using a hand saw, drawknife, chisel and plane.
Round the shaft by first making it an octagon. Transition the shaft to the blade and handle with a spokeshave. Smooth the paddle, with a wood rasp and sandpaper. And finally, varnish the paddle leaving the grip unfinished.
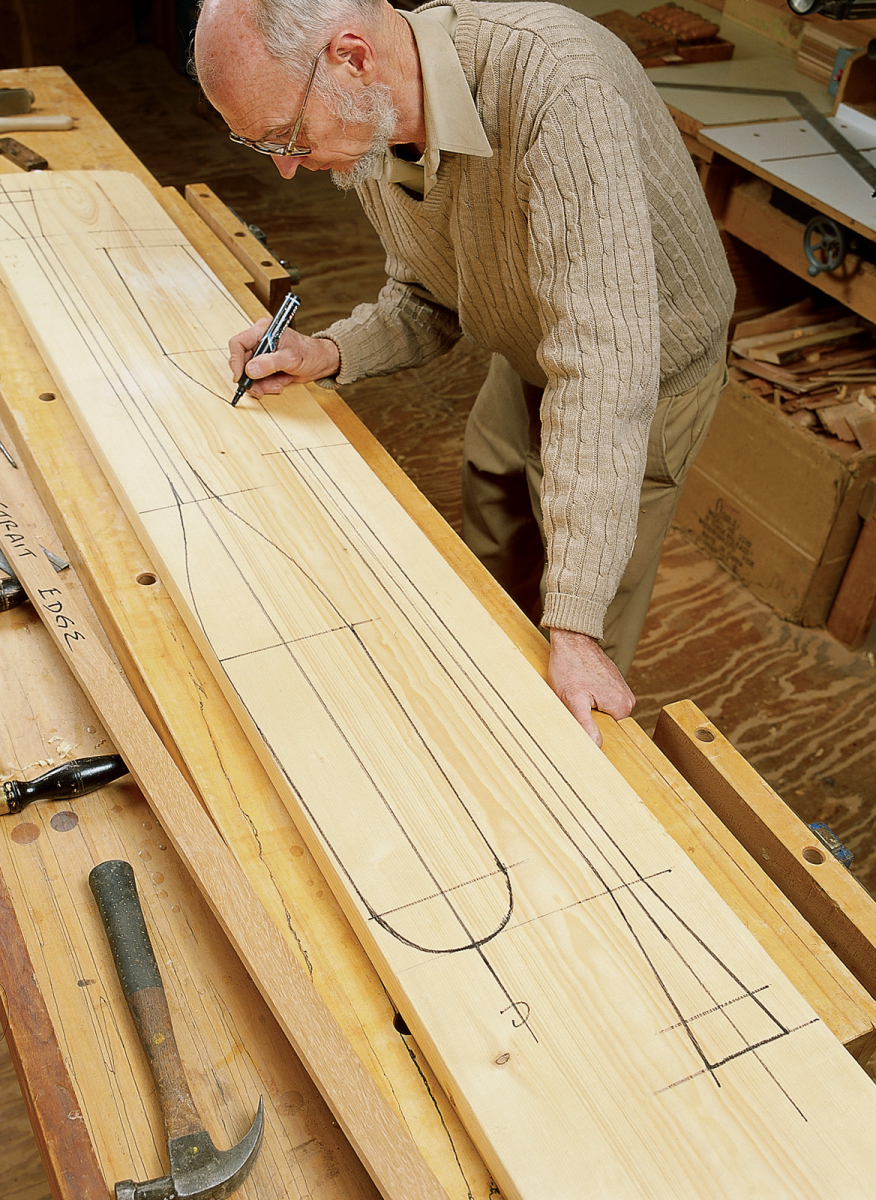
Layout involves transferring the dimensions from the plans. The centerline with cross lines indicate the major points. Connect the straight lines, then sketch in the curved transitions.
Creating a Paddle Blank
Plane your plank to 1 1⁄4” thick. Then draw the silhouette of your paddle. It’s easiest to trace around an existing paddle, making adjustments in shaft length to fit the intended paddler’s height. Paddle length is a personal matter – generally, the paddle should be about chin height.
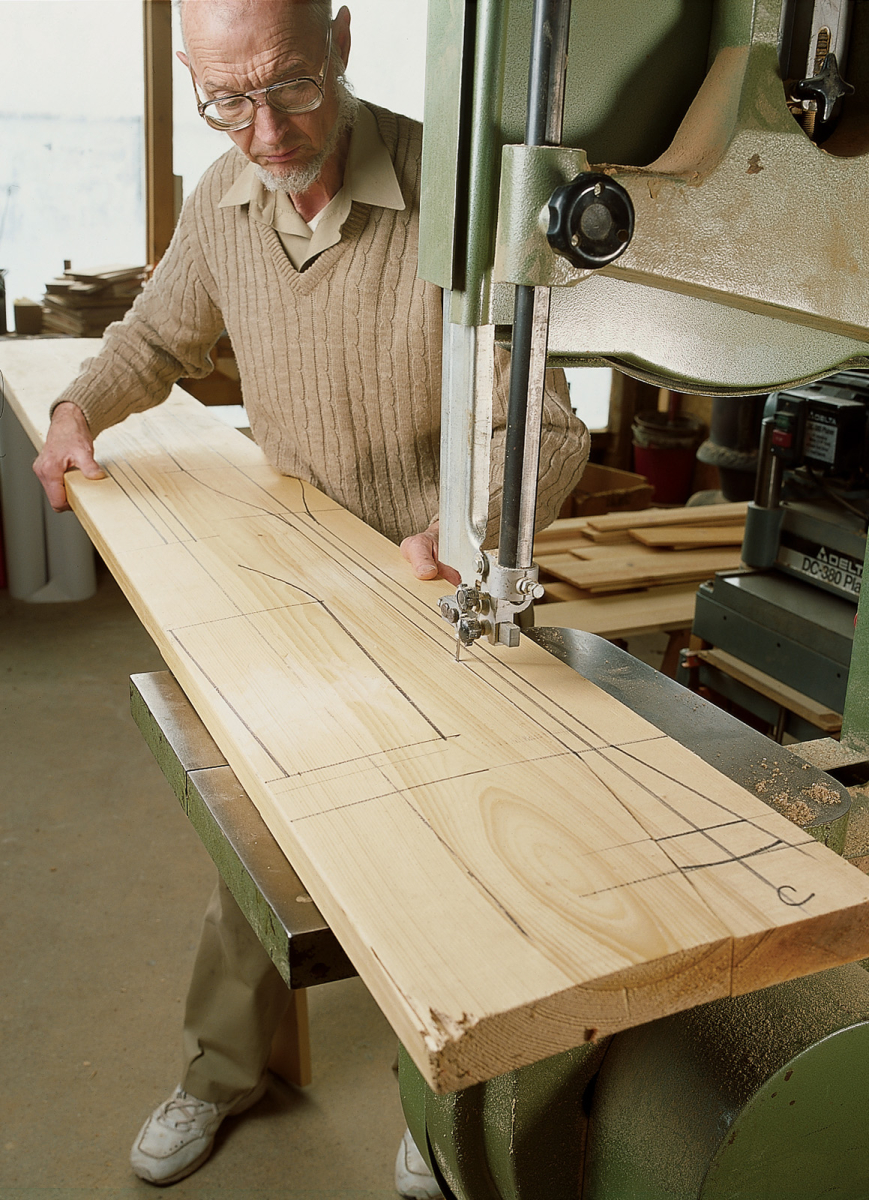
After planing the plank to 1 1⁄4″ thick, band saw the paddle blank to shape.
To follow the plans given earlier, start by making a centerline the length of the plank. Next, mark off both ends of the paddle. Mark where the blade and shaft meet, the start of the handle, and the saw kerf on the grip. (See the photo above for details.) Now mark half-widths (use the widths given on the drawing divided in half) on either side of the centerline for the blade at its narrower and wider parts, the shaft and the grip. Then connect your marks to outline the paddle. Use a straightedge for the main lines and sketch in the curved parts.
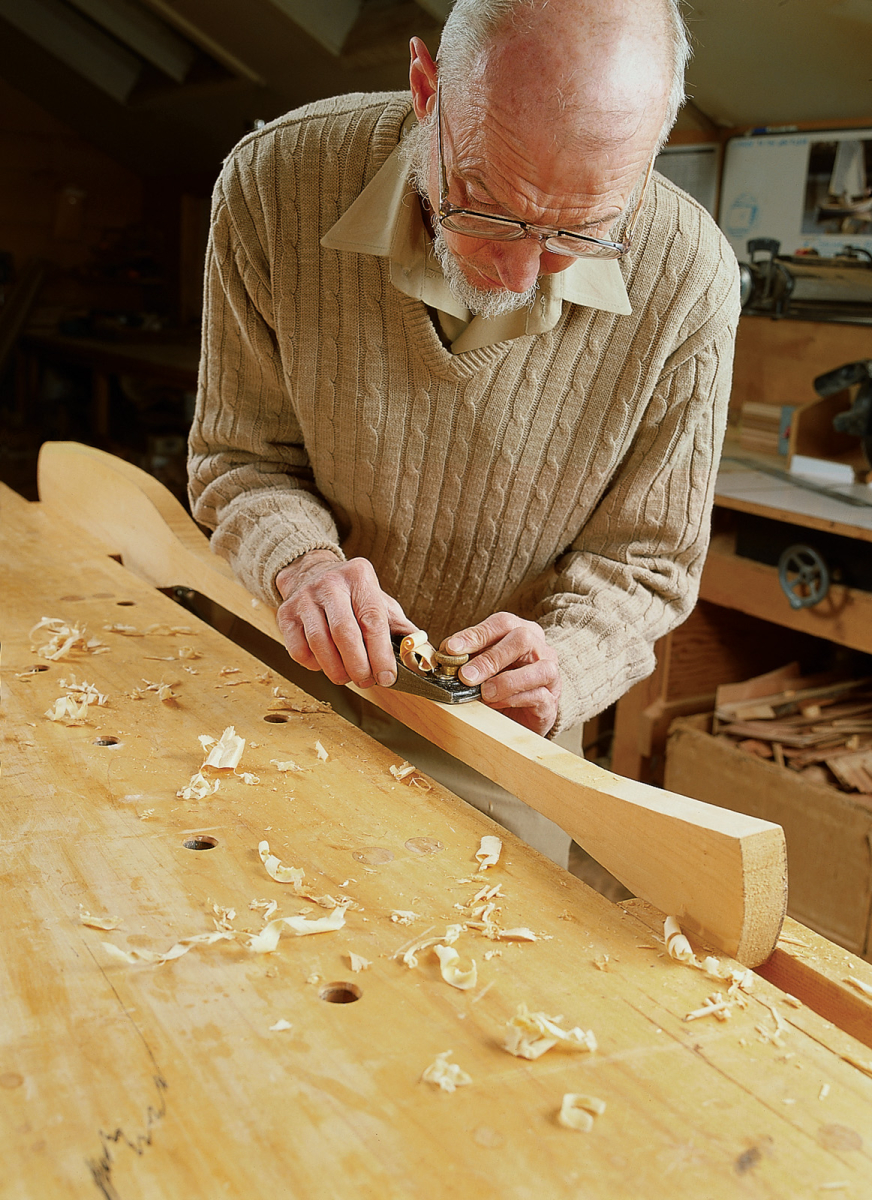
Smooth all the paddle’s edges with a block plane. If any lines don’t look fair to you, planing can make them so.
Cut out the paddle blank on the band saw. Use a block plane to smooth and fair the edges. Check your work by holding the paddle at arm’s length to see if you have a fair outline.
Spokeshave-friendly Project
You will need a spokeshave to smooth the hollows. There will be several places where this traditional tool comes in handy, mostly at transitions from one shape to another. These transitions can be troublesome. You could use a variety of rasps and sanders, but the traditional spokeshave is the tool of choice.
According to some historical accounts, the spokeshave got its name from its use in transitioning wheel spokes from the square hub end to the round section. You will find this tool indispensable for making the transition from the handle to the shaft and from the shaft to the blade.
It is worth your time to buy an effective spokeshave (see Three Traditional Hand Tools Plus One Hand Skill). Because of the absence of wooden wheels these days, a good spokeshave is hard to find. Therefore, they’ve fallen into disuse – many craftsmen have become frustrated having used bad ones.
You will need a spokeshave with a slight curve to the sole, not a flat one. Some of the best ones are the traditional wood-handled types with a blade flat to the sole, sometimes called razor-type spokeshaves. Another useful spokeshave has a concave sole, which makes it ideal for rounding the shaft of the paddle.
Defining the Paddle’s Shape
It is important that the shaft be rounded last because as long as it remains square, you can capture it in the bench vise as you shape both ends of your paddle.
When the silhouette is fair and smooth, trace a centerline on the edge of the blank all around your paddle. Next, trace lines on the edge to show the 3⁄8” blade thickness, the octagonal edges of the shaft and the location and depth of the cut for the saw kerf at the grip. The profile view of the oar at the top of this article gives you these lines.
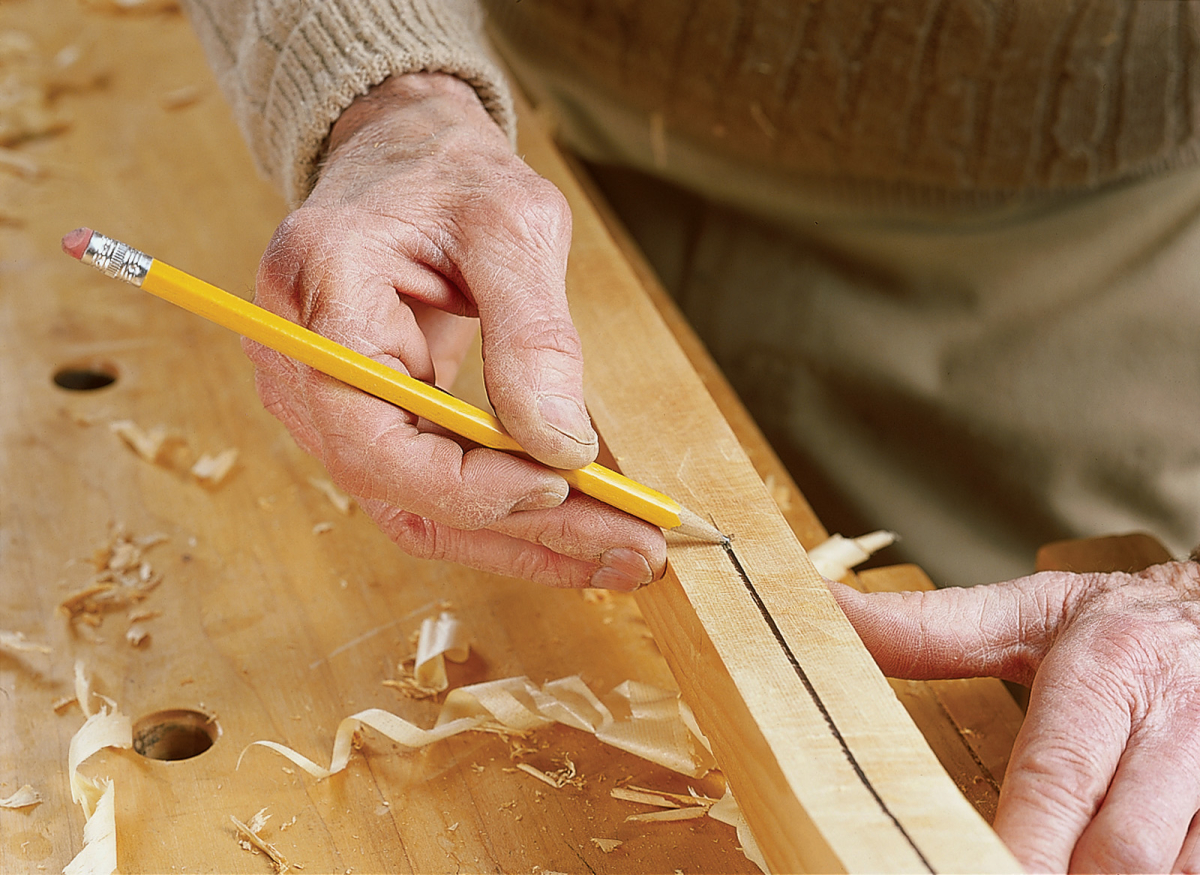
Using your pencil held as shown, trace a centerline on all edges.
The photo above shows me tracing a centerline using the woodworker’s method – a pencil held effectively between the fingers. If you haven’t done this before, give it some practice. It is a great time-saving tip that shows off your skill as a craftsman.
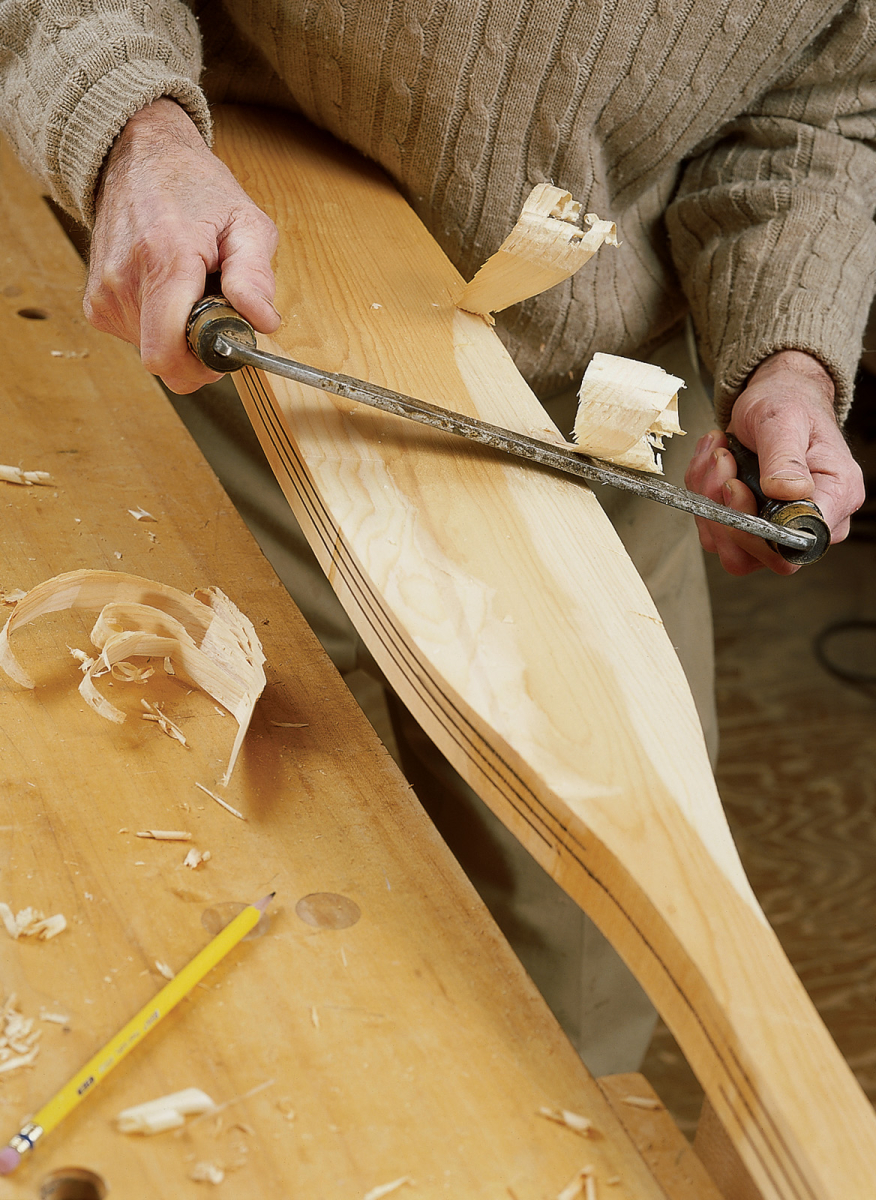
Use a drawknife to rough the blade to thickness. Bevel the edges first as shown, then take down the center. It may be tough using this tool, so try to hold it the way the photo shows. This should ease the struggle a bit.
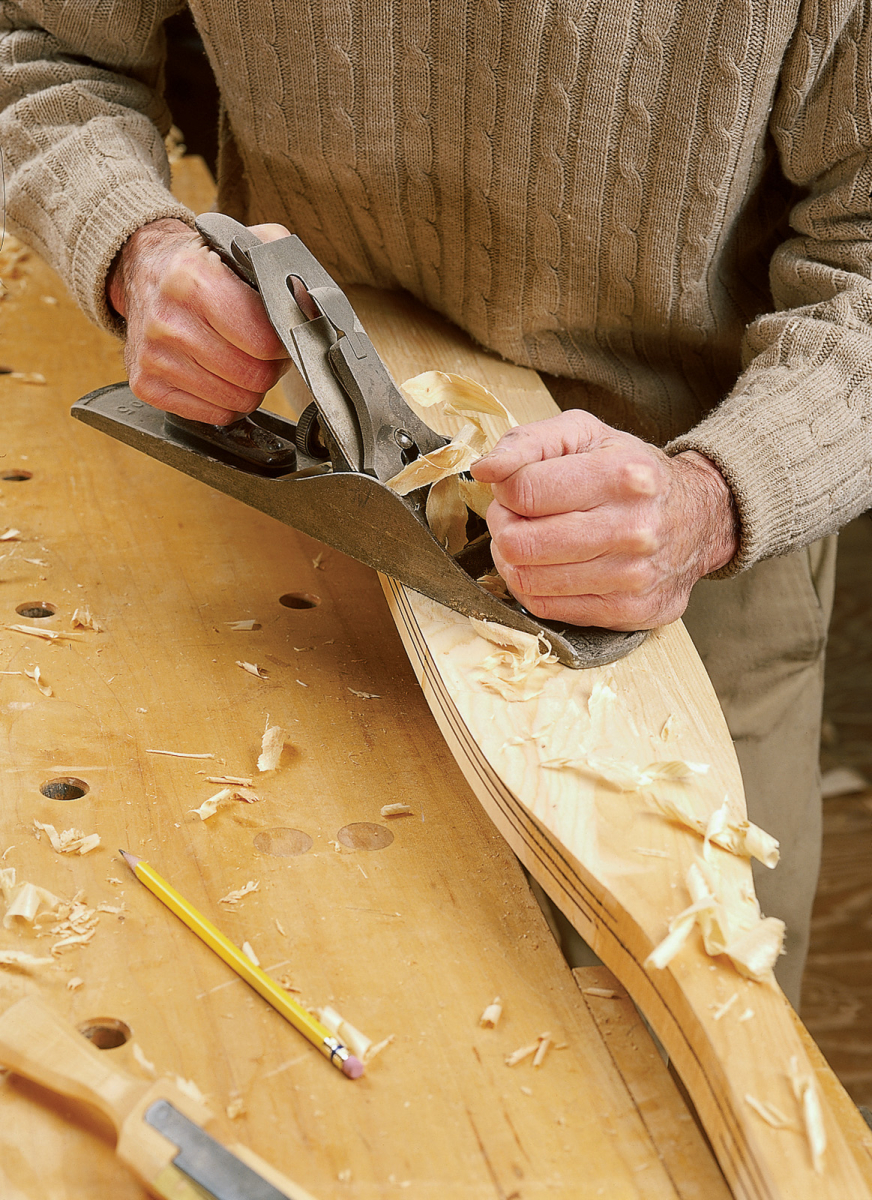
Use the bench plane to smooth the blade to its final 3⁄8″ thickness. The pencil lines on the edge should give you guidance in this step.
Thin the blade to 3⁄8” using the drawknife to rough it out and plane it smooth. Burke leaves the tip of the blade about 5⁄8” thick, which is something that I like. This strengthens the end, which is vulnerable to being cracked.
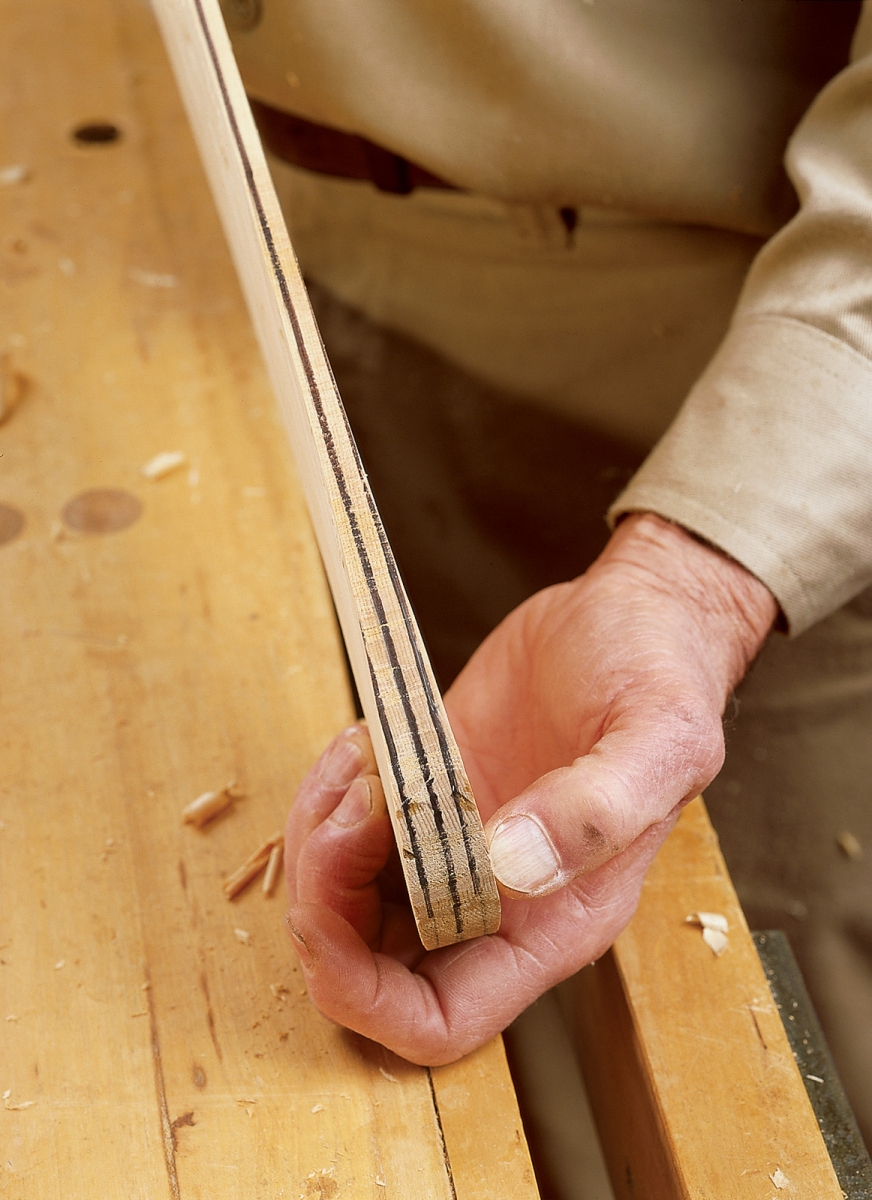
The point of the blade is left thicker (5⁄8″) to reinforce the point where splits are possible.
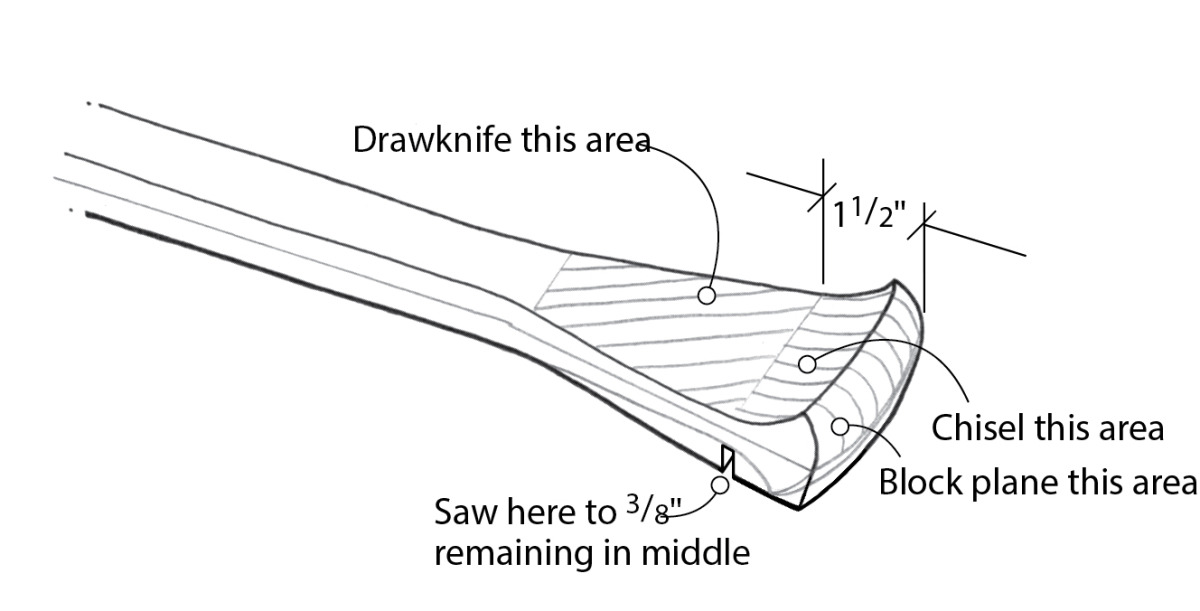
Shape the handle by first sawing a kerf across the paddle 1 1⁄2” from the end to a depth that leaves 3⁄8” in the center. Then drawknife away the wood for 5″ along the shaft to meet your cut line. Chisel the handle to meet the cut line. I like to chisel a hollowed cut for a good finger grip.
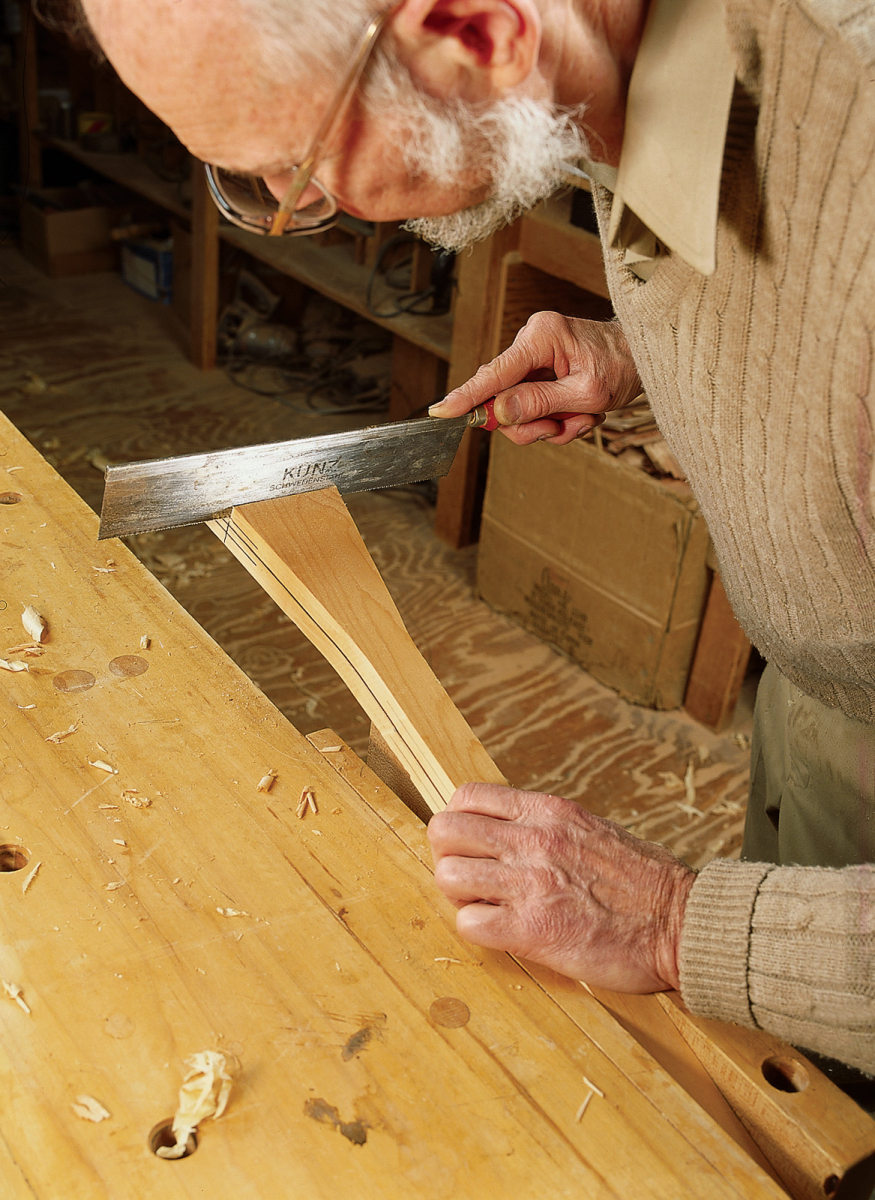
Saw down to a point on the handle, leaving 3⁄8″ for the grip.
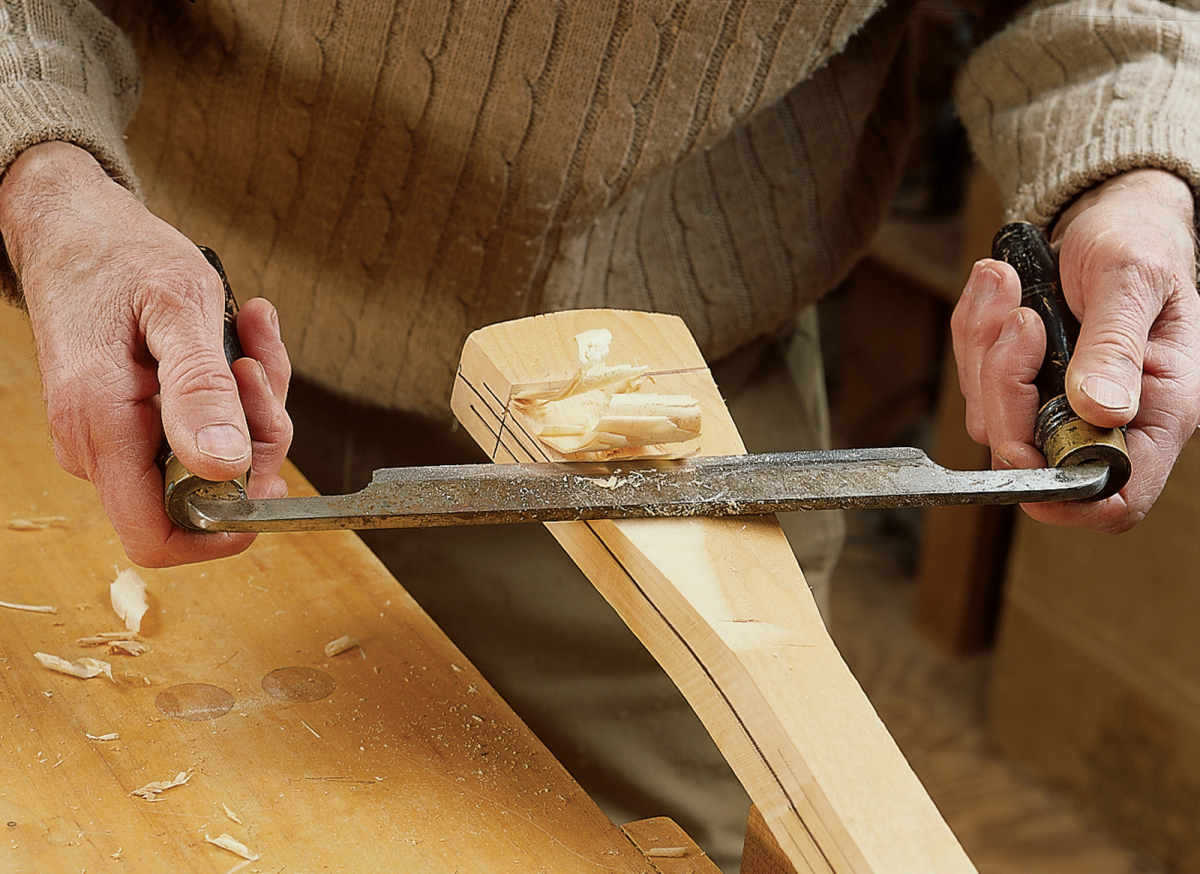
The drawknife removes waste as you approach the saw kerf at the handle.
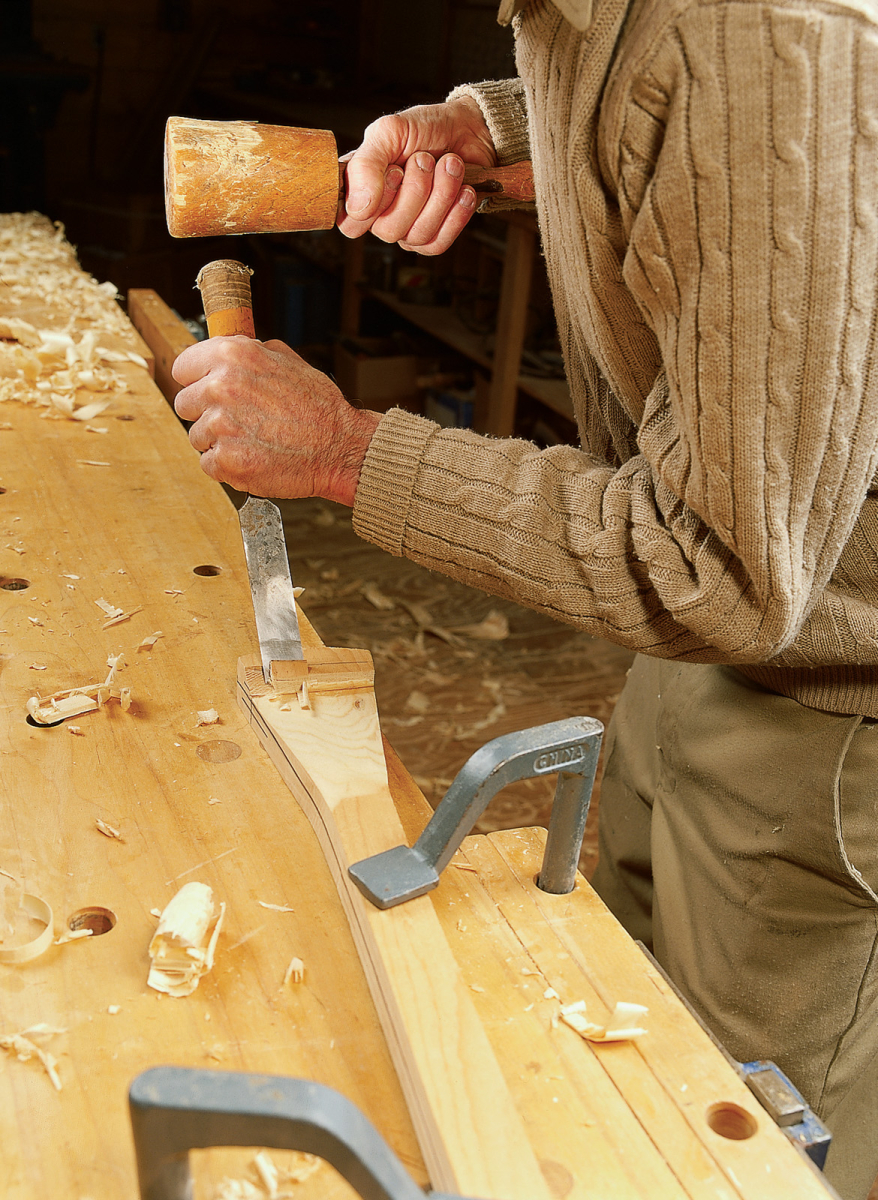
Chisel a hollow approaching the saw kerf. Beware that two cut lines like this can be difficult to blend smoothly. Before cutting too far, expect to clean it up with a rasp and sandpaper.
Round the end with a block plane and use a wood rasp (a toothed file) for finishing touches as shown in the drawing below.
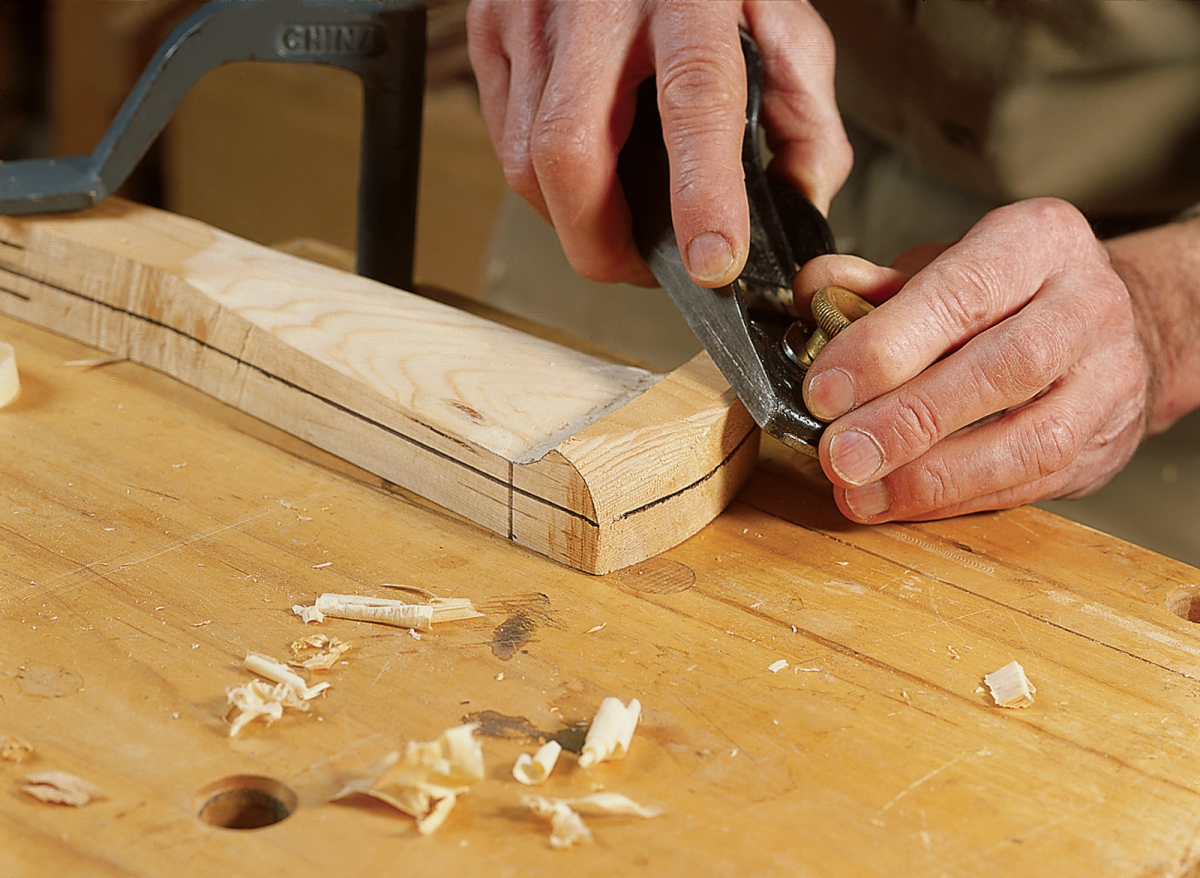
A block plane will round over a comfortable end. The profile shows well here.
The shaft is made slightly oval using a bench plane to first reduce it to an octagon. This will keep it uniform when planing the smaller edges smooth with a block plane and a curved spokeshave.
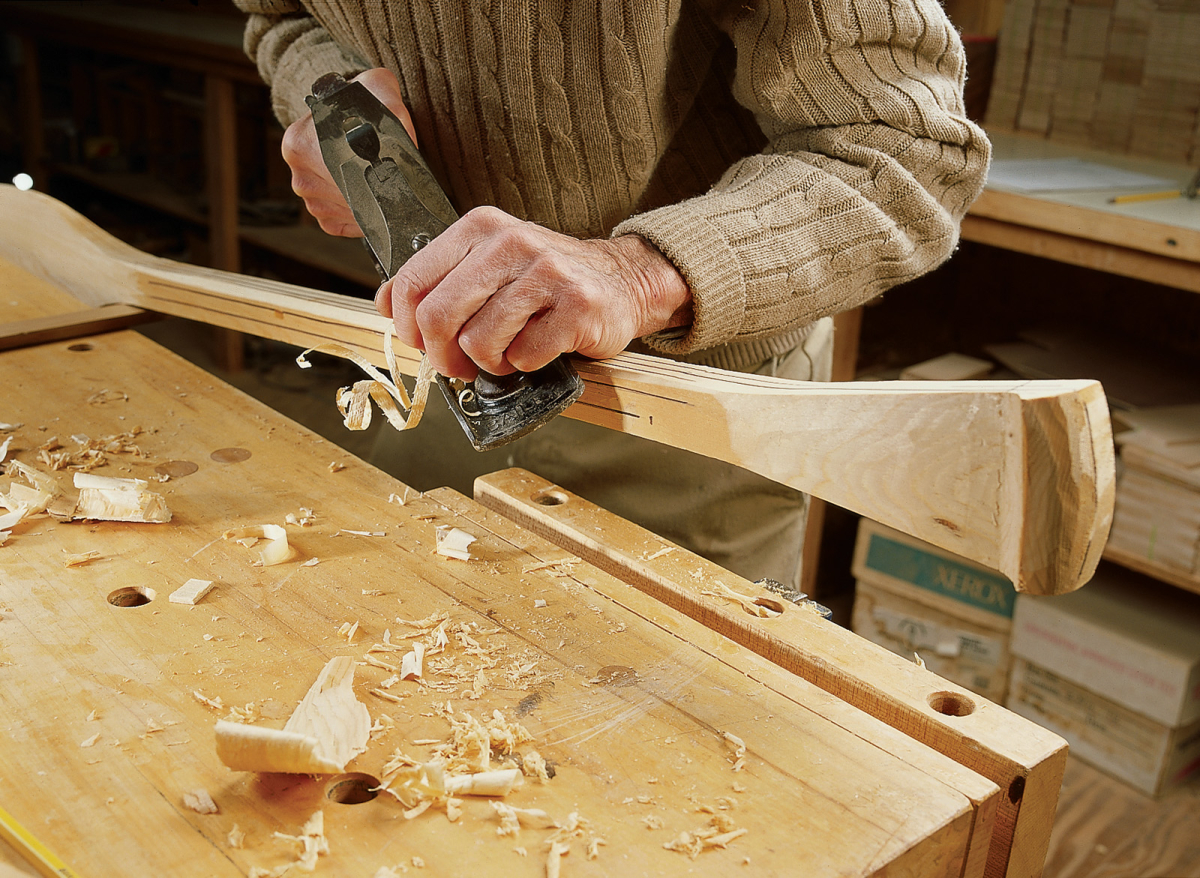
The shaft is planed into an octagon following guide lines.
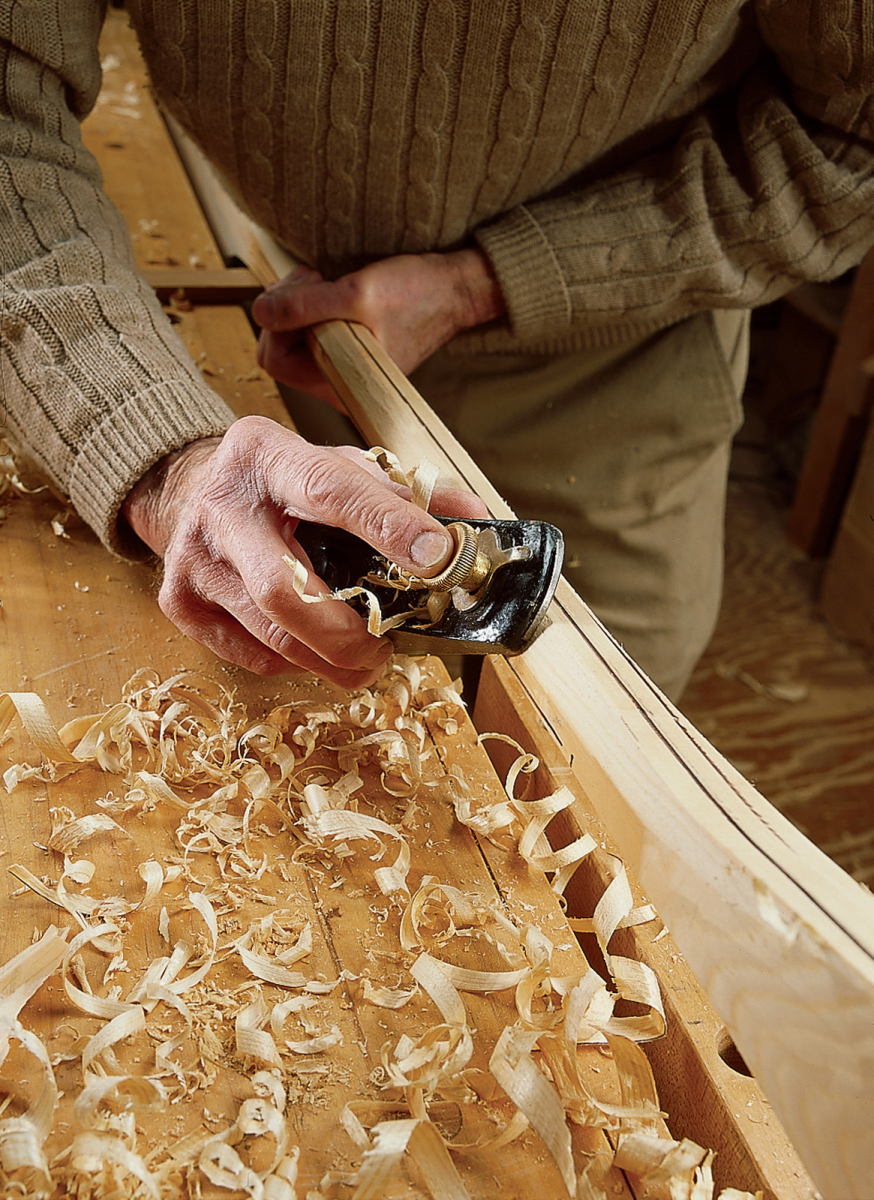
The block plane will quickly smooth all the edges into a 1 1⁄16″ x 1 1⁄4″ oval, as I’m doing here.
Use the spokeshave to shape the transition from the shaft to the blade. This versatile tool works equally well pulling or pushing so you can follow the change in grain direction.
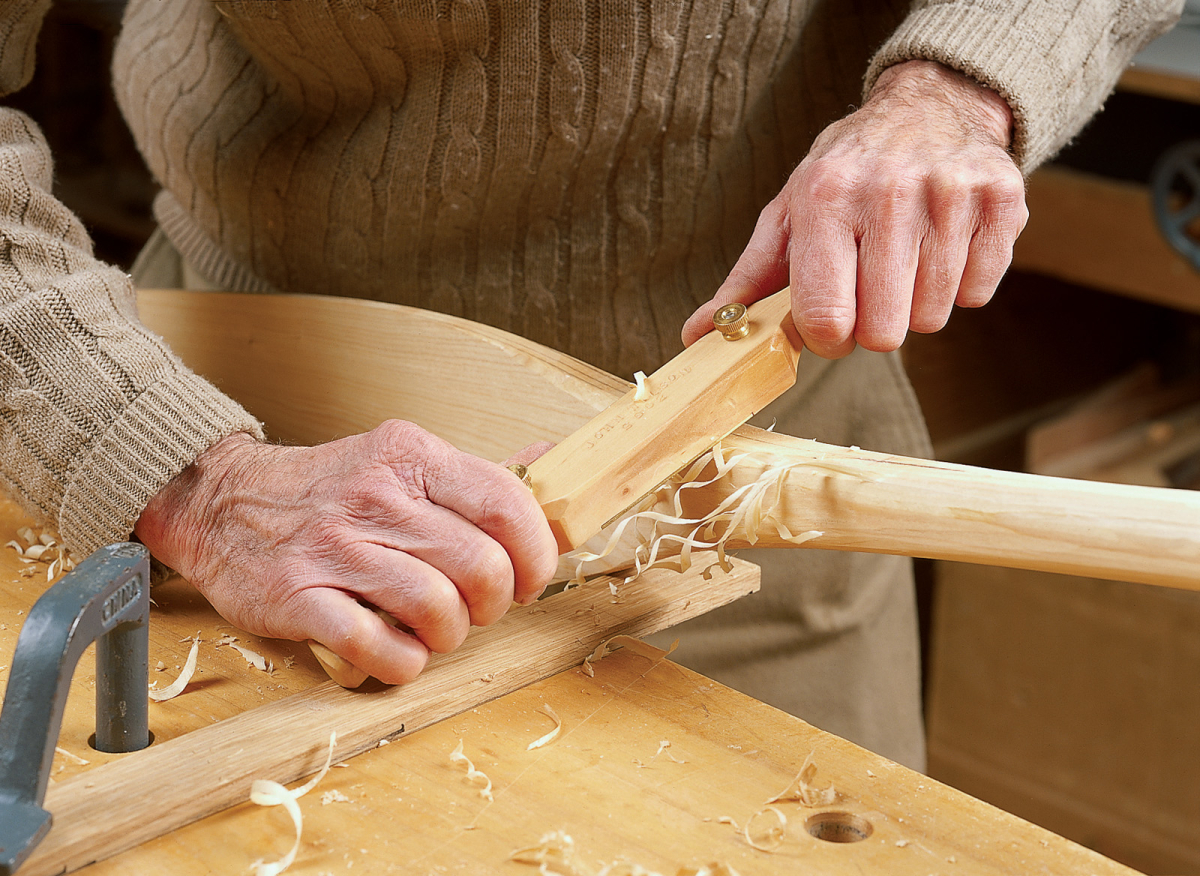
The spokeshave (I’m using a wooden one here) is used to smooth the transition between blade, shaft and handle. It works pulling or pushing to follow the direction of the grain.
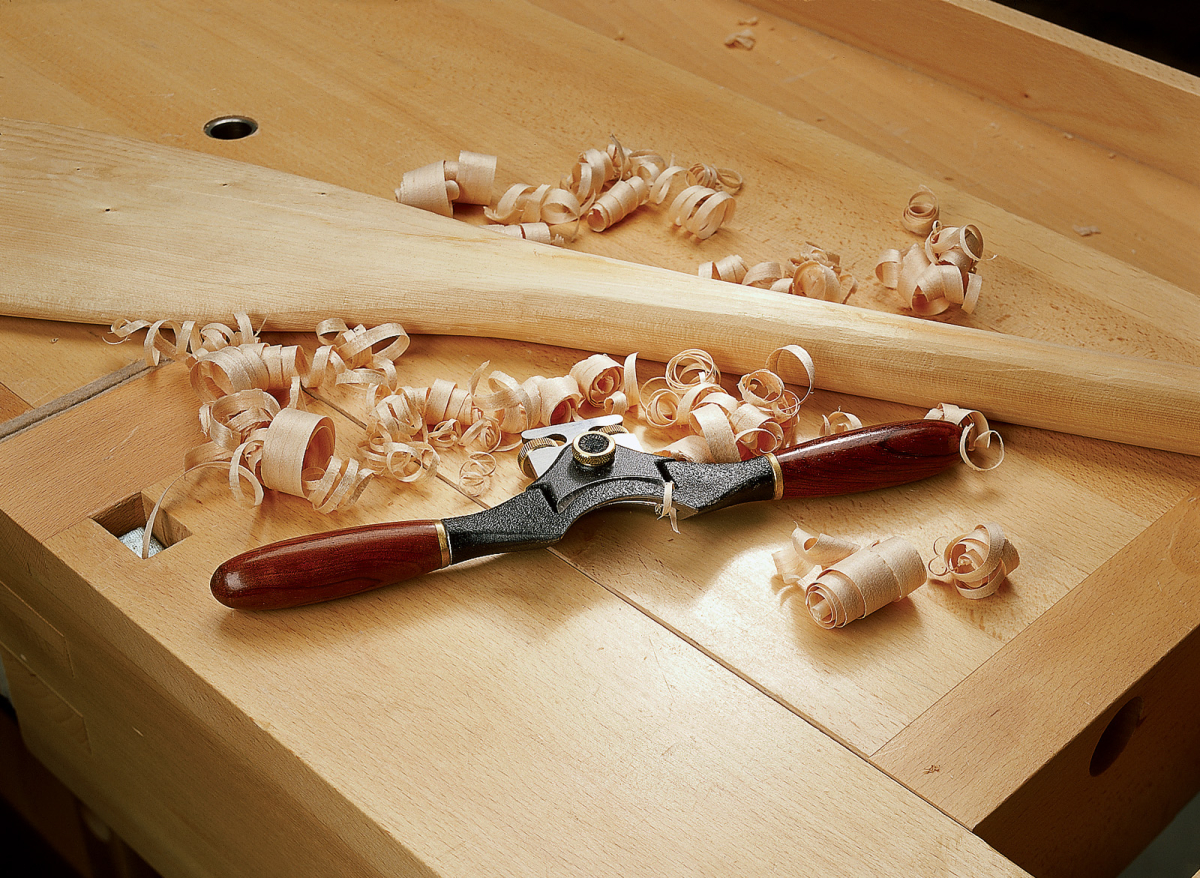
A spokeshave with a concave sole, such as this one from Veritas, excels at rounding the shaft of the paddle.
Sanding and varnishing completes the paddle. Traditionally, a canoe paddle’s handle is left unfinished to give you a better grip on the wood.
I have spent many enjoyable days paddling a canoe with a traditional paddle such as this. Making paddles for your children appropriate to their height is especially meaningful for a parent introducing offspring to the water.
This article originally appeared in the August 2004 issue of Popular Woodworking.
Here are some supplies and tools we find essential in our everyday work around the shop. We may receive a commission from sales referred by our links; however, we have carefully selected these products for their usefulness and quality.


