We may receive a commission when you use our affiliate links. However, this does not impact our recommendations.
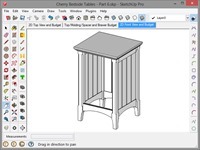
 Last week we completed the joinery for the legs and rails and chamfered the legs. This week we will add the top, top trim & filler strips and place a stopped dado in the legs for the slats. Because this week we also had to correct a mistake I made earlier to the leg height, we will not have time to get to the front rails and will save that for next week. The image at left is an isometric view of where we will finish today.
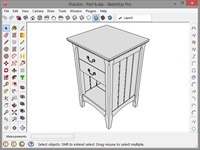
 I thought, at this point you might want a look ahead to the completed product, so I completed the design and an image of it is at right. We have a few more installments before we get there, however.
As promised, each week I will supply you with the SketchUp model completed to the point of each part in the series. So today you can download the Part 6 model by clicking on this hyperlink. But first sit back and enjoy the video that will bring you to this model.
Here are some supplies and tools we find essential in our everyday work around the shop. We may receive a commission from sales referred by our links; however, we have carefully selected these products for their usefulness and quality.


