We may receive a commission when you use our affiliate links. However, this does not impact our recommendations.
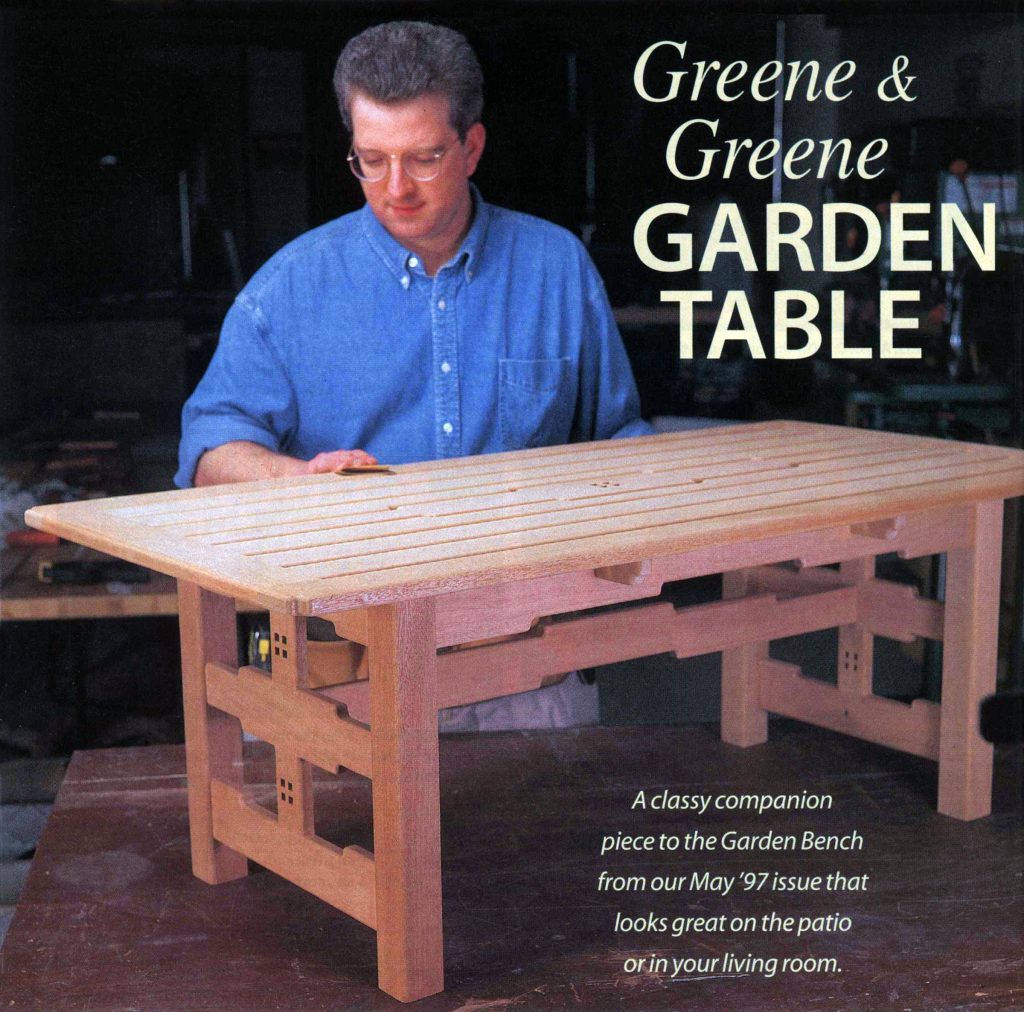 A reader from Claremont, California, liked our Greene & Greene Garden Bench so much he decided to build a coffee table to go with it. He sent us a photo of it, and we decided it was such a good idea we tweaked his nice design and built this table. We call this project “Revenge of the Cloud Lifts” because it’s loaded with this undulating signature Arts & Crafts detail. Because there are so many cloud lifts, this is a good project to use template routing on a router table to make them all.
Begin by cutting the parts out according to the Schedule of Materials. Then make your plywood templates using the patterns. The patterns are on the bottom of this article. Mark a center line across each template. This will help you line up the parts for routing. Finish each template by adding two handles to the templates in the locations shown.
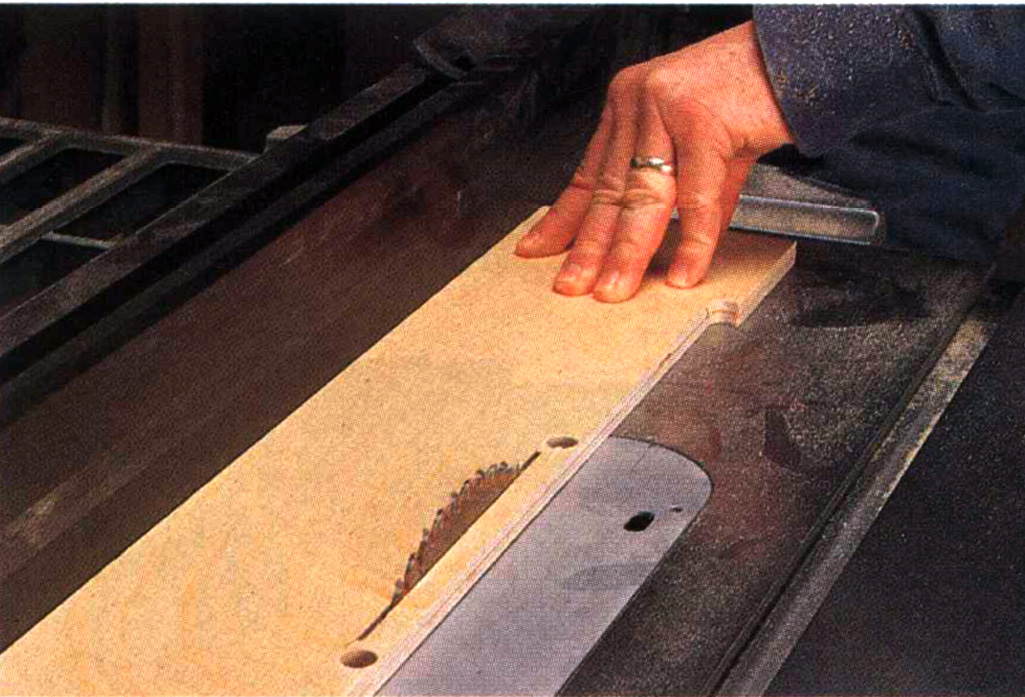
MAKING TEMPLATES- Begin cutting out the 1/2″ Baltic Birch templates by drilling holes at the proper corners. Raise the blade on the table saw into the middle
of the stock to make the straight cuts. Band saw the rest and clean up the cloud lifts using a disc sander.
Mark a center line across parts B, C, D, F, G, K and on two top slats (J). Mark a center line down the middle and across parts E and K. These get a four-hole cutout. Make four copies of the small four-hole cutout and one of the larger four-hole patterns. Cut the patterns to within 1/2″ of the holes. Using a spray adhesive, attach the small patterns on the end uprights (E) and the large pattern on the center slat (K) lining up the cross hairs on the pattern with the cross hairs on the parts. Drill 1/4″ clearance holes in each hole and cut out the squares with a scroll saw. You can’t quite cut all of the holes on the center slat but come close and clean up the rest with a chisel.

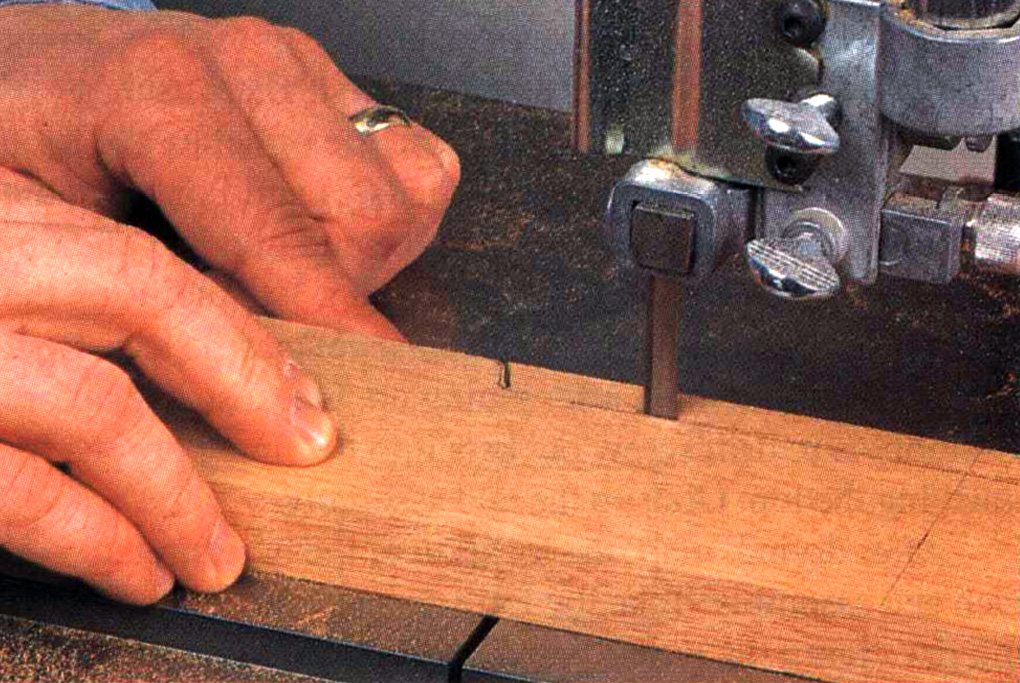
Use the center lines to index the template on what will be the back of each piece (it will eventually have nails driven into it) and draw the appropriate cloud lift or reverse cloud lift. Cutting close to the line, rough out these pieces on the band saw.
Mount a 3/8″ pattern bit into a router table and set the depth of the bearing to run against the template while cutting the part. After routing the cloud lifts, cut all of the biscuit joints for the base and top. I used Porter-Cable’s 557 biscuit joiner for this table because it comes with a 2″ blade perfect for joining the base and top parts with smaller “face frame” biscuits.
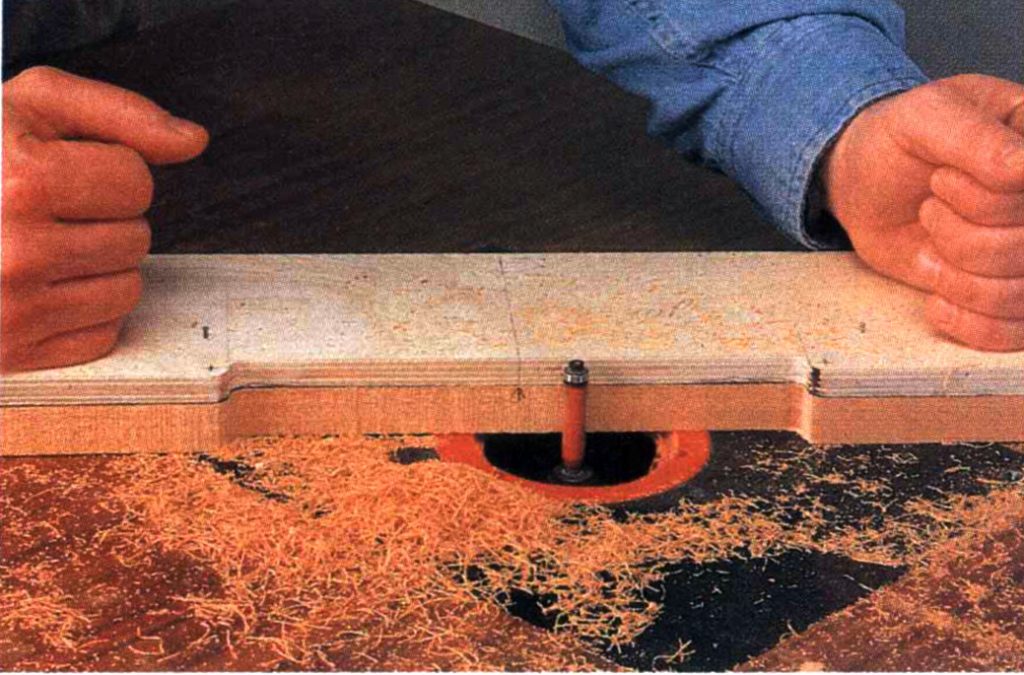
ROUTING THE PARTS- Pattern routing the parts Is easy using the templates. Nail the appropriate template to a roughed out part, using the Index lines for reference. Begin
routing with the bit cutting against the wood. When you come to a cloud 11ft, use a climb cut so you don’t bum the rounded corner.
The easiest way to lay out the biscuit joints is to dry-clamp the end assembly together and mark the centers of the ends on the apron pieces and legs. The aprons have a 1/4″ setback from the outside of the legs, so cut the biscuit slots on the apron assembly first. Then, using a 1/4″ spacer, set up the biscuit joiner to cut the offset on the legs. Use #20 biscuits on the short aprons (C) and Porter-Cable face frame biscuits (or dowels) on the end dividers and uprights (D and E). Before assembly, rout a 1/4″ radius on the legs and the ends of the apron parts that contact the legs. Rout the rest of the assembly after gluing up. One last step before assembly is to drill screw pockets into the upper aprons for attaching the top. Glue up the end assembly.
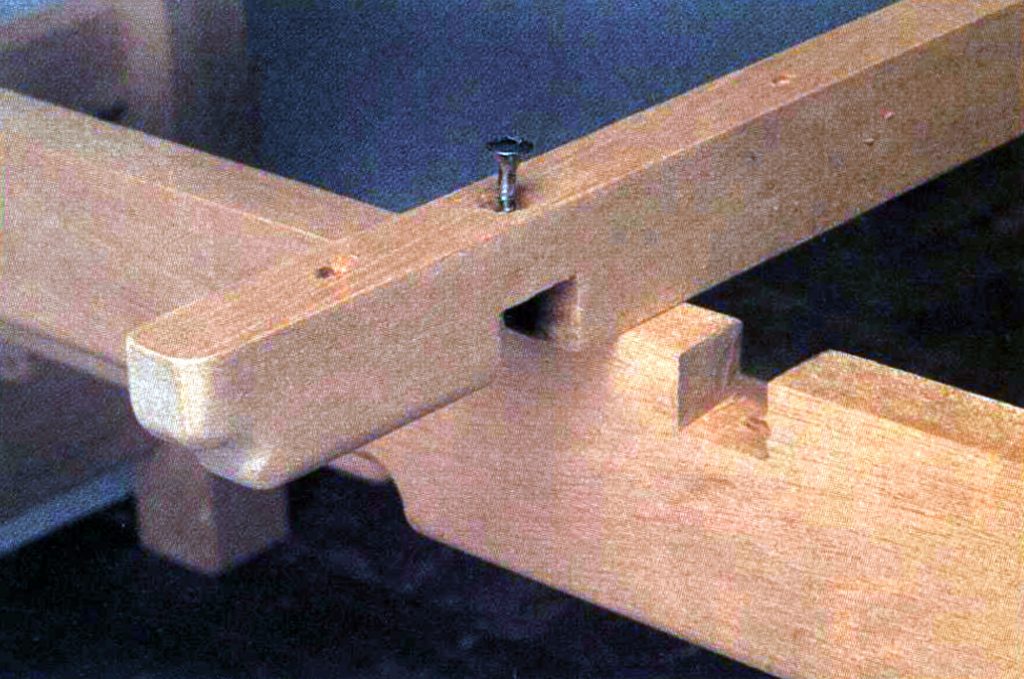
NOTCHING THE STRETCHER – Layout a 5/S”-deep by 0/4″-wlde notch Into the top stretcher and the base. The
notch is 20/4″ In from the stretcher end and 8″ In from the joint where the apron meets the leg. Notice the clearance holes drilled Into the top edge of the base and stretcher.
After drying, mark the location of the base stretcher on each end assembly. Take the long aprons and base stretcher and dry clamp the entire base together. The base stretcher should be press fit between the end assemblies. Repeat the same process of cutting #20 biscuit slots on the long aprons and end assemblies. Dowel the base stretcher into each end assembly using two 3/8″ dowels. After doweling the stretcher, lay out and scroll saw the profile on the ends of the top stretchers using the patterns. Let the top stretchers into the base using half-lap joints according to the diagram. Then glue the entire base together and screw the stretchers into the top edge of the base.
Begin the top assembly by routing a 1/4″ radius on the top long edge of all the slats. Using 3/4″ spacers, clamp the slats together without glue. Dry clamp the ends in place and mark for biscuit joints. Cut the biscuit slots and glue this top sub-assembly together. When dry, place the long top frame pieces against the sub-assembly and mark the inside corner where the short frame meets the long frame. Rout a 1/4″ radius on the inside edge of the long frame piece between the corner marks. With a rasp, finish the radius where it tapers on the ends. Mark and cut biscuit slots, then glue up the top. After drying, cut a profile on each corner using the pattern for the top stretchers. Rout a 1/4″ radius on the outside edge of the top.
After sanding, center the base on the underside of the top and attach it to the top using 1-1/2″ screws in the screw pockets and 1-3/4″ screws in the top stretchers. No finish is required. If you leave the table unfinished and outdoors, it will turn a beautiful silver color. PW
NOTE TO WOODWORKERS: On the PDF download of the plans for this project, the squares on the full-size diagram of the cloud lifts each equal 1/2″, NOT 1″.
Click here to download the PDF template.
Here are some supplies and tools we find essential in our everyday work around the shop. We may receive a commission from sales referred by our links; however, we have carefully selected these products for their usefulness and quality.


