We may receive a commission when you use our affiliate links. However, this does not impact our recommendations.
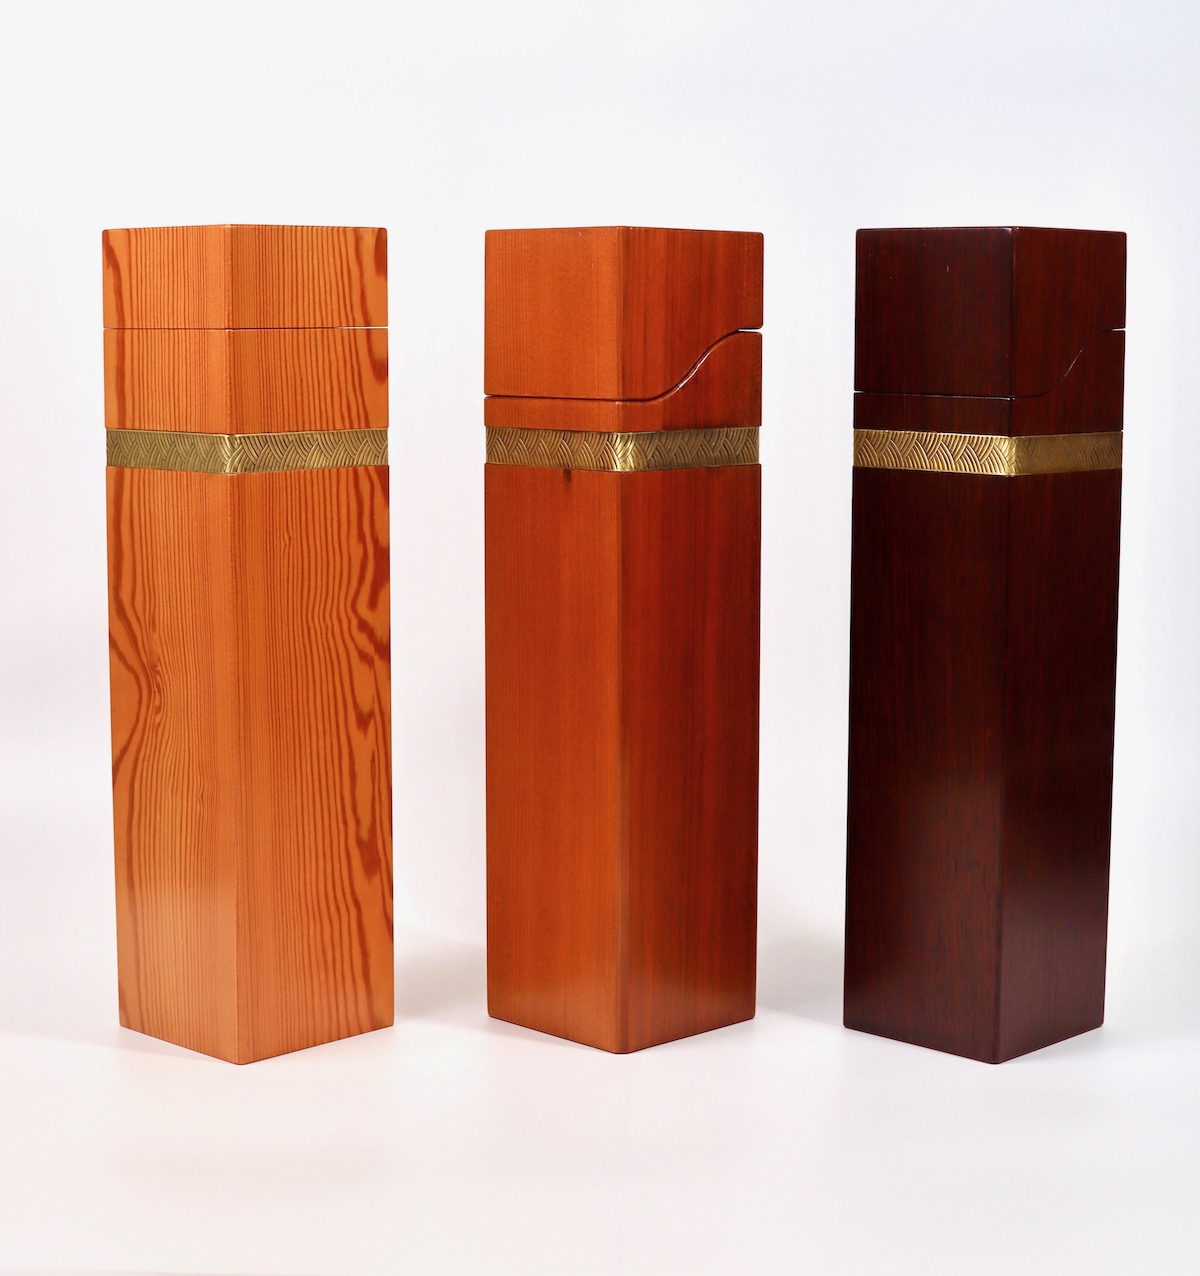
This unique project was built for a specific purpose, but it’s the perfect learning opportunity for anyone building a box.
Part 1 • Part 2 • Part 3 • Part 4 • Part 5 • Part 6 • Part 7 • Part 8
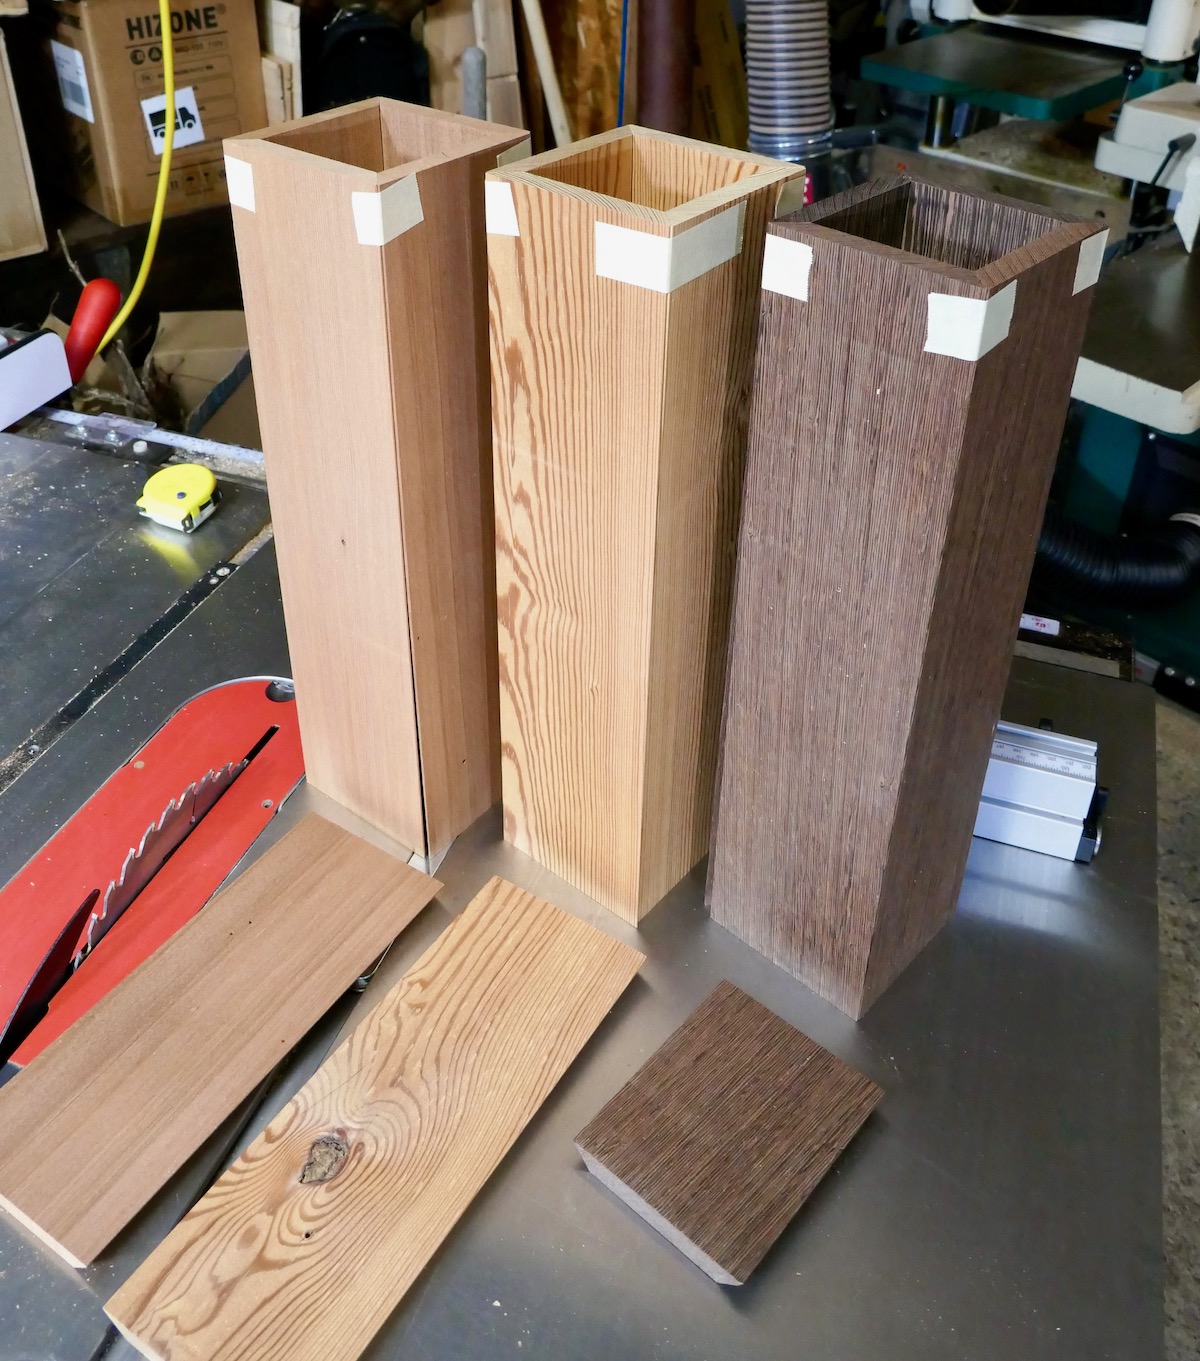
Boxes come in countless shapes and forms. Most are crafted and used in a horizontal orientation, but some—like those for wine bottles or parchment scrolls—are often designed to stand upright. This story chronicles one of my recent commissions: three reclaimed wood boxes created to house the biblical Book of Esther in parchment scroll form. While these boxes are unique in purpose and proportions, the techniques used—joinery, custom hinges, and a decorative yet functional metal band—offer valuable insights for crafting boxes of any size or shape.
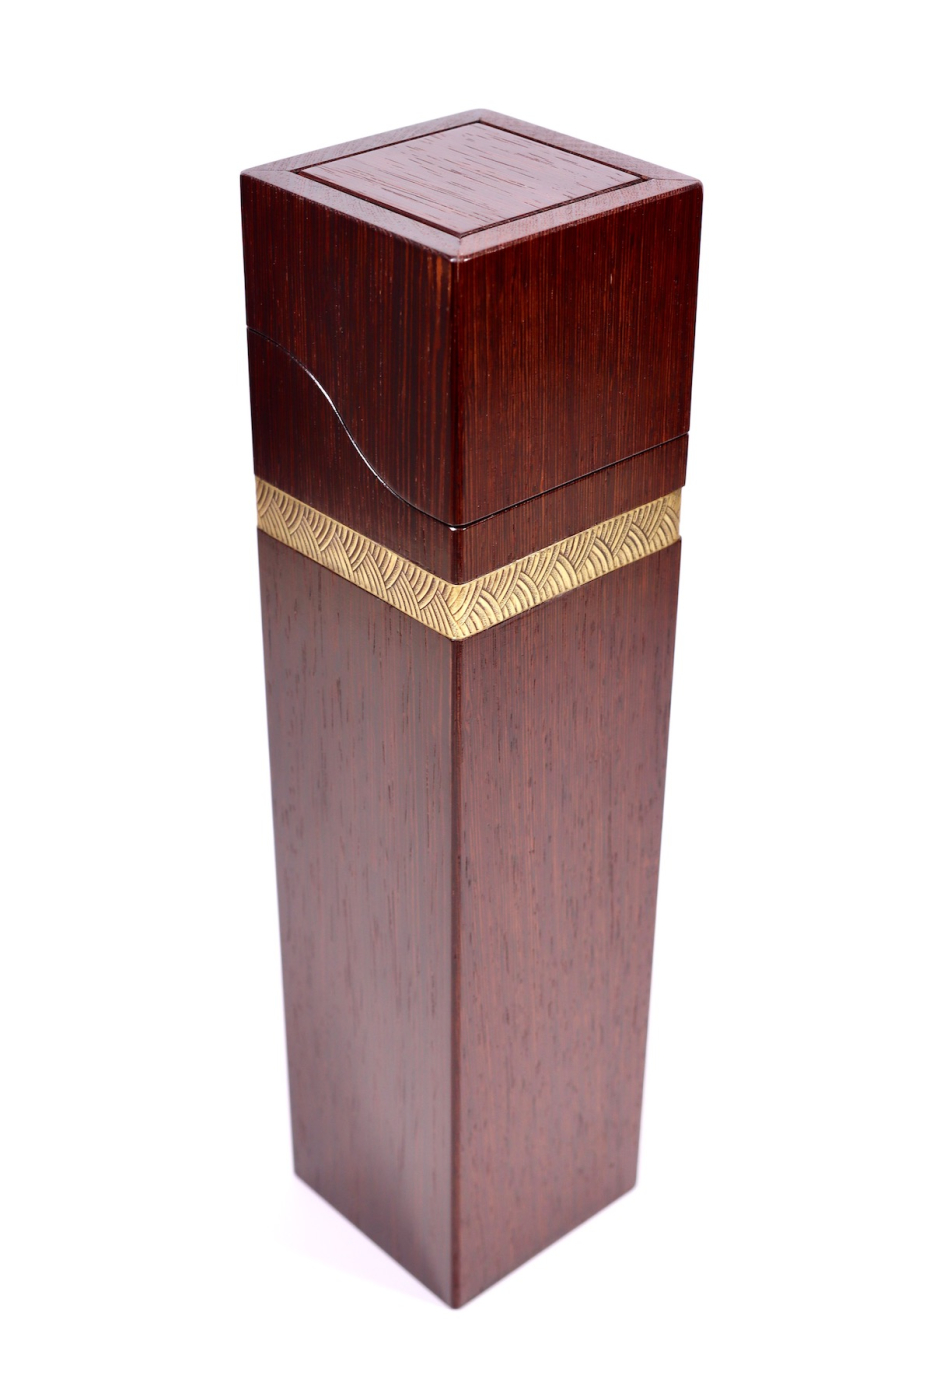
More than a year ago, a client approached me to design and build three boxes, one for each of his children. Each box would hold a hand-scribed copy of the Book of Esther, traditionally read in synagogues during the Jewish holiday of Purim. After discussing a few design options (which I’ll delve into in future entries), my client chose a tall Art Deco-inspired box featuring an embedded brass band encircling its opening.

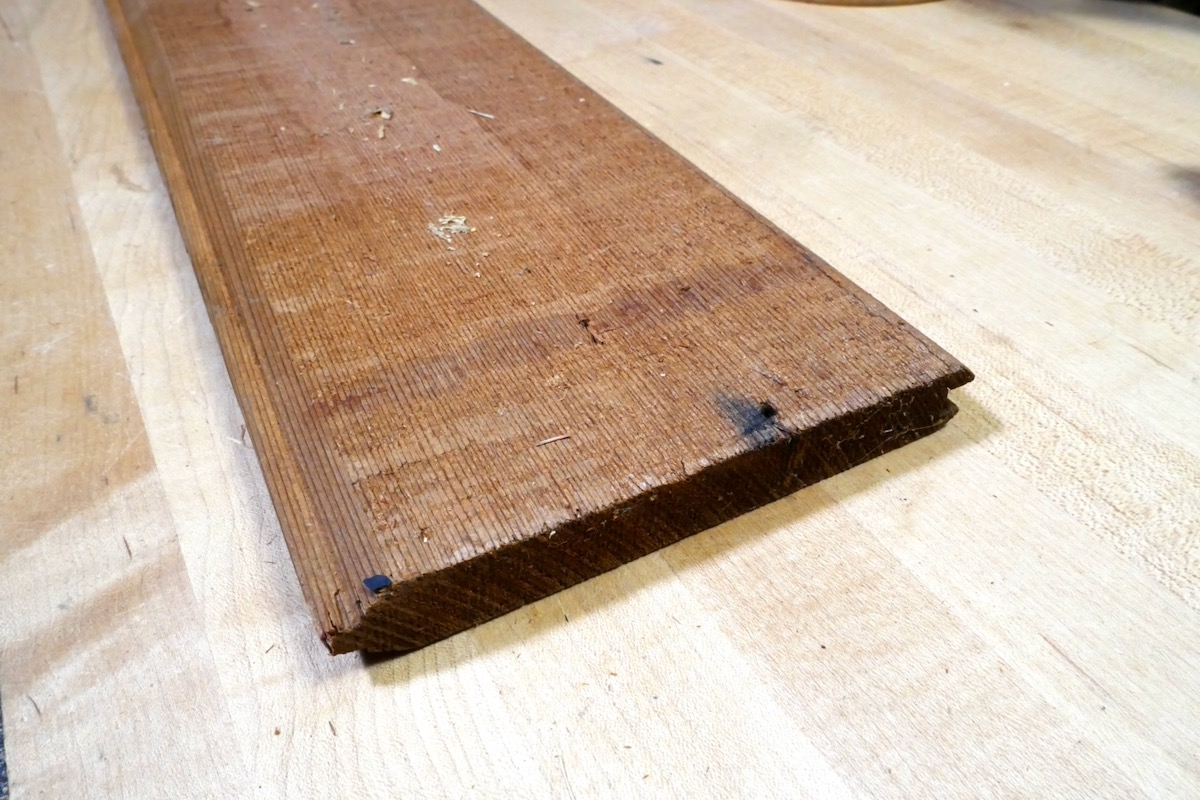
The boxes were crafted from three reclaimed wood species: redwood salvaged from the interior siding of a 1950s home, old-growth heart pine, and wenge flooring reclaimed from a New York City renovation. Resembling slender obelisks, the tall sides of the boxes were joined with miter joints, while tongue-and-groove joinery secured the tops and bases to the sides.
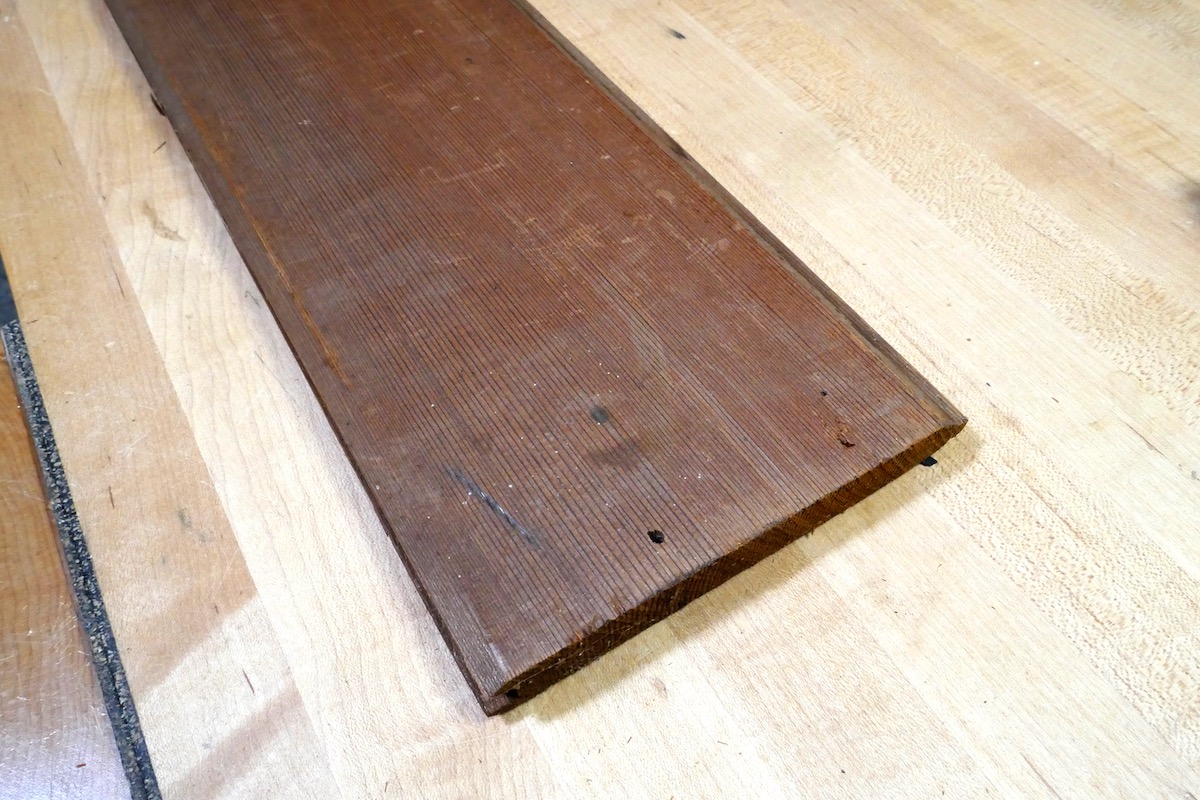
Reclaimed redwood siding.
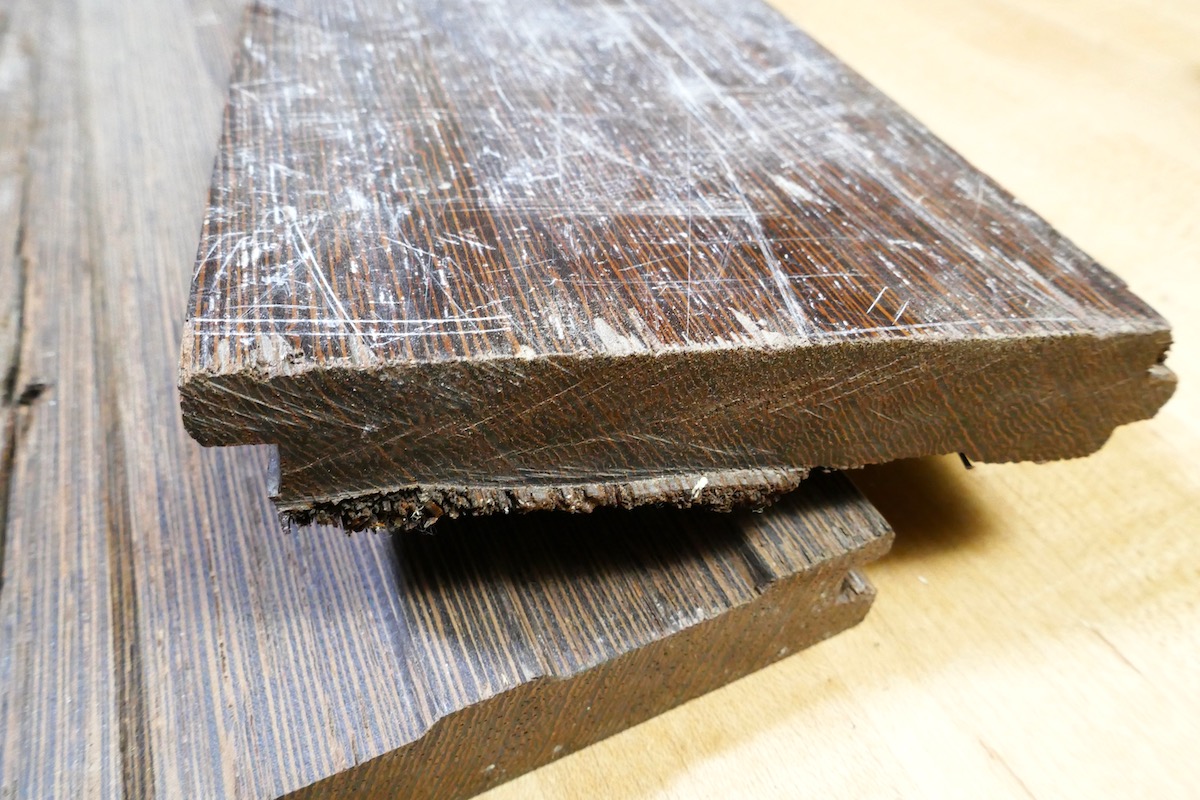
Reclaimed wenge floorboards.


Stronger Miter Joints
Most mitered boxes have joints cut across the grain, requiring keys or splines for reinforcement. However, for these tall boxes, I oriented the miters along the grain, creating strong and stable long-grain to long-grain joints.
The Build Begins
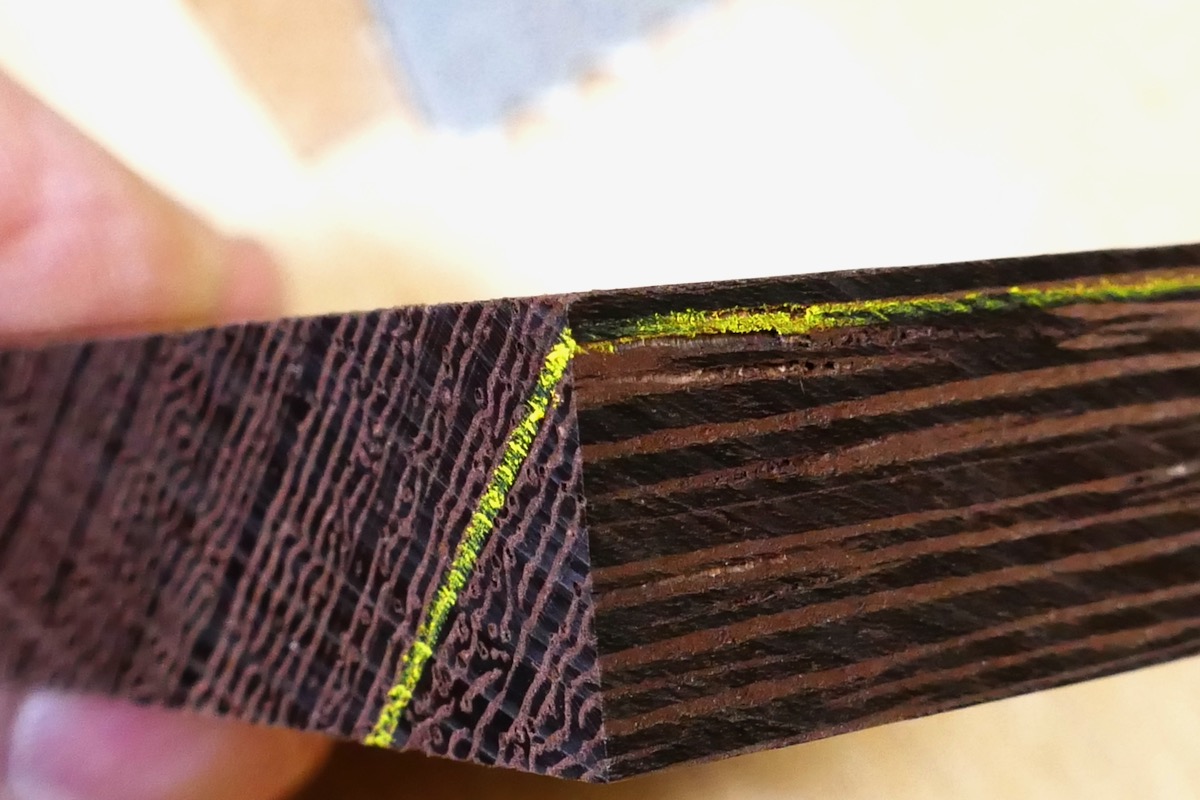
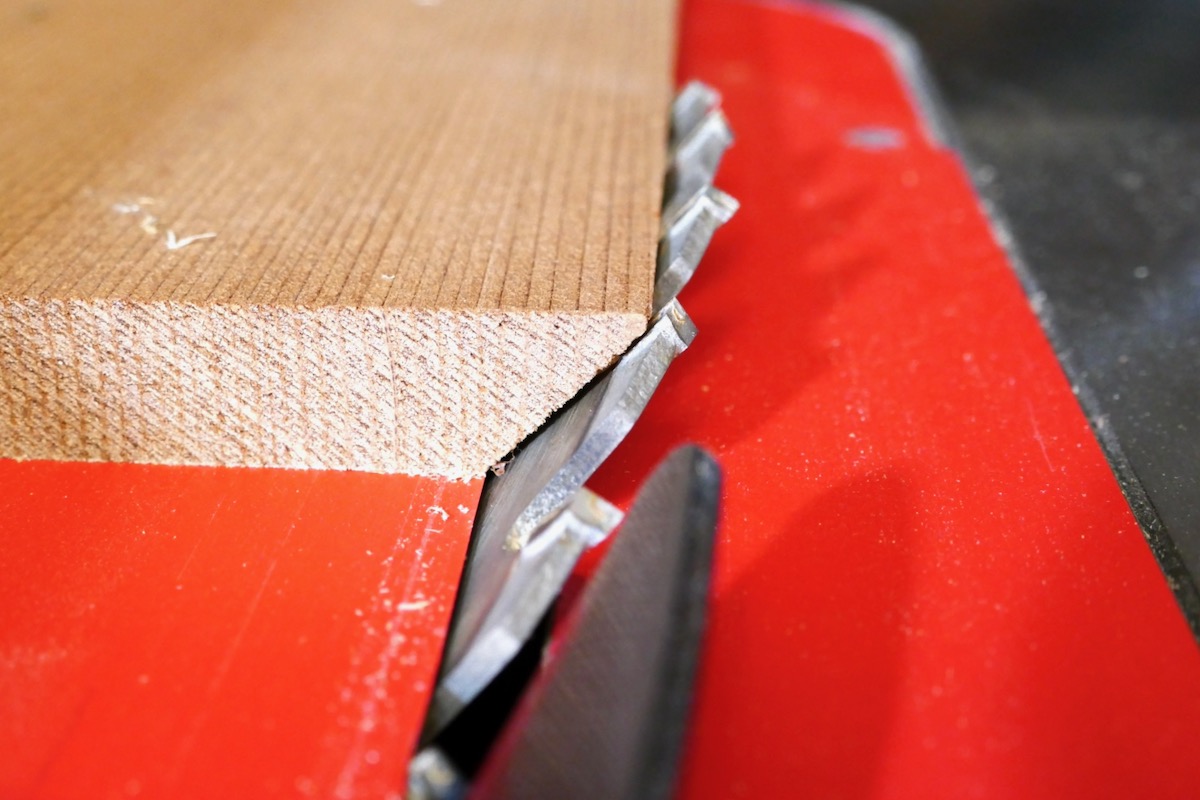
After milling the reclaimed wood to the desired thickness and shape, I set my table saw blade to 45° to cut the first edge of each board. (If you’re curious about ensuring an accurate 45° setup, check out this article.) However, I intentionally left a thin 90° edge intact for several reasons:
- Prevents crumbling: Cutting a knife-edge miter risks chipping during or after the cut.
- Maintains alignment: Pressing a knife-edge miter against the fence while cutting the second edge can depress or misalign the board, leading to inaccuracies.
- Protects masking tape: When gluing miters, masking tape stretched across the joint acts as an alignment aid and a clamp. A sharp corner can tear the tape under tension.
Leaving the edge slightly blunt mitigates these issues. You may wonder if those incomplete miters mar the finished box. The answer is no—because the corners are chamfered later, eliminating the square edges and creating a harmonious finish.
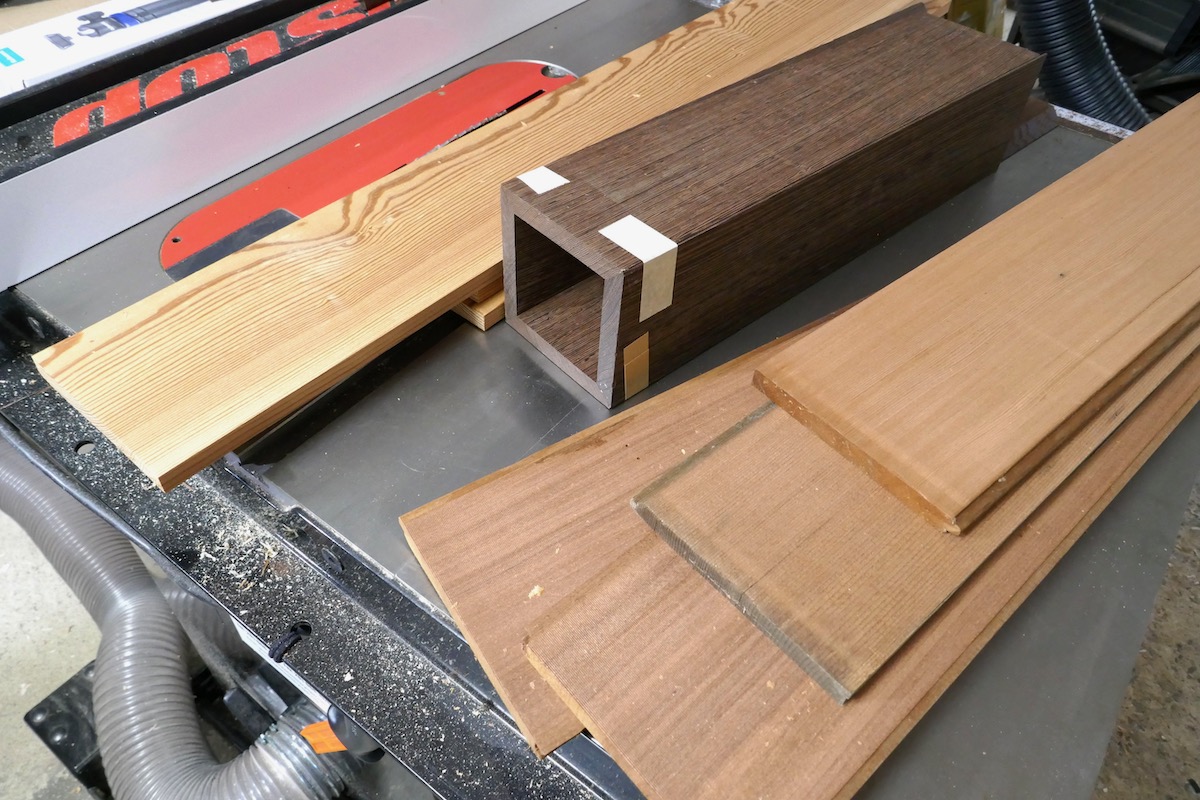
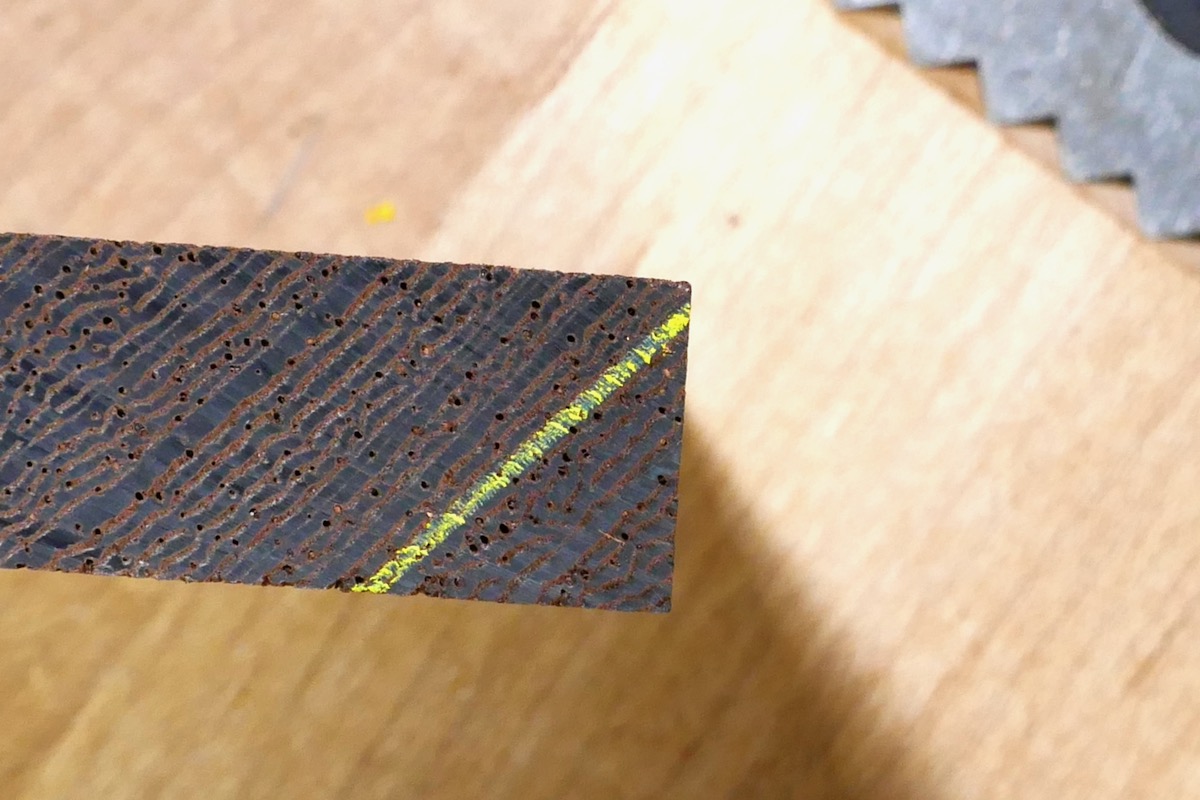
I avoided cutting the entire miter and left a thin sliver of edge surface uninterrupted for the above reasons.
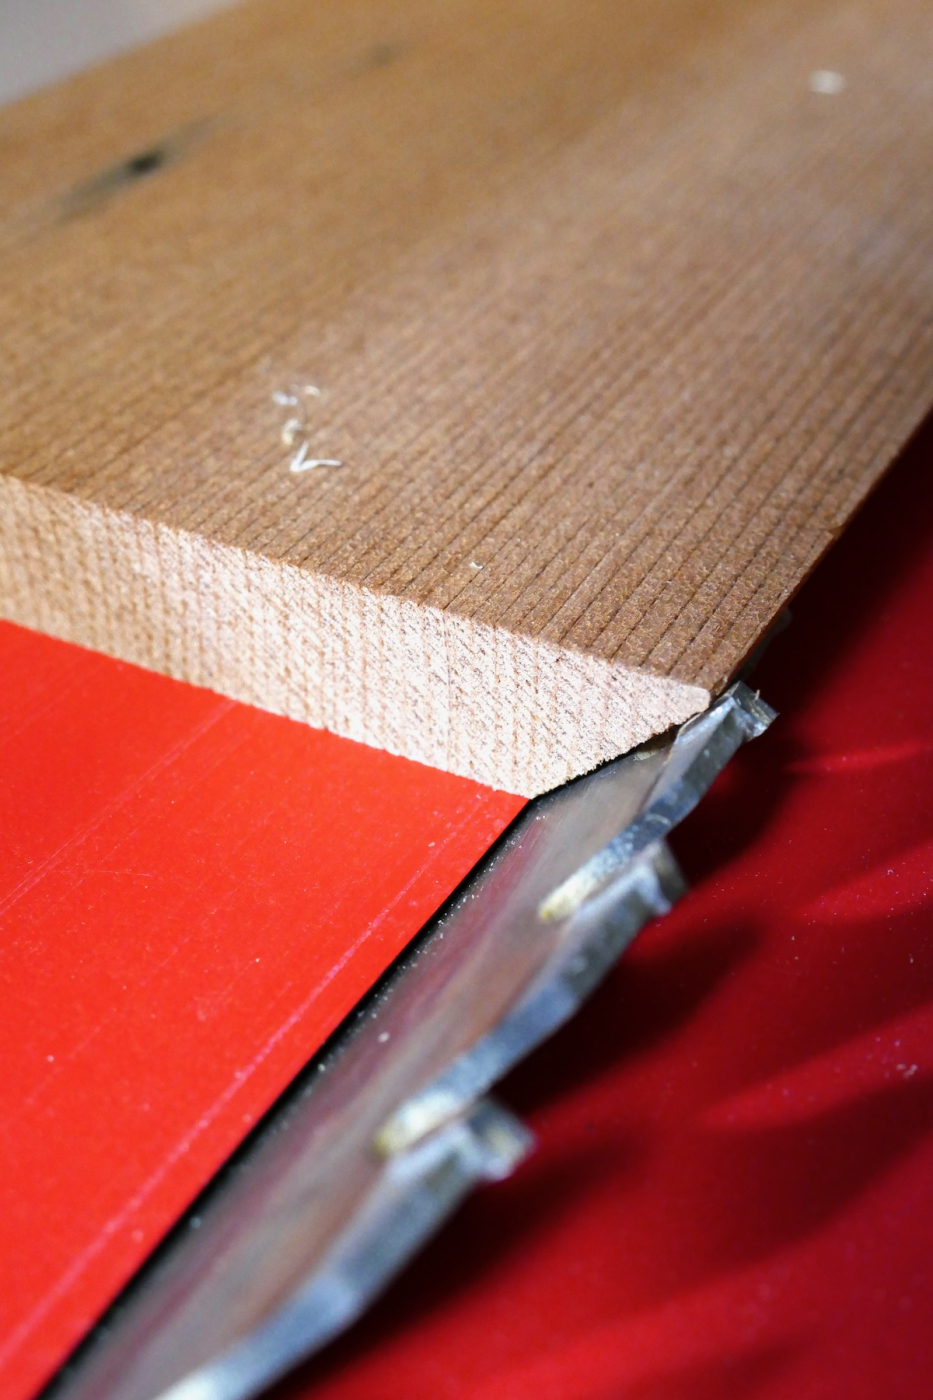
Cut the first long miter edge, then cut the other.
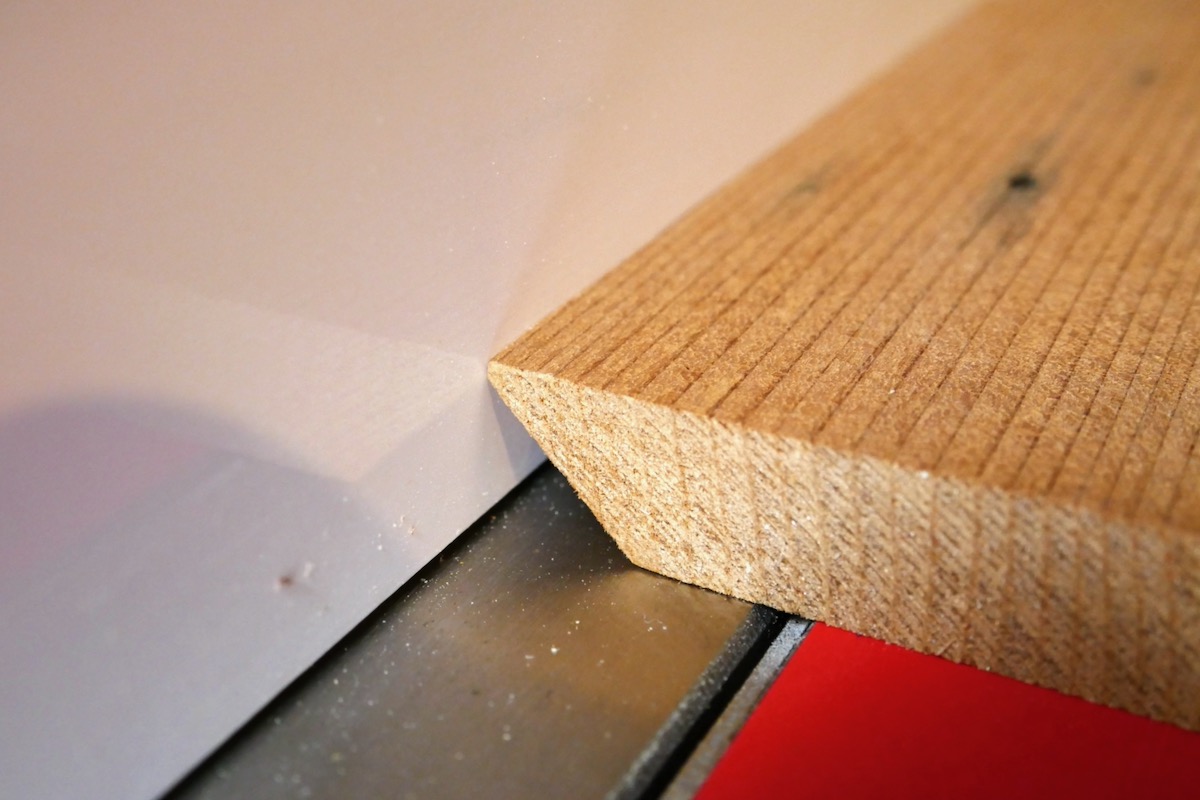
The incomplete miter helps in guiding the boards during the second miter cut.
What’s Next
In the next installment, I’ll discuss shaping the boxes’ tops and bases and forming their joinery.
Here are some supplies and tools we find essential in our everyday work around the shop. We may receive a commission from sales referred by our links; however, we have carefully selected these products for their usefulness and quality.


