


We may receive a commission when you use our affiliate links. However, this does not impact our recommendations.
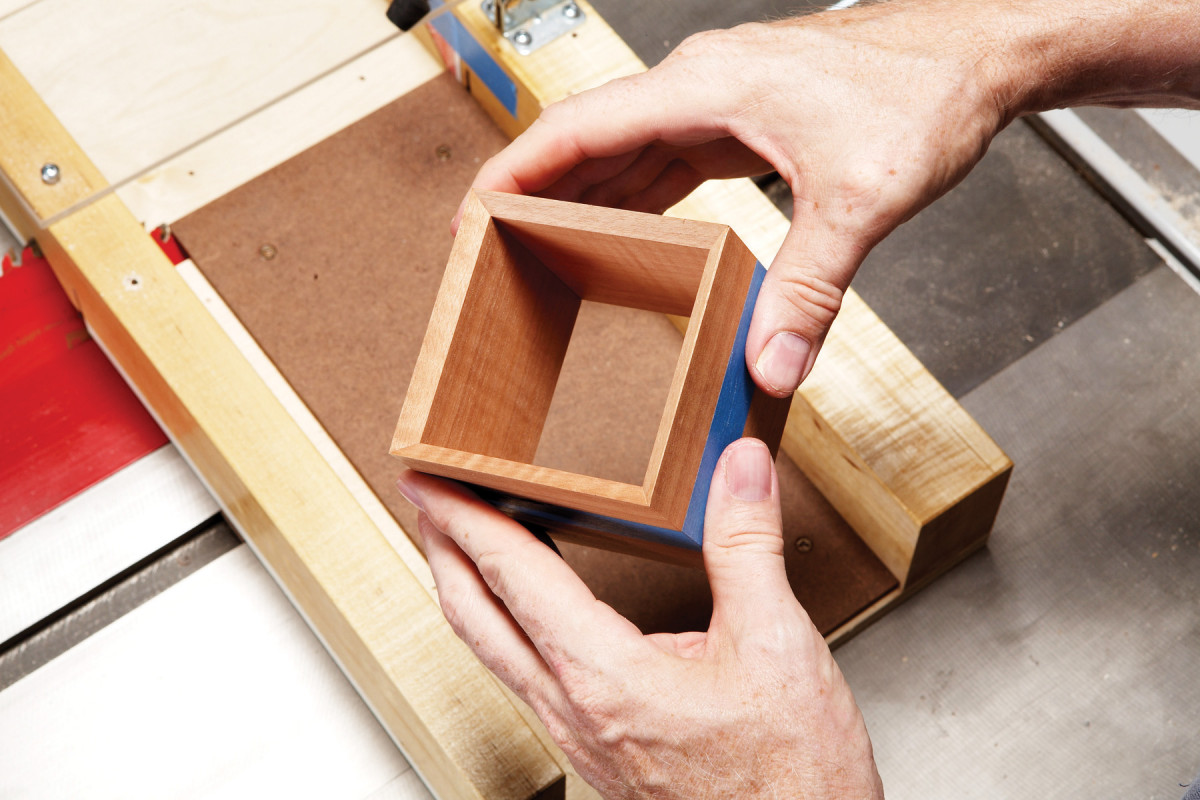
 People ask, “How in the world did you make that weird wiffle thing? ”The truth is, it’s really quite simple: it’s just a hollow cube with the corners cut off. Can you figure it out?
 People ask, “How in the world did you make that weird wiffle thing? ”The truth is, it’s really quite simple: it’s just a hollow cube with the corners cut off. Can you figure it out?
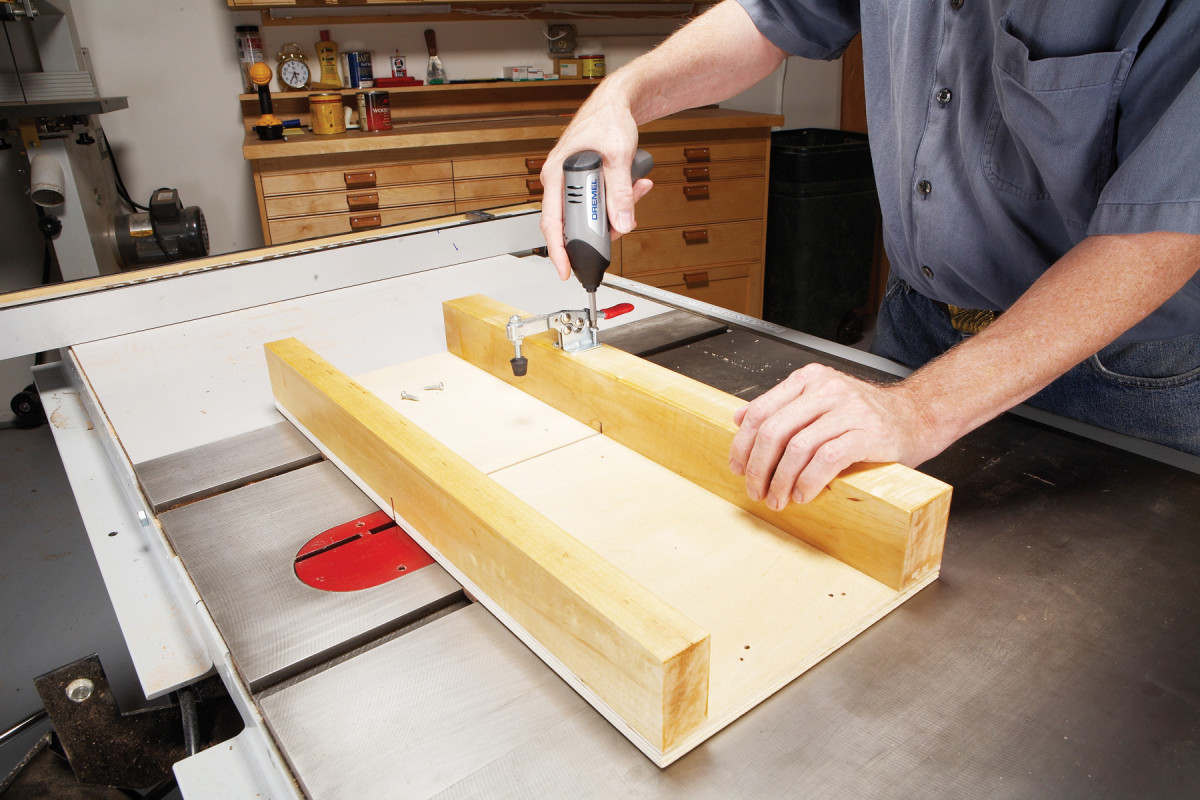
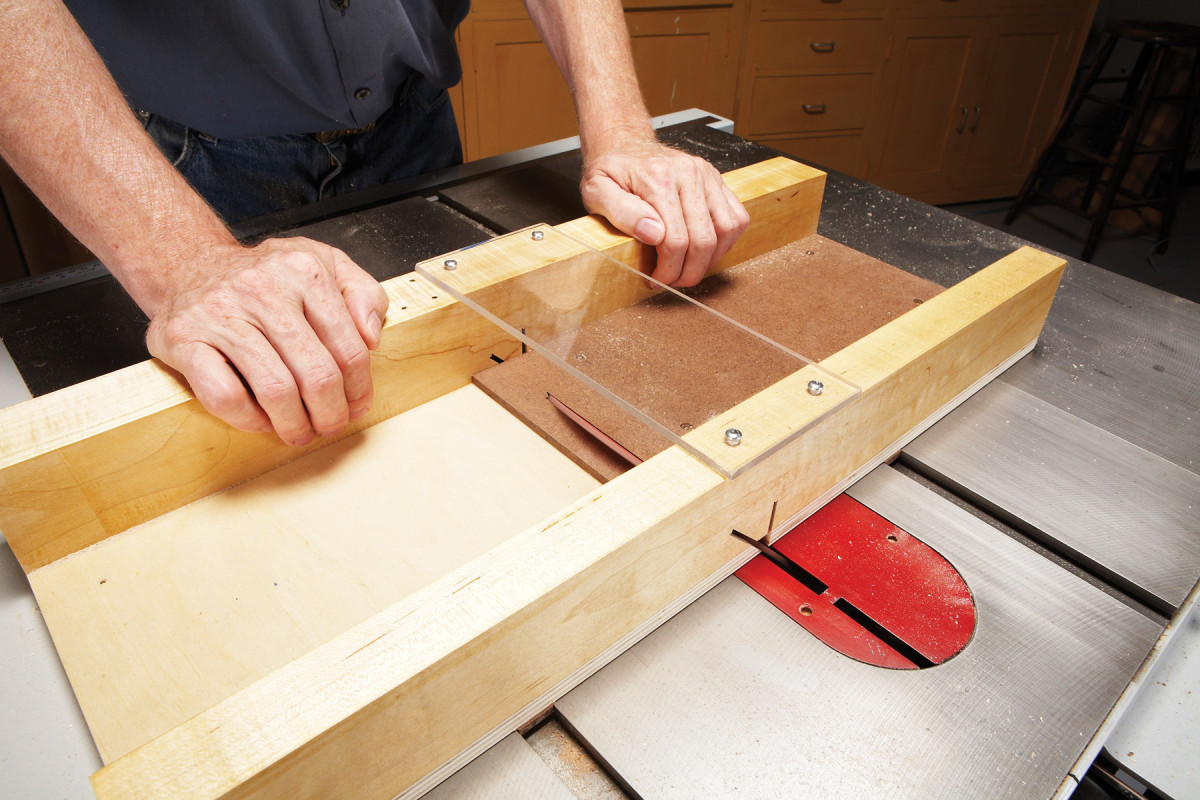
1. Precise cuts, safely done, are essential to making the wiffle ball. To begin, build a small crosscut sled with a fence wide enough to support a toggle clamp.
2. Fasten two pieces of 1/4-in. tempered hardboard to the sled’s bottom, centered over its slot. Butt the pieces together, then raise the blade and saw through the joint.
3. Saw twelve squares from two 1/4 x 3-1/2 x 24-in. blanks. Six are test pieces; the other six make one wiffle ball. Put a screw in the hold-down block as a fingerhold, to help you position the block. Add a plastic shield to deflect sawdust
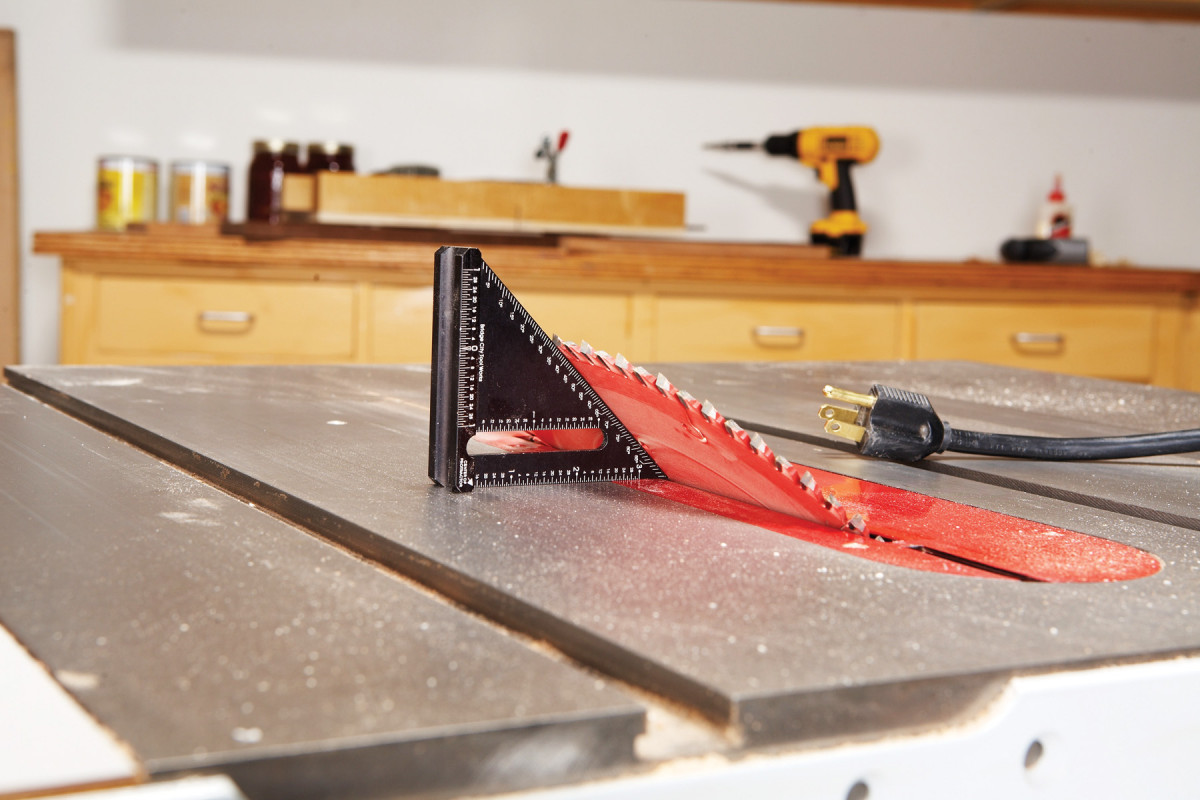
4. Remove the sled and tilt the blade to 45 degrees. For the best results, use a 60-tooth crosscut blade for every cut on this project.
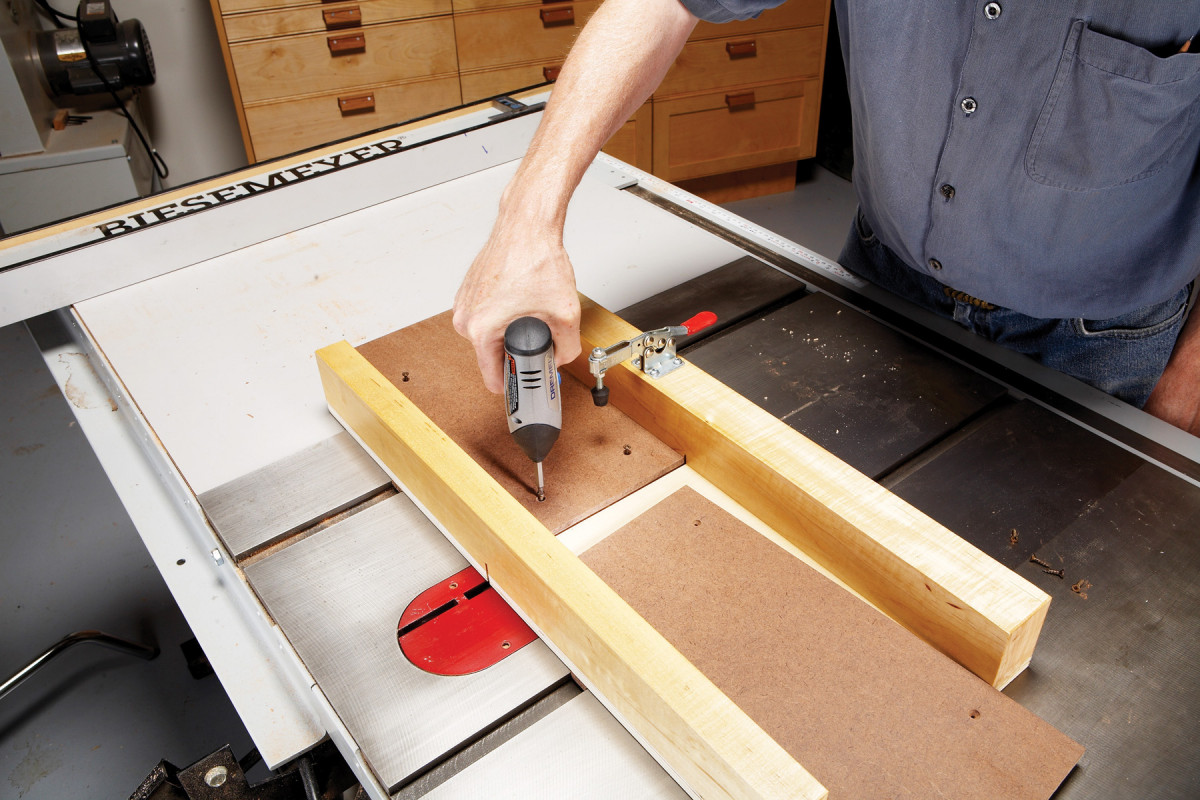
5. Remove both pieces of hardboard from the sled. Turn around the left piece and re-fasten it to the sled. Cut an angled slot all the way across it. Toss the waste piece.
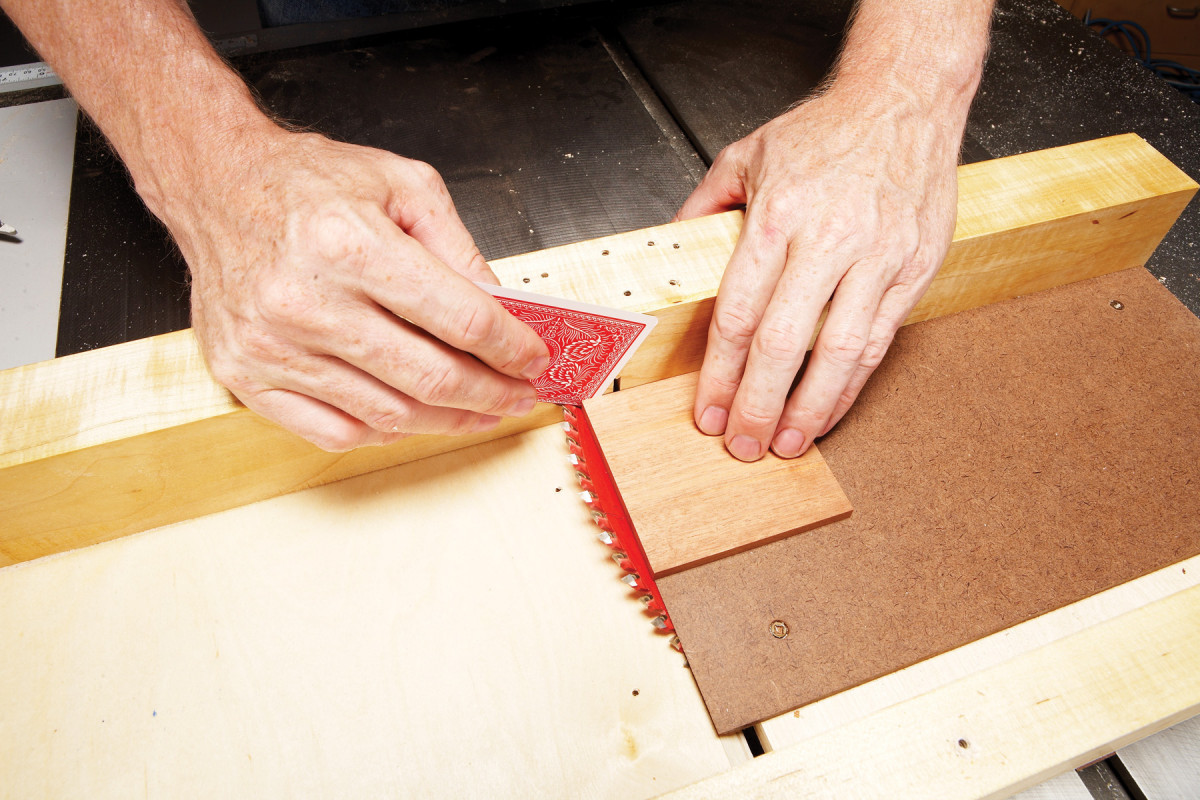
6. On many contractor’s saws, the blade moves out of square when it’s tilted. Hold a wiffle piece against the blade and fence. Tape a shim to the fence if there’s a gap at one corner. Ideally, you’d realign your saw to make it cut square, but this quick fix works well for this project.
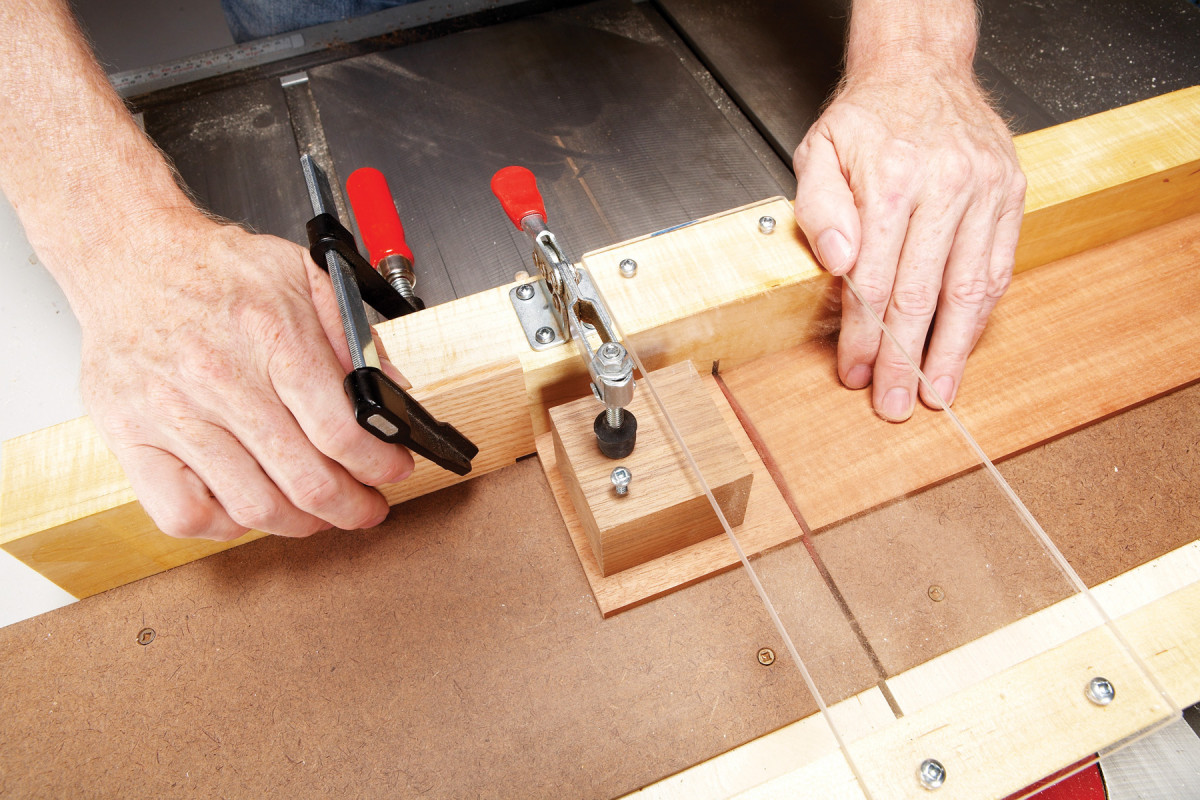
7. Miter all four sides of a test piece. Start with an end-grain side, then turn it counterclockwise as you go. Re-position the toggle clamp and plastic shield for these cuts. Just cut the square’s edges; don’t make it much smaller.
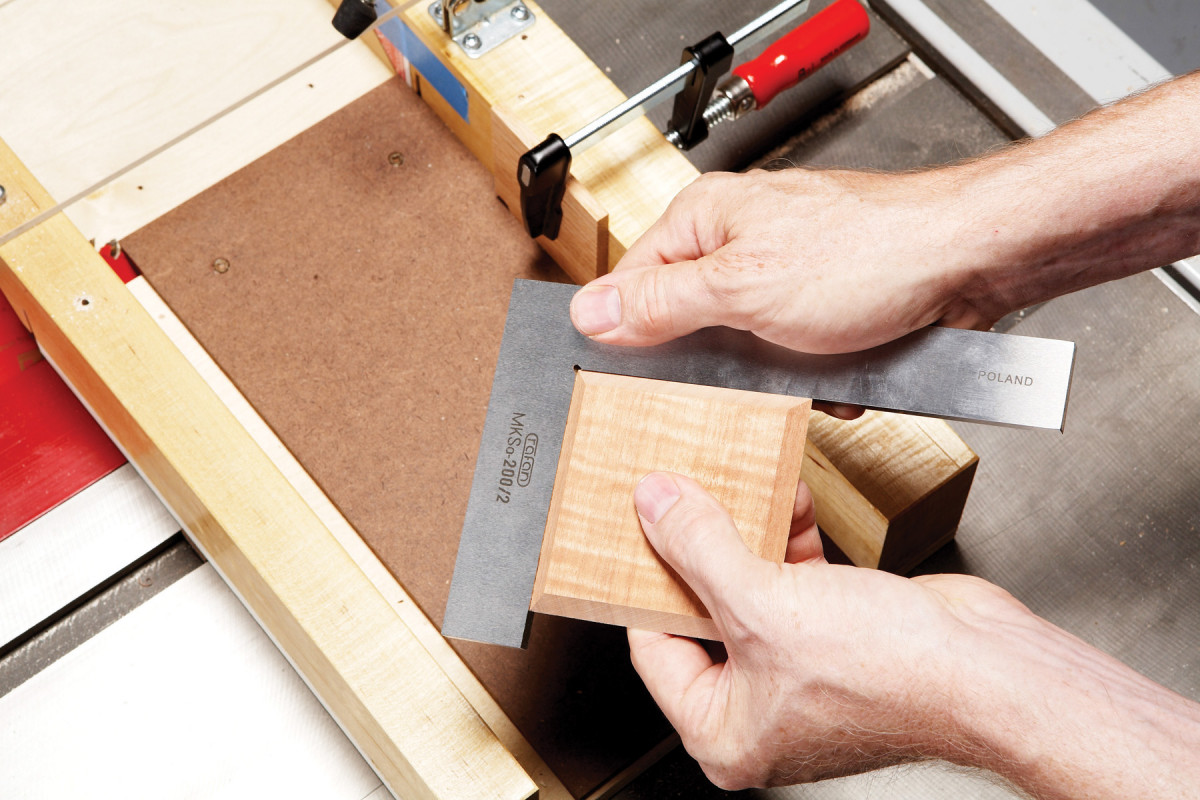
8. After the miter cuts, your piece must still be perfectly square. Adjust the shim, if necessary, to make the sides square, then cut four more test pieces.
9. Check the angle of the miters by holding the four test pieces together. You may have to adjust the blade’s tilt to make these joints tight. Once you’re set, miter all six “real” pieces.
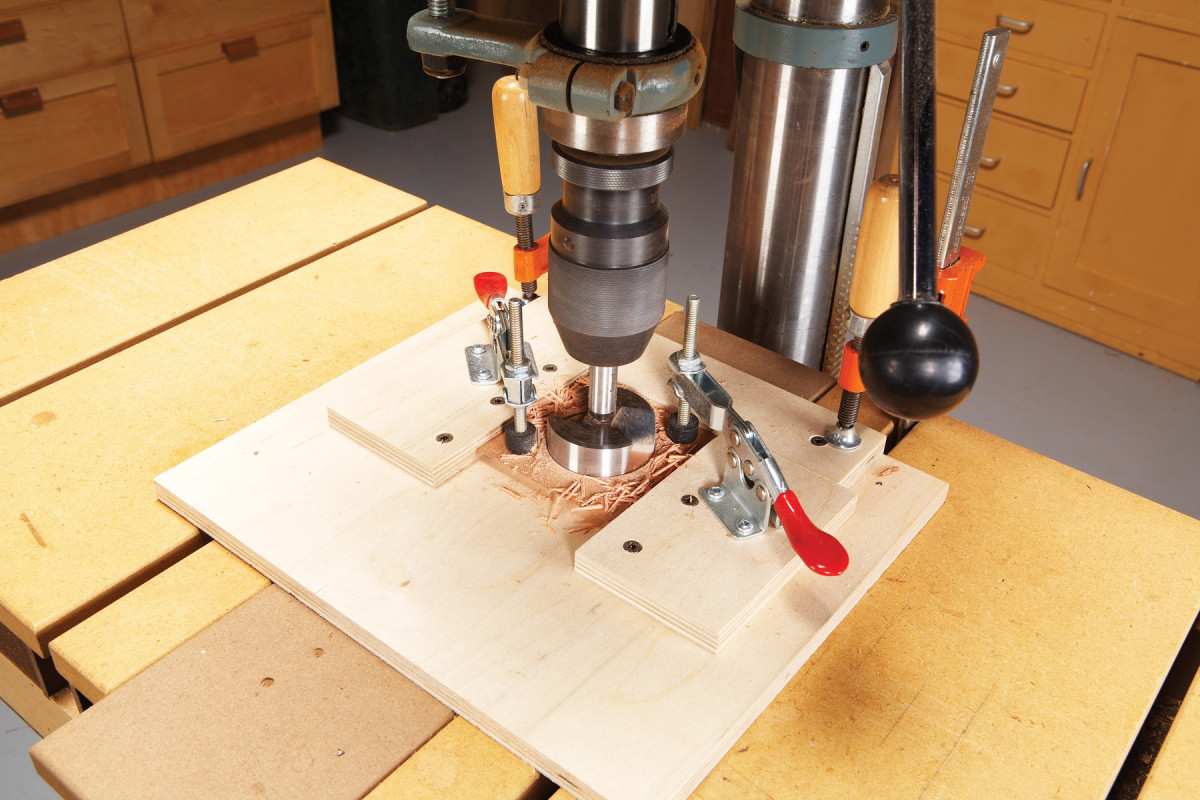
10. Drill a 2- 1/8-in. dia. hole in the center of each piece using a Forstner bit. This jig locks in the piece on three sides to ensure that it doesn’t shift. Toggles keep your fingers out of the way.
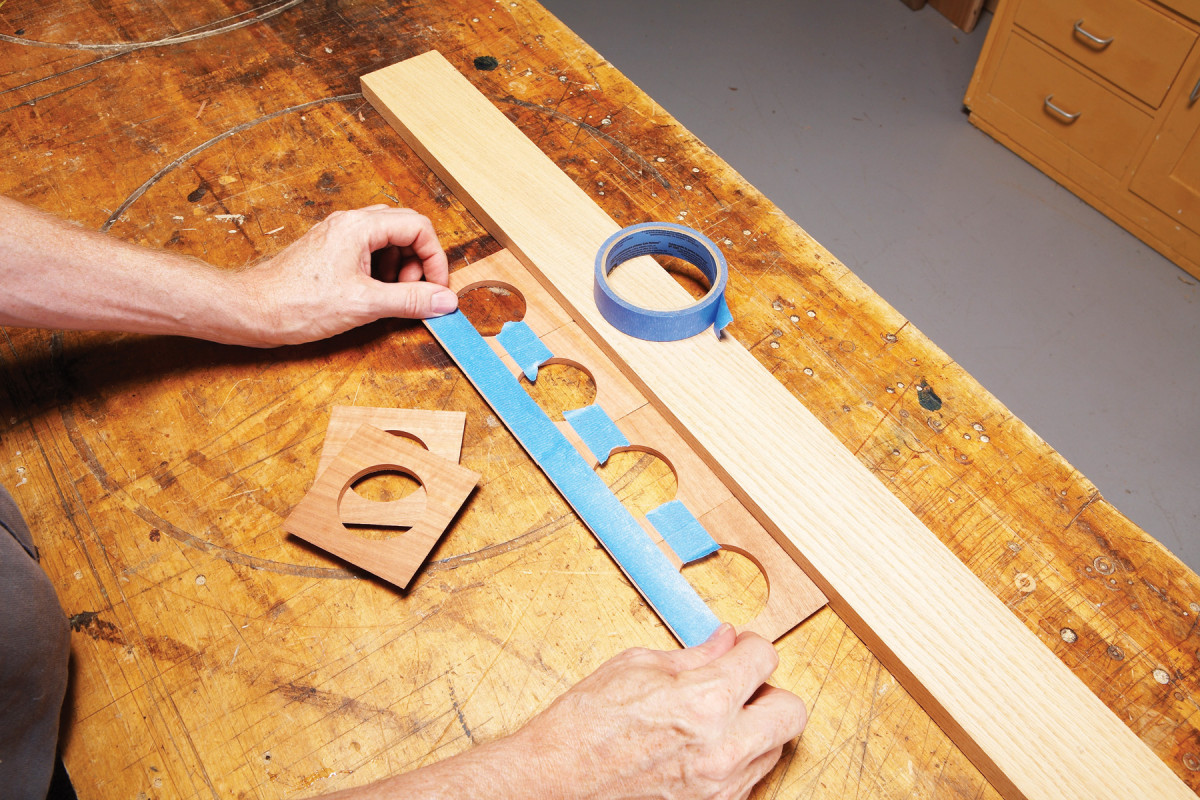
11. Tape four pieces together. Butt them against a straightedge to align their edges. Add the remaining two pieces to make a T.
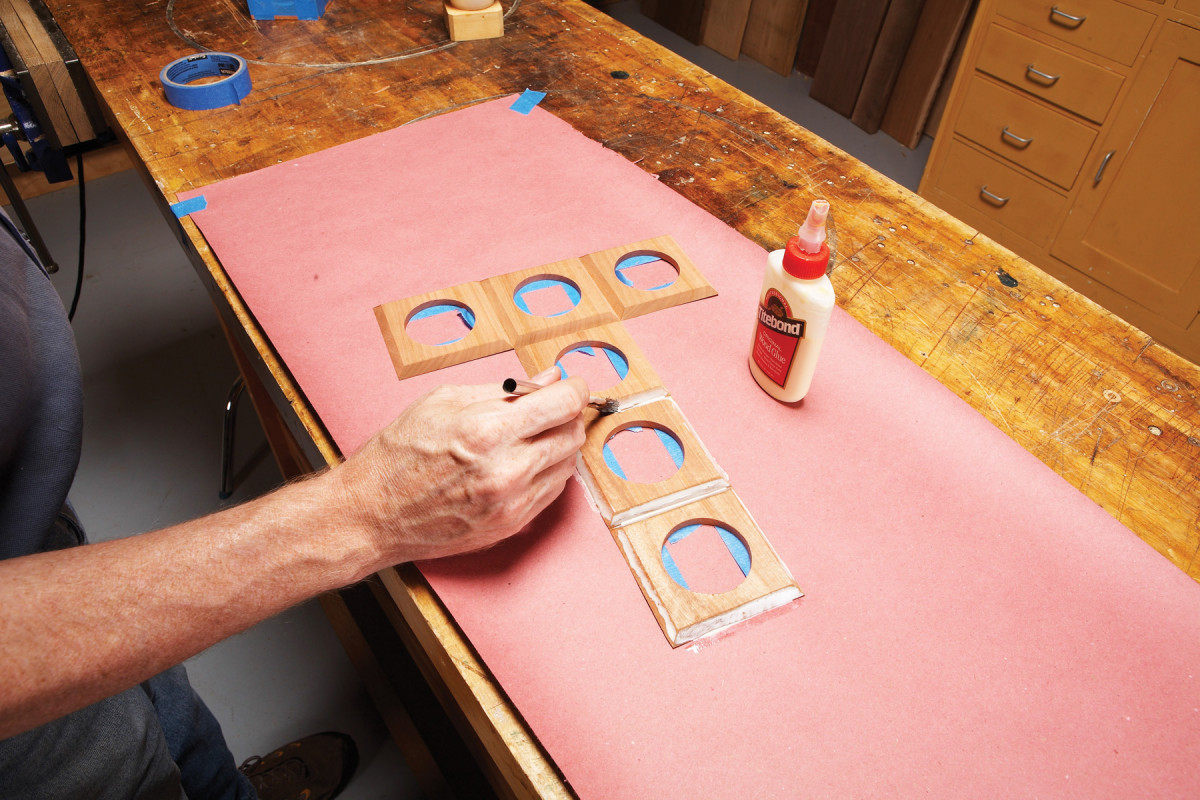
12. Turn over the assembly and spread glue on all the joints.
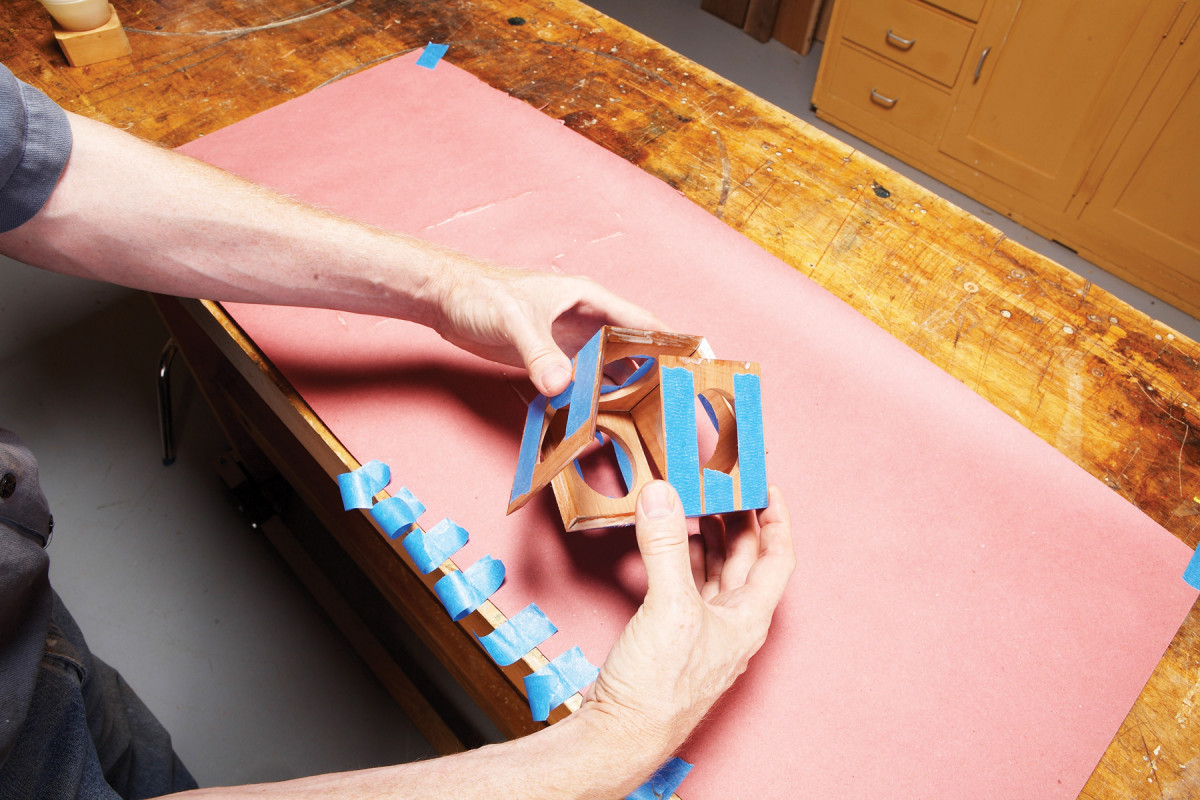
13. Fold the pieces into a cube. Put lots of short pieces of tape on the cube to hold the joints tight. Let the glue dry overnight, then remove the tape.

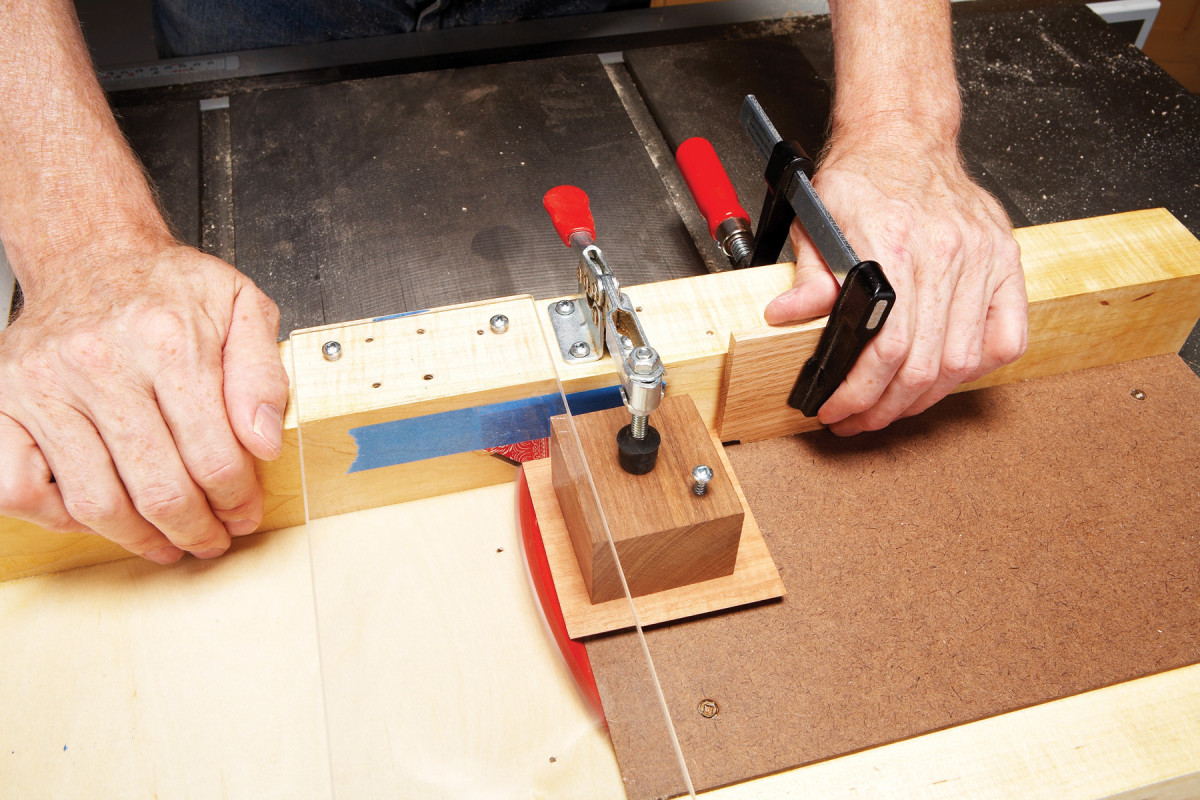
14. Add the righthand hardboard piece and two support boards to the sled. Support piece A is 1- 1/8 in. thick by 2- 1/8 in. wide; piece B is 1-3/4 in. thick by 2-3/8 in. wide. Cut 45- degree miters on both pieces.
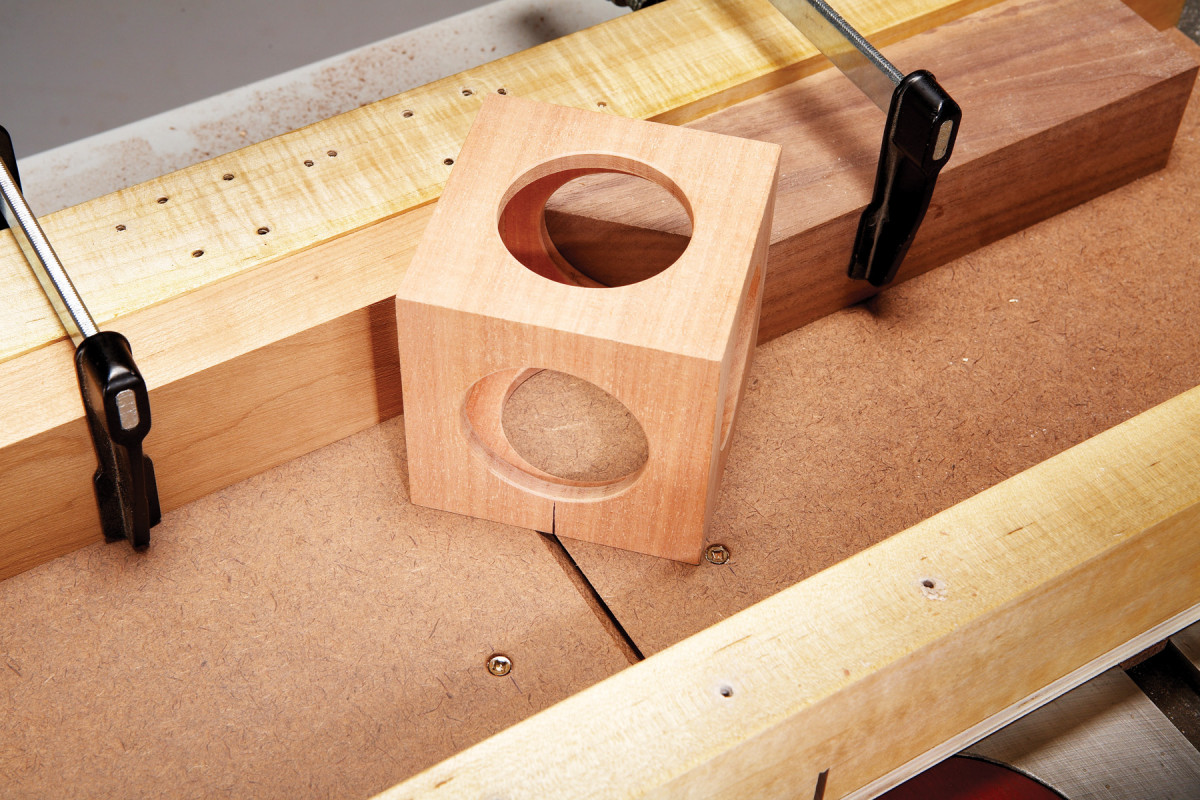
15. Mark a centerline on the cube, then adjust the support boards side-to-side until the centerline falls exactly on the left isde of the sled’s saw kerf. The cube should also fit tight against both support boards.
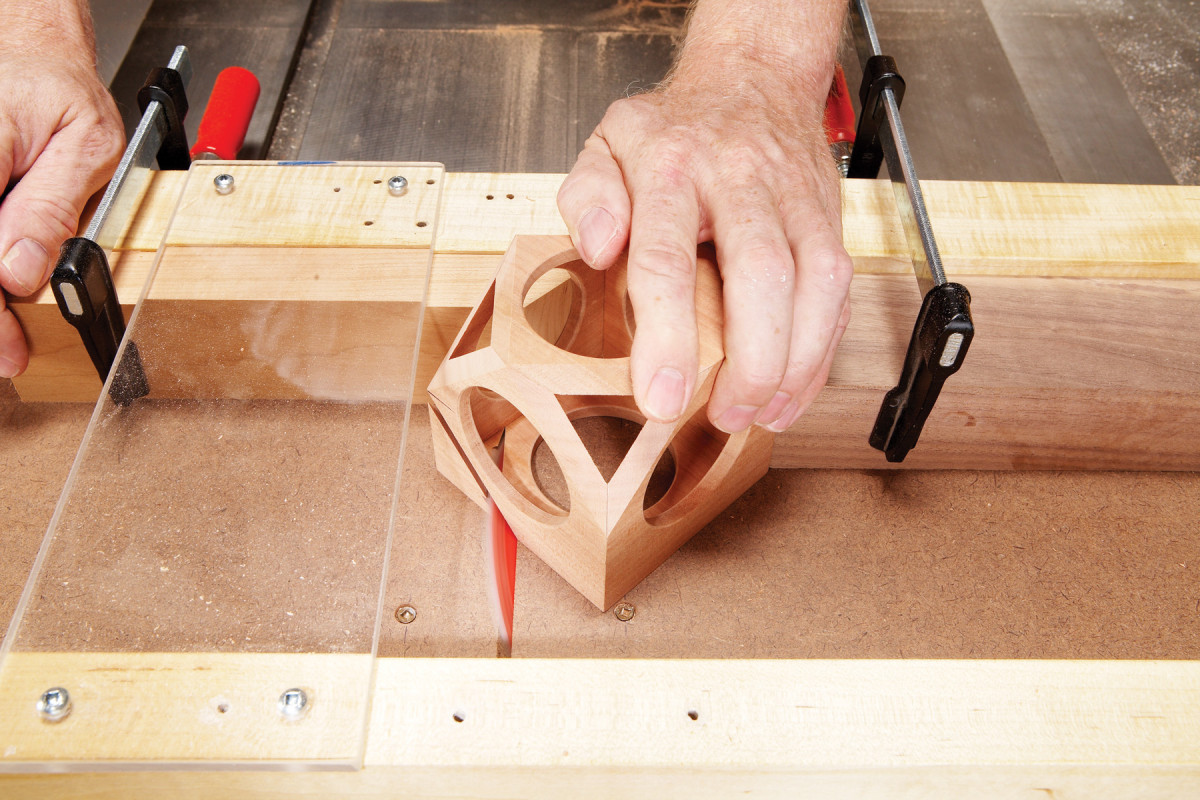
16. Cut all eight corners to transform the cube into a wiffle ball. Set the blade 3/8 in. above the sled, then rotate the cube three times, making three cuts, to remove each corner. Finish the ball by dunking it in Danish oil and spraying it with lacquer.
Here are some supplies and tools we find essential in our everyday work around the shop. We may receive a commission from sales referred by our links; however, we have carefully selected these products for their usefulness and quality.


