We may receive a commission when you use our affiliate links. However, this does not impact our recommendations.
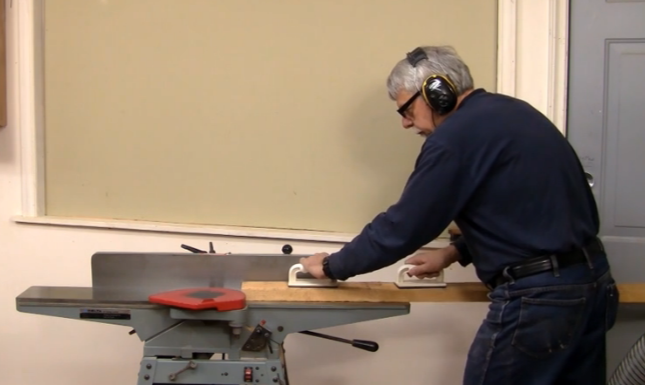
 The jointer is a versatile tool that’s more than just an electric replacement for a hand plane. This machine can do at least four different jobs well, and there are probably some imaginative woodworkers out there doing even more with their jointers.
Flattening One Face of a Board
A jointer won’t allow you make two parallel faces, but you can get one straight and flat surface on the jointer before feeding the board through your planer. Why not just use the planer? Boards come out of the planer with the same shape they had going in, only thinner. If you put a twisted board through the planer, it will still have that twist afterwards. So, you need to remove the twist from one face on the jointer, and then feed the board with that face down through the planer. Now you have two flat and parallel faces.
Squaring One Edge of a Board to One Face
After planing one face, you can run an edge through the jointer to get it straight and square. Make sure to put the flattened face against the fence so the jointed edge comes out square to that surface. The most efficient way to flatten a board is to joint one face, one edge, and then plane the other face and edge. This is just like surfacing stock with a hand plane, but much faster.
Making Tapered Legs
OK, maybe you already know that a jointer can flatten a face and straighten an edge. But you can do some other cool things with this tool. Tapered legs for tables and desks are easy on the jointer. You can taper the entire length of a leg, or leave a straight section where the apron connects to it. If you want a 5” straight section, draw a line all the way around the part at that distance from the top edge. Turn on the jointer. Carefully place the top corner of the part on the out feed table and lower it until the bottom edge touches the infeed table. Feed the board through the jointer with push blocks. Repeat this process until you have the desired taper. You can machine all four faces this way.
Trimming Doors to Size
A jointer is a handy tool when fitting doors for cabinets or furniture. If you need to remove a bit of width or length from a door, you can easily do it on the jointer. Just be sure to put some kind of backer block behind the door when jointing end grain to prevent tearout.
With enough creativity, you could probably get even more out of the jointer than just these four things. Like any tool, a jointer’s versatility depends on the user.
Want to learn more about using the jointer? Check out Jointer Fundamentals at Popular Woodworking University.
Here are some supplies and tools we find essential in our everyday work around the shop. We may receive a commission from sales referred by our links; however, we have carefully selected these products for their usefulness and quality.


