We may receive a commission when you use our affiliate links. However, this does not impact our recommendations.
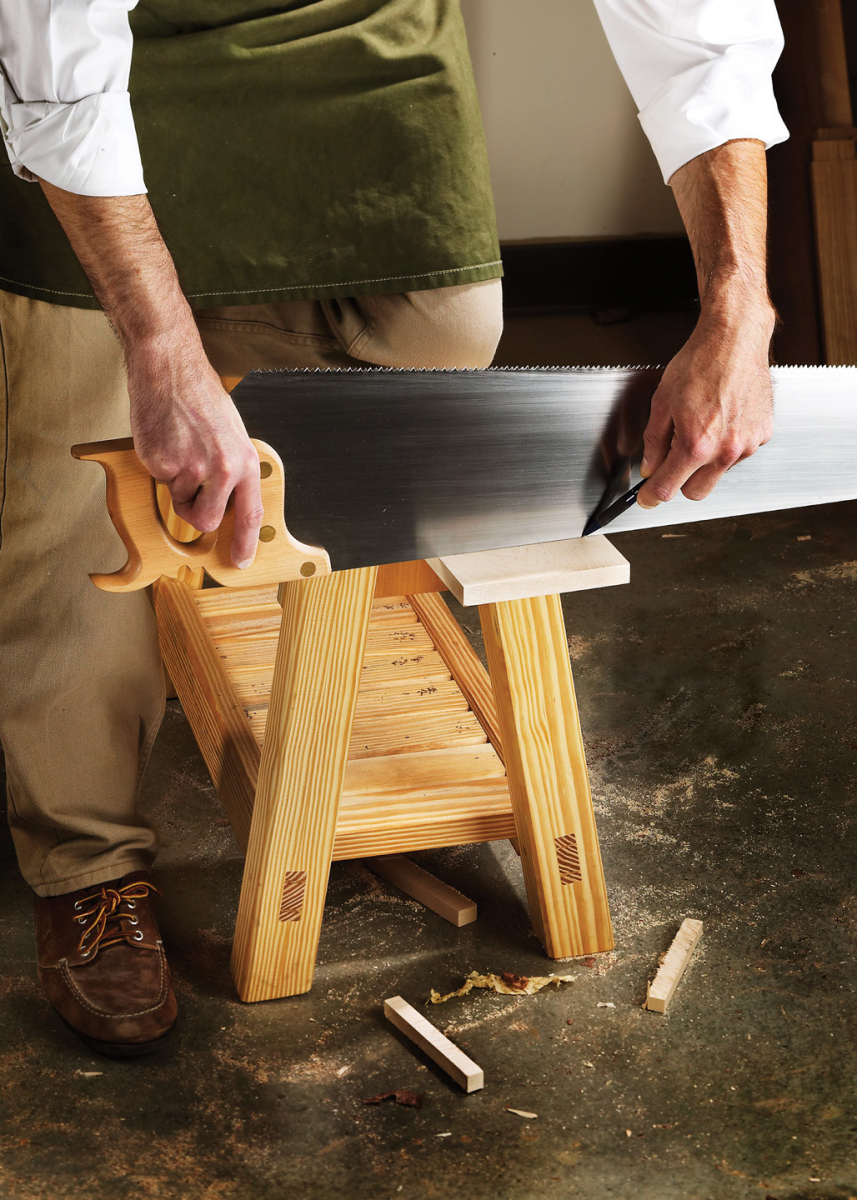
You can use the reflection in the sawplate to mark an accurate 90° line across the face of your board. Once you’re comfortable with this trick, you’ll use a square much less for marking.
How to clear your line of sawdust without blowing yourself dizzy. Plus, learn how to mark accurate 90° and 45° lines without a square.
About 35 years ago I was using a handsaw in what I considered the usual method: Cut, blow the sawdust off my pencil line and then cut some more.
The foreman on the job was watching me work and he came over and stopped me. He said he was told many years ago of a way to cut with a handsaw so you didn’t have to blow the dust off the line. He didn’t show me the method because he said he’d never been able to do it himself, but the basic idea was as follows:
You cut on the down-stroke and lift the saw a bit out of the kerf on the up-stroke. By developing this slightly orbital stroke, most of the dust falls on the floor.
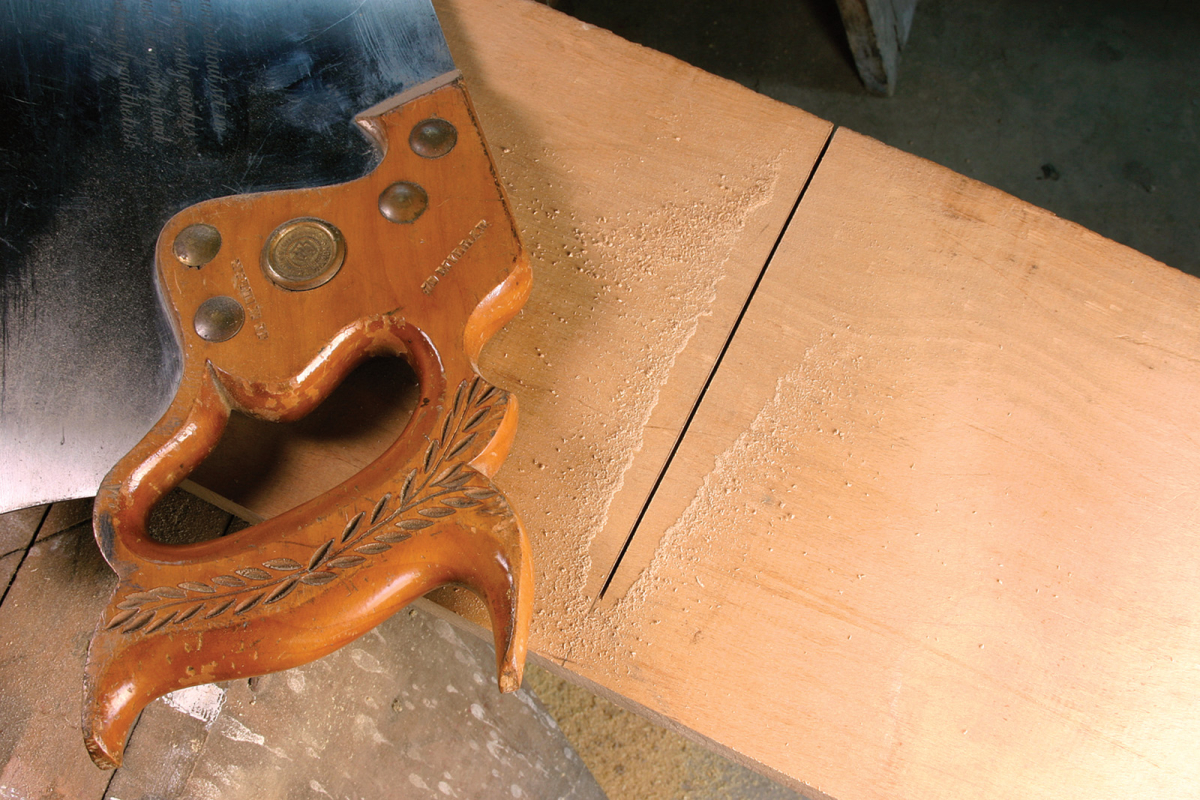
Using an orbital sawing stroke, the dust falls away from your line as you cut, much like the wake of a boat. No more stopping to blow your line after every few strokes.
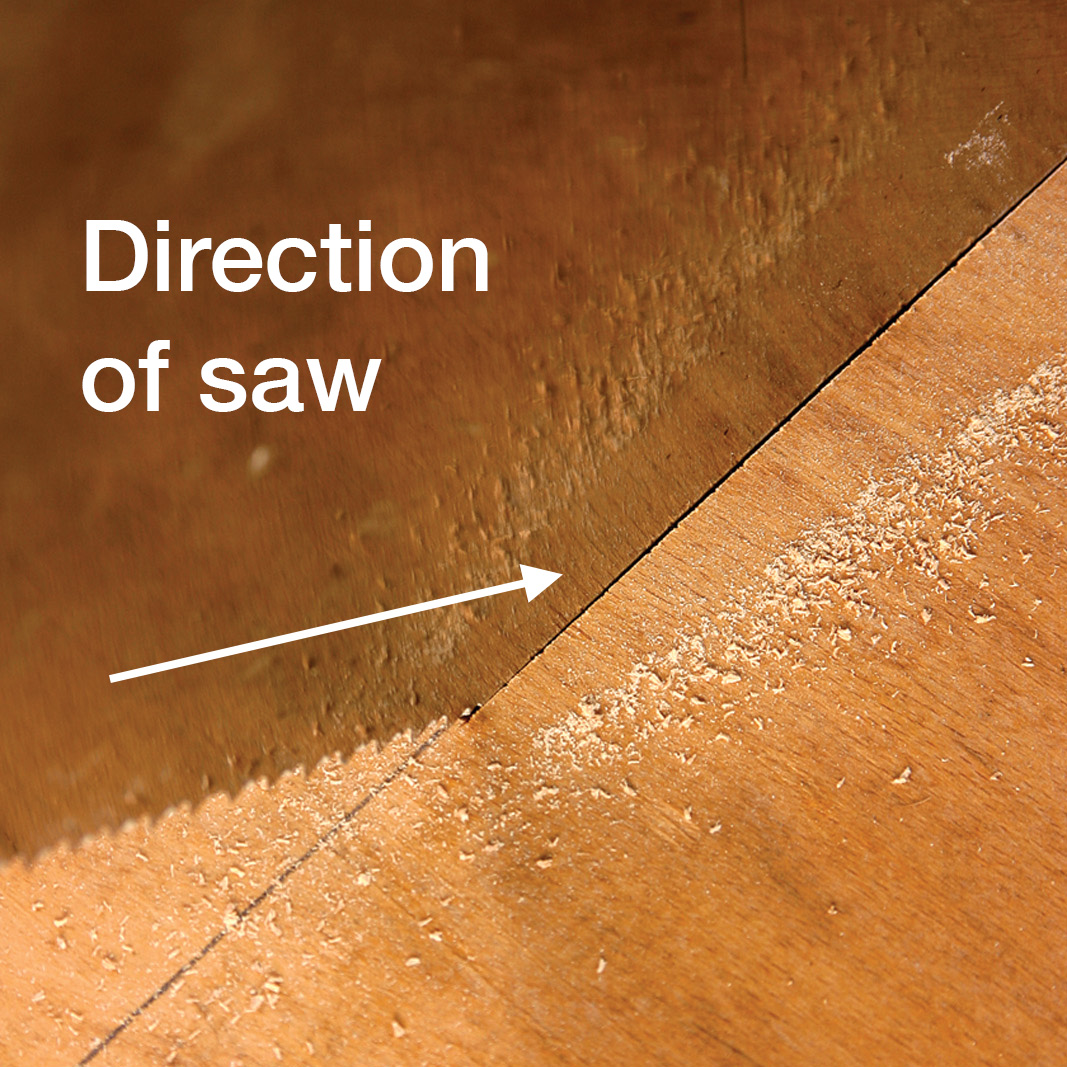
Here’s how to develop the orbital rhythm in your sawing: With Western-style handsaws, the blade cuts the work on the push stroke, as shown in this photo.
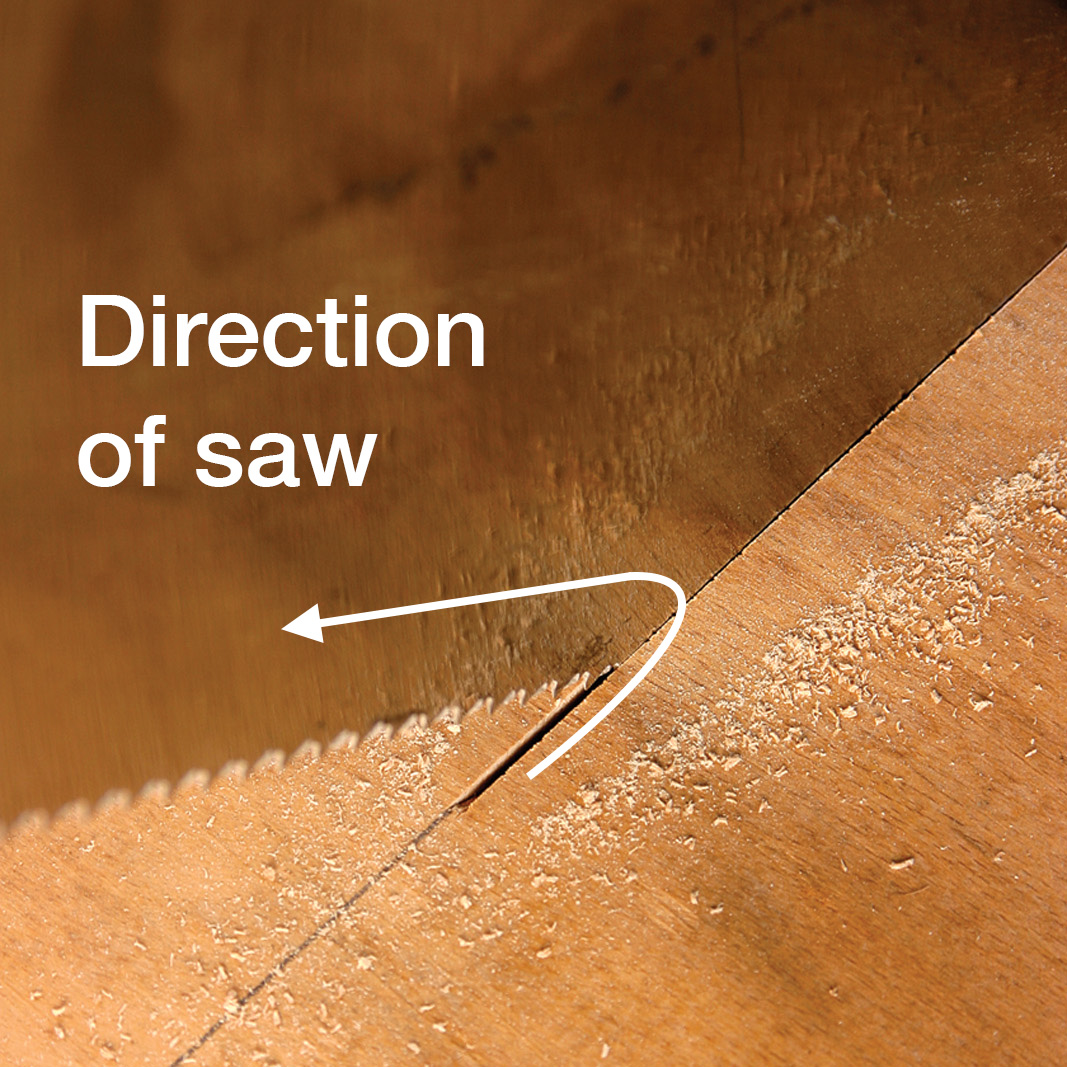
As you pull the saw back to prepare to make another cutting stroke, lift the saw up a little (as shown here) so the teeth aren’t dragging against your cut. This orbital sawing action sounds different, feels different and works brilliantly.
After practicing this orbital stroke for a while I noticed something else that my foreman had not mentioned. The small amount of dust left on the surface of the work was pulled away from the cut line, like the wake of a boat in water.
This is really neat to see, and I think it is caused by the regular, rhythmic vibration within the workpiece that is created by this type of saw stroke. Try it – you will like it!
At one time there was a product available that was designed to blow dust away with a hand saw called “Clear-Line.” It was attached to the bottom of the saw handle and directed a puff of air onto the surface of the board with each stroke of the saw.
As a tool collector for the past 35 years, I have looked at thousands of handsaws and have never seen one with a Clear-Line unit attached to it. Could it be that most woodworkers of the time knew how to cut without the need to purchase such a device?
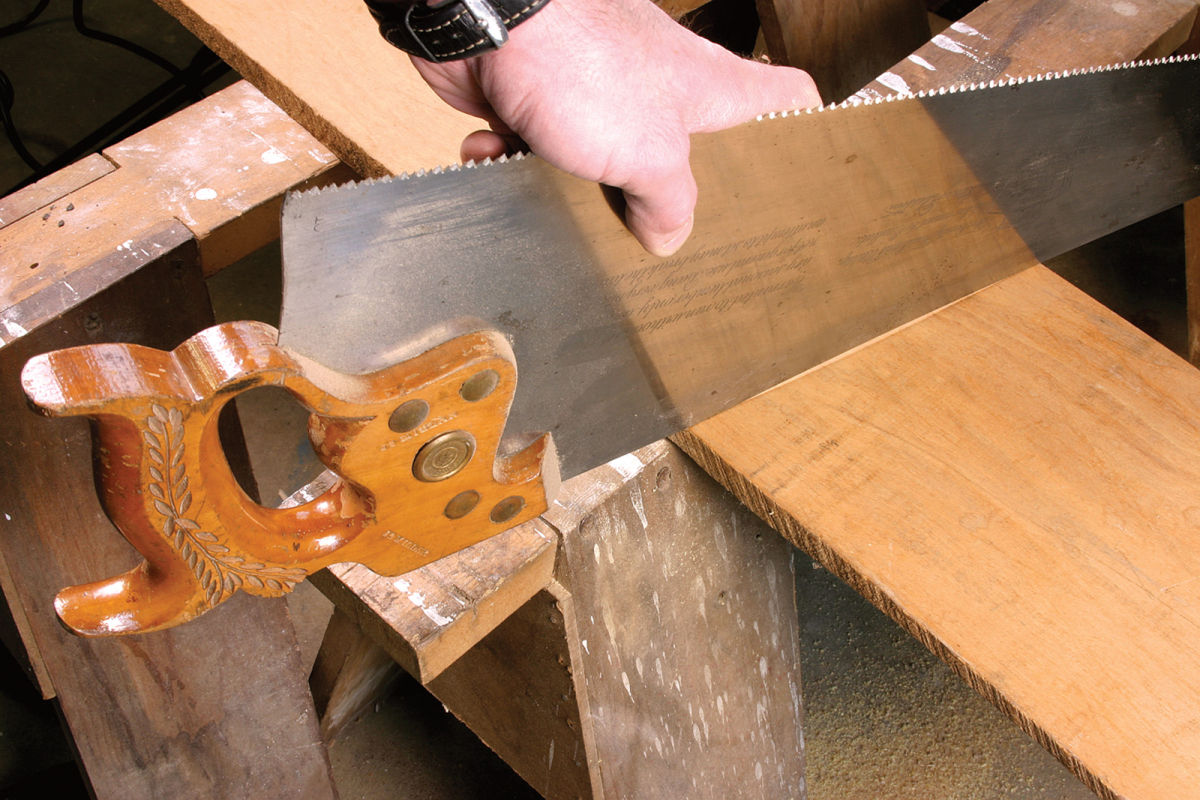
Use the reflection of your work to draw a square line across a board. Here you can see how the reflection doesn’t line up with the board. The saw plate is not square across the board.
Bonus: Saw as a Square
One more neat (and sometimes useful) trick is to use a saw as a square. This is done by placing the saw in a vertical position across the face of a board. Observe the reflection of the board in the side of the saw blade. When the reflected edge is straight and in line with the edge of the board, the saw blade is set at 90° to the board’s edge.
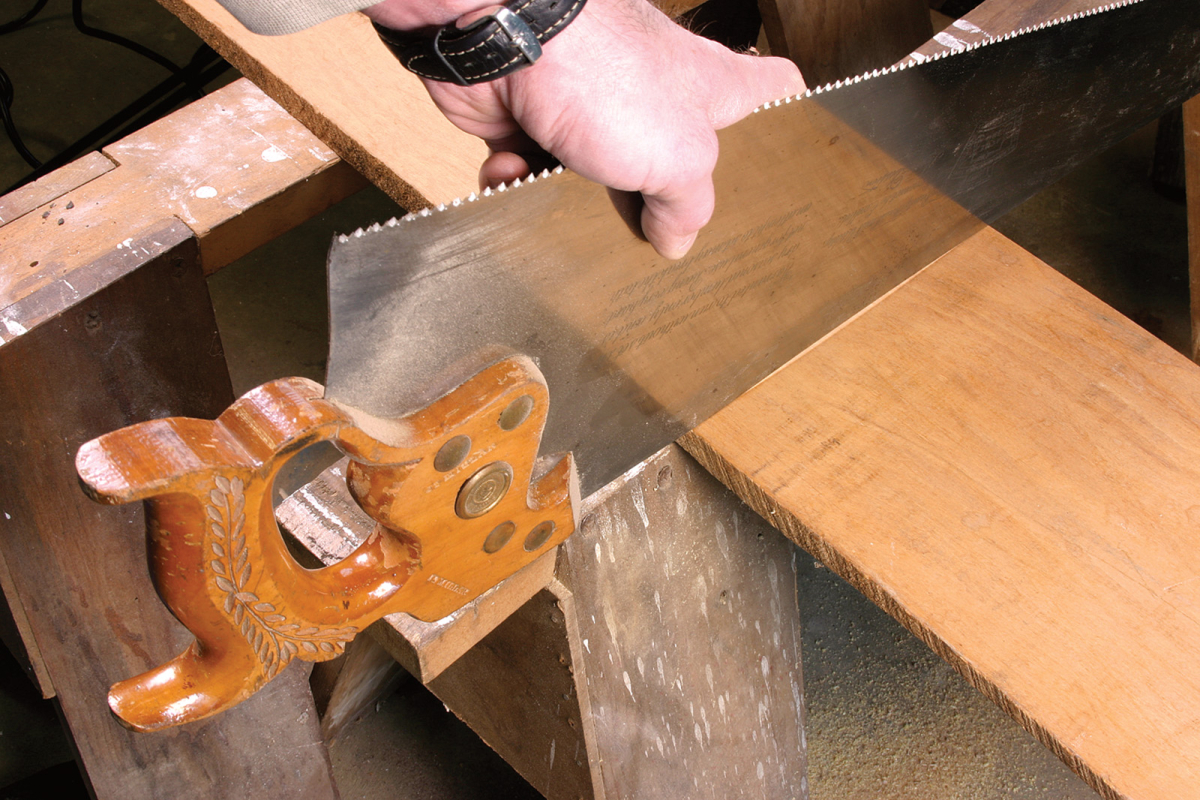
When I rotate the saw a bit, the reflection lines up with the board. The saw is square across the width. Now I simply draw a pencil line along the back of the saw and I have my cut line.
If you want to mark a 45° angle, move the saw until you see a 90° corner formed by the reflection and the edge of the board.
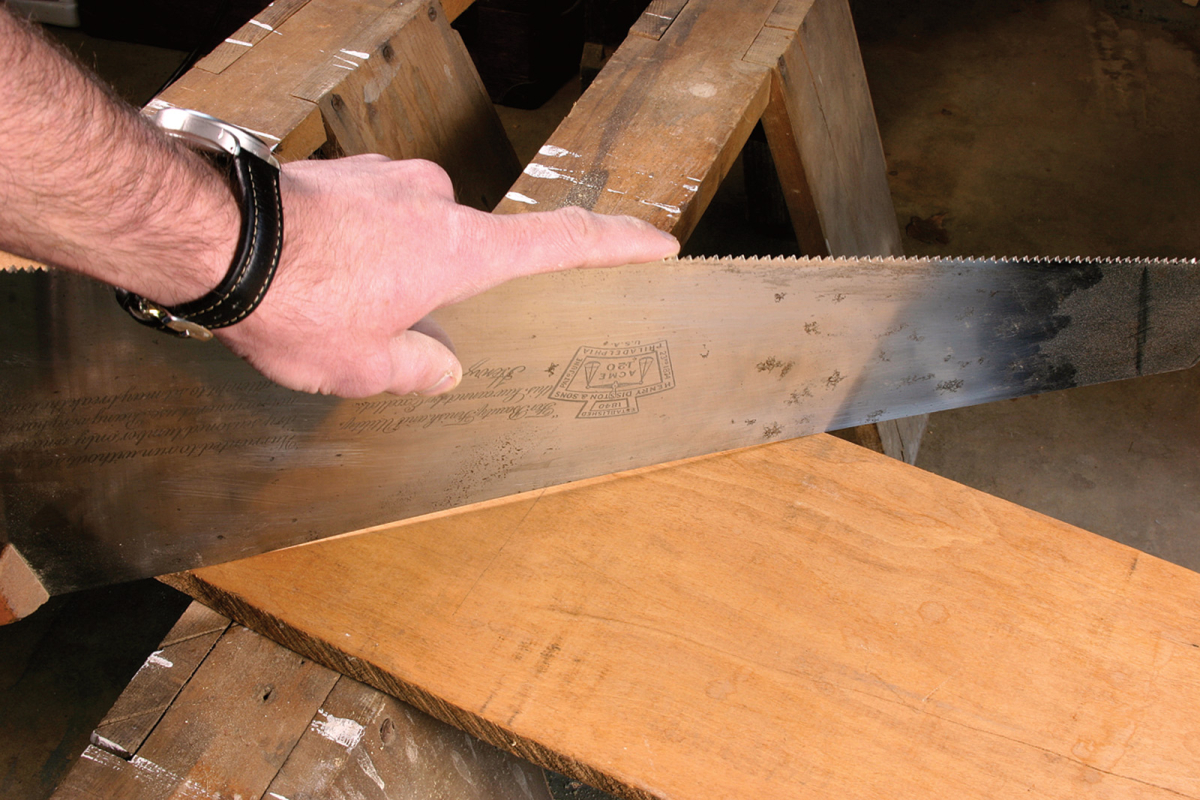
You also can draw accurate 45° angles this way. When the reflection appears as a perfect 90° (as shown), your saw is at 45°; draw your line.
Here are some supplies and tools we find essential in our everyday work around the shop. We may receive a commission from sales referred by our links; however, we have carefully selected these products for their usefulness and quality.


I’m curious about the sawhorse shown in the main photo for this article. Are there more pictures or plans available for it? Thanks.