We may receive a commission when you use our affiliate links. However, this does not impact our recommendations.
Making the blade of the Wierix square is the most creative part of the construction process, when you can get in touch with your inner fledermaus (aka bat).
While you can argue about whether or not the curves on the blade have any purpose, I am pretty certain of the reason the overall blade is triangular: to conserve wood and make the square easier to use.
You can easily saw two blades out of a single blank with little waste. That’s 1 point for triangles. When you put this square to use for layout chores, you’ll be thrilled because it doesn’t tip around like an “L”-shaped square. Point 2 for the triangle.
Interestingly, the French use the word “triangle” for “try square” in A.J. Roubo’s 18th-century text.
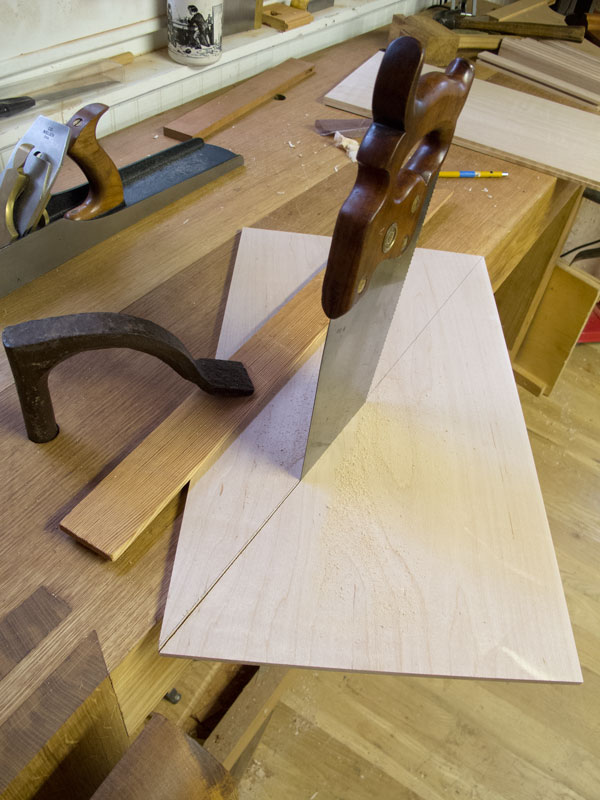
Saw the blade blank diagonally to create two blades. This is an operation that is easier on the bench as shown in the photo – it’s an awkward operation on a sawbench. (Somewhere in America, carpenter Carl Bilderback is right now making a crude joke about what overhand sawing looks like to him.)
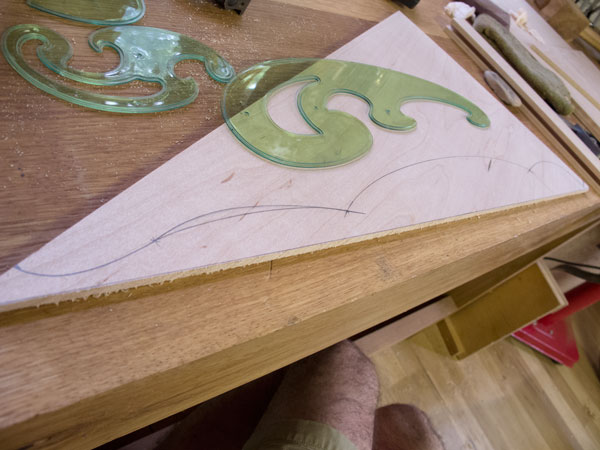
Now lay out the four curves. I plotted four points and then joined them using my French curves. Everytime I make a batch of squares I make a slightly different shape. If you want to see one sample layout, you can download this SketchUp drawing. When I draw my curves, I just think “bat” all the time – it seems to help.
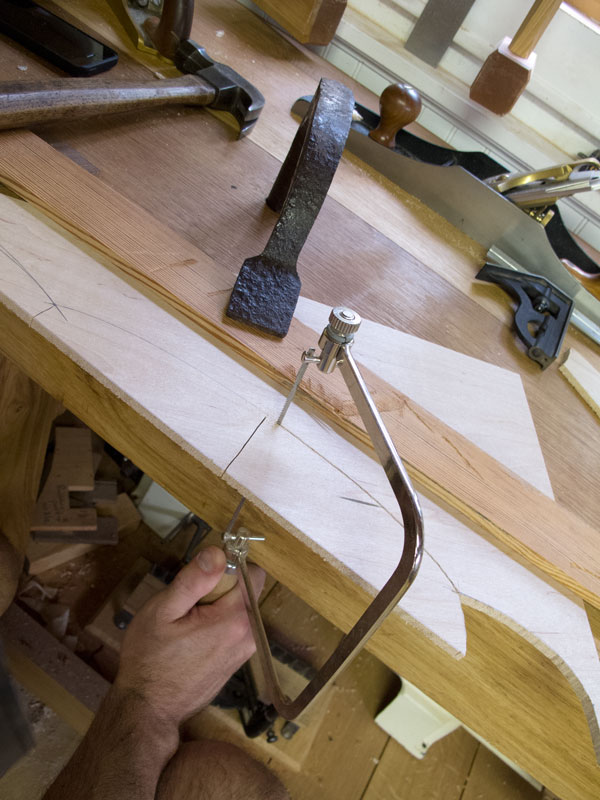
I saw out the curves using a coping saw. I secure the blade flat on the bench with a holdfast and hold the handle of the coping saw vertically. This is an old technique. If you want to learn more about coping saws – tuning them up and using them – check out the August 2014 issue of Popular Woodworking Magazine.
You should shift the square’s blade a couple of times during sawing to keep the sawing action near the front edge of the benchtop. You can snap the blade of the square if it is cantilevered too far off the benchtop.
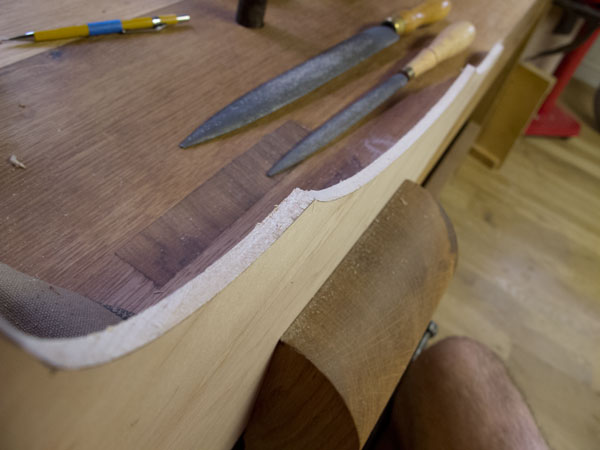
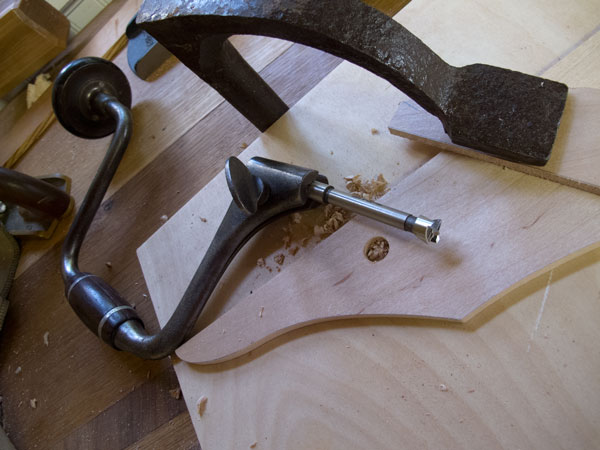
Once you finish sawing, clean up the cuts with rasps and sandpaper. Drill a hang hole and use a smoothing plane to remove any pencil lines and dings on the blade.
Assembling these squares is pretty easy. If you don’t have any clamps, glue the blade into the stock and push the blade to the bottom of the groove in the stock. Hold the stock and blade together tightly for about 10 minutes until the glue siezes up. Then set the assembly aside until the glue dries.
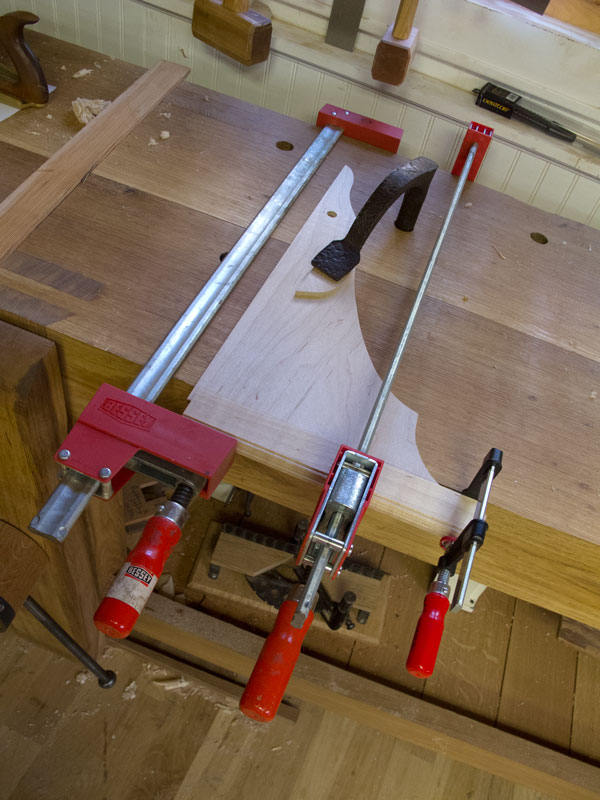
If you have clamps, consider the setup shown in the photo above. Secure the blade to the benchtop with about 1” of the square hanging off the benchtop. A holdfast will do the trick to keep the blade immobile.
Then clamp the stock to the blade with clamps as shown. This setup pulls the blade to the bottom of the groove and results in a square that requires less truing after the glue has set up.
Tomorrow: Truing and finishing the square.
— Christopher Schwarz
Here are some supplies and tools we find essential in our everyday work around the shop. We may receive a commission from sales referred by our links; however, we have carefully selected these products for their usefulness and quality.




This is neat Chris. I need to make one of these.
Regarding coping. I’m no expert, but I think that I may have discovered a useful trick for coping. When coping some 1/8″ plywood held horizontally and with the teeth pointed to the floor, I was getting severe tearout on the bottom of the board. I tried holding the blade in different ways to minimize the tearout and low and behold if I angled the blade so that it was at about a 105 degree angle to the board so that the teeth cut the top of the piece before it cut the bottom, the tearout was almost gone. Try it out. Maybe this is well known, but I’ve never seen it mentioned.
Thanks for all your teachings!
Where does one find 1/4″ quarter sawn stock in that kind of width? Even the thicker stuff I find that I would have to re-saw and don’t have a good way to do that is hard for me to find and very expensive. So, slap me upside the head, I made one on the table saw out of a Baltic birch corner scrap a few weeks ago. That wasn’t any fun, but it did work.
A regular Forstner will work fine in a Fray/Spofford brace – and many other braces.
Thanks for the details. These are great. One question – is that a regular Forstner bit in the brace, or is there something that is especially suited for manual use? Thanks!