We may receive a commission when you use our affiliate links. However, this does not impact our recommendations.
As I mentioned last week, a common way to flatten a board that is too wide for your jointer is to build a planing sled and then pass the board & sled through the planer. Via incremental milling, the uneven top surface of the board will be flattened, and then you can flip the board over and run it through the planer – this time without the sled.
This is a very successful technique, especially when you temporarily glue the stabilizing shims under the board using hot glue or double-stick tape. But gluing the shims to the board and sled is time-consuming and might result in unwanted glue residue. (BTW, you can watch some very good videos at the end of this story to learn more about the shim+glue technique.)
Recently I found a way to mount the board over the sled and run it through the planer without resorting to shim gluing. A rubbery substance that is used to enhance traction on stairs and treads, made by 3M, became the perfect substitute for the hot gun adhesive and happened to be perfect for both sled and shims.

3M Safety-Walk Gray Indoor/Outdoor is a somewhat rubberized coarse material that grabs on shoes and prevents slipping. It is not abrasive and if it accidentally got loose inside your planner would not dull the cutters. It has a PSA (Pressure Sensitive Adhesive) back that allows you to connect it securely to the sled’s bed and your custom-made wooden shims (on my shims I used the 1” version of the tape). The Safety-Walk comes in a variety of widths and is relatively inexpensive.
The Sled
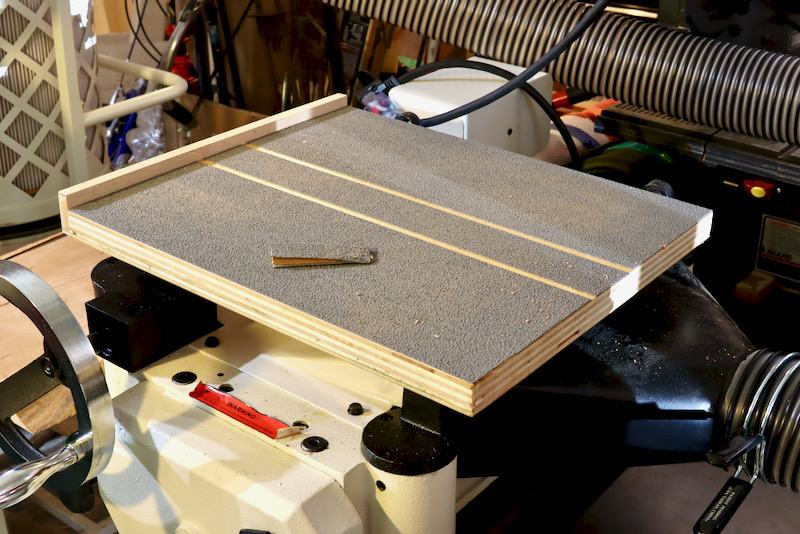
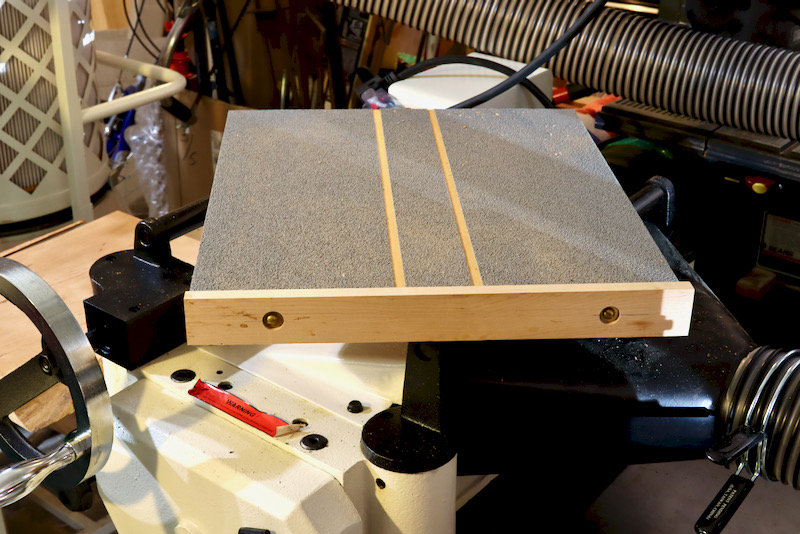
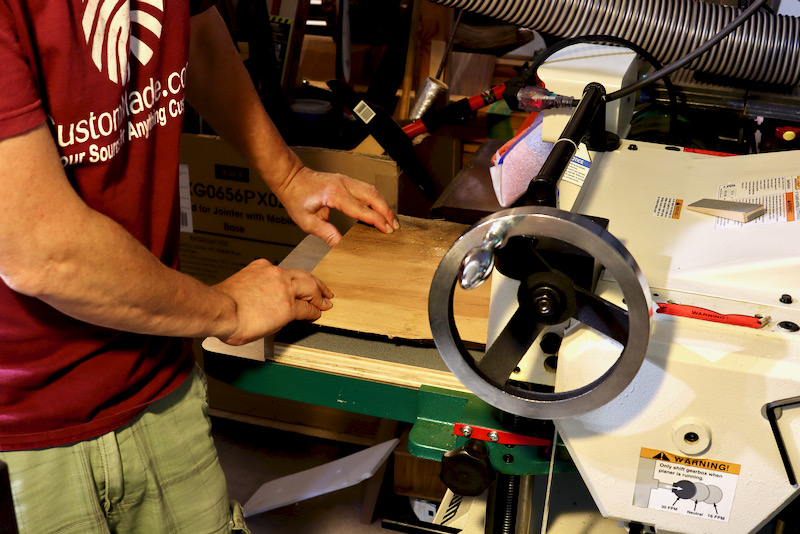
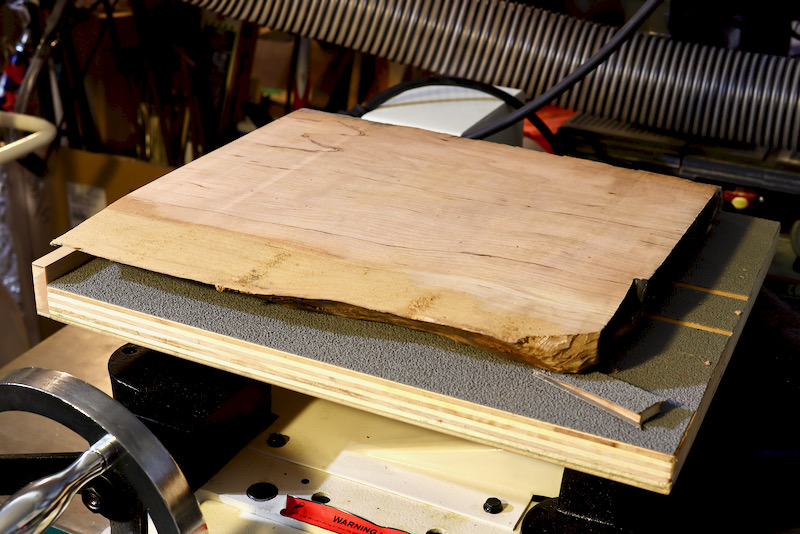
To make my sled I chose a thick plywood panel and cut it to width so it would fit nicely in between the two raised cast-iron fences of my Grizzly planer’s bed. To prevent the planed board from sliding backward, I installed a heel or back ledge at the rear of the sled. I covered the sled surface with a few wide strips of 3M Safety-Walk.
The Shims
To wedge and prevent the board from rocking you will need a variety of shims to choose from. The more shims to support your board the better. Some should be thin and others thicker, but all of them should have a moderate incline. Don’t make your shims too steep and remember to cover them with 3M Safety-Walk on one or both slopes of the shim.

Using the Sled
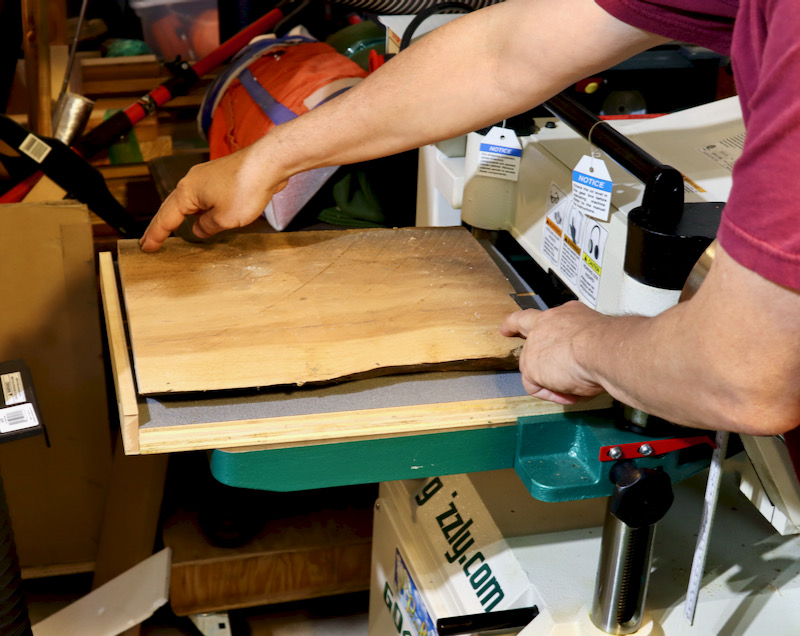
Place your board on the sled and heel it against the back ledge. Check for rocking. Turn it over and feel if its tendency to rock has increased. Remember, you want to place the less rocky surface face down and shim this surface first.

Two Shims are Better Than One
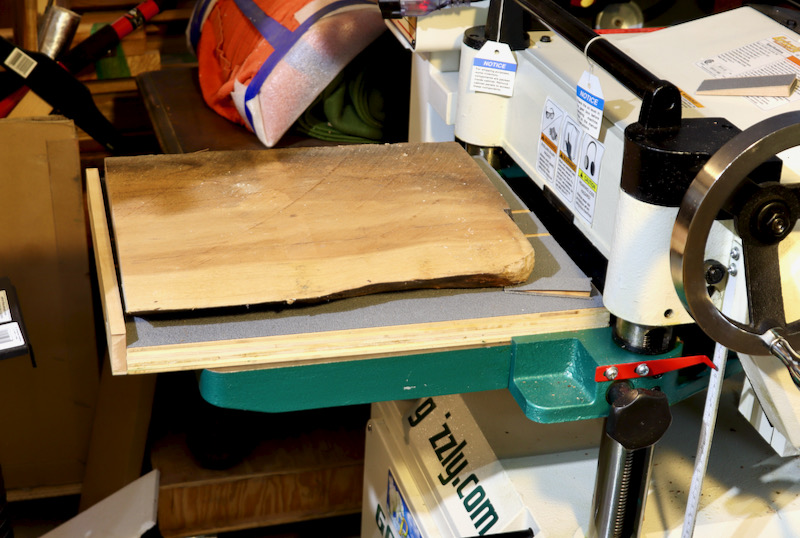
A badly twisted board should be leveled and balanced across its diagonal by two shims tucked under the opposite ends of its diagonal line. We do this as we strive to even out the milling process. The more horizontal the board during milling, the less material will need to be milled. If we used only one shim the pried up corner (and surface) above the shim could be excessively milled and the board would end up overly tapered.

Supporting a cupped board
A cupped or vaulted board that doesn’t rock will give you the impression that it is ok to feed it straight into the planer, however, this is misleading. The planer infeed rollers will press down on the board ahead of the cutters and the outcome will not be a true and flat board. To negate the infeed cutters pressure you can insert under the vault filler strips or a pair of tapered wedges to act as pressure mitigators. Sliding the long wedges one on top of the other allows you to reach the right height under the vault. I provided an exaggerated illustration to demonstrate this below.

Top Side Milling
After verifying that the board has been shimmed correctly start milling. Apply some downward pressure on the rear of the board (around the sled’s heel area) as it enters the planer to counterbalance the jerky-grabbing action of the planer’s infeed rollers. Receive the sled at the outfeed table and carefully lift it and bring it back for any consecutive milling actions.
Flip it
Once most of the surface has been milled flat it is time to turn the board over. Remember to remove the board from the sled and feed it into the planer with the true side facing down. Rely on the planer’s bed for this procedure.
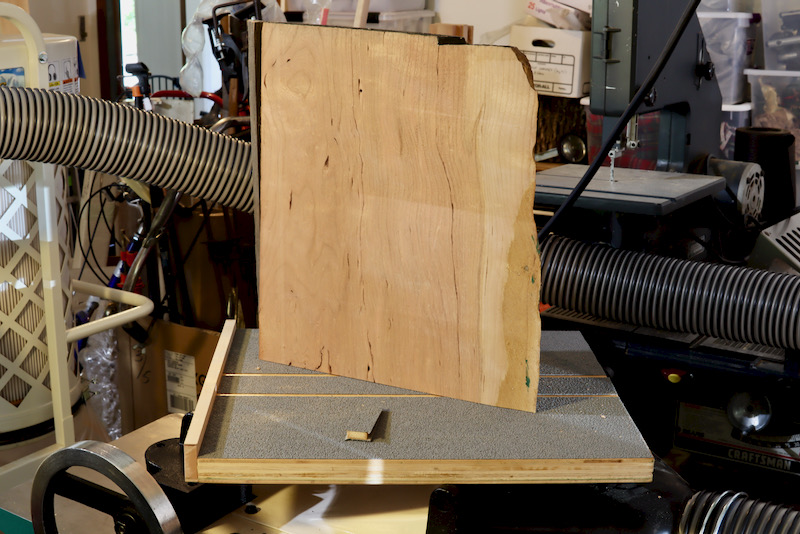
This board’s first surface is flat enough and is ready for flipping.
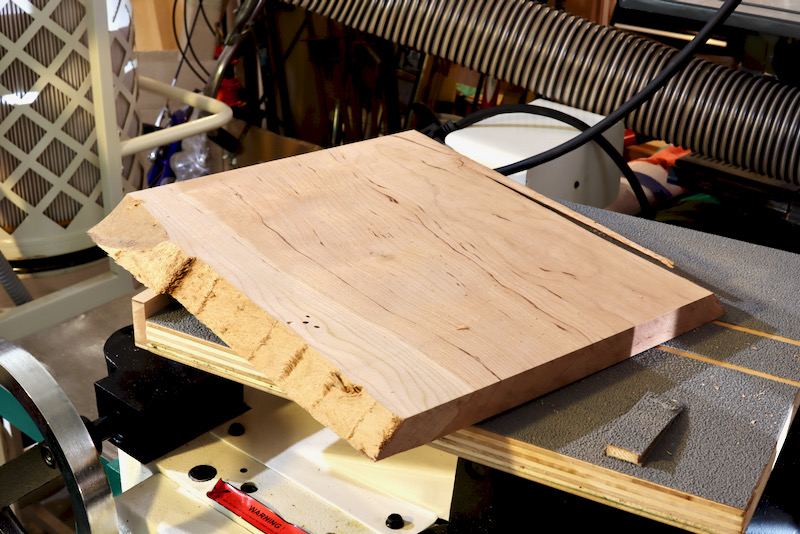
The second face after milling. The first milled surface is facing down.
What about Snipe?
Because the 3M material is somewhat elastic, you might notice some sniping at the front or the rear of the board. But rest assured, that this snipping can be eliminated. After the board has been turned over and most of the second face was flattened turn it over one more time and re-mill the first face. This action, which can be repeated again, will eventually remove most if not all of the snipped recesses.
Next time I will show an improvement on this basic sled that I have contemplated building.
And lastly, you can watch these great videos to learn how to mill a crooked board using the glued-down shim technique.
Here are some supplies and tools we find essential in our everyday work around the shop. We may receive a commission from sales referred by our links; however, we have carefully selected these products for their usefulness and quality.


This is fine for a short piece of lumber, but it does not address the more prevalent challenge of flattening a board six to eight feet long that is too wide for my eight inch jointer.
James, the only way to know is to try this 3M material on a longer sled and see. My sled is about 20″ long and if both board and sled are carried carefully from the outfeed table to the infeed table for the consecutive passes things should be fine. If you fear that the shims might move on you while doing this migration consider using a peelable double stick tape over the gray rubber.
Best,
Yoav