We may receive a commission when you use our affiliate links. However, this does not impact our recommendations.
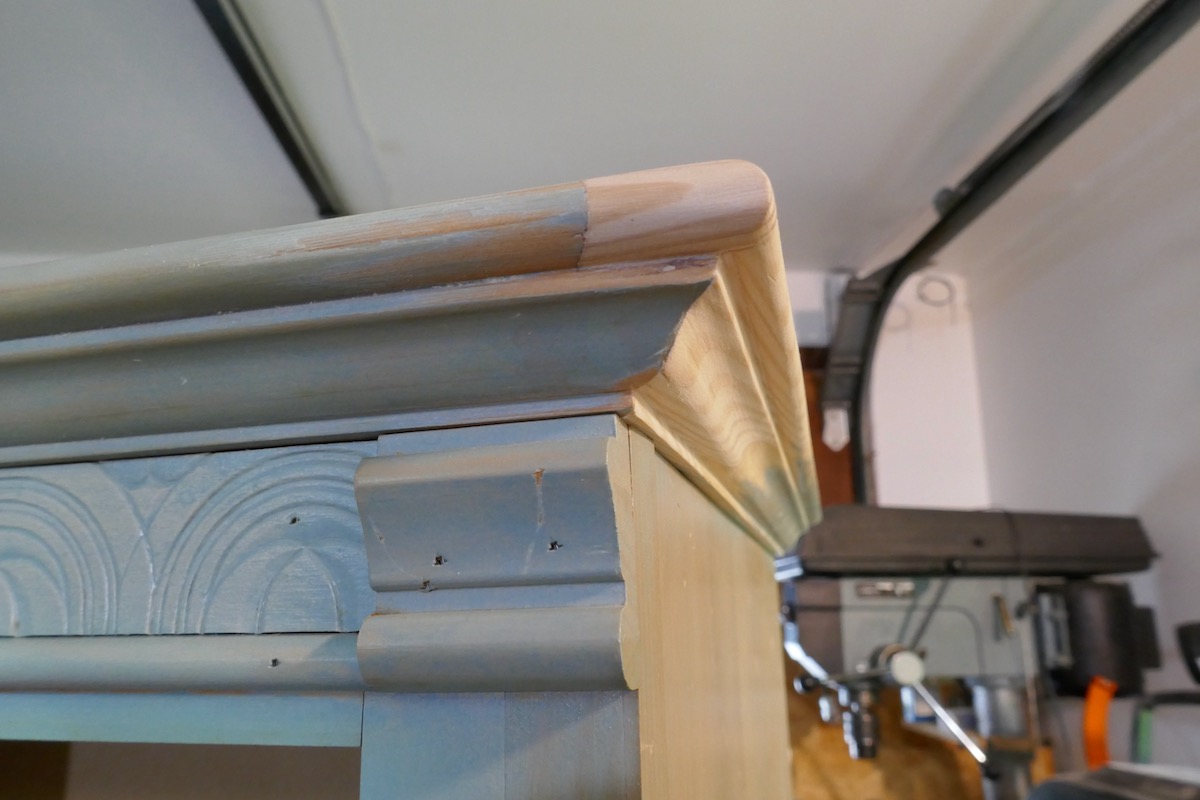
 After completing the reconstruction of the main broken molding piece, I glued the molding back onto its panel and began restoring the adjacent corner that was also damaged and required repair.

First, I sawed off and smoothed out the damaged corner area. Then, I glued a piece of wood over it. Using chisels and rasps, I shaped the wood to resemble the original thumb profile.


The two corners did not meet in a perfect miter because the entire piece would be painted. If the dresser were intended to be varnished or receive an oil finish, I would have created an ideal miter connection in the restored corner.
Once the corner was restored, I turned my attention to fixing a chip at the rear of the molding that faced the back of the piece. This area had a damaged surface, but because the entire piece would receive a new coat of opaque finish, I restored it using epoxy putty.

Epoxy putty is a great material that allows you to sculpt it to match different shapes and profiles once it dries. It is an excellent material for repair work on non-historical pieces or pieces that do not have a lot of value. The epoxy putty I used comes as a roll that you cut into a segment, then need the core and the outer layer together until the two components are thoroughly mixed.
After mixing the material, I pressed the epoxy blob against the corner to build up the repair. Once the epoxy dried, I used a chisel and a rasp, then sandpaper, to shape it to match the molding perfectly.


Now, the only thing left to do is paint this dresser. I hope you enjoyed this series of articles on molding repair and that you can use some or all of the techniques in your future restoration and conservation work on your furniture.


Here are some supplies and tools we find essential in our everyday work around the shop. We may receive a commission from sales referred by our links; however, we have carefully selected these products for their usefulness and quality.


