We may receive a commission when you use our affiliate links. However, this does not impact our recommendations.
If you’ve never put brush to bare wood (or you’d like a refresher), learn how to greatly improve your chances of success.
By Bob Flexner
It’s one thing to describe finishing steps to an experienced finisher. It’s quite another to teach someone who has never applied stain or finish to anything. Describing finishing so a novice feels comfortable and experiences success the first time is not easy, but here’s an attempt. The steps are sanding the wood smooth, deciding on the color and applying it, and deciding on the finish and applying it.

Sanding
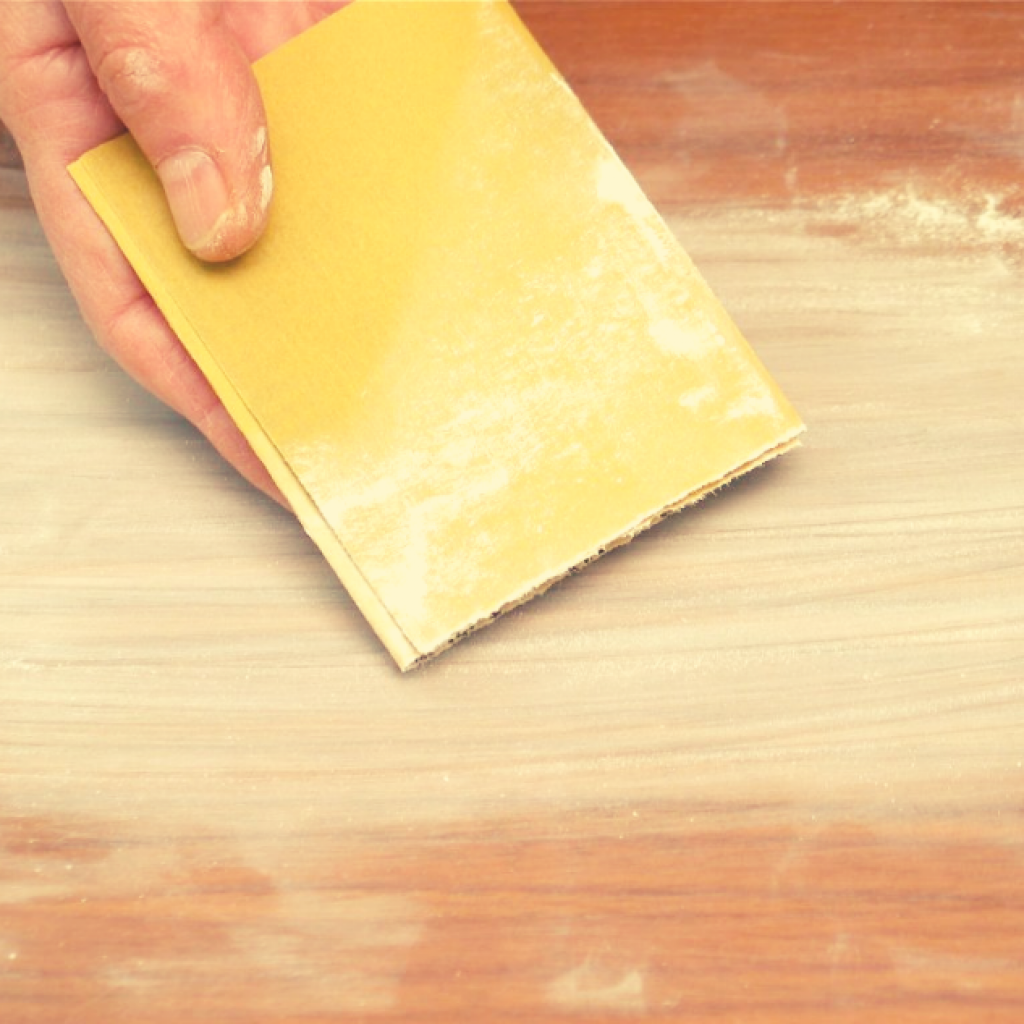
Flaws in the wood, such as machine milling marks, scratches, gouges, etc., have to be sanded out before applying a stain or finish, or these flaws will be highlighted. To sand them out, always sand in the direction of the wood grain beginning with a sandpaper grit coarse enough to remove the problems efficiently without creating greater problems. In most cases this means using 80-grit or 100-grit sandpaper. Then sand out coarse-grit scratches with increasingly finer-grit sandpaper up to 150 grit or 180 grit.
Unfortunately, knowing which grit sandpaper to begin with, when it’s time to move to the next finer grit, and when the wood is ready to be stained or finished, can be learned only from experience. You can look at the wood in a low-angle, raking light, and even wet the wood with mineral spirits (paint thinner) as an aid to spotting remaining flaws. But even these tricks don’t always work.
Keep in mind that if you don’t sand the wood well enough and the flaws still show after you’ve applied the stain or finish, you can always remove the stain or finish at any time using a paint-and-varnish remover (or simply paint thinner for stain alone) and start over. You don’t need to remove or sand out all the color from a stain, just the binder — the stuff that makes the stain stick to the wood.

Staining
You can see what the wood will look like with only a finish applied by wetting the wood with a liquid, such as paint thinner. If the wetted wood isn’t dark enough or the right color, you’ll have to use a stain. Unless you are finishing a quality hardwood, such as oak, mahogany or walnut (not cherry, it blotches), you will be safest using a gel stain. Gel stains are thick and very effective at reducing blotching (uneven coloring due to inconsistent densities in the wood).
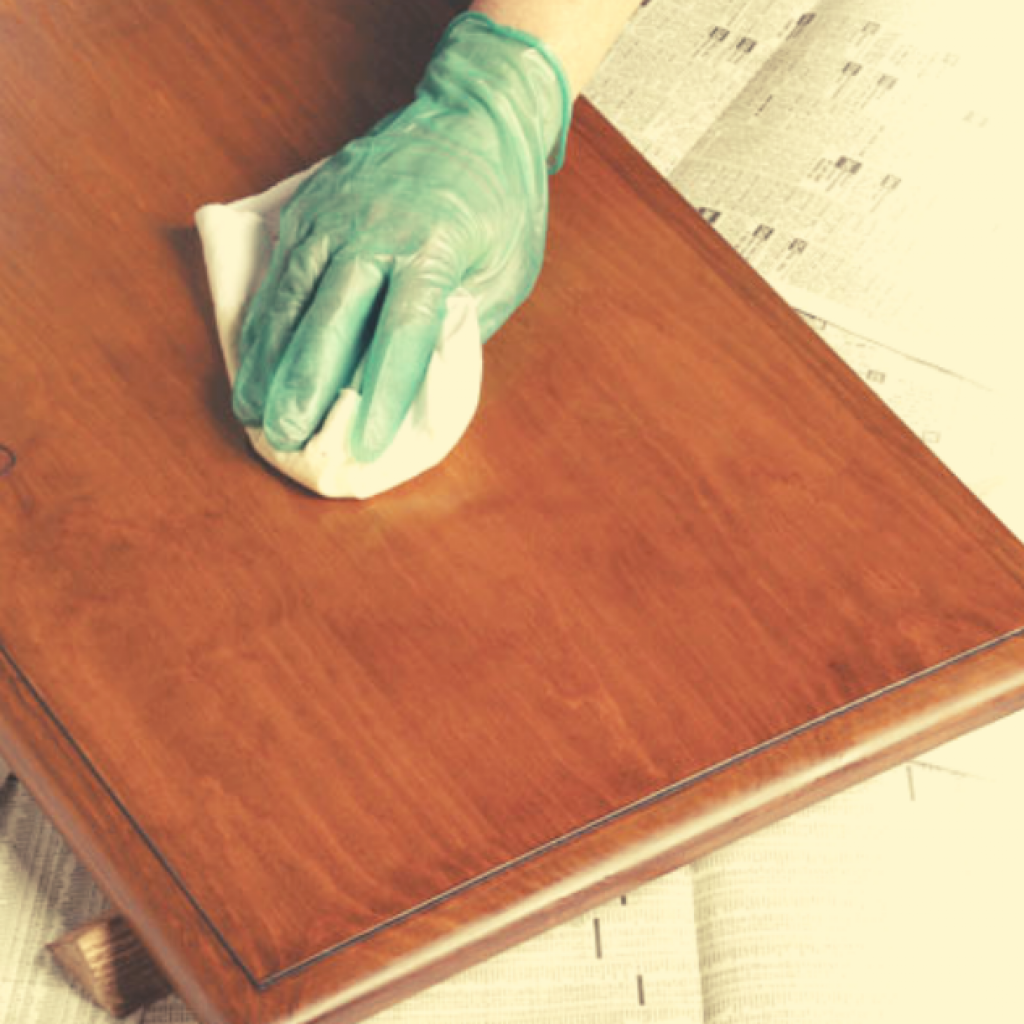
No matter which stain you use, the method of application is the same. Using any application tool (such as a brush or rag), apply a wet coat and wipe off the excess before it dries. Begin working on smaller surfaces such as legs and drawer fronts to get a feel for the drying time. If the stain dries too hard to wipe off, re-liquefy it by applying more stain right away, then remove the excess immediately.
Apply the stain and remove the excess from one or more complete surfaces at a time. Don’t overlap the stain onto a surface that has already been completed or the double application may cause a difference in color.
“You can see what the wood will look like with only a finish applied by wetting the wood with a liquid, such as paint thinner.”
Finishing
A finish is necessary to protect the wood from water damage, dirt, stains, etc. You can apply a finish either directly to the wood or over a stain after it has dried. It’s always better, that is, more attractive and protective, to use a stain and finish packaged separately than a stain-and-finish combination, which is just a stain with a little more binder in it.
In my opinion, the two best finish choices for a first-timer are oil-based polyurethane in a satin sheen and wiping varnish. Wiping varnish is oil-based varnish or polyurethane thinned about half with paint thinner and usually sold as tung oil. You’ll know the product is wiping varnish and not real tung oil if it’s labeled “tung oil” and contains “petroleum distillate.” Real tung oil doesn’t contain petroleum distillate. Wiping varnish is also sold as Waterlox, Seal-a-Cell, Val-Oil and Profin.
Oil-based polyurethane and wiping varnish are easier to use than water-based finishes, which dry very fast, raise the grain and are difficult to use in combination with stains.
Oil-based polyurethane provides excellent durability with only two or three applications. Wiping varnish goes on with reduced brush marking and fewer dust nibs but requires many more applications to achieve the same durability. Polyurethane is best for surfaces that get a lot of wear. Wiping vanish is best when you want a thinner, more flawless finish.
Applying Polyurethane
Apply polyurethane using a bristle or foam brush about 2″ wide. Foam works well and eliminates the chore of cleaning, because the brushes are cheap and thus disposable.
You can apply the first coat full strength or thinned up to half with paint thinner, making, in effect, a wiping varnish. (Use a separate can or jar.) Thinning leaves less actual finish on the wood so the finish dries hard faster and is thus easier to sand sooner.
Always sand the first coat of finish smooth to the touch after it has cured (usually overnight in a warm room) using 280-grit or finer sandpaper. Remove the dust with a tack rag (a sticky cloth you can buy at paint stores) or a vacuum and apply a second coat full strength. Brush the polyurethane just like brushing paint. If there are bubbles, brush back over the finish lightly to make them pop out. Brush with the grain of the wood when possible.
On flat horizontal surfaces such as tabletops, spread the finish onto the wood working from side to side (with the grain) and front to back. Stretch out the finish as thin as possible. After every 6″ to 12″ of surface covered from edge to edge, line up the brush strokes. Do this by lightly bringing the brush down onto the surface near one edge in an airplane-like landing and moving the brush across and off the other side. Then do the same back the other way — back and forth until all the brush strokes are lined up and the bubbles almost gone. The remaining bubbles should pop out on their own.
Then apply the next 6″ to 12″ in the same manner, working the finish back into the last inch or so of the previous application. Continue until the surface is covered.
The trick to reducing problems, such as bubbles, runs and sags, is to work in a reflected natural or artificial light. This is the critical instruction that is rarely given. If you move your head so you can see your work in a reflected light while you’re brushing, any problem that occurs will become quickly apparent, and the solution will be obvious. In most cases, it is to brush back over the area and stretch the finish out thin.
You should use as clean a brush as possible and work in as clean a room as you can, but there will still be dust nibs when the finish cures. Sand these out between each coat. When the finish looks good — after two or three (maybe four) coats — it’s done. Leave the last coat unsanded.
Applying Wiping Varnish
You can apply wiping varnish exactly like polyurethane by brushing coat after coat onto the wood. Or you can wipe on, and then wipe off, most of the excess. The more excess you leave, the greater the build.
This second method is the easy one, and the way wiping varnish is usually applied. It’s an almost foolproof finish when applied in this manner. Again, the trick to achieving good results is to check the finish for flaws in a reflected light as you’re applying it.
Popularwoodworking.com is a participant in the Amazon Services LLC Associates Program, an affiliate advertising program designed to provide a means for sites to earn advertising fees by advertising and linking to Amazon.com and affiliated websites.
Here are some supplies and tools we find essential in our everyday work around the shop. We may receive a commission from sales referred by our links; however, we have carefully selected these products for their usefulness and quality.


