


We may receive a commission when you use our affiliate links. However, this does not impact our recommendations.
Read Part 1, Part 2, and Part 3.
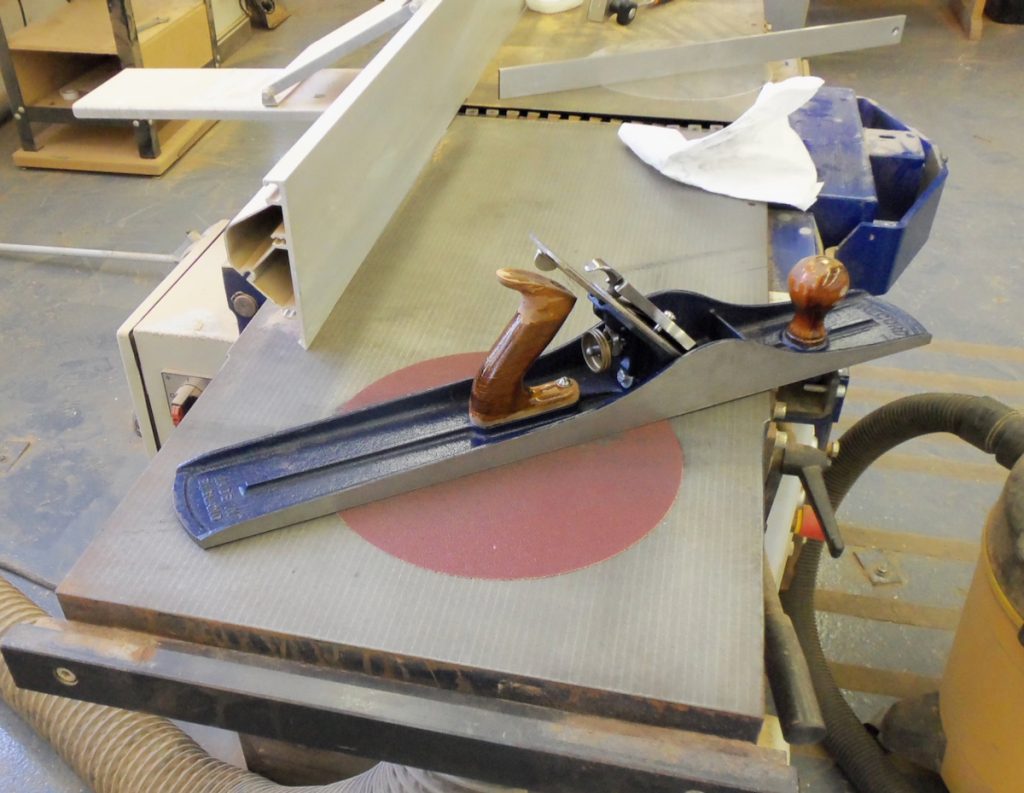
The #8 Record plane I bought a few years ago was the most prominent, heaviest, and the longest plane I have ever lapped; it was also a plane for which I devised a lapping system that speeded up the process significantly. Although made by a prominent British manufacturer, Record, the plane’s sole was cambered. Why would a maker of such a formidable plane let this happen? Why allow a plane to leave the factory doors in such a sub-par condition? The reason could be related to sloppy stress-relieving of the body after releasing it from the mold and prior to milling it, inadequate machining and lapping of the cast iron body, or even both.
The Similarities between Wood and Cast iron.
We all heard at some point that we should let newly bought solid wood boards acclimate in our shop for a while before milling them. If we rush things, joint and plane the boards immediately after returning from the lumberyard, expecting them to stay flat, we will be disappointed. In many cases, once milled, the board’s fibrous equilibrium gets disrupted, which releases internal forces to challenge the newly achieved flattens. Flatness reached today might shift to a different geometry tomorrow – after those internal forces have manifested themselves to the surface.
The stresses generated by rapid moisture migration on boards that have just been introduced to our workspace are another reason we should give the newly arrived board some time before milling it. Ideally, we should mill a board after it has fully acclimated to the shop’s environment – again, to prevent any post-milling surprises.
In practice, most woodworkers who routinely work with wide solid-wood boards (we don’t want those behemoths to cup or twist later) mill the lumber twice. First, we mill the boards after the initial acclimation – to relieve them of any prime stresses, and then we wait a few days and mill them again – to shave off any minor surface deformations that might have developed.
You’ll be surprised, but cast iron acts in a very similar way to solid wood. Planes made from cast iron would benefit if we left them to “acclimate” for some time before milling their bottom and sides to flatness and squareness. If we rush things and mill them prematurely, the body will move on us, and the assembled plane will not be flat and ready for work. On top of inadequate lapping, the rush to surfacing the casting straight out of the foundry is why so many generic planes need to be lapped after we purchased them.
Lie Nielsen Toolworks is one of a few premium manufacturers who take their tool’s “casting & ripping” process seriously. They have developed a unique method of alleviating the casting stresses via a post-casting heat-treating process that they subject their planet to before milling them. This secondary stress-relief method bestows the bodies of their planes with long-lasting stability that cheaper cast iron planes do not possess.
More on the advanced methods that Tom Lie-Nielsen has developed for manufacturing his top-notch tools can be watched in this video.

Back to the #8
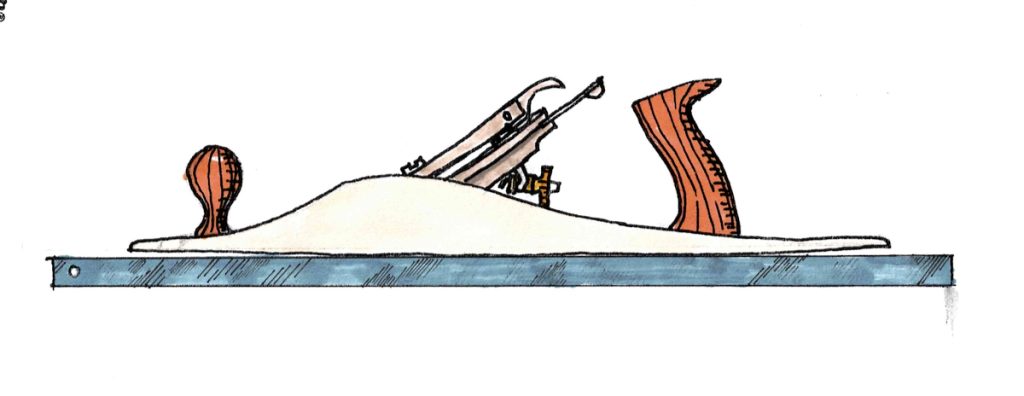
Upon probing the plane’s sole for flatness, I noticed that it displayed a convexed sole. As you recall from my previous entry, convexed sole planes are better lapped first across the width of the sandpaper stip and should only be introduced to the length of the paper for a short lapping period, or else their sole will develop a convexed geometry as a result of a sea-saw lapping motion or because of Grit disparity syndrome.
With a gigantic # 8 jointer, I had to stretch my lapping method further. I thought that instead of regular sandpaper sheets or rolls, I should use a coarse sandpaper disk – a very tough sanding medium.
I took a 12” PSA 60 grit sanding disk, affixed it to the bed of a wide jointer, and began lapping in the middle of the sole – where the convexed area was most pronounced. I checked my progress regularly and gradually increased the lapped surface to the base of the convexed area. Once I eliminated the convex hump, I lapped the entire surface on a medium grit roll and then on finer sheets of sandpaper.
I intermittently checked for flatness with a straight edge and deployed the sole sharpie line indication method. Remember to vacuum the sandpaper routinely to clear the surface from sandpaper and cast iron particles.
To avoid Grit disparity, I kept lapping and rotating the plane to ensure an even breakdown of the sandpaper particles on the entirety of the descending disk.

My second lapping media was a new sanding belt that I cut to length and affixed to the jointer bed.


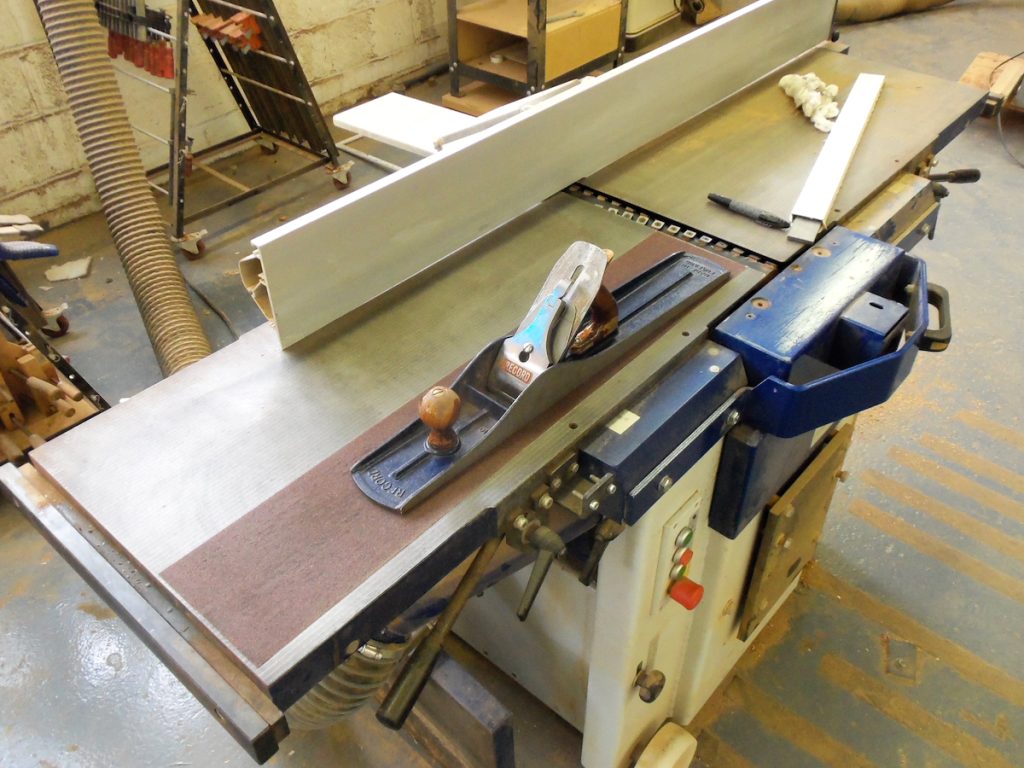

I finished lapping with medium-fine sandpaper.
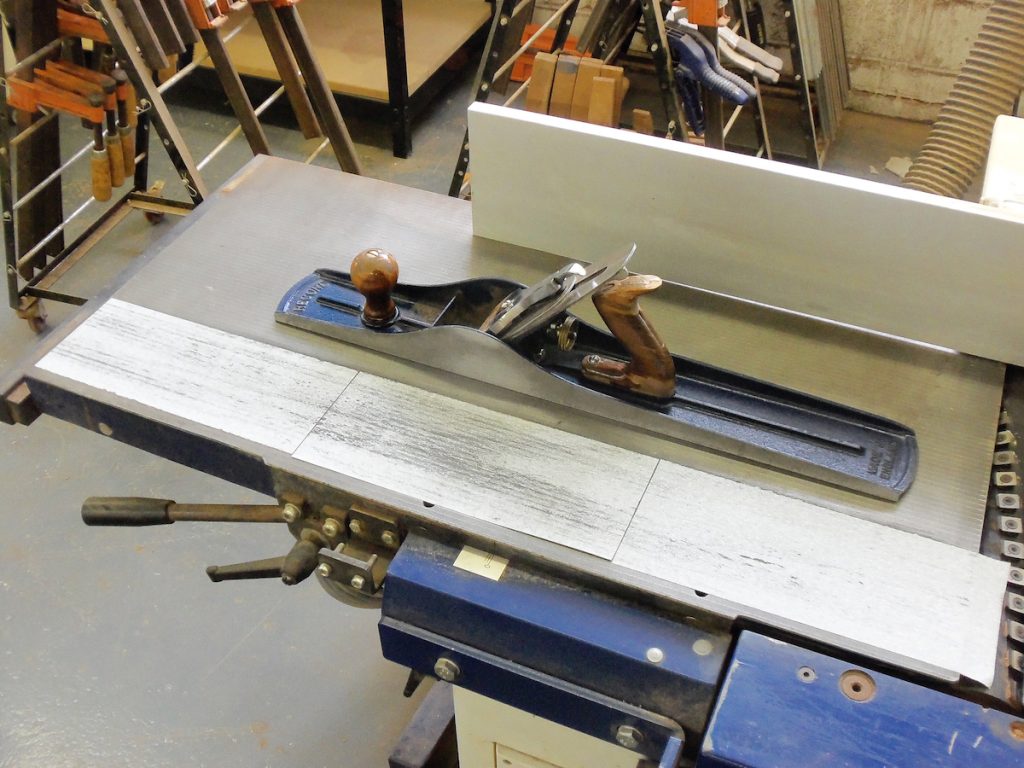
Once the plane’s sole reached flatness (verified by my Veritas 24” straight edge) I called it a day. All that was left was to rub some paste wax on the sole to protect it from rust and clean the jointer bed from any adhesive residues.
After finishing lapping and removing the sandpaper, I used mineral spirit to remove the adhesive residues from the jointer surface.
One last word about the importance of final lapping on medium/fine grit.
Here is a legit question: why not end the lapping on a 120 grit or 150 grit after establishing a flat and true sole? And does it worth the trouble, time, and resources to continue lapping on finer grits such as 180, 220, or even 320? The answer is yes, and the reason for the extra effort to smooth the sole to that degree is two-folded. The smoother the sole – the easiest it to traverse on the planed surface. And secondly, the more polished a cast iron or carbon steel surface is, the better it can negate the build-up of rust. This last reason is quite impressive, but more on that in some future blog entries.
What is flat and how to measure it was a subject I covered in my first entry, but I didn’t thoroughly cover the tools I use for the lapping verification process. I will talk about them next week.
Here are some supplies and tools we find essential in our everyday work around the shop. We may receive a commission from sales referred by our links; however, we have carefully selected these products for their usefulness and quality.


Any advice when trying to verify flatness on a plane with a corrugated sole? That would seem to present a special challenge when using a straight edge.
Probe for flatness along the ridges using a straight edge. I would check close to the middle of the sole and on the ridges close to the edges. You’ll have to check across the sole too, so make sure that the ruler has full contact with all the ridges. If the grooves present a sighting challenge (Light reflection) I would prob with a filler gauge and use the 0.0015″ leaf.