We may receive a commission when you use our affiliate links. However, this does not impact our recommendations.
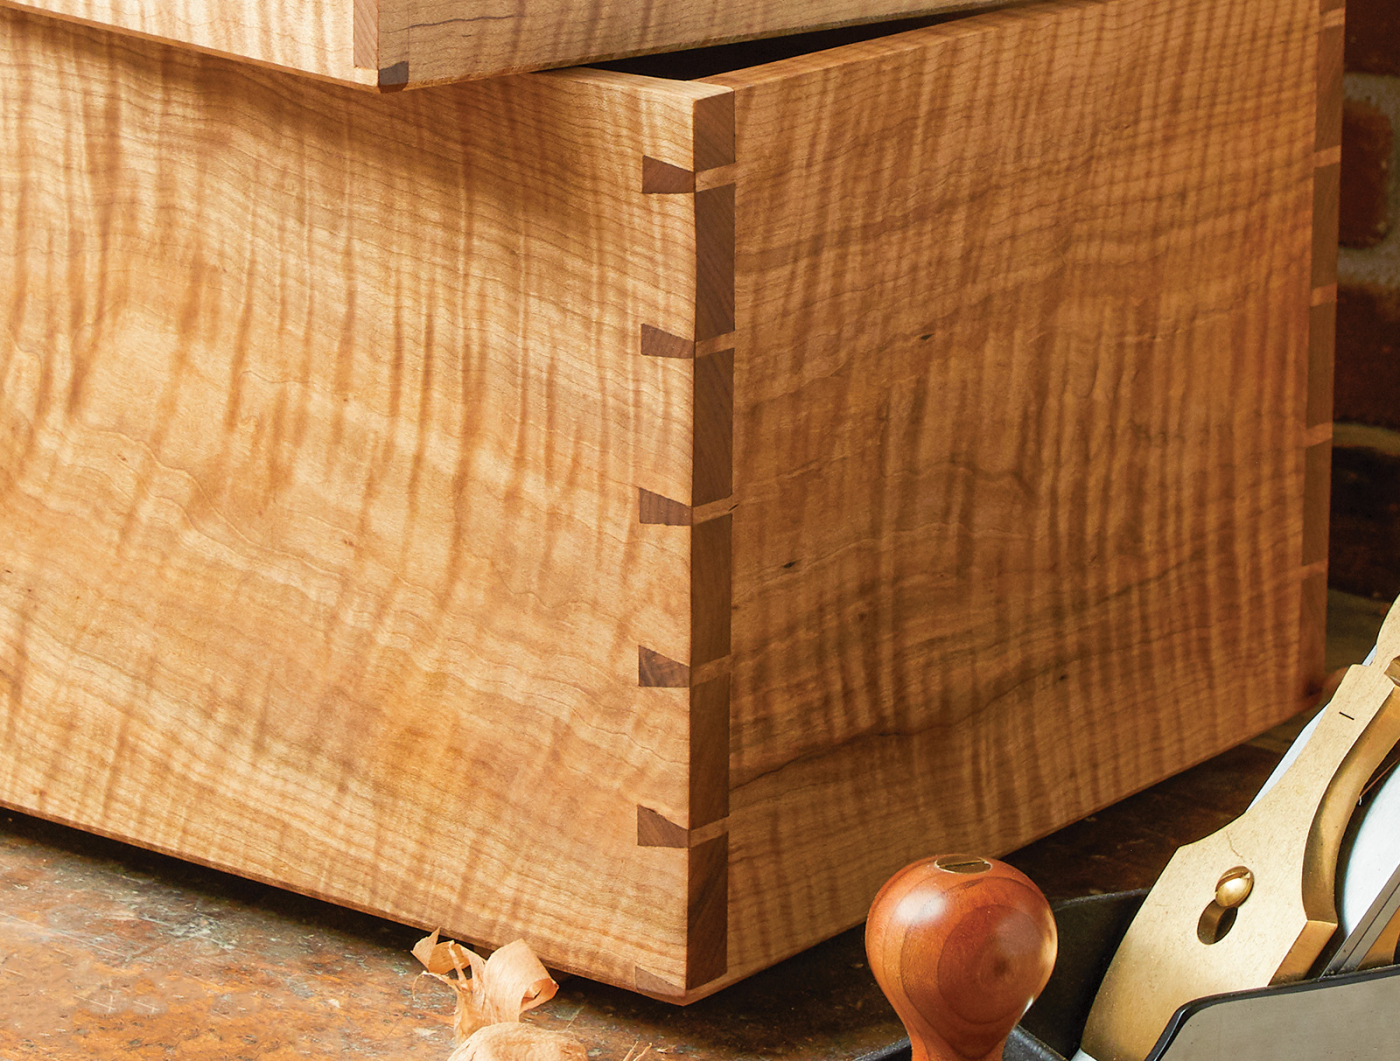
 Basic steps for beautiful joints.
Dovetails. They get put on a pedestal as a sign of quality. And while not every project or furniture style warrants them, I enjoy sitting down, listening to an audiobook, and cutting them by hand. Once you break down dovetails into a series of basic steps, I think you’ll find that hand-cutting them is easier than you think. Here’s my process for hand-cutting through dovetails.
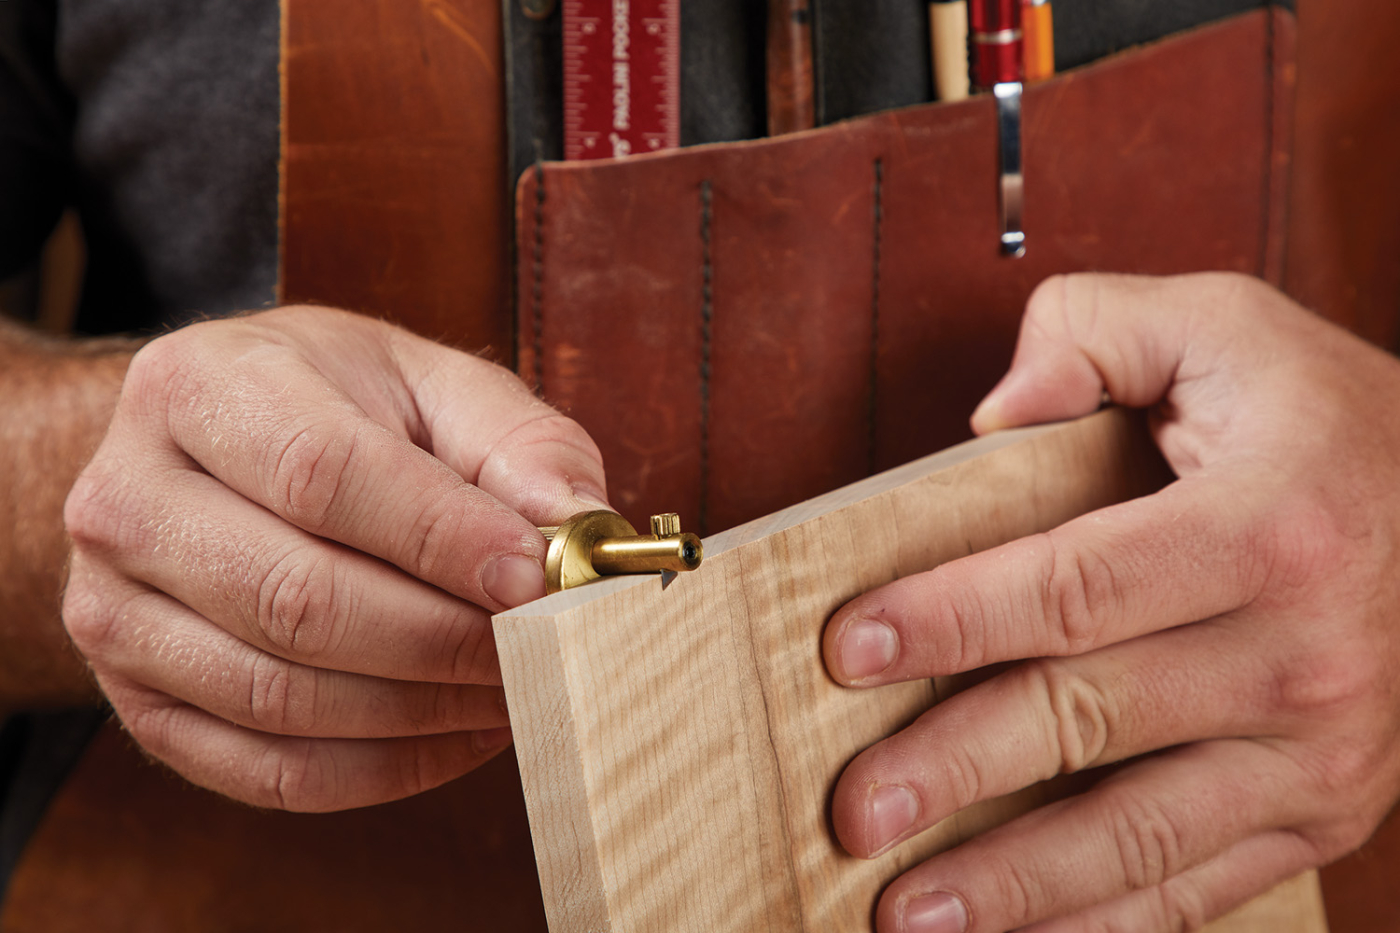
1 Set a marking gauge so that the distance between the blade and fence is slightly larger than the thickness of your workpiece.
Essential Layout First
Before any thought is given to picking up a saw, you’ll want to prep your stock. The front and back parts need to be the same length, as do the sides. Unless you want a twisted case, you’ll also want to make sure that the ends are square. The shooting board takes care of squaring everything up and allows me to sneak parts to final length. Now you can begin some layout. I start by using a marking gauge. Photo 1 above shows the style I like. It’s a small gauge that has a razor blade for the marking edge. It leaves a good, crisp line. I’ll set the gauge so it’s slightly larger than the thickness of my workpiece — about a thirty-second or so.
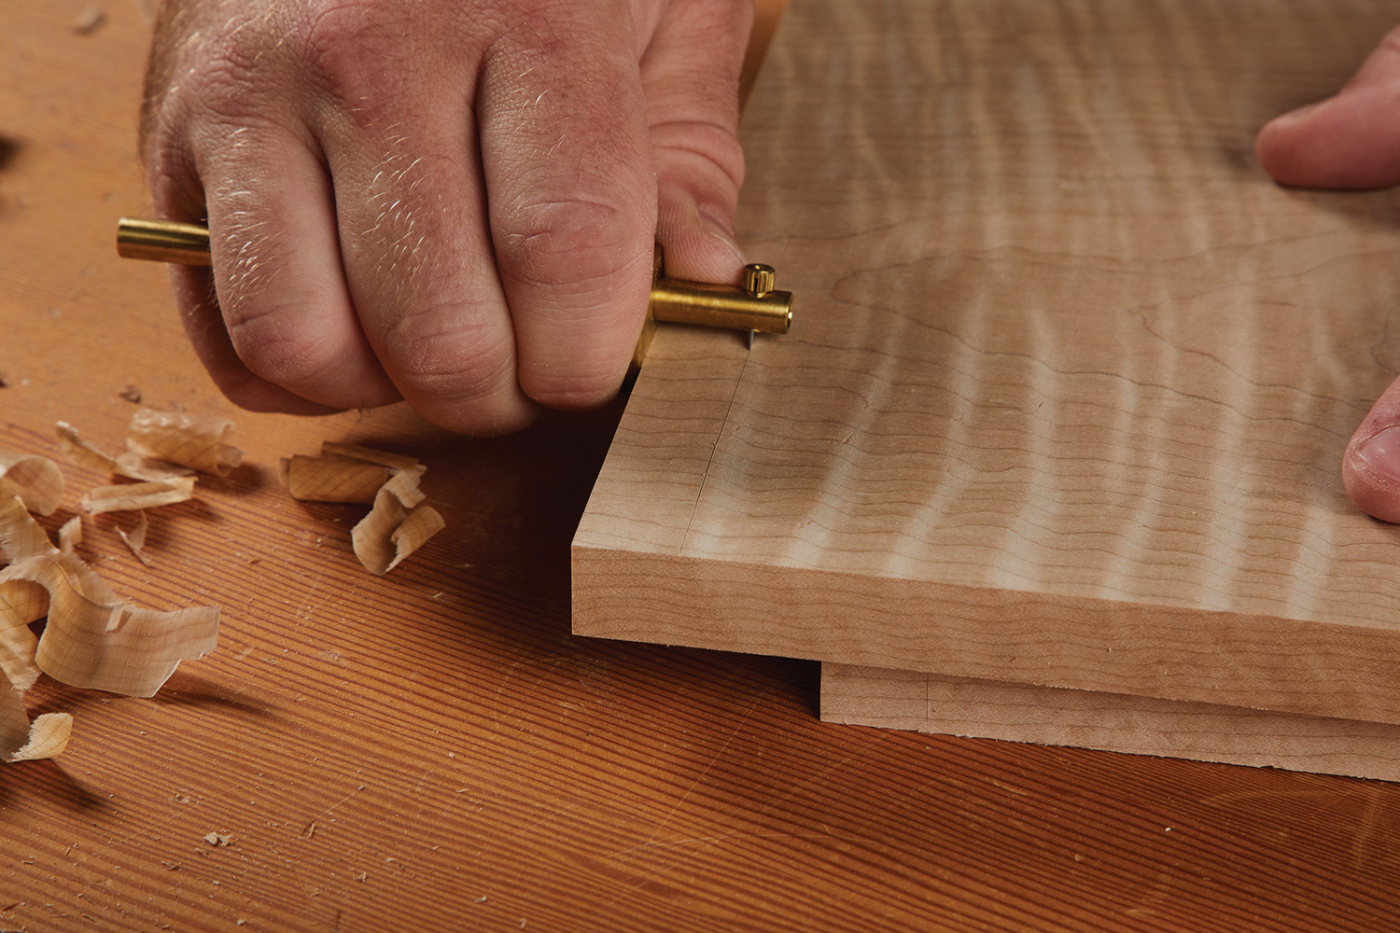
2 Scribe a good, visible line all of the way around the end of each workpiece.
The next step is to mark all of the parts. This means dragging the marking gauge around all of the faces and edges on each end of
the workpieces. You want this line, called the baseline, to be easily visible. Make a hard mark in one pass, as double lines will cause some problems down the road.
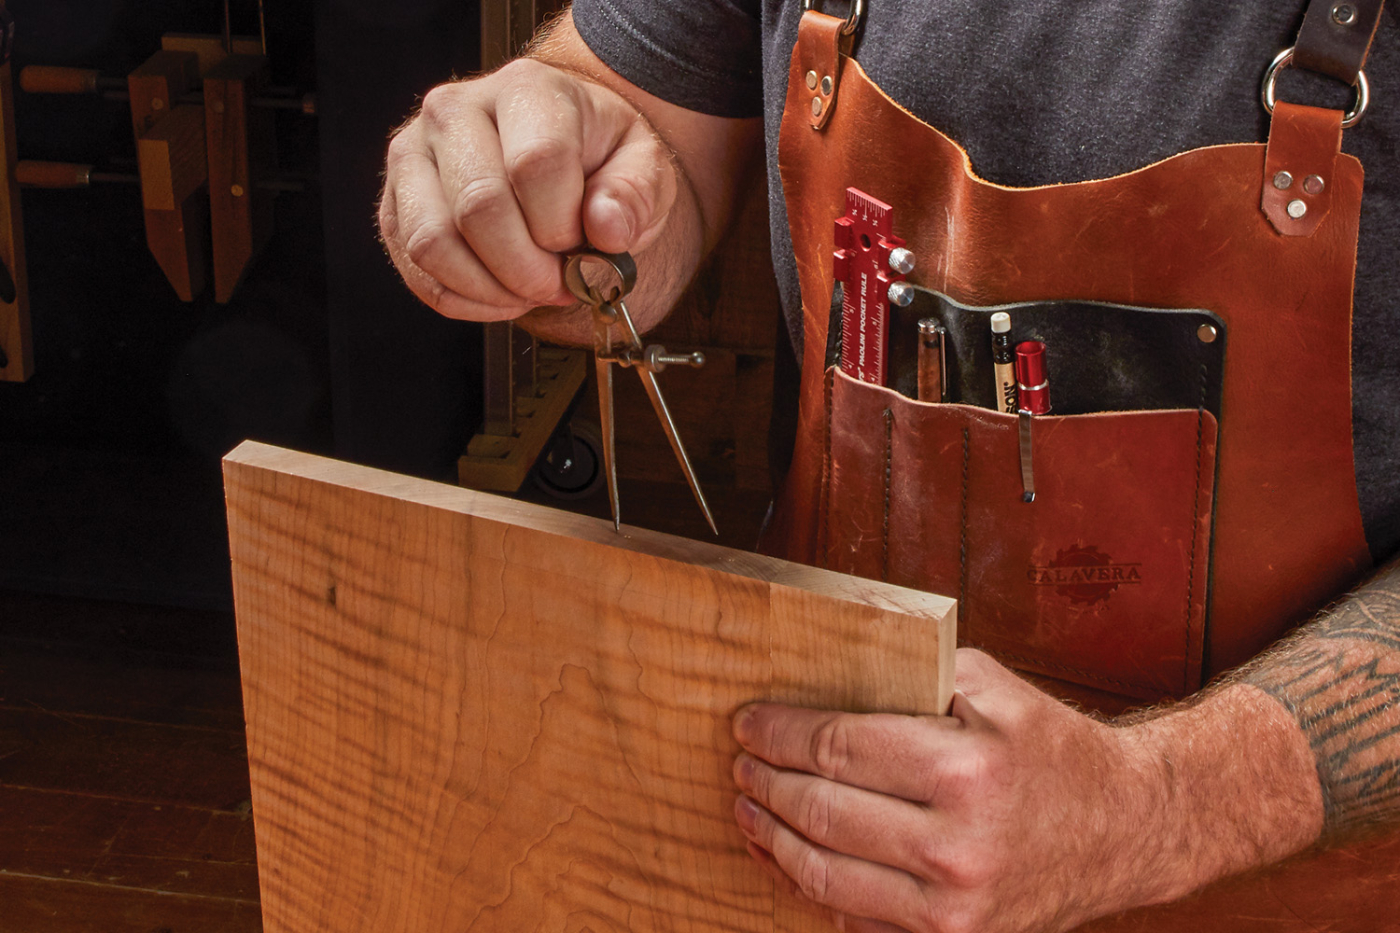
3 Layout the dovetails with your method of choice. Mine is dividers.
The “tails versus pins first” debate is only second to the great “toilet paper over or under the roll” debate. Without getting into it, I cut my tails first. You have a few ways you can lay the tails out. I step off the tail board with dividers, as you see in Photo 3. You can also measure them, which is slightly harder, in my opinion. Or you can just eyeball them. Take your pick. All three options work well. We have a great video with Megan Fitzpatrick explaining laying out dovetails with dividers if you’d like more details on that process. The final thing I like to do before picking up a saw is to mark my waste areas. Trust me, as you’re getting into a rhythm, it’s easy to slip up and accidentally cut something wrong, so I do myself the favor of marking the waste.
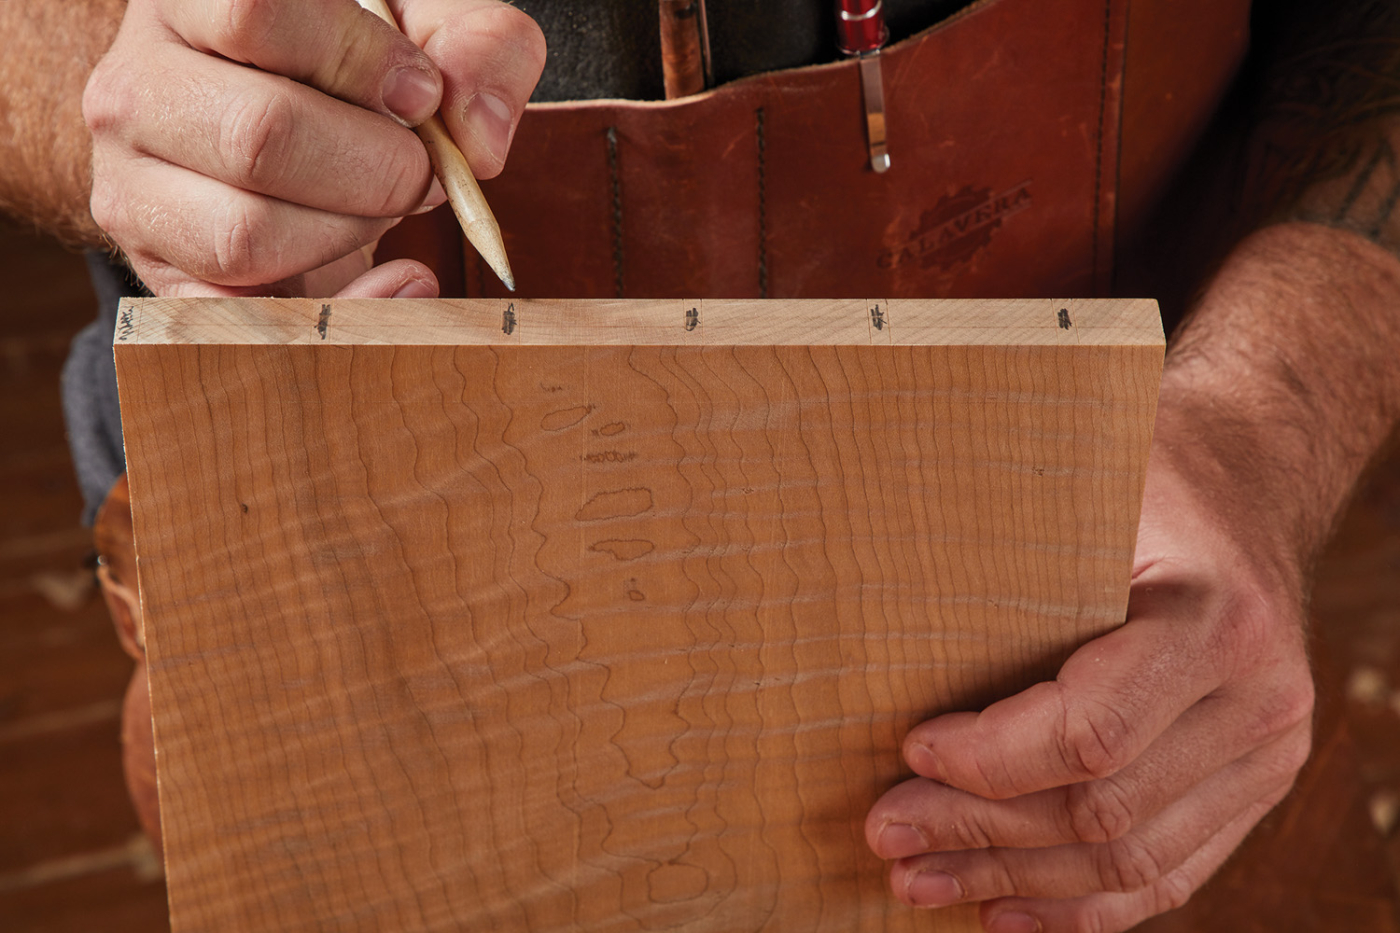
4 Marking the waste section will save you a headache later on.
First Cuts
To cut the tails, I prefer to use a pull saw paired with a dovetail guide. This was a combination I picked up from David Barron (I use his 1:6 dovetail guide), and I’ve found it’s the most accurate thing in my hands while cutting dovetails. However, these same techniques apply if you’re using a western-style saw, a different guide, or no guide.
I place the workpiece low in my vise. It’s important to make sure it’s secured tightly and doesn’t vibrate as you’re sawing. A Moxon style vise is perfect for this, however I’ll often use my leg vise as well. Regardless of the holding method, always mark the outside face of your workpiece.
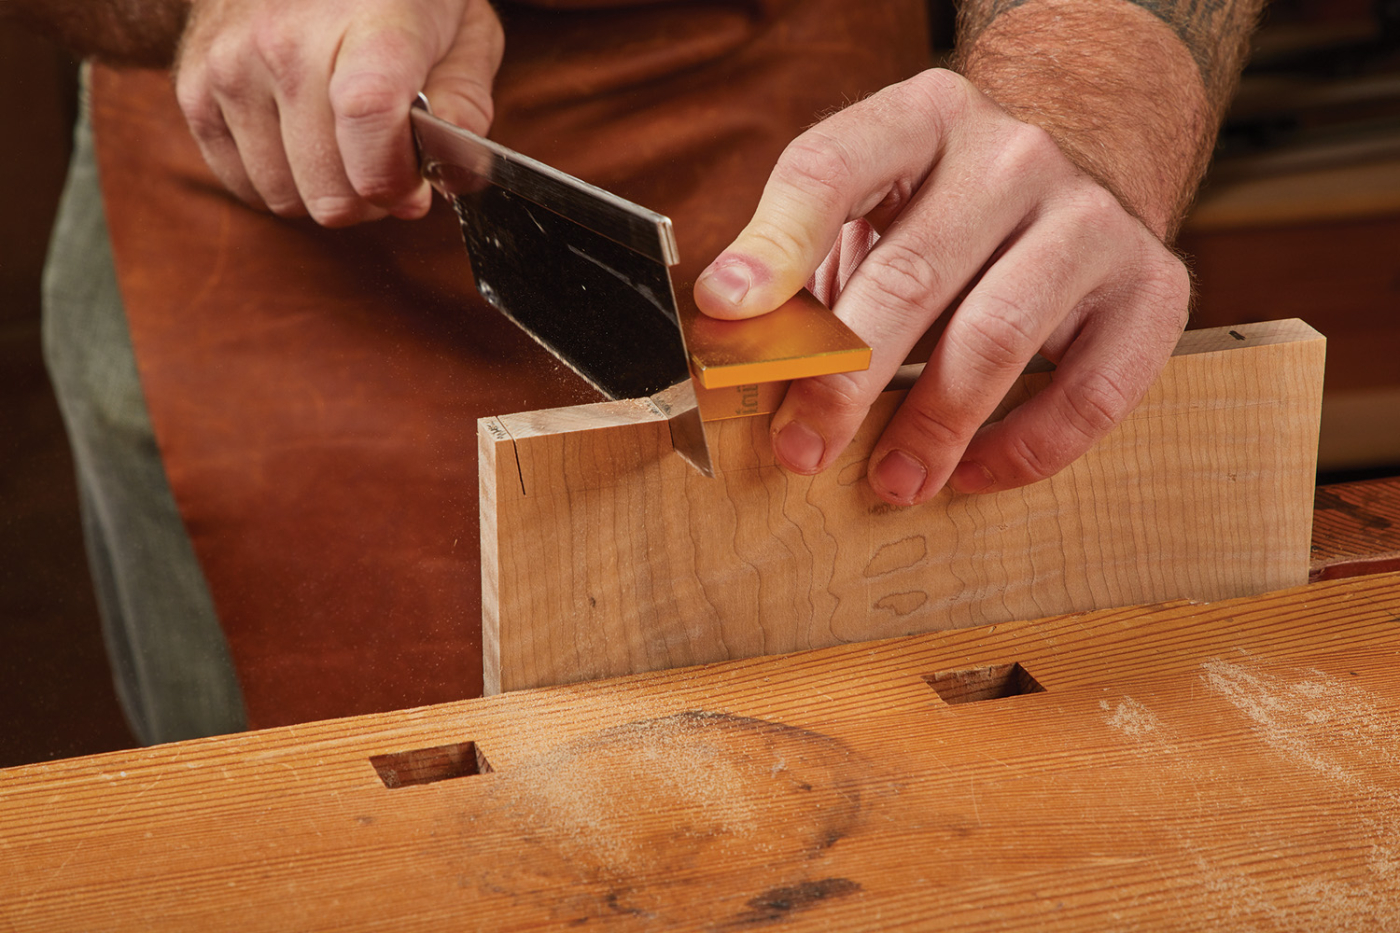
5 Cut one side of each of the tails.
I start by cutting one side of the tails first, all the way across the board. Keep an eye on your baseline and don’t cut past it, at least on the face of the workpiece. About halfway down the cut, I’ll ditch the guide, and drop the heel of the saw and sneak right up to the line (Photo 6). On the inside of the joint, it’s okay to go over the line slightly. In fact, most antique furniture will have saw cuts well past the line on the inside—when you were working in a cabinet shop, you didn’t have time to gently sneak up on the inside of a joint that wasn’t visible.
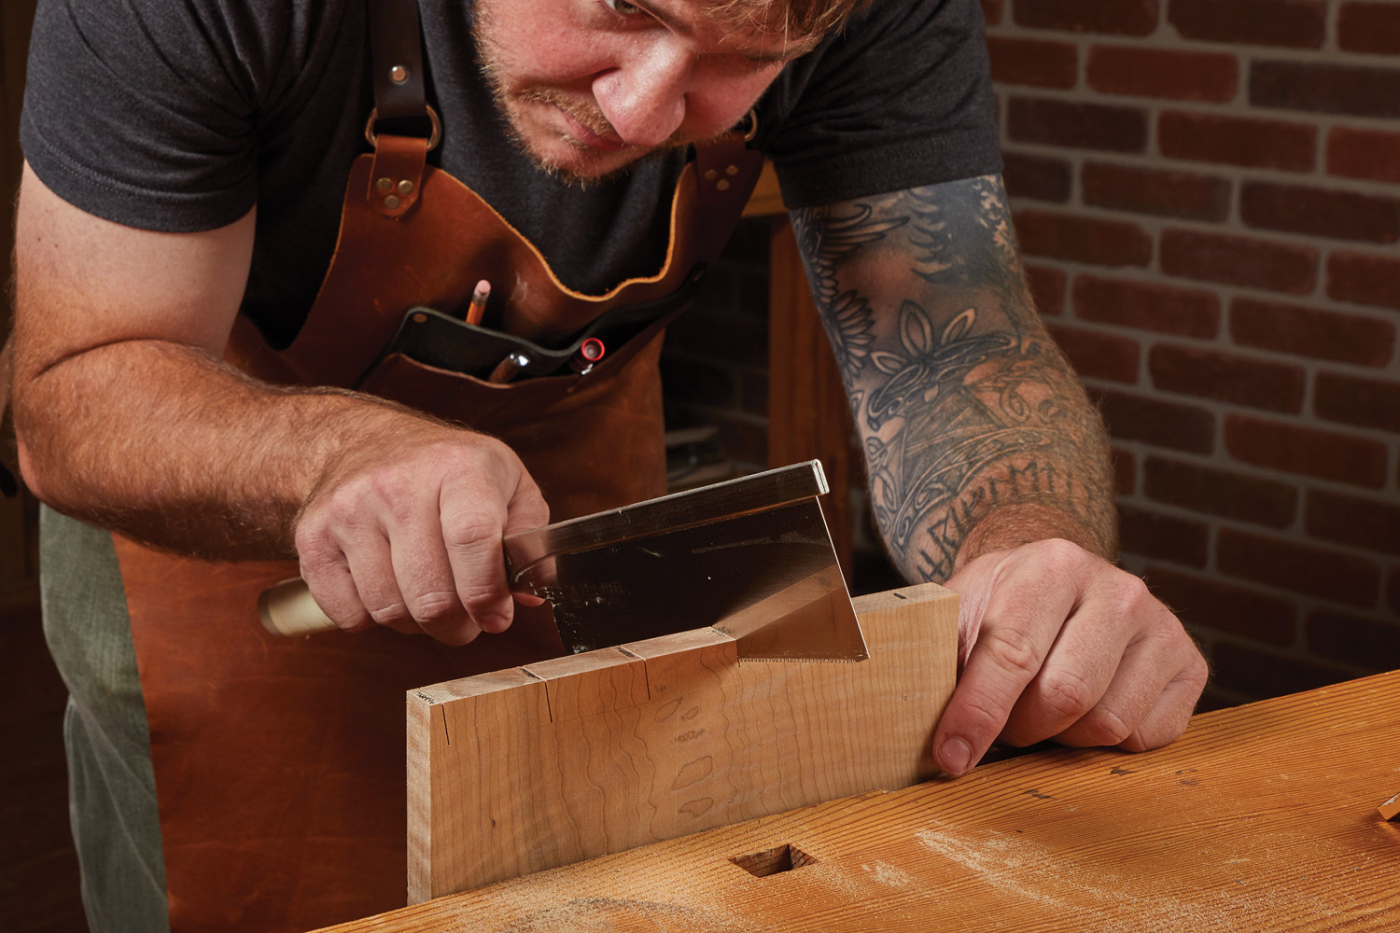
6 Drop the heel of the saw to bring the cut to the baseline.
After kissing one line, I’ll then lean over the workpiece and drop the toe. As you can see in Photo 7, the saw can get close to the bench, depending on the style of saw and vise you have, but short, quick strokes will bring you to the line. Finally, level the saw back out and bring the kerf down to full depth. After making all of the cuts along one side of each tail, I flip the board around in the vise and cut the other side. This keeps the saw in my dominant hand, and my off-hand holding the dovetail guide.
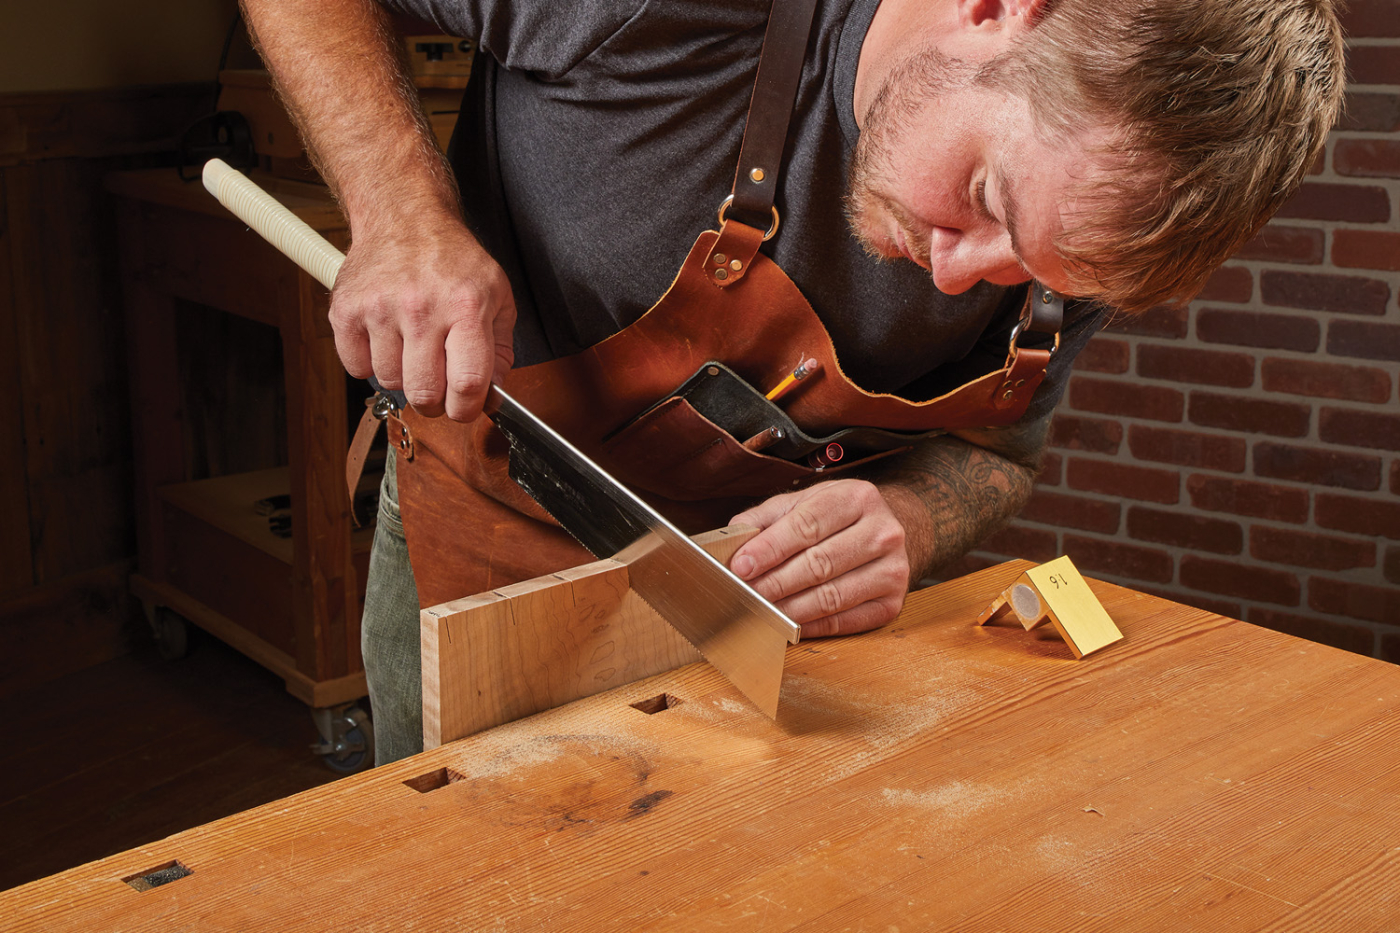
7 Do the same on the other side, lowering the toe of the saw.
If you don’t use a guide, it’s often helpful to angle the tail board in your vise. Align the edge of the board with the angle of the tails. If the tails are 7°, angle the board 7°. This way, you’ll always be sawing straight down (perpendicular to the floor). After a bit of practice, your body will get real good at sawing straight down. The only trick then is to make sure your saw kerf is square across the edge of the board.
On that note, a quick word on dovetail angles because I know I will get the question. When it comes to angles, often expressed in ratios such as 1:4, 1:6, etc., I don’t get too caught up on a particular angle. I’ve found that most of the projects I build look good with a 1:6 ratio, which is roughly 9.5°. A couple of degrees each way will change the look of the dovetails, but I’ve found that, for me, this is a good middle ground in hardwood and softwood.
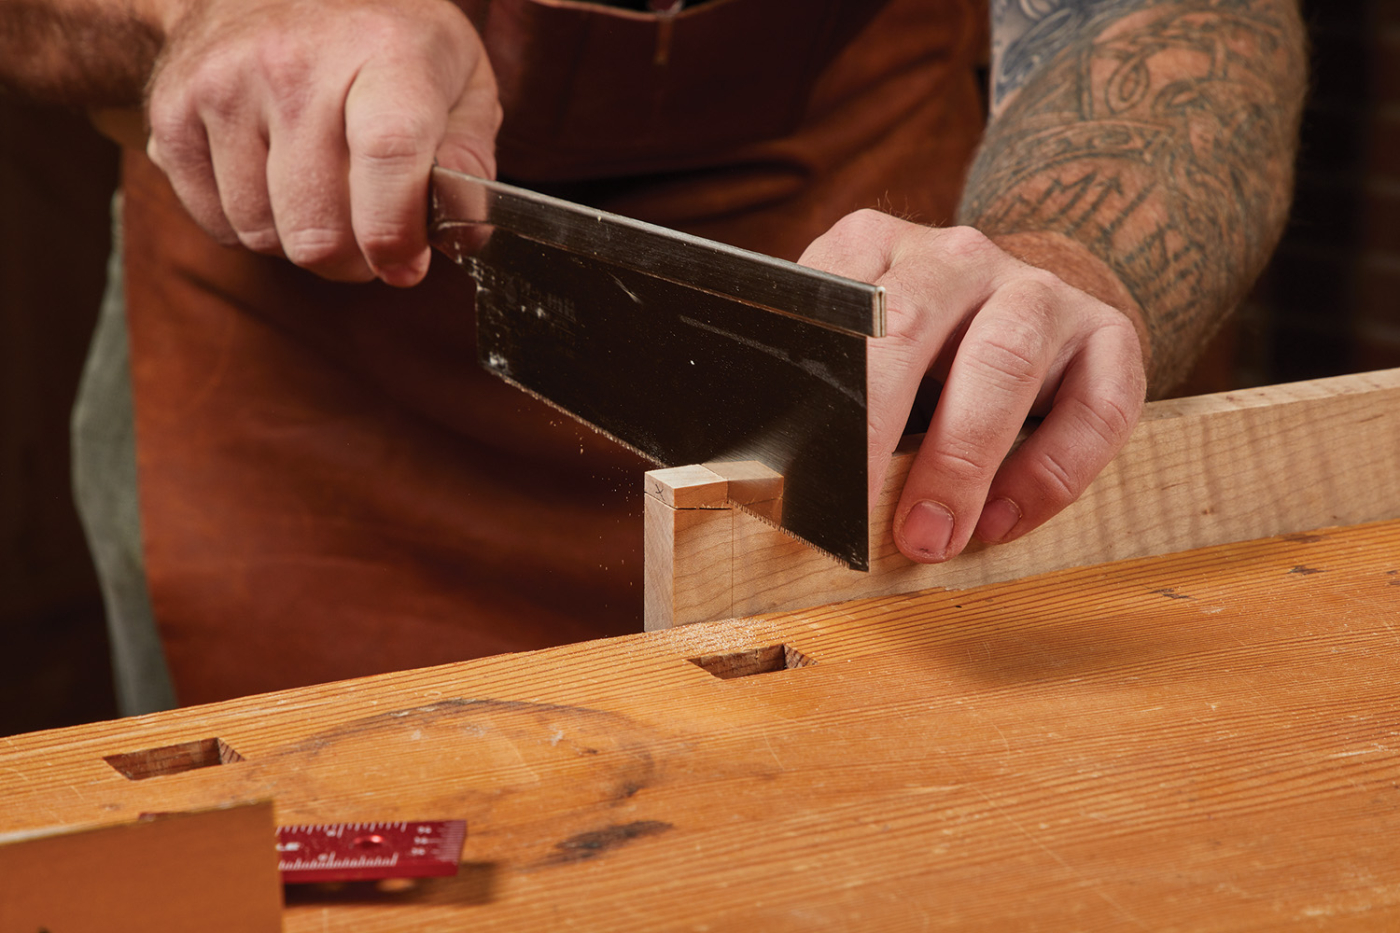
8 Cut away the waste on the shoulder of the tail board.
Remove The Waste
Now, with the tails cut, you can get rid of the waste. I do this by first removing the shoulder pieces, as you see in Photo 8. It’s a simple straightdown cut with the saw, but make sure to leave the baseline.

9 A fret saw makes quick and accurate work of the tail waste.
Now, I cut away the waste between the tails. I prefer to use a fret saw for this, but a coping saw works as well. You can also chop out the waste with a chisel. I simply like the control I have with a fret saw. Well, that and it’s hard to hear my audiobook with a mallet smashing a chisel.
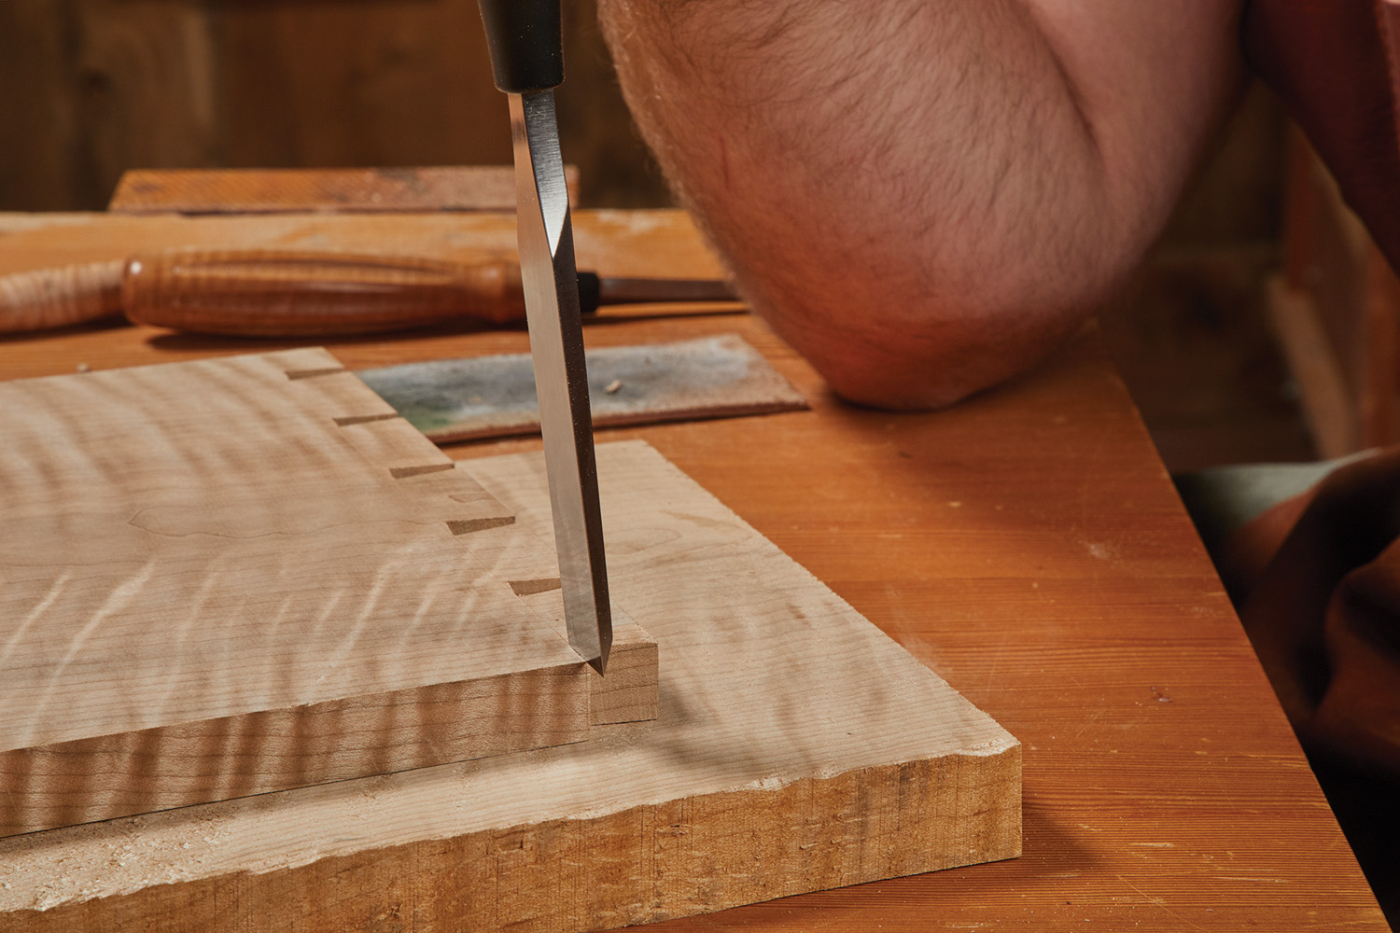
10 Use a chisel to clean up the inside and outside of the shoulder.
After sawing away the waste, I come in with a chisel to pare down to the baseline — a couple of points here. The first should be pretty obvious but use a chisel that fits between the tails. Second, don’t mash up the edges of the tails as you lever out the waste. Bruised tails will show up in the finished joint. Finally, chop the waste out in small steps. For the final cut, drop your chisel down into the base line (that’s the reason for the good, hard mark) and remove the final 1/32“ of waste. If you try to remove a bunch of waste in one chop, the wedging action of the chisel will push it past the baseline.
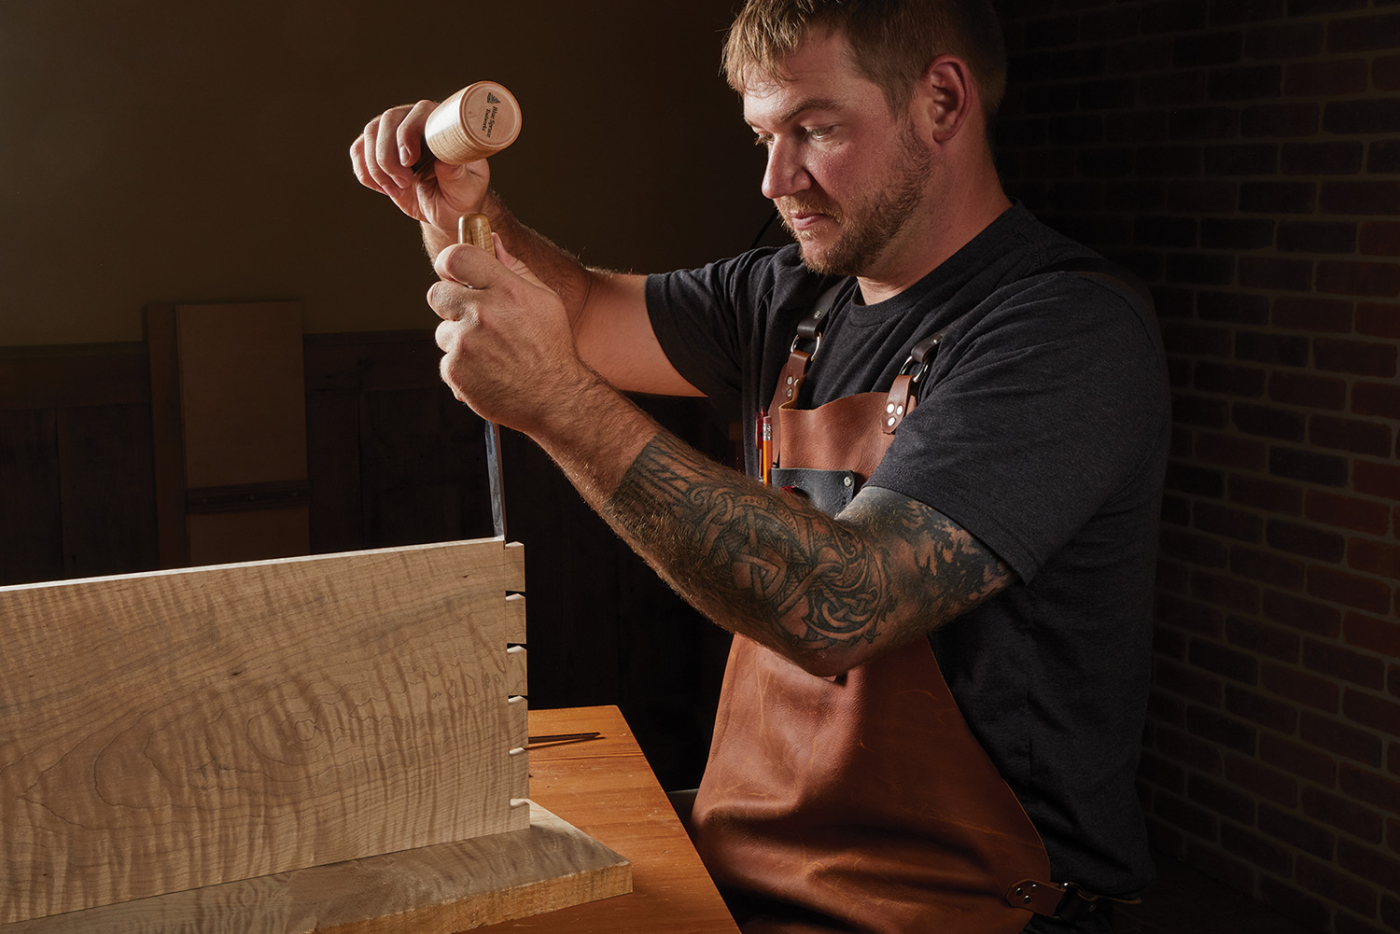
11 Stand the board on edge and chisel down the shoulder.
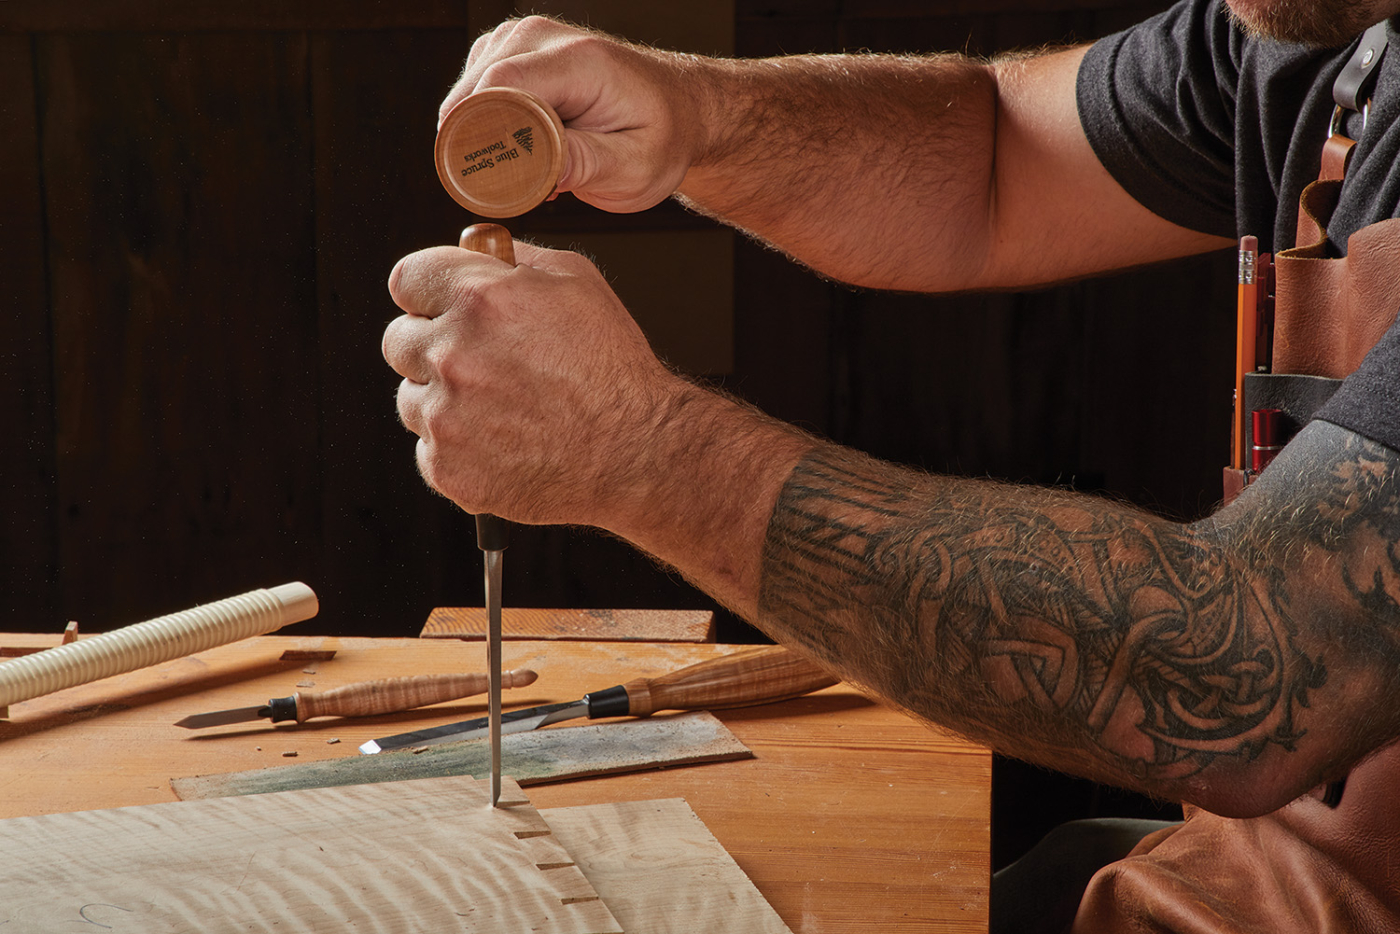
12 Clean up in between the tails with a narrow chisel.
As you’re chiseling, you can slightly undercut the inside of the joint. Start with the chisel at 90°, but after a hit of the mallet, I’ll lean the chisel a couple of degrees. Doing this from both sides leaves the middle of the joint slightly hollow, and it helps in getting a tight joint.
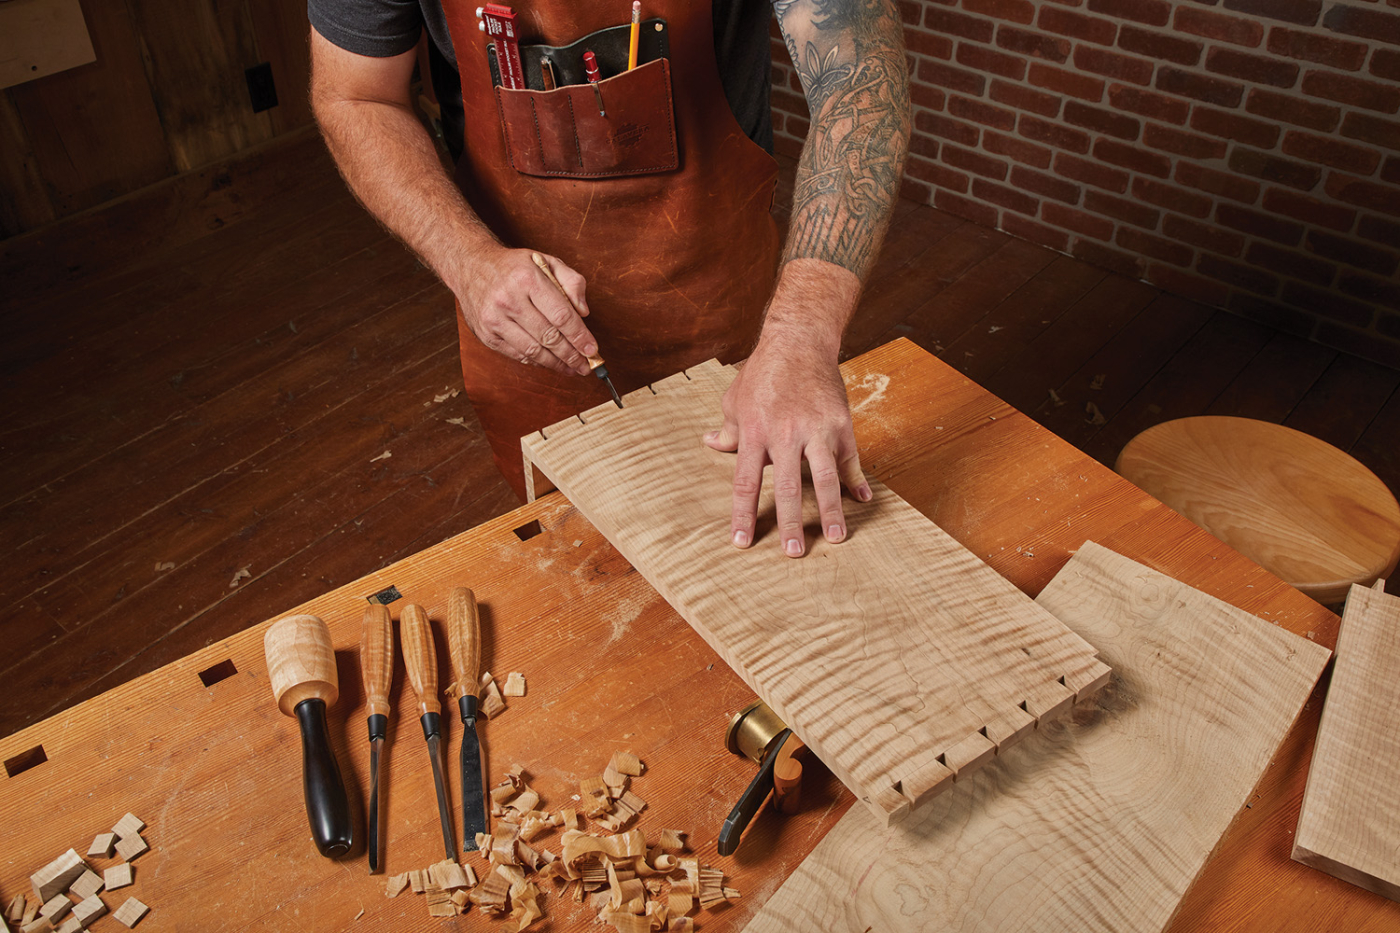
13 Hold the tail board in place while transferring the tail locations.
Pins Next
Now, place your pin board in your vise and lay your tailboard over the top, as you see in Photo 13. Make sure everything is aligned and square, and use a thin, sharp marking knife to transfer the tail locations to the pin board. A thin knife can be pressed tight against the inside of the tails and leaves an accurate line.
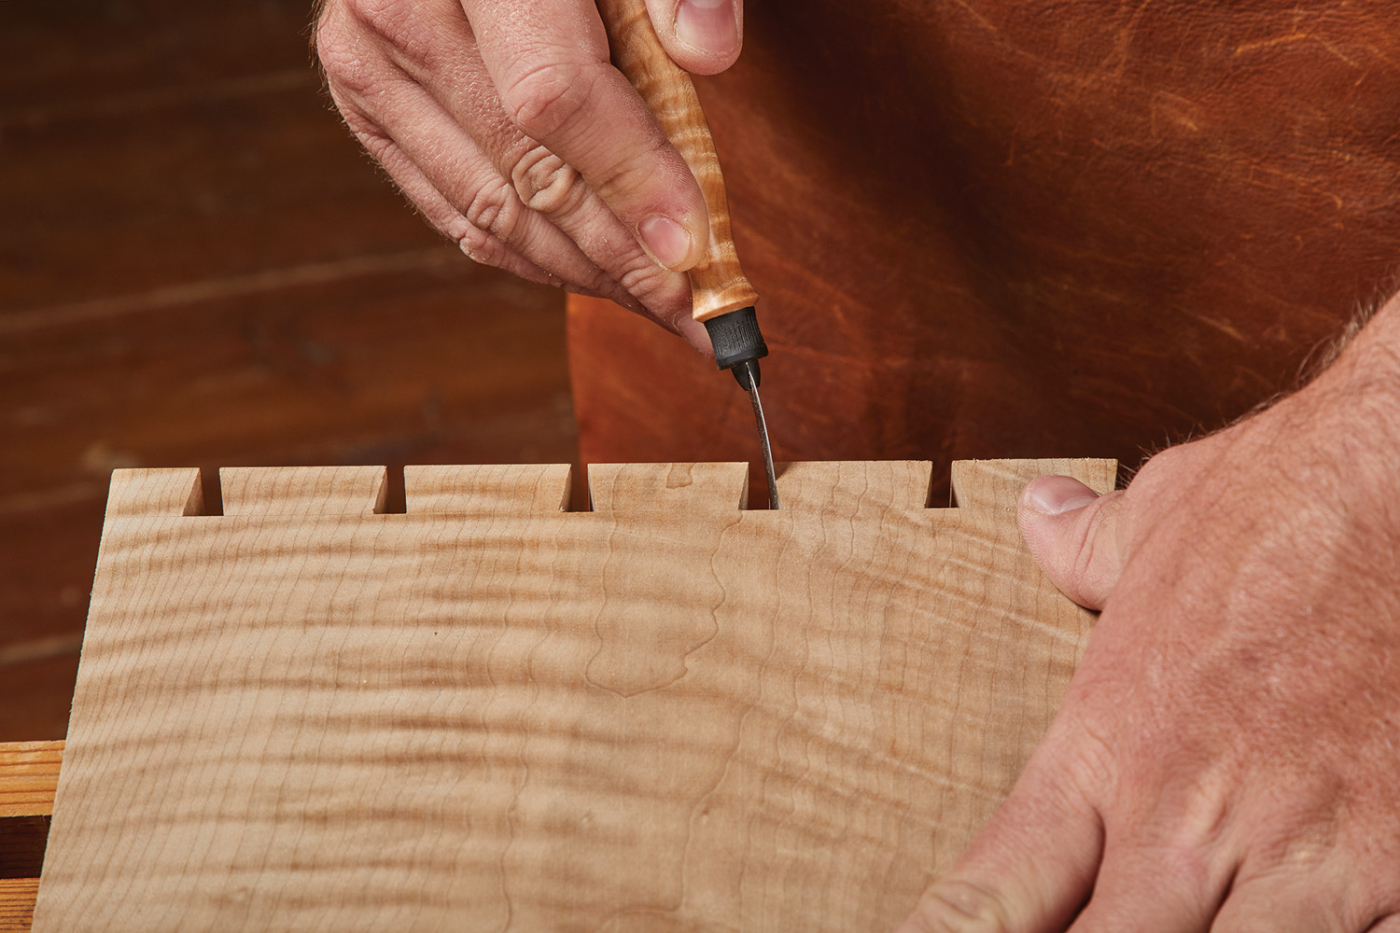
14 A flexible knife helps accurately transfer the marks across boards.
Now, the process is pretty much the same, but at a slightly different angle. The important thing here is to make sure to cut on the waste side of the knife line. A dovetail guide allows you to position the saw kerf in exactly the right position. Again, mark the appropriate waste areas before starting to cut.
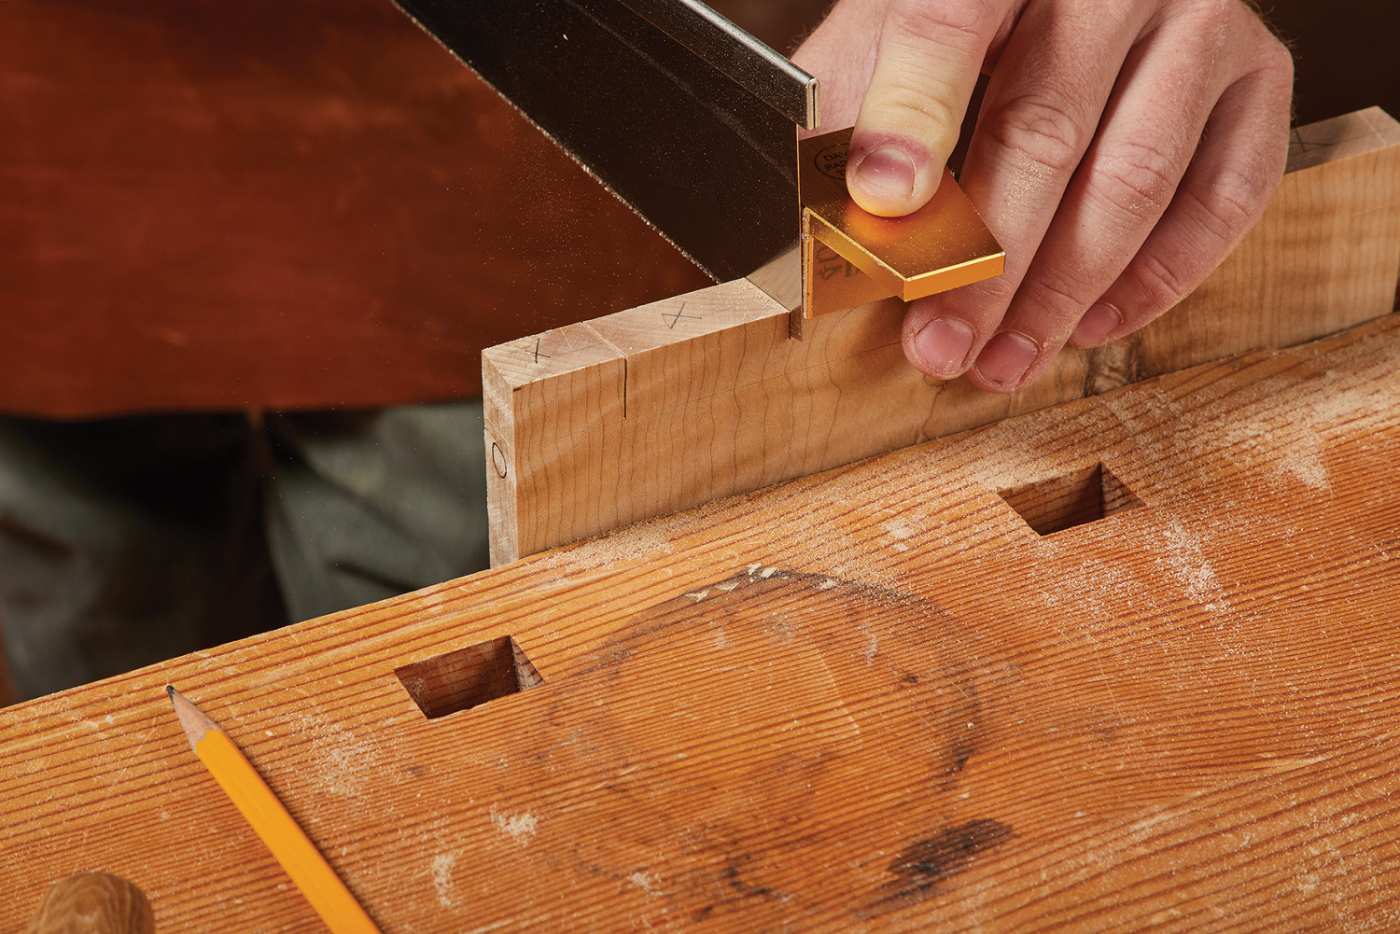
15 A dovetail guide keeps a consistent angle between tails and pins.
Removing the waste is pretty much the same process as before, but as you can see in Photo 16, you’ll need to angle the fret saw to match the angle of the pins. Likewise, when you’re chopping the waste, the outside of the joint is wider than the inside, so you’ll want to angle your chisel as you work through the joint.

16 Angle the fret saw to remove the pin waste.
The final thing I like to do before putting glue on and pounding the joint together is to chamfer the inside of each joint. By staying away from the exposed edges of the joint, you can help ease the joint together without affecting its look.
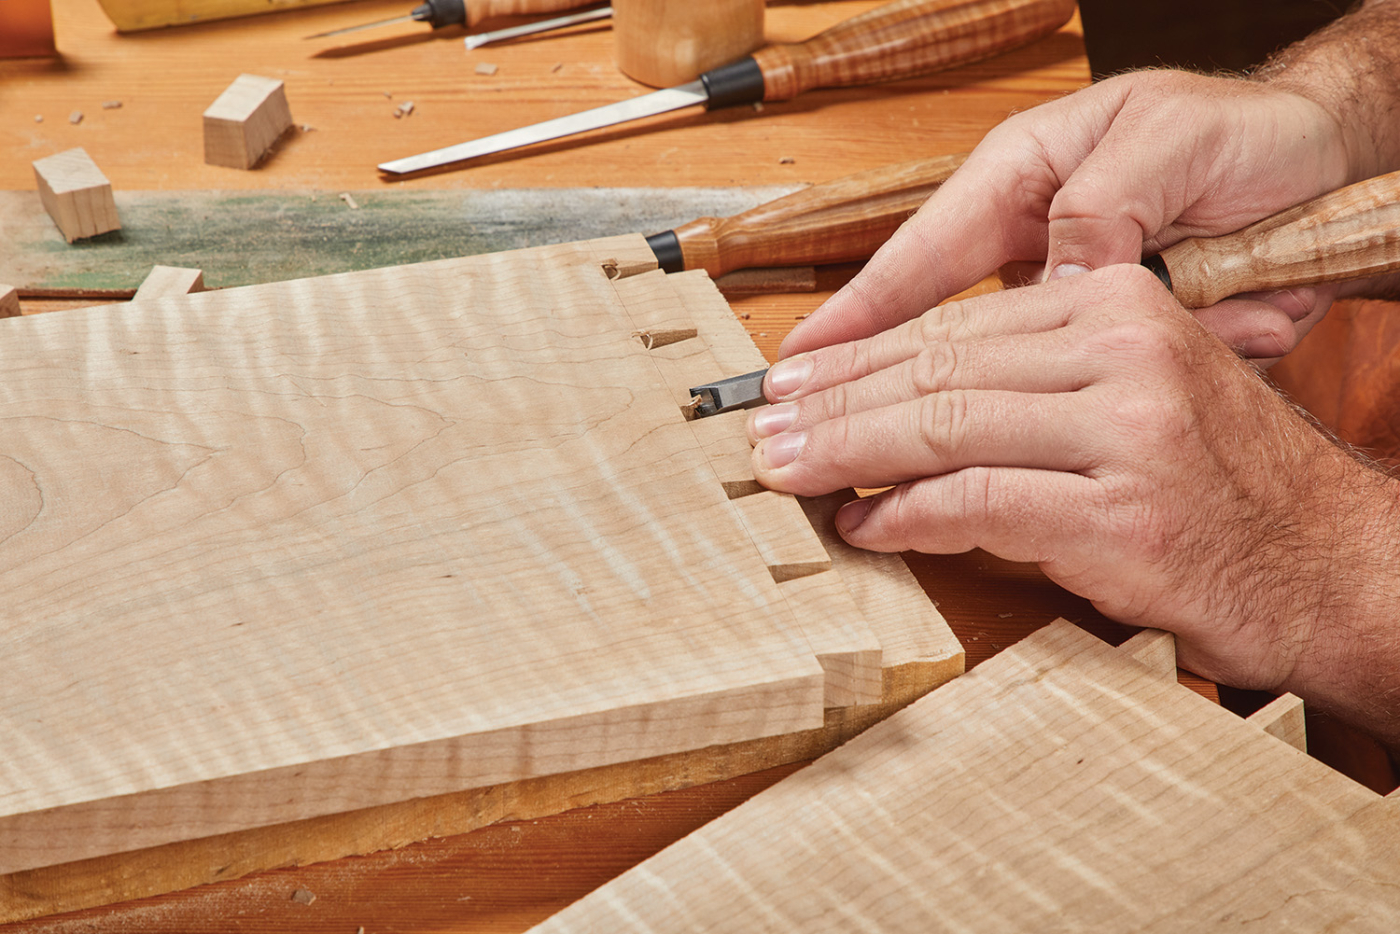
17 Chamfering the inside edges of the joints helps avoid corners snagging and keeping the joint apart.
Usually, following these steps, I can get a good, tight joint right off the saw. Occasionally, you’ll have an off day and as you’re testing a joint, it will start to split the pin or tail board. When that’s the case, stop and take the joint apart. In these instances, I’ll use a soft-leaded pencil and rub the inside of the tails. Then, as you work the joint back together, it will transfer the tight area to the pin board. With the problem areas highlighted, you can either pare them down with a chisel or use a flat float to fine-tune the joint.
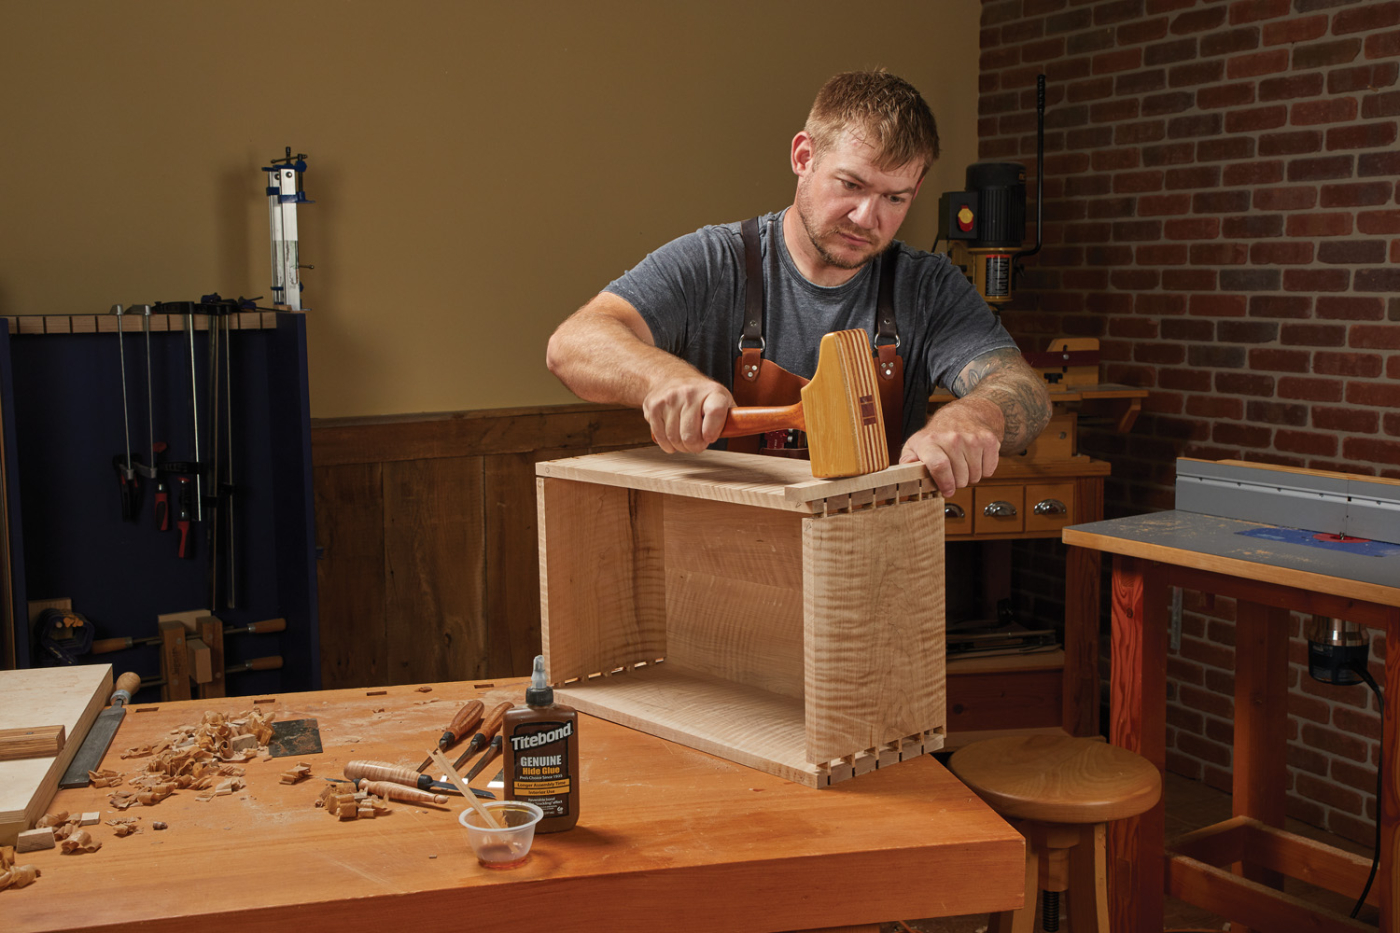
18 Use hide glue to glue the joints together. Depending on the joint fit and wood used, it’s often best to cover the tails with a piece of scrap while pounding the joint together, to avoid denting the outside of the workpiece.
When I’m ready to put the joint together with glue, I prefer to use hide glue. It helps lubricate the joint a bit and slips together a little easier. The finished joint should protrude just a little bit. Once the glue is dry, you can either plane or sand everything flush. After sanding and applying some finish, I think you’ll amaze yourself with how good they look. And the beautiful part is that your dovetails will keep getting better each time you cut them.
Here are some supplies and tools we find essential in our everyday work around the shop. We may receive a commission from sales referred by our links; however, we have carefully selected these products for their usefulness and quality.


 Basic steps for beautiful joints.


