We may receive a commission when you use our affiliate links. However, this does not impact our recommendations.
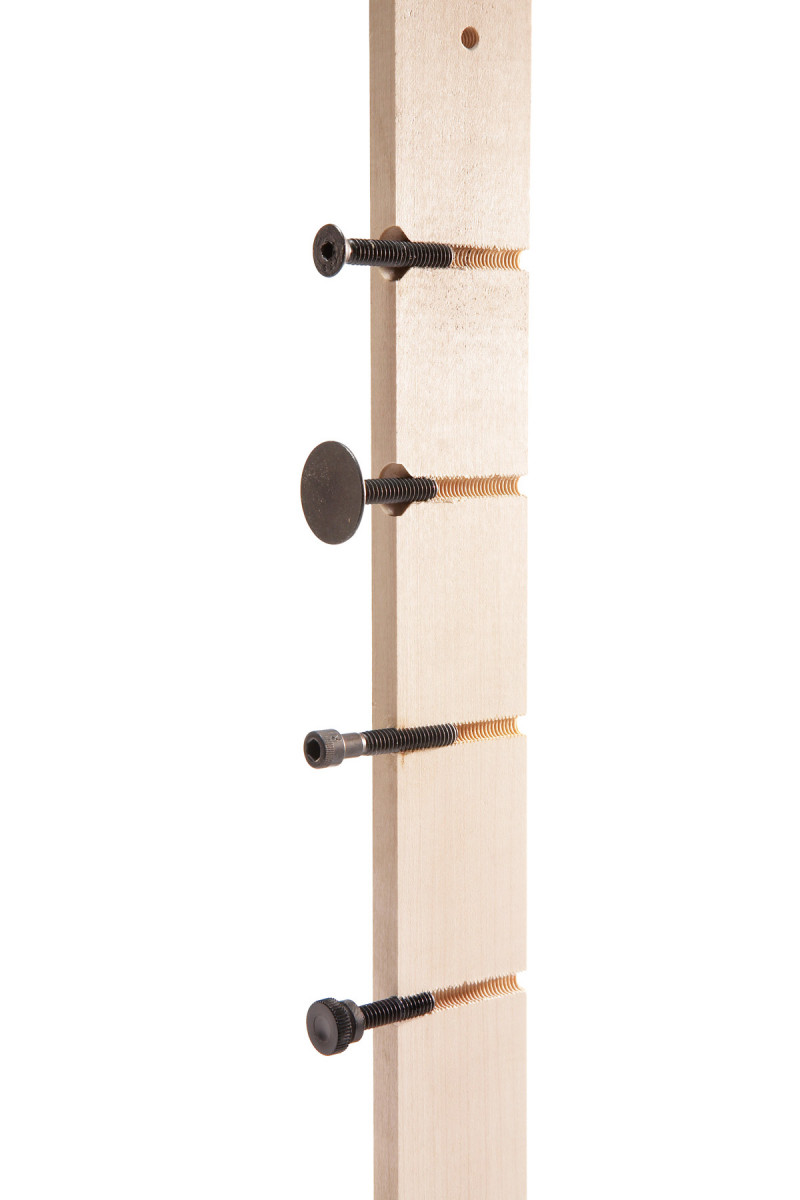
To build the ultimate jig, use a tap.
When I build a jig or fixture that needs to come apart, I don’t use wood screws, I use machine screws–and tap holes in the wood to receive them. It’s very easy to do, and requires only a few special tools.
Why do it? Maybe I’m just a fanatic about building good jigs, but let me put the case to you. It’s hard to precisely position two pieces using wood screws, which can break or strip out if overtightened. Machine screws, on the other hand, can precisely position a piece. They’re really hard to break, they can be run in and out of a threaded hole many times, and you can safely crank them tight.
One limitation, though, is your choice of woods to tap into. Stick to Baltic birch plywood and dense hardwoods such as hard maple, hickory and white oak. Most of the exotics are OK, too. Softer woods won’t take and hold threads as well. As for sizes, I’ve found that 1/4-20 and 5/16-18 machine screws work best.
What You’ll Need
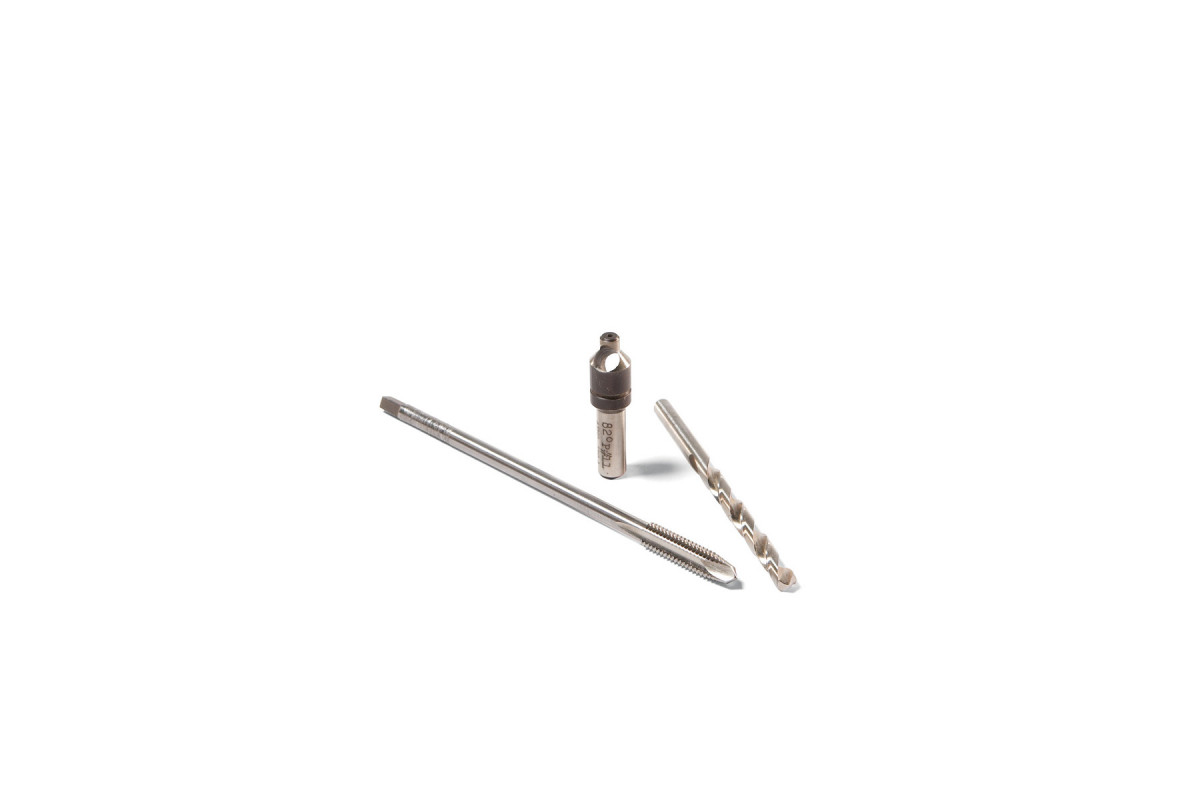 Tapping holes in wood requires a few tools that are available from an industrial supply house. The most important tool is the tap. I’ve found that a special tap with an undercut shank and a long, tapered point works best. (See Source, bottom, for supplies for 1/4-20 screws; supplies for 5/16-18 and other screws are also available)
You’ll also need a twist bit sized for the tap. A 1/4-20 tap requires a No. 7 drill bit, while a 5/16-18 tap requires an “F” bit.
You may also need a piloted countersink bit to make absolutely true holes. The pilot is solid, and isn’t interchangeable. These bits are available with pilots of many different diameters.
Begin with true holes
In order to accurately position the object you’ll be fastening, you have to start out with true holes in the object itself. Maybe that seems obvious, but I’ve often encountered metal plates whose countersunk recesses aren’t concentric with their pilot holes. If that’s the case, the plate will shift out of position as you tighten the screws that hold it fast. Not good.
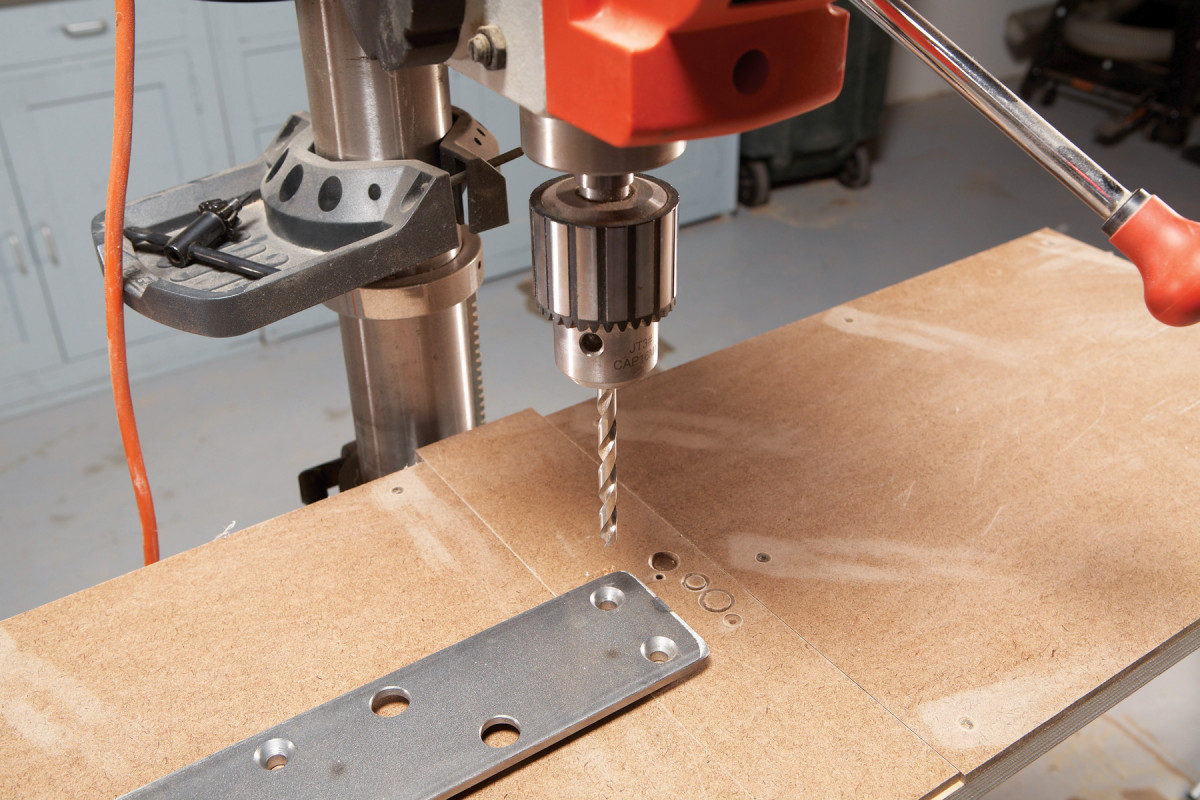
1. 1 Tapping makes a strong, accurate joint. To show you how it works, let’s mount a steel bracket (it’s from a workbench vise). Its holes aren’t machined quite accurately, so we’ll begin by re-drilling them with a twist bit.
So, in showing you how to tap holes for machine screws, let me begin with a worst-case scenario. I’ll be using a plate that’s part of a workbench’s tail vise. The countersinks on this plate aren’t quite concentric with their holes, so the first thing I’m going to do, before tapping any holes, is to fix the plate. To begin, I dig out a piloted countersink whose pilot either exactly matches the holes in the plate, or is slightly larger than the holes. If the pilot is larger, I re-drill the holes in the plate (Photo 1). It’s important to clamp the plate and, of course, use a drill press.
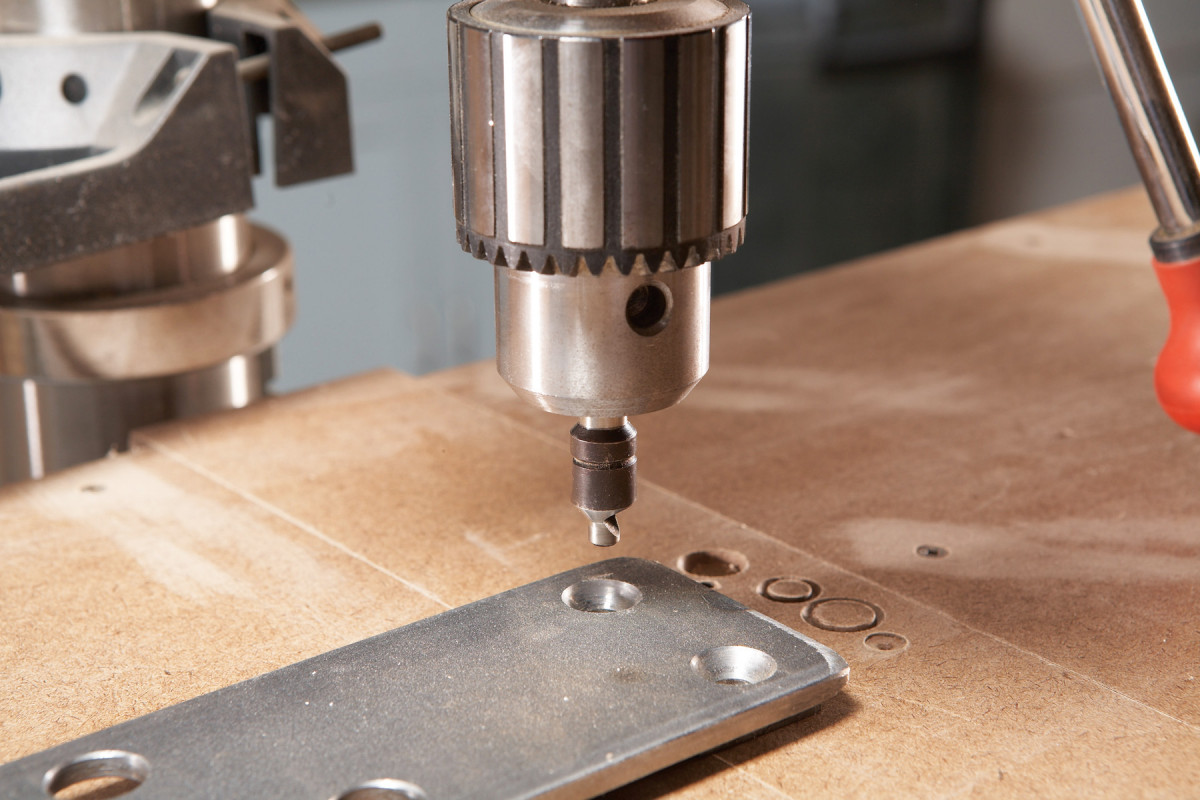
2. To ensure that the countersink in each hole is perfectly centered, re-drill them using a piloted countersink bit. The pilot’s diameter must match the drill bit you used above.
Next, I chuck up the countersink and re-drill (Photo 2). The bit’s pilot guarantees that the new countersink is concentric to the holes in the plate. If you’re building an all-wood jig, it’s best to drill and countersink with a combination bit.
Drill and tap
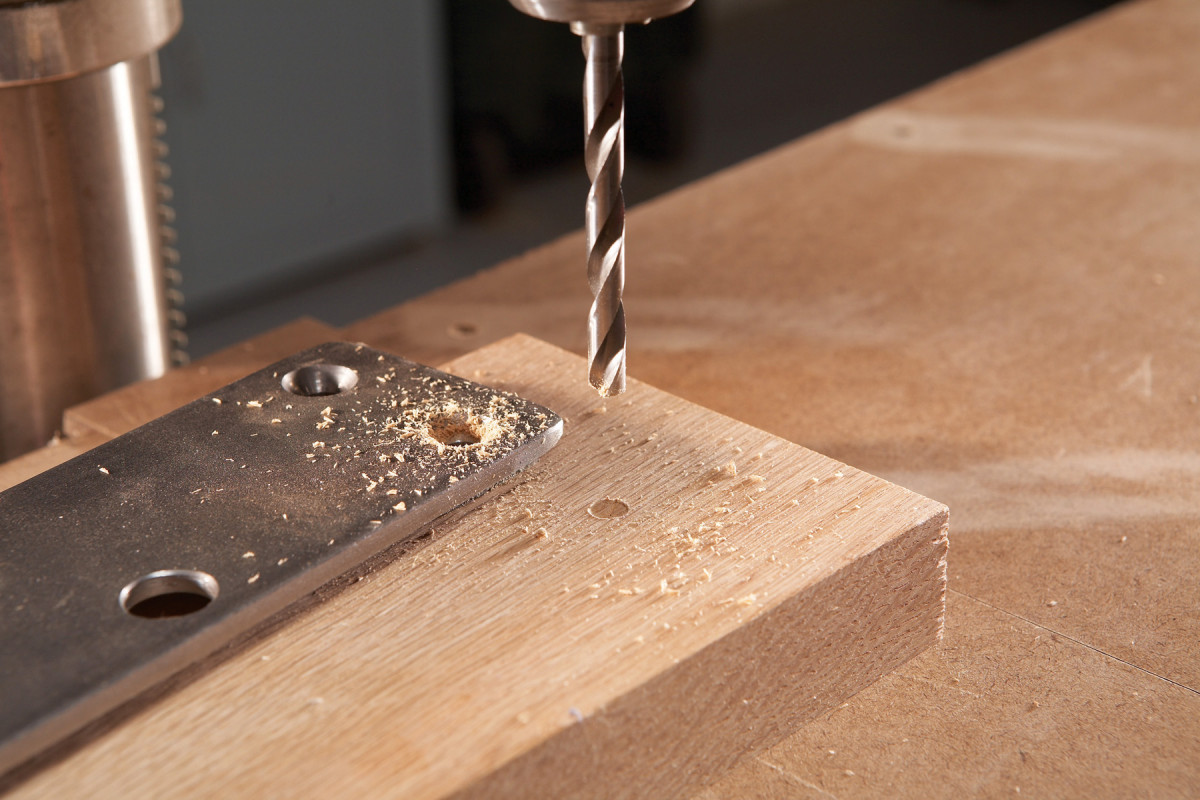
3. Using the same bit you used for the pilot holes, position the plate and drill through it just enough to make a small dimple in the wood you’ll be fastening it to.
To find the exact center of the holes I’ll be tapping, I go back to the drill I used to enlarge the pilot holes. I carefully position the plate on the wood, clamp it in place, and drill a small dimple in the wood (Photo 3). It’s important to use a twist bit here–not a brad point–to accurately guide the bit I’ll use next.
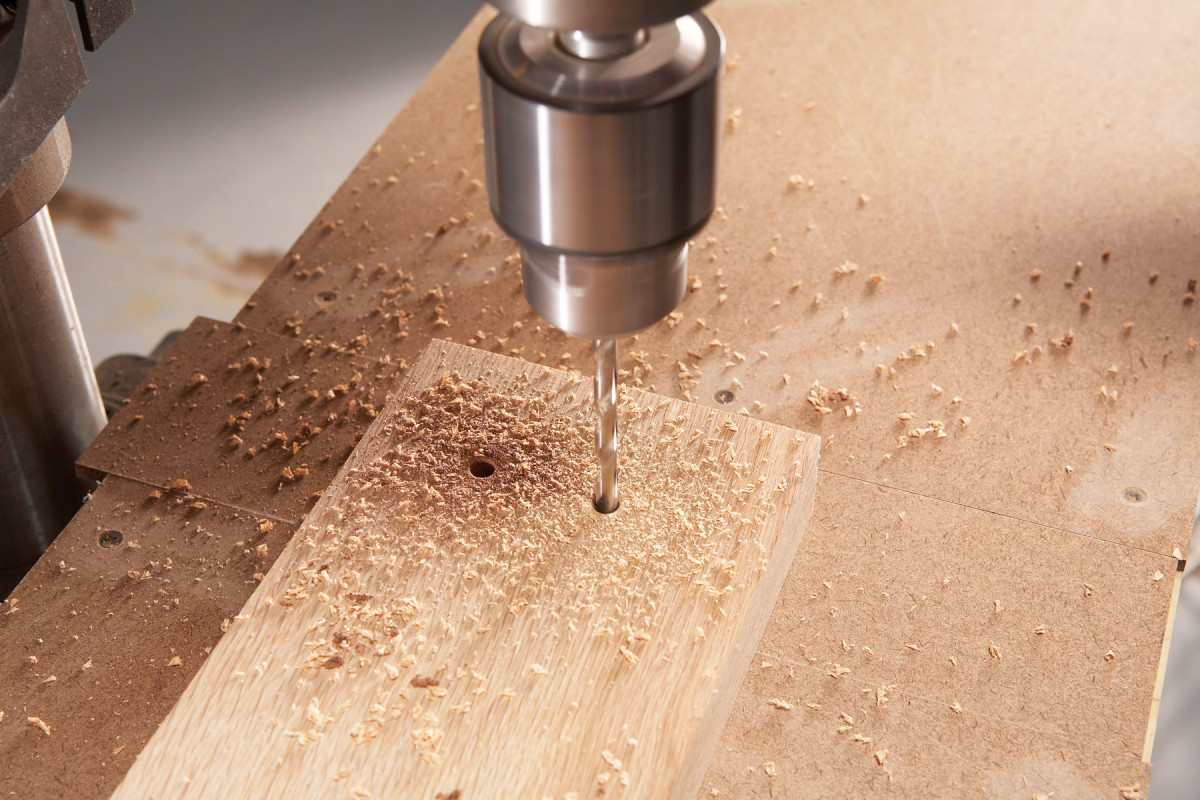
4. Switch to a drill bit that’s the root diameter of your tap. Center the bit on the dimple and drill all the way through the wood.
After all the holes are started, I replace the pilot bit with the bit appropriate to the tap I’ll use. Common fractional-sized bits aren’t a good choice, by the way. To make clean, full-sized threads, you must use a bit that’s exactly the right size, and that’s usually a drill from a numbered or lettered series of sizes. (This information is usually provided with the tap.) I usually drill all the way through the wood (Photo 4) to make tapping easier.
If I can’t drill all the way, I drill at least 1/2″ deeper than the portion of the machine screw that will go in the hole. (The taps I use start cutting full size threads at the seventh thread–about 1/2″ back from the tip.) If the threads must continue down to the bottom of the hole, I begin with a regular tap, then switch to a bottom-cutting tap, which cuts full threads much nearer the tip.
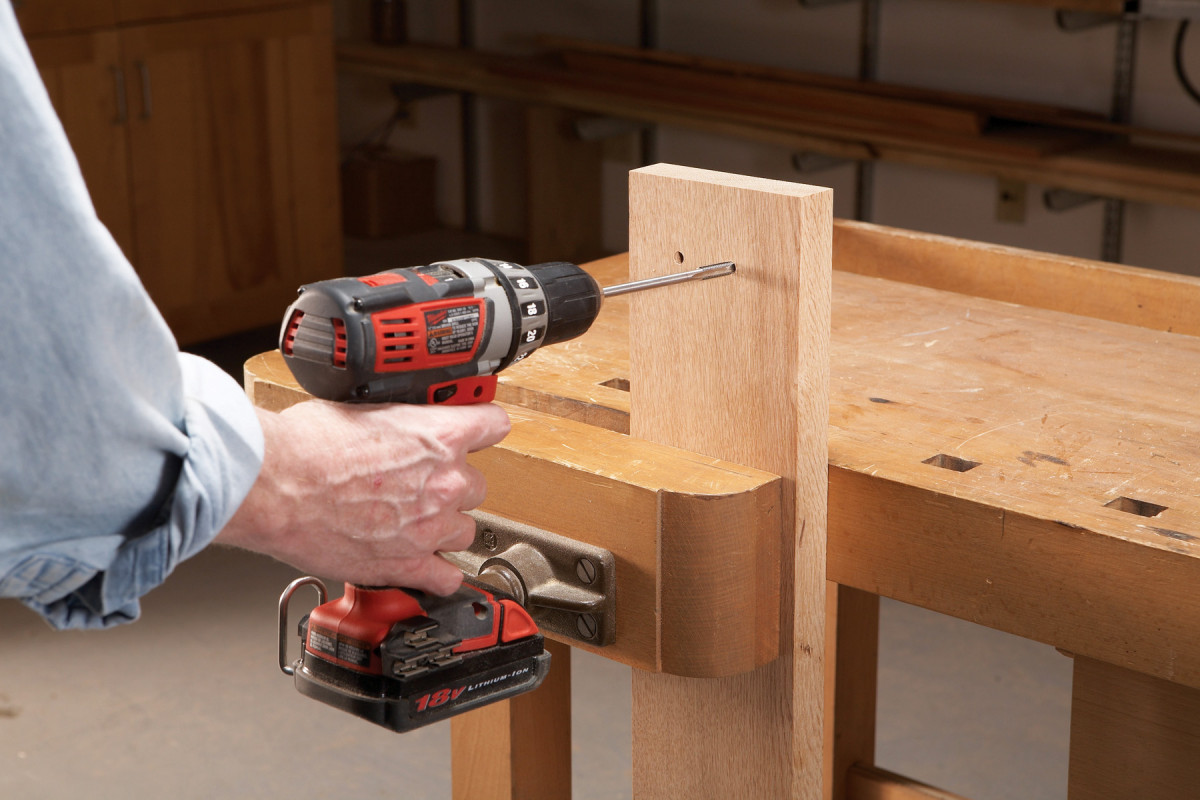
5. Chuck the tap into a drill, set the drill at low speed, and run the tap through the hole. The drill won’t wobble–the tap’s long, tapered snout will guide it straight through the hole.
Finally, it’s time to tap the holes. If you’ve tapped holes in metal, you know that it can be a long, tedious process of constantly turning the tap in and out to clear the threads. It’s much easier in wood. So easy, in fact, that I just use a cordless drill and drive the tap all the way through in one shot (Photo 5). I know, you’re skeptical. But believe me, it works fine–just drill at a relatively slow speed, and you’ll be a pro in no time.
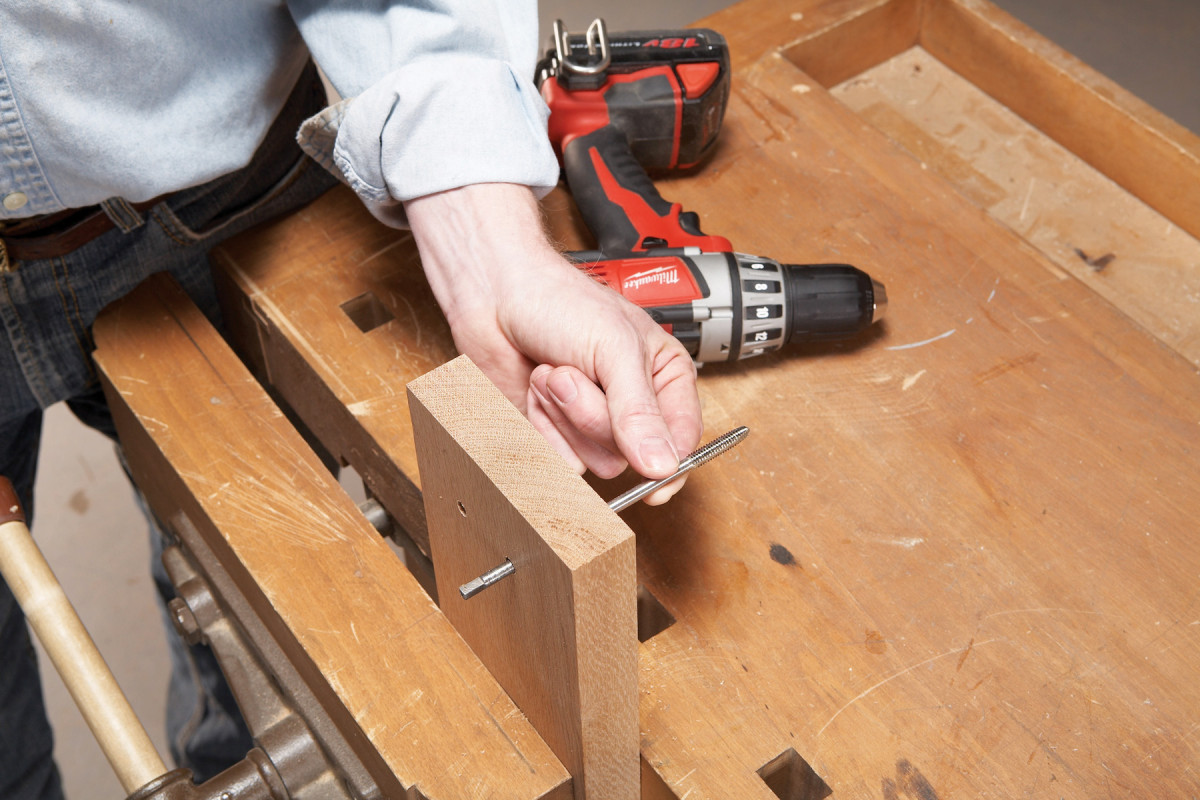
6. Don’t reverse the drill to remove the tap, because this may damage the threads you’ve cut in the wood. Instead, remove the tap from the drill and pull it through the hole.
Once you’ve driven the tap through the hole, it’s risky to go backwards. I just remove the tap from the drill and pull it through the hole (Photo 6). Of course, if the hole doesn’t go all the way through the wood, you’ll have to back out the tap using the drill.
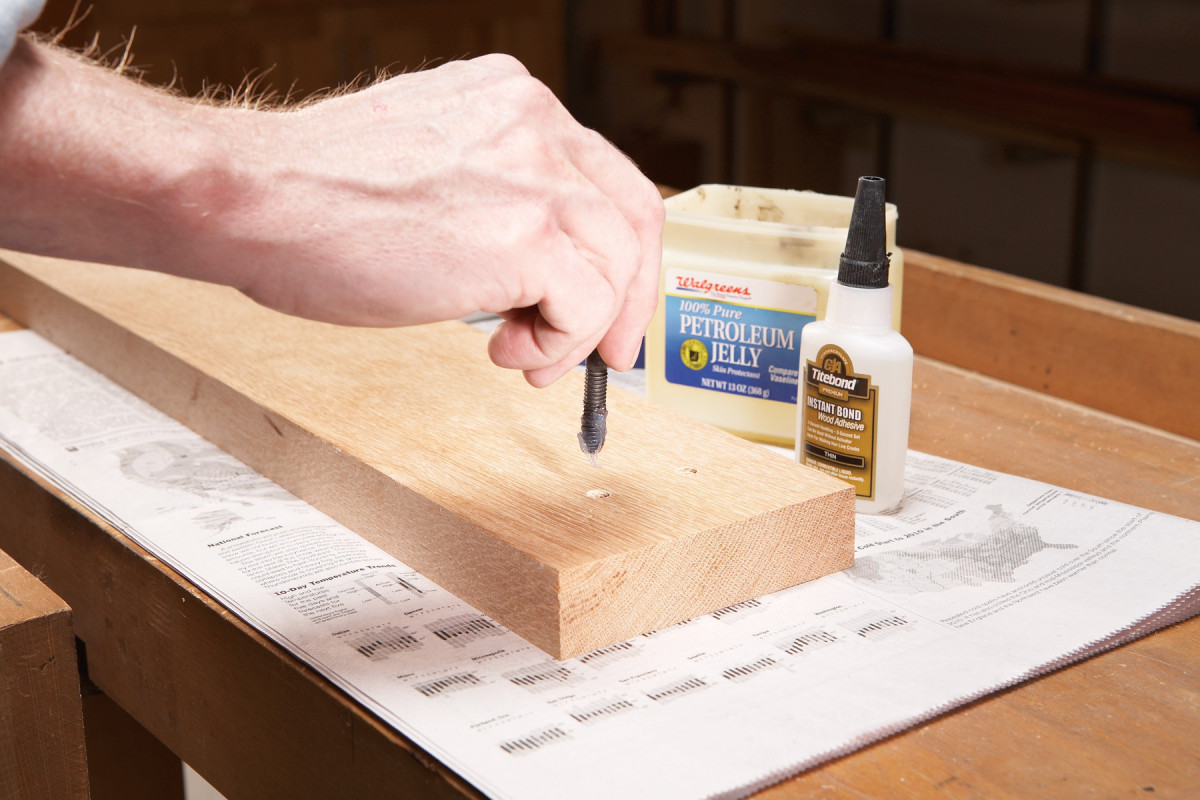
7. For hard use, strengthen the threads in the wood with CA glue. Dribble glue in the hole, then insert a machine screw coated with petroleum jelly. After the glue cures, remove the screw.
If I’ll be running screws in and out of the holes quite often, I soak the threads with CA glue to make them more durable (Photo 7).
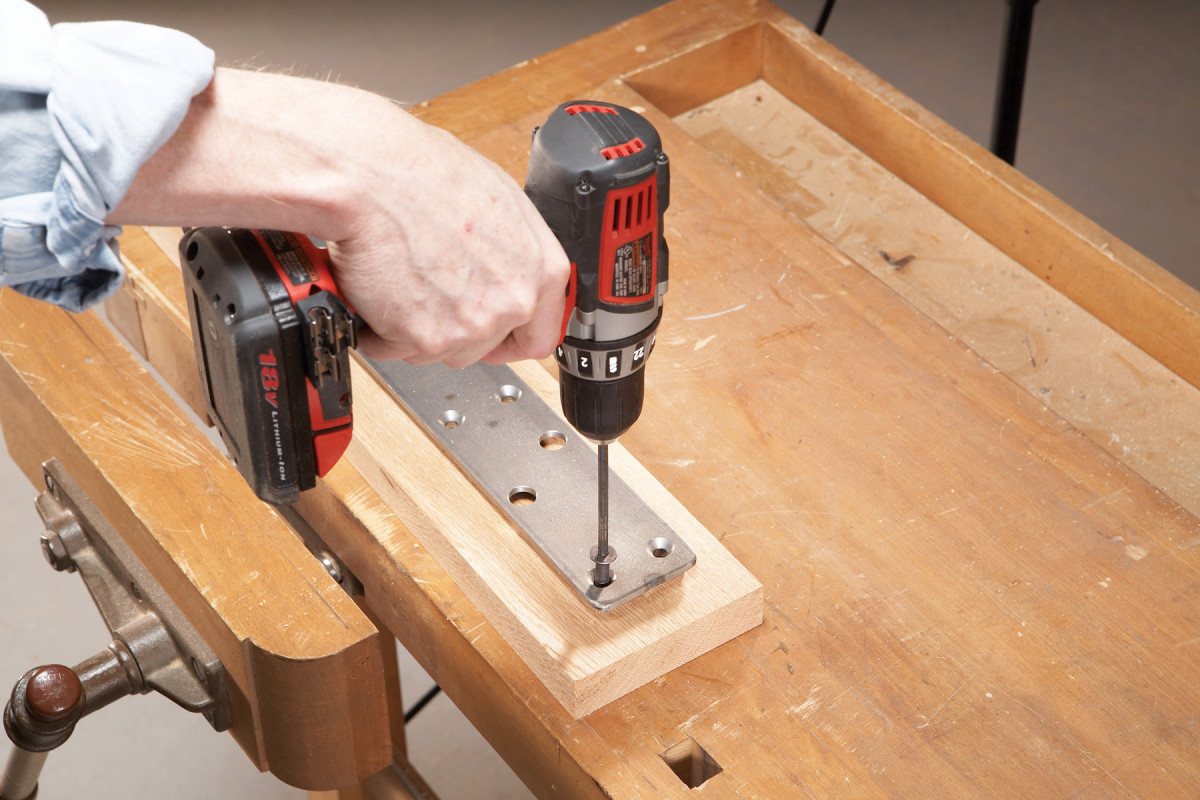
8. I prefer to use machine screws that have an Allen head. To make assembly easier, I insert the screws with a driver made by cutting off the end of an Allen wrench.
(If, after gluing, the screw is hard to insert, I just re-tap the hole.) When I’m putting together or taking apart a jig, I use a shop-made driver to turn the screws (Photo 8).
Source:
MSC Direct Taper-style tap, 1/4-20, 5″ long, #04680203
Bosch also sells a combo pack with the tap and the #7 bit.
Piloted countersink, 1/4″ pilot
Here are some supplies and tools we find essential in our everyday work around the shop. We may receive a commission from sales referred by our links; however, we have carefully selected these products for their usefulness and quality.


