We may receive a commission when you use our affiliate links. However, this does not impact our recommendations.

With my band saw tuned, I can easily resaw the veneer off plywood if I please.
You can tune up your band saw to resaw veneer without expensive fences or blades.
The subject most often written about in woodworking magazines is probably cutting dovetails. In second place – and not far behind – is likely resawing with a 14″ band saw.
To be sure, there is disagreement from one article to the inevitable next one, but the central theme is how to adjust the fence to “follow the drift” of the blade. The disagreement is about which shop-built or purchased equipment serves this task best.
After trying some of the methods to “follow the drift” with unsatisfactory results, I decided to take a contrary approach. It occurred to me that if your car has a tendency to drift right or left and you “follow the drift” you will have a very bad result. So what do you do? You overcome the drift to avoid disaster. And that’s what I do on my band saw as well.
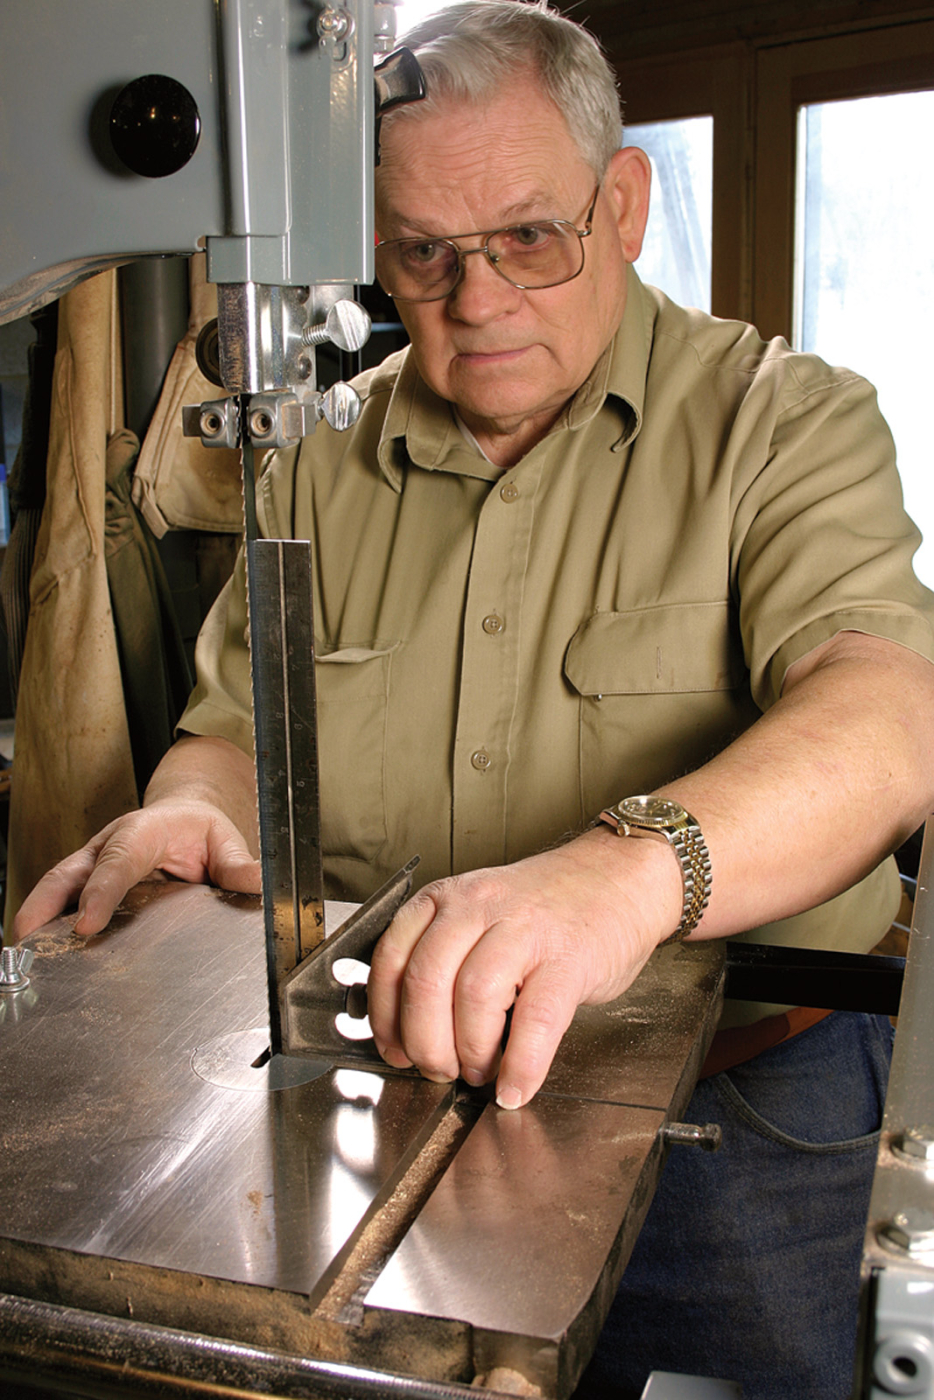
1. First tension your blade. I use a 1⁄2″-wide blade and tension it so the indicator of the saw reads 3⁄4″. Ensure your band saw’s table is square to the blade. Raise the blade guides up as far as they will go and check the blade with a square.
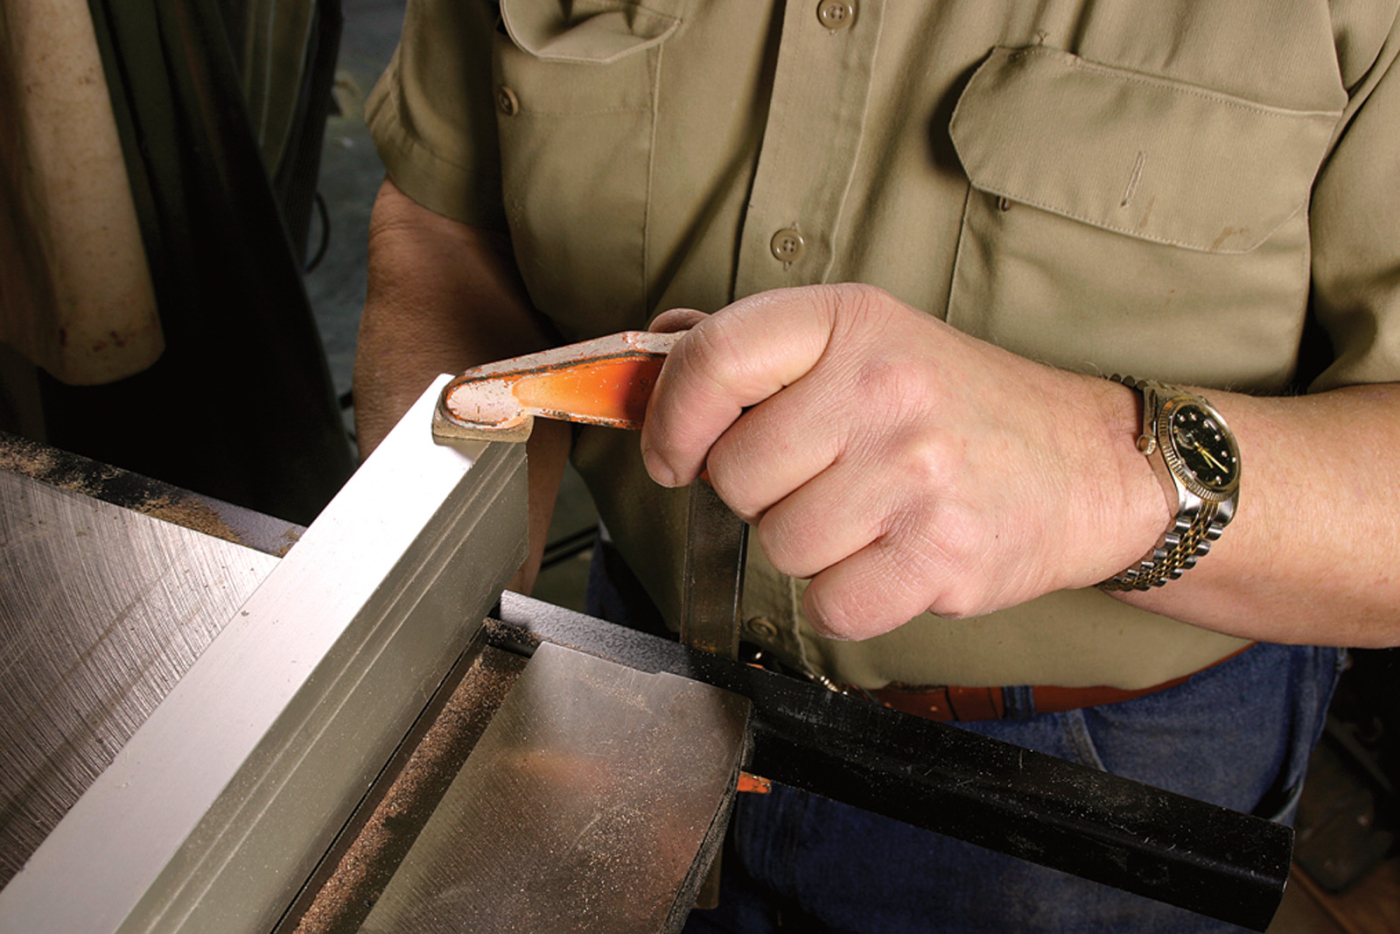
2. Set the fence parallel to the blade. The distance between the blade and the fence should be the thickness of the veneer you want to slice. I set the fence to the right of the blade so it feels more like a table saw and clamp the outfeed end of the fence to the table.
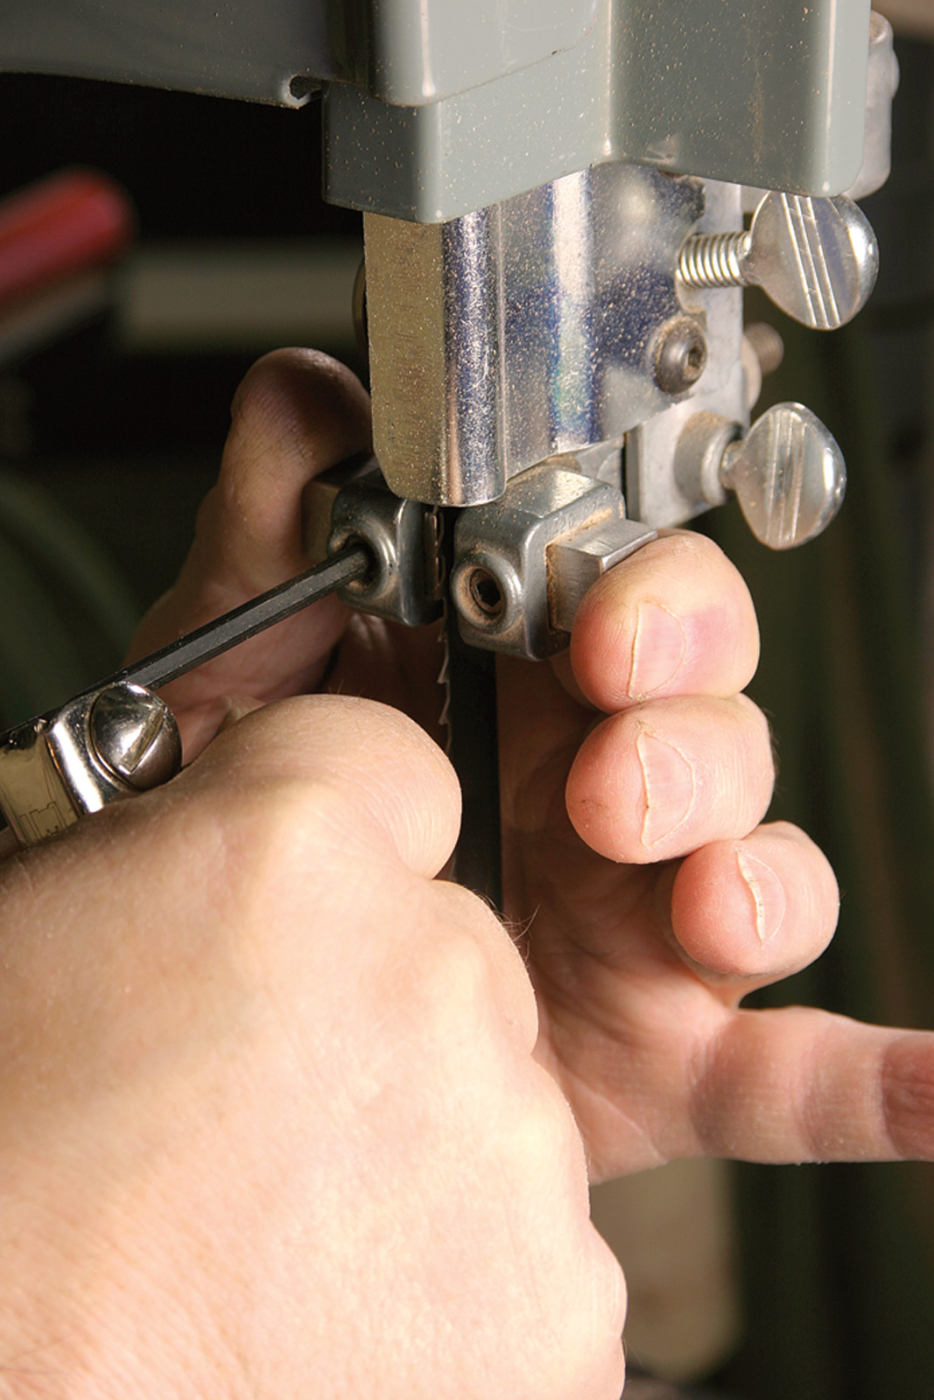
3. Set the ball-bearing blade guides so they are snug against the sides of the blade. Ball-bearing guides are key here. Stock or aftermarket block-style guides will either heat up the blade or wear away quickly with use. Set the thrust bearing behind the blade in its standard position – it should engage the blade only when you are cutting wood.
By following this approach, drift in my shop is now a myth. And by making some simple changes to the way you work, it can be a myth in your shop, too.
In a nutshell, here’s what you do: First you install a stronger blade-tensioning spring on your saw, which is available from many woodworking catalogs.
Then set your saw’s fence square to the blade and clamp the outfeed side to the machine’s table. Install ball-bearing blade guides in your band saw. Adjust the blade guides so there is no clearance – none – between the guides and the blade.
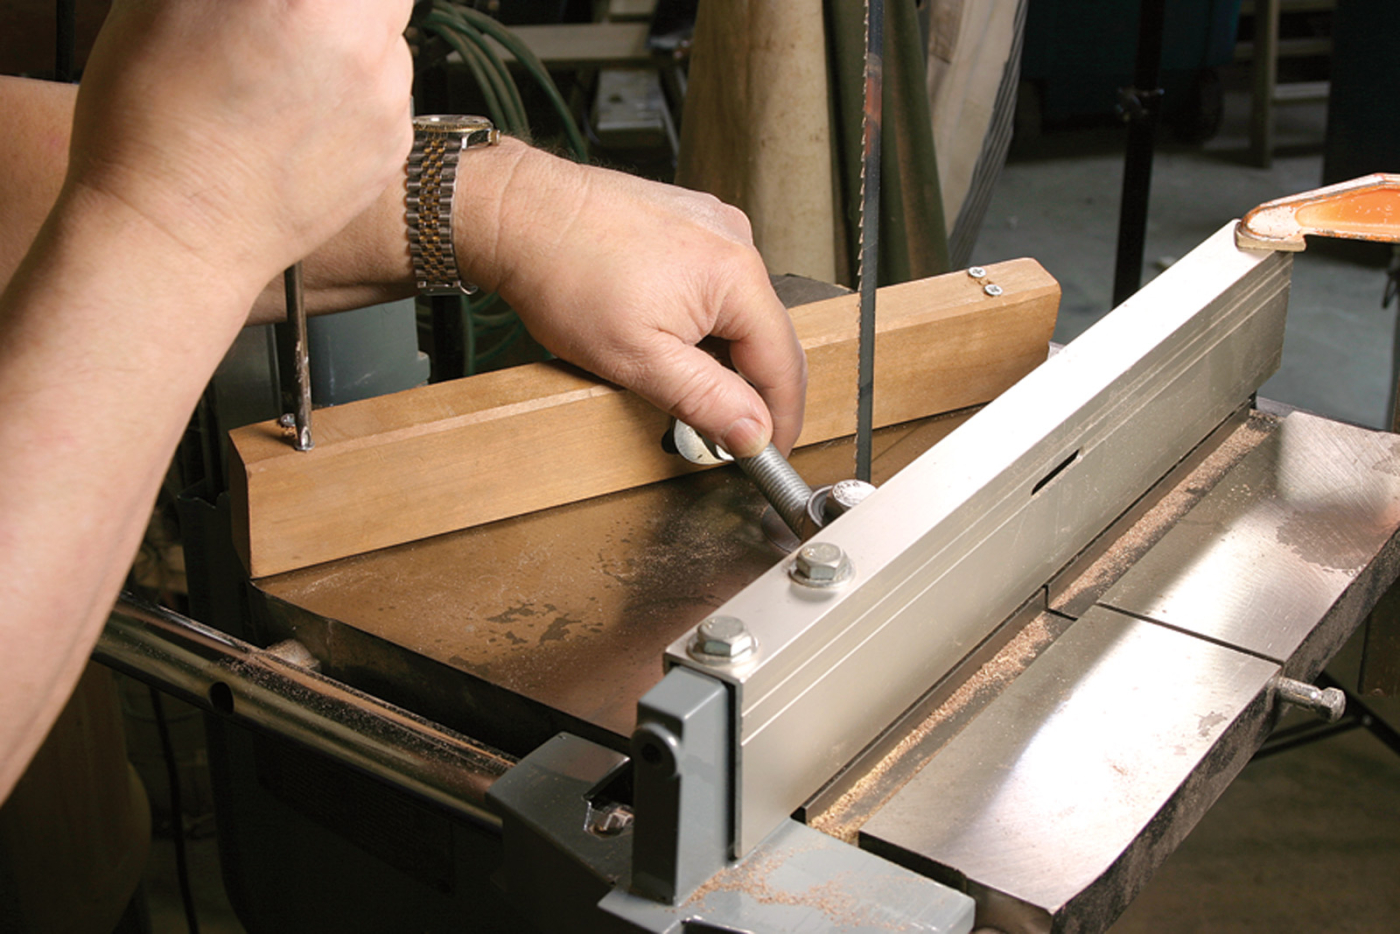
4. I put four screws on the underside of my jig so I can level it in the proper position – the bearing face needs to be dead parallel to the fence’s face.
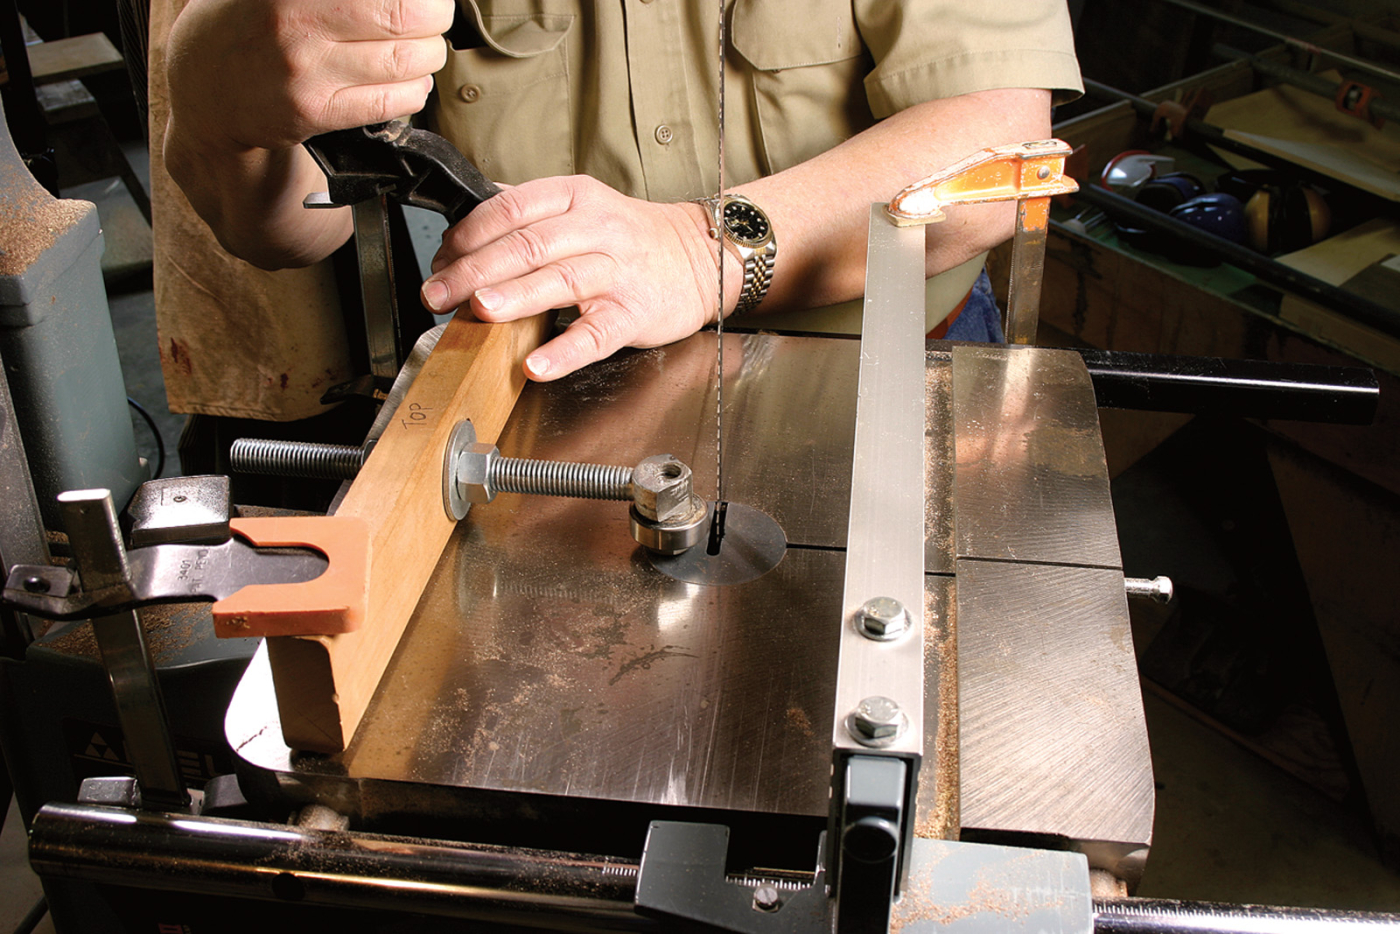
5. Here, you can see how my simple little jig works. The threaded section is a common $9 hinge (called a bolt hook) for a farm gate that I modified. I sawed off a vertical pin on the end of the hinge, then I bored a hole at one end and bolted a 1 1⁄8″-dia. bearing to the hinge (any diameter bearing will work as long as it clears the hinge). The bolt head rests on the machine’s table. The threaded section of the hinge is held in place by two jam nuts and washers.
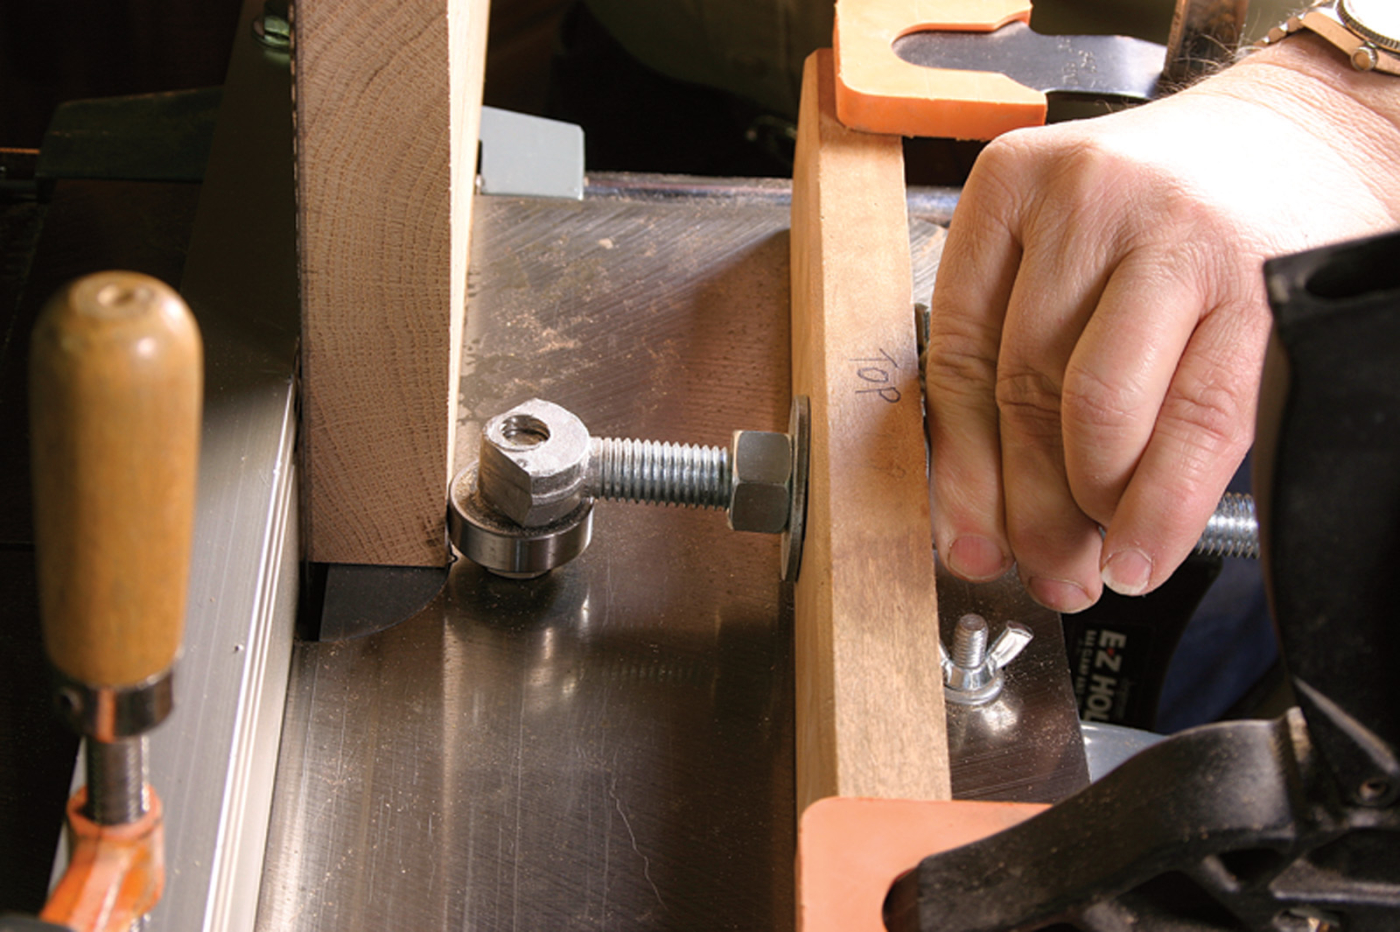
6. Loosen the jam nuts and move the threaded part of the jig up against the work you are going to be resawing – trapping it between the jig’s bearing and your band saw’s fence. Note that the bearing should be positioned so it’s 1⁄4″ to 1⁄2″ in front of the teeth of the saw’s blade.
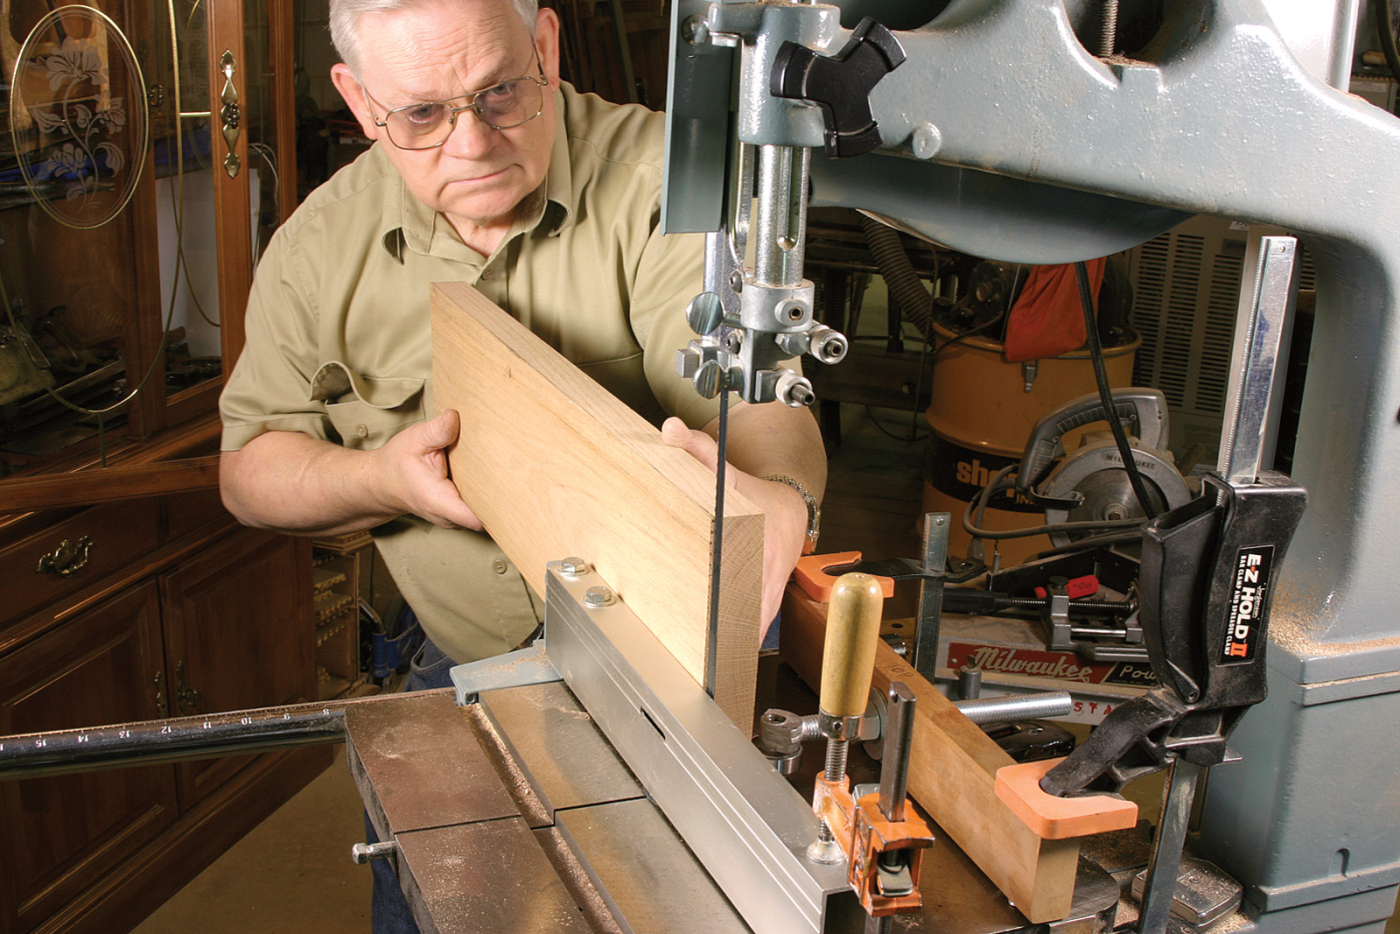
7. Turn on the saw and make a test cut. Push the work through firmly but don’t stress the motor. If you’ve set your jig correctly, you’ll slice off perfectly consistent pieces of veneer. After your first cut, reset the jig’s bearing against your next piece of work and make your next cut.
Finally, make a simple device using a block of wood, a couple nuts, a bearing and a hinge for a farm gate. This jig also can be used as a frictionless featherboard on a router table or on other machines. It’s useful for more than resawing on the band saw.
And one more thing: You don’t need a premium blade to have success with resawing. In my saw, I use a 1⁄2“-wide 4-teeth-per-inch skip-tooth blade. With my riser block the saw takes a 105”-long blade.
With this setup, I easily sliced the veneer off the plywood shown at the top. The resulting veneer is .025″ thick. And there was no drift to compensate for as I sawed. Follow the steps, and you’ll make band saw drift a myth in your shop, too.
Here are some supplies and tools we find essential in our everyday work around the shop. We may receive a commission from sales referred by our links; however, we have carefully selected these products for their usefulness and quality.


