We may receive a commission when you use our affiliate links. However, this does not impact our recommendations.
Add a new dimension to your work with a few basic skills and an inexpensive machine.
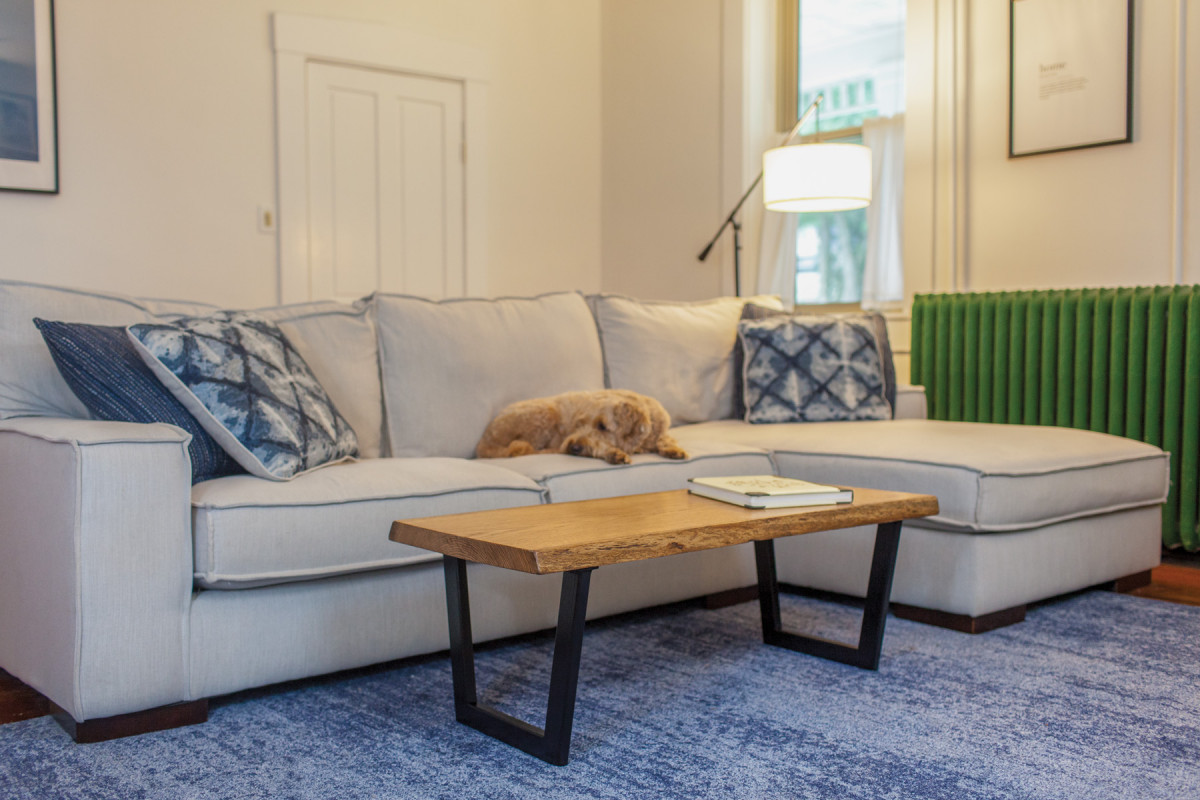
Woodworkers are joining the welding renaissance that’s happening among makers. Understanding the fundamentals of welding is key when you begin welding. Here’s how to incorporate beautiful welded frames into your furniture using simple designs and just a few tools. In fact, you can put together a complete welding setup for less than $1,000.
The Fundamentals
Stick, MIG and TIG are the three distinct systems of welding, and each approaches the three main components (arc, filler and flux) of welding differently.
The arc (component 1) is created when an electrical circuit is completed. This high-amperage circuit melts the stock you’re welding and adds more material through the filler. Stick welding generates the arc through the filler rod, MIG welding through the wire feed and TIG through the torch. Many seasoned welders say that it’s best to learn on a stick machine so that you develop a feel for controlling the arc manually then move to MIG and TIG. MIG and TIG processes typically produce the highest quality, aesthetically pleasing welds in difficult materials such as stainless steel or aluminum.
With stick welding, filler material (component 2) is delivered through a solid rod that’s covered in flux. On a MIG machine, wire is fed into the weld by pressing the gun trigger. TIG welding requires manual feeding of a welding rod into the weld that’s created by a separate TIG torch. TIG is considered the most difficult welding system because of the coordination required with both hands.
Arc welding requires a flux (component 3) of some sort to shield the arc from impurities. With stick welding, the flux coats the filler rod and nothing is required but electricity and the rods. The flux on the rod reacts with the arc and creates a gas that shields the puddle. MIG welding uses a gas (100 percent carbon dioxide or a mix of carbon dioxide and argon depending on the desired characteristics) to create a flux
barrier; TIG welding also uses gas.
No. Item Length Material Cut List
(inches)
4 Leg Side 14 1/2 x 2 1 x 1/8 steel tube
2 Leg Bottom 12 3/4 x 2 1 x 1/8 steel tube
2 Top Plate 18 x 2 1/4 steel plate
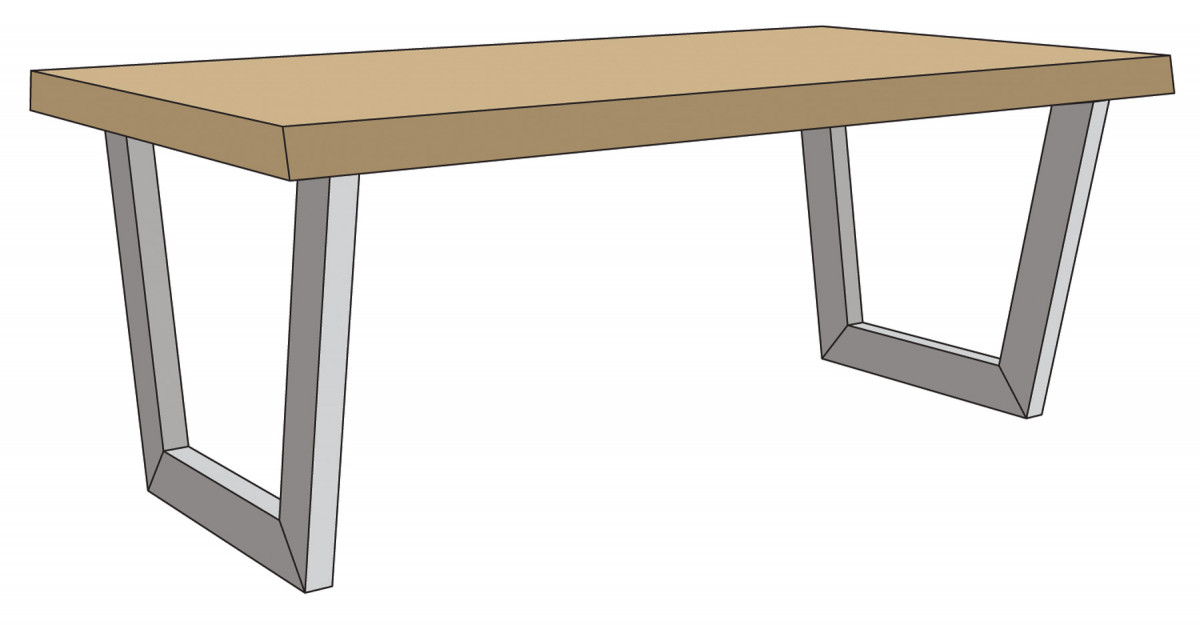
Materials Needed A large array of commonly stocked metal tubing is available at your local metal supply shop. For this build, a shop in Cincinnati took my order over the phone and had it cut and ready the same day. For furniture, look for hot- rolled tube that’s at least 16ga (.0598″) thick. I like to stick with 1/8″ wall tube because it’s forgiving while welding; you won’t blow through it while laying a bead and it provides a nice heft to your furniture.
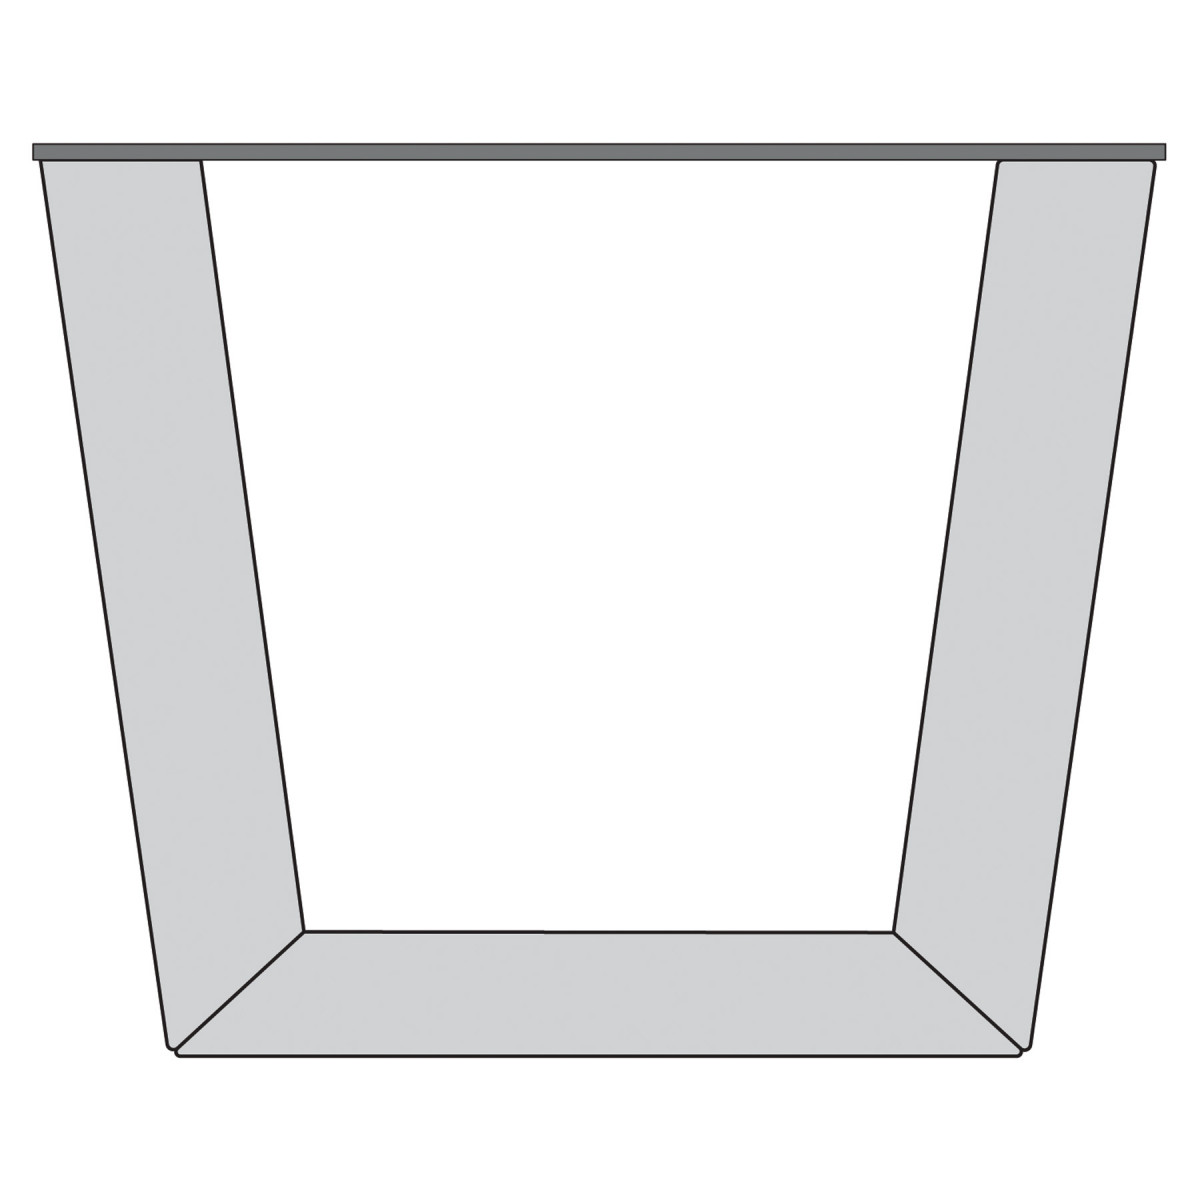
Leg Bottom

Top Plate
Flux-Cored Arc Welding (FCAW)
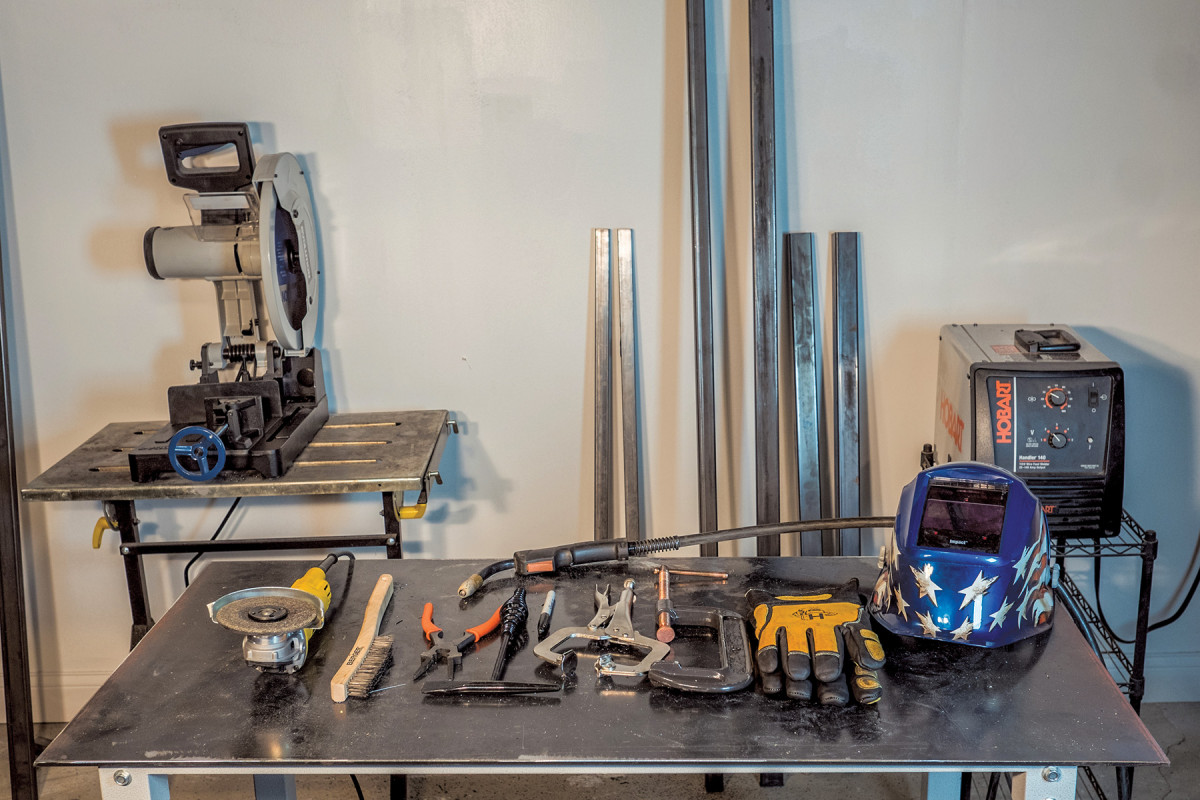
1. My welding kit includes a basic welder, chop saw, grinder, clamps, MIG pliers and safety gear.
There’s a middle ground between stick and MIG welding called flux-cored arc welding. The system uses a MIG machine to auto feed flux-cored wire into the arc. Flux is generated by reaction, just like stick welding, but is as easy as MIG welding. For my shop, it’s a great middle ground because I don’t have to even think about gas. I just leave a spool of .030″ flux-cored wire in my machine and I’m ready to go. It’s a bonus that flux-cored welding is more tolerant of impurities on the surface of the metal than other kinds of welding, saving preparation time.
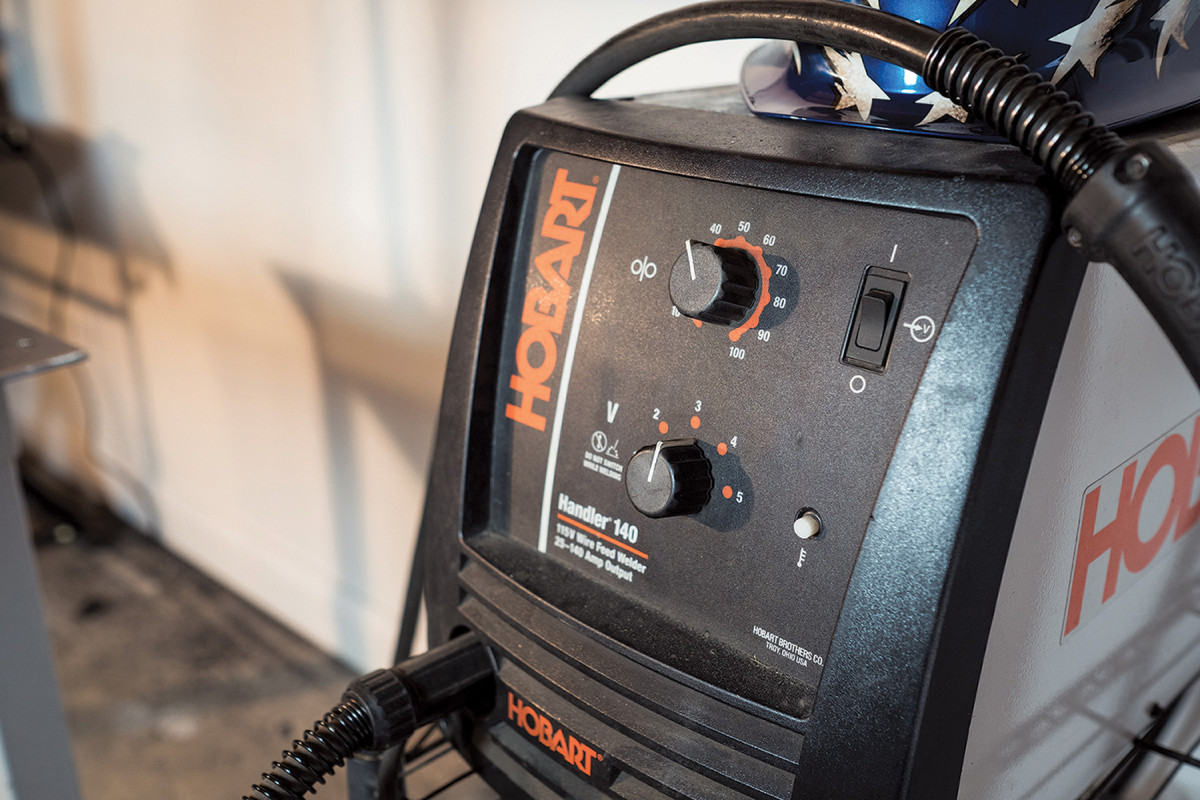
2. The controls on my machine are simple. I kept my feed around 40 and my voltage at 3 for most of the build.
For this project, I’ve decided to use the flux-cored system despite the fact that the welds aren’t as nice looking as other kinds of welding. I’m going to grind my welds flat anyway so there wouldn’t be a visible difference in the end. If you decide to leave welds untouched on your metal base, I suggest springing for the gas and go MIG or TIG to get attractive welds.
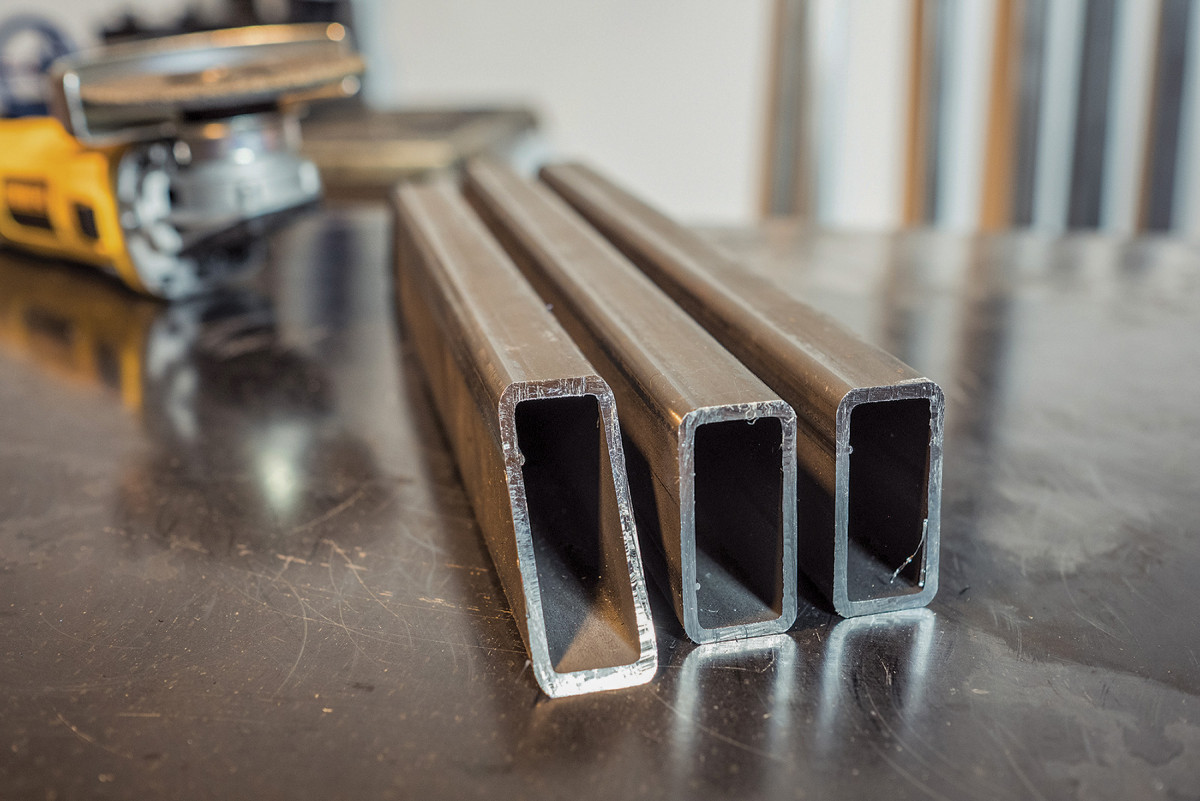
3. 1/8″ wall tube is hard to mess up while welding and provides good heft for the base.
My machine is a Hobart Handler 140 which means it’s capable of delivering 140 amps. This particular machine is wired for 115 volts. When you’re in the market for a welder, the first decision to make is what’s the hardest material you’ll weld. For furniture making, I have a hard time imagining a day when I need to weld something thicker than 1/4” and my 140 handles up to that thickness with ease. I have also decided to use flux-core wire so that I do not have to run gas while welding. My wire is 0.030″, a size that is appropriate for a fairly wide range of material sizes.
Making the Cuts
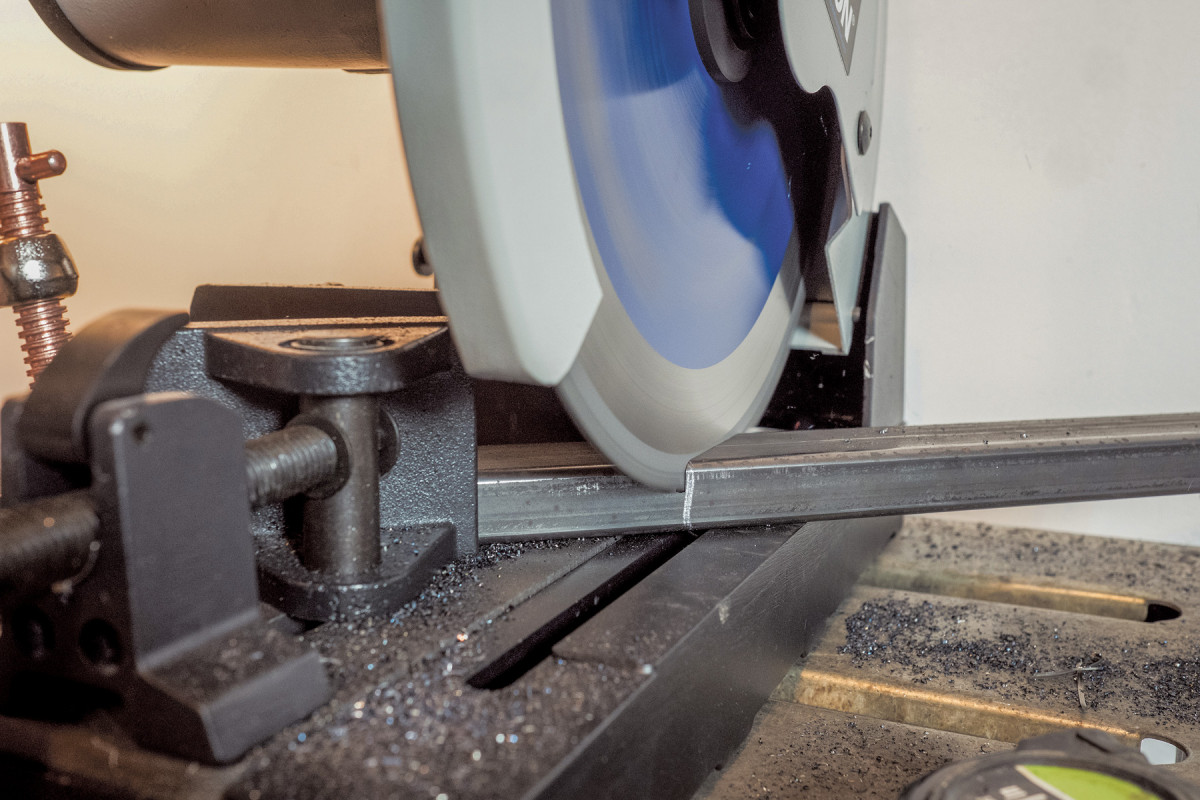
4. Cold-cut chop saws make accurate cuts that need little cleanup beyond regular prep for welding.
There are a few methods to cut stock for welding. An abrasive wheel is a common method. It can be used in an angle grinder or in a chop saw. The downside to abrasive wheels is the amount of substrate and debris cast into the air (they make a mess). Another method is a metal cutting band saw. These are similar to a woodworking band saws, but they run slower and have a coolant pump to keep heat down and the blade lubricated.
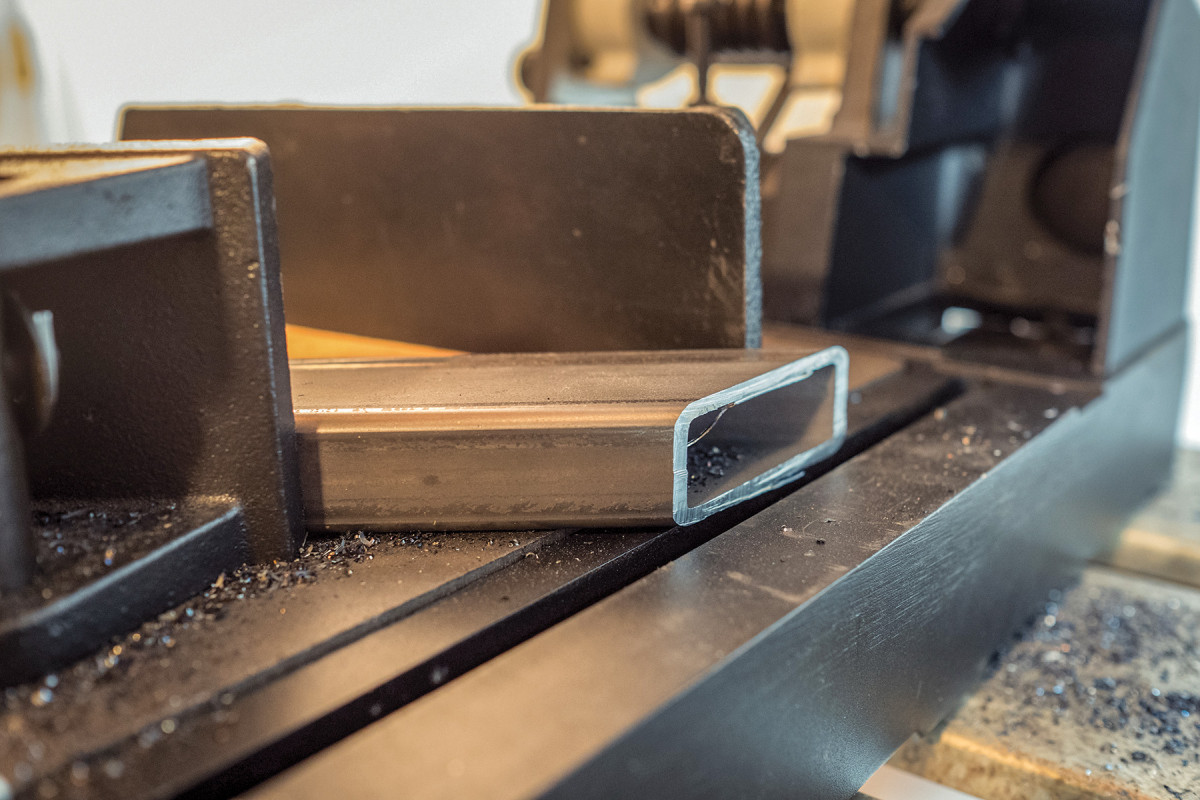
5. The cold-cut saw leaves a clean and accurate cut.
Another option is a cold-cut chop saw. Cold-cut saws use a carbide blade with a tooth design that’s made especially for metal. It leaves almost no burr that needs to be ground off. The blade is stiffer than an abrasive chop saw so you won’t see as much deflection.
Cutting Angles
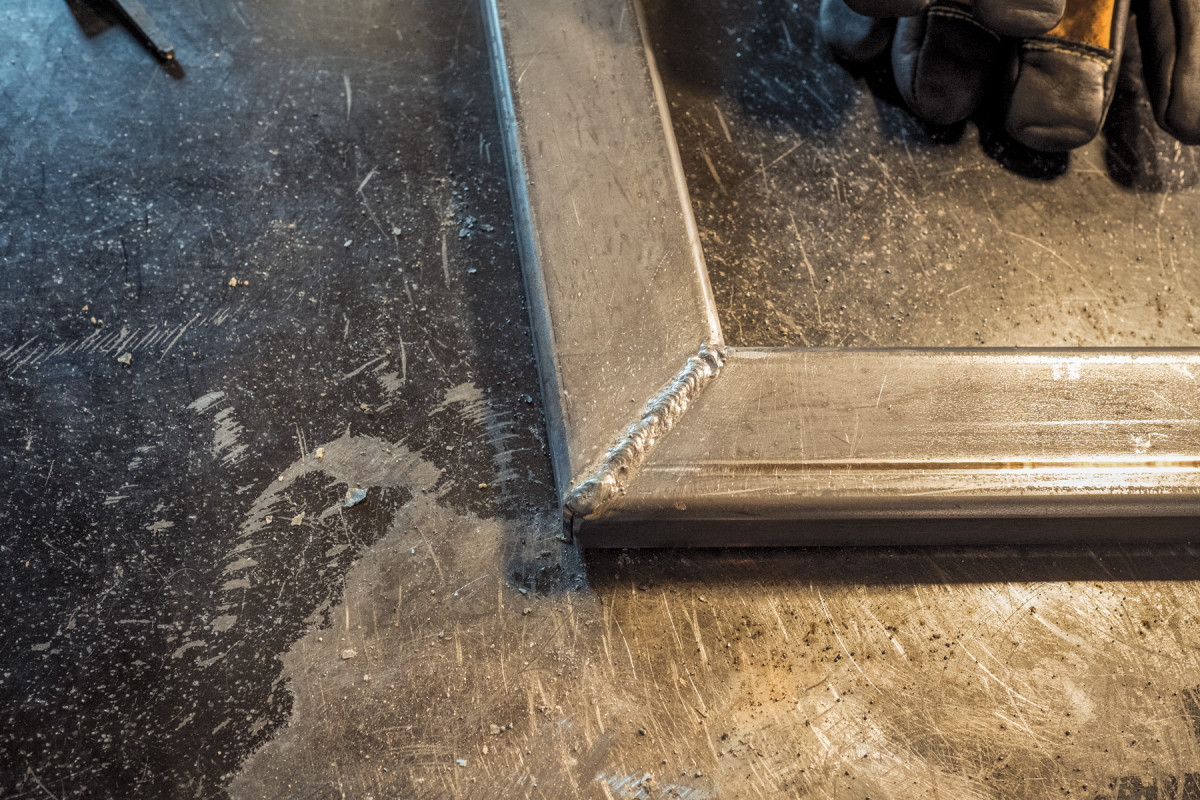
6. The miters straight off the saw; tight.
I built this base in just a few hours (you could probably build it in less if you don’t need to get your welding equipment out and set up). There are just eight cuts in this. Begin with an 8′ section of 1″ x 2″ tube with a 1/8” wall. Set your chop saw to 10° and make your first cut. This will be the top of your leg. Measure 14 1/2” down and set your chop saw to 40°. Repeat this process again and your legs are ready. Cut the leg bottom with 40° cuts on both sides.
Prep the Metal
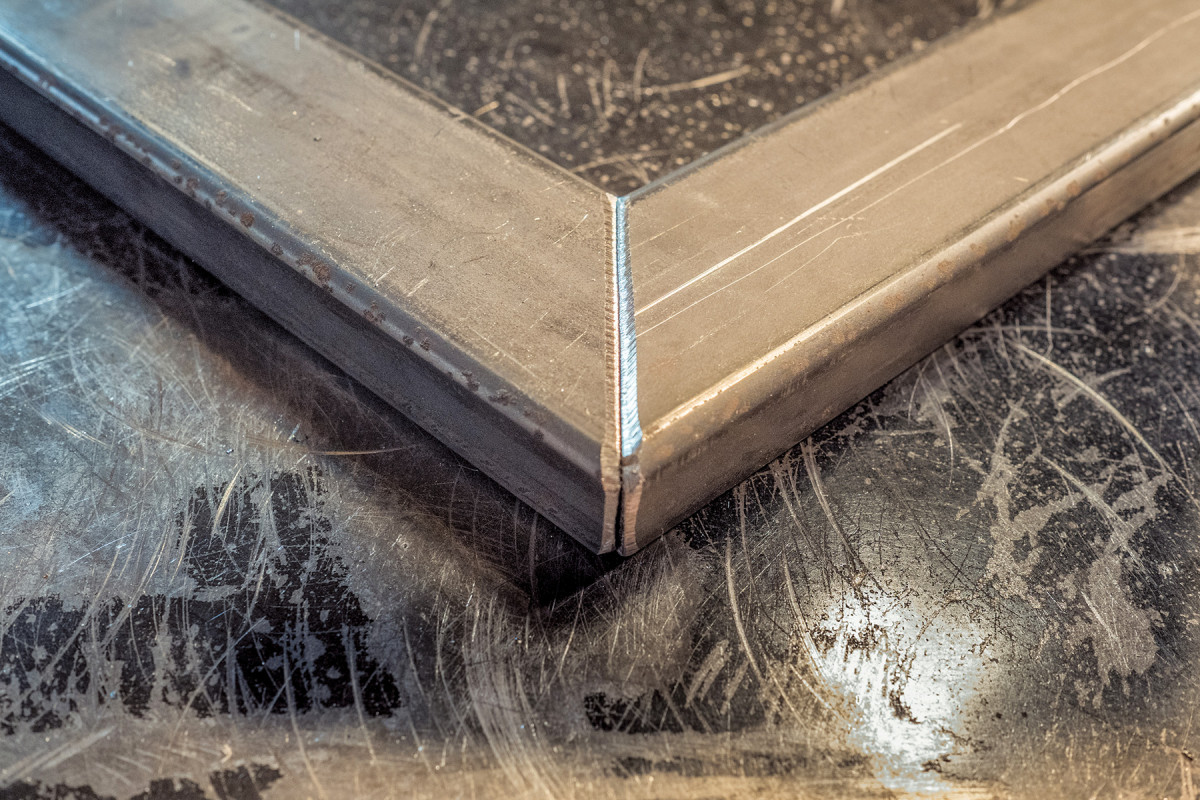
7. Ground and ready to go. There’s plenty of room for the weld to fill and join.
One of the most important parts of welding is metal prep. The goal is to remove all of the mill scale, oil and other foreign materials from the stock and get down to bare steel.
To achieve a strong weld that penetrates the stock appropriately, you need to create a valley to increase the surface area at the joint and a place for the filler to occupy.
Tack the Parts
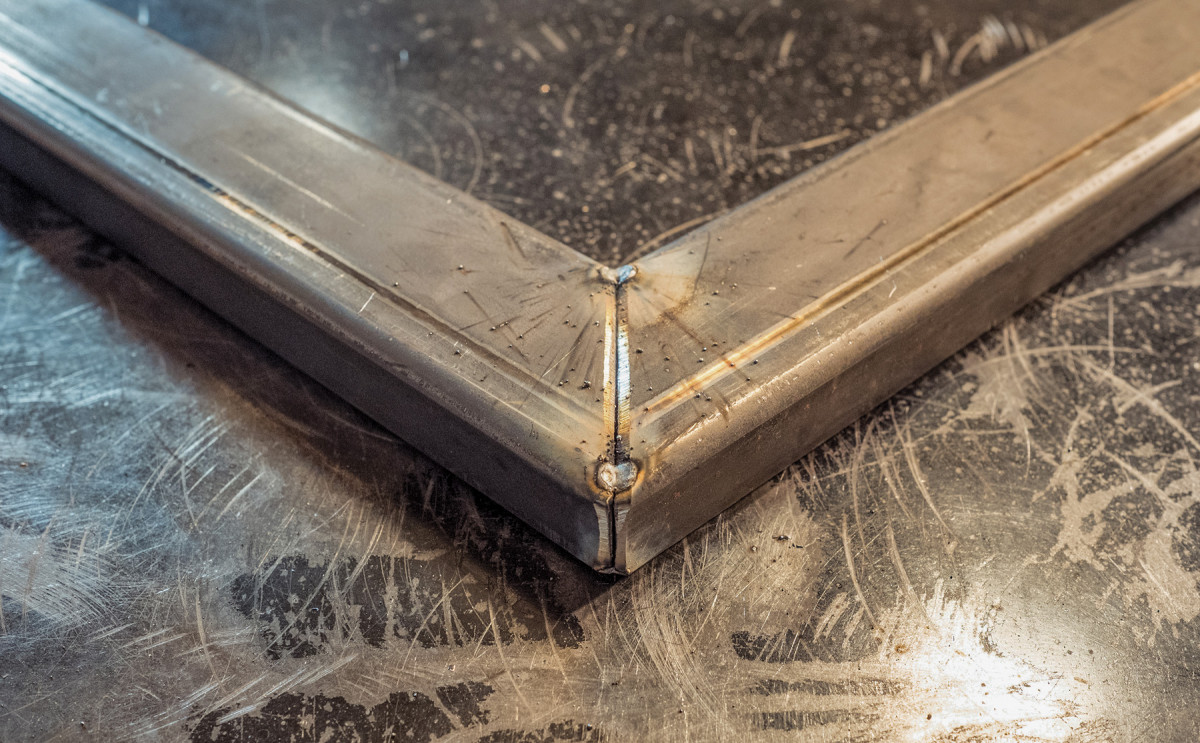
8. Use higher amperage and lower wire feed speed for tack welds. Low laying tacks with good strong bonds are ideal.
Finally, you’re ready to pull the trigger on your welder! The first weld you’ll make is a tack weld. These tiny welds hold your parts in place before you lay a longer bead. The idea is that you can tack and adjust the gap between parts, tune an angle just right or break it apart if things aren’t lining up. On your machine, there’ll be a chart that dictates the settings you should use. When you tack weld, increase the voltage and decrease the wire feed speed from the suggested settings. You want a flat weld that penetrates both pieces quickly.
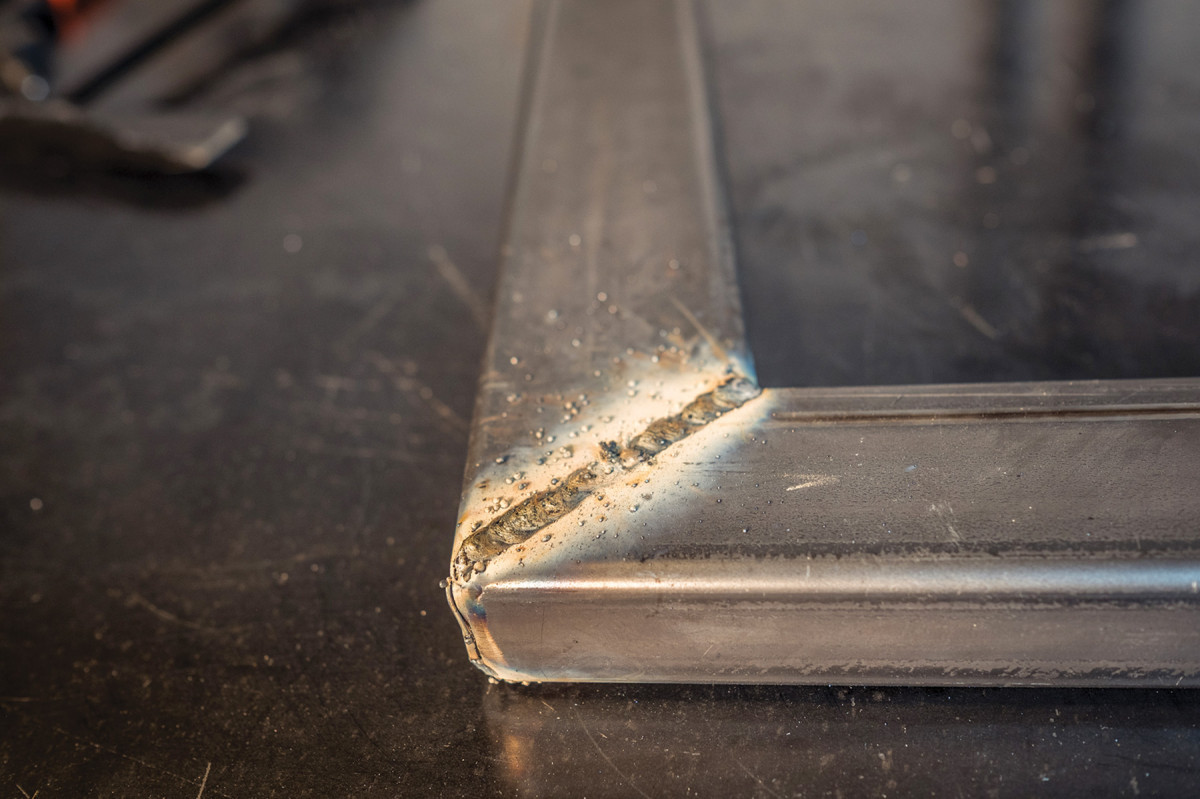
9. Flux-core wire will leave flux and spatter on the surface. It’s easily cleaned off with your chip hammer and wire brush.
There’s also some strategy to tack welding your work. The moment you introduce heat to your parts, they’ll start to move. You’ll need to alternate the places where you tack your work so that you maintain square joints and keep everything flat. When welding on square or rectangular tube, it’s best to place your tacks just before the corners. This way you can start and end your weld without a tack weld interrupting your bead. In more commercial settings there are different requirements for the placement of tacks. Keep in mind that we’re building furniture here: some of the stricter rules for welding simply don’t apply.
Lay a Bead

10. Here’s the cleaned weld. There’s plenty of room for aesthetic improvement here, but these welds are more than strong enough for furniture joints. Plus, the welds are going to be ground down. Look for good penetration and that the gap and chamfer between the pieces is completely filled.
Now you’re ready to lay a bead. After mastering your beads on scrap stock of the same thickness (so that you can get your machine dialed in perfectly), there’s nothing left to do but go for it. Don’t try any kind of new pattern on the actual work piece; stick with what you practiced.
Grind
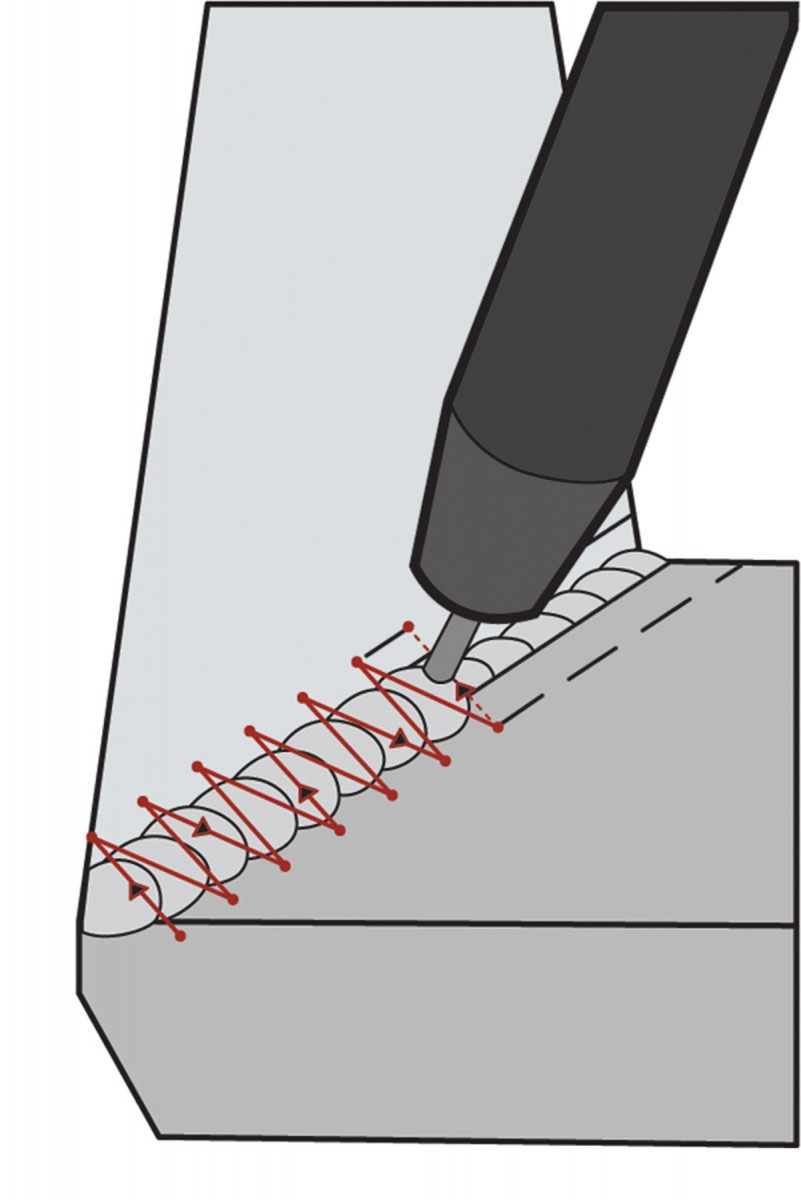
Manipulating the way you weave the arc across the weld area will affect the penetration, size and appearance of the weld. I have found for simple tasks, a zig-zag weave produces a weld that fills the gap and provides solid penetration. There are dozens of variations; read up and try them all!
Either you lay a beautiful bead that you want to share with the world and incorporate the texture into your furniture design, or you grind welds flat to make the joint seamless.
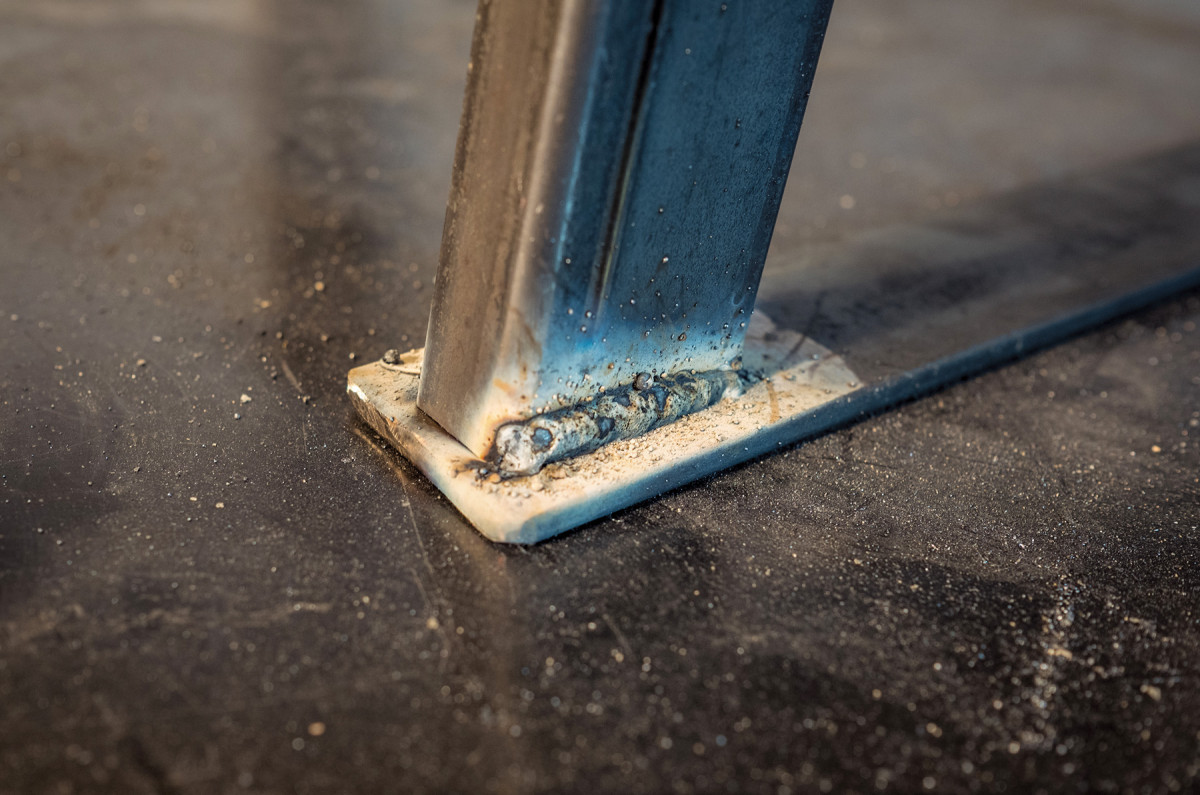
11. When it comes time to weld the top flat bar to the legs, you will need to turn the amperage and feed up to get good penetration on the thicker stock.
I used rectangular stock for my base, requiring a long weld facing out and in a really obvious place. I knew from the get-go I was going to grind these flat and paint the base, so I wasn’t upset when my welds didn’t come out perfectly.
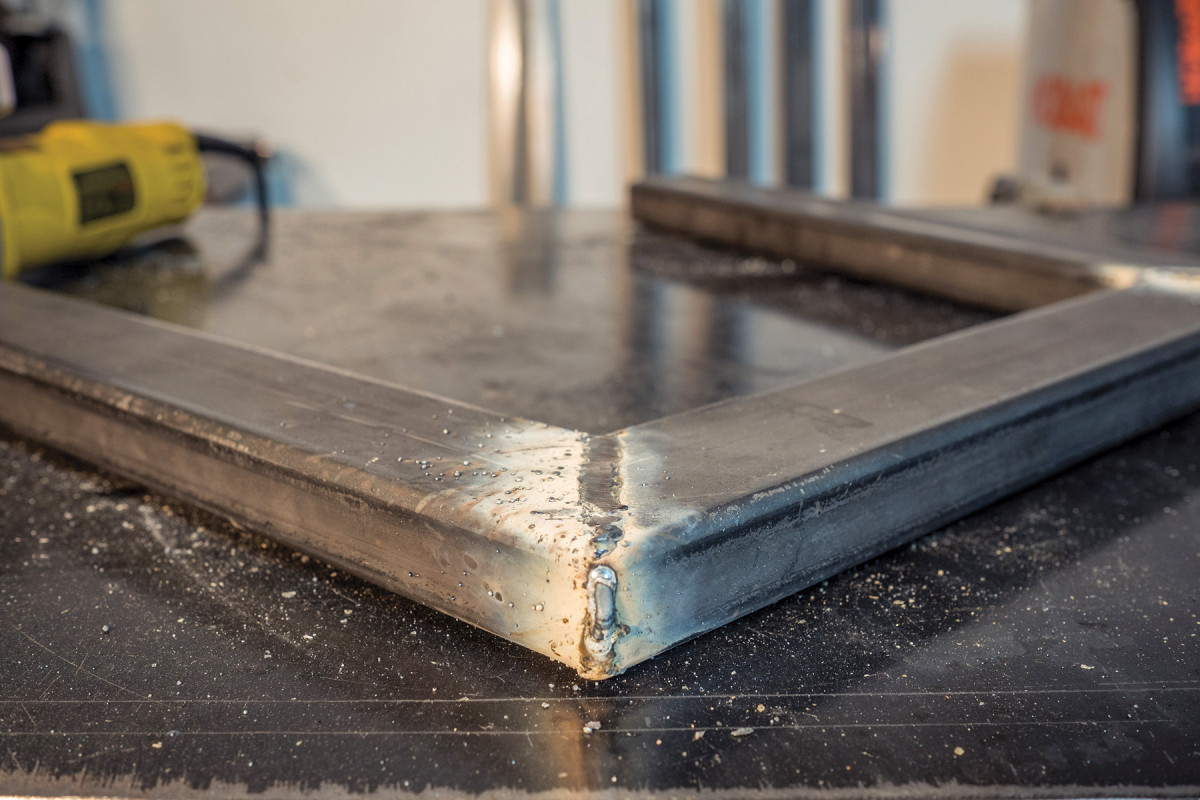
12. Try and keep your grinding wheel flat while taking down the bulk of the material. The less you grind the tube next to the weld, the flatter a surface you will end up with.
A hard grinding wheel will make quick work of the excess material. But keep in mind, steel tube has a radius along its edge and you need to incorporate that feature into your sculpting, otherwise you’ll end up with an irregular surface.
Finishing Touches
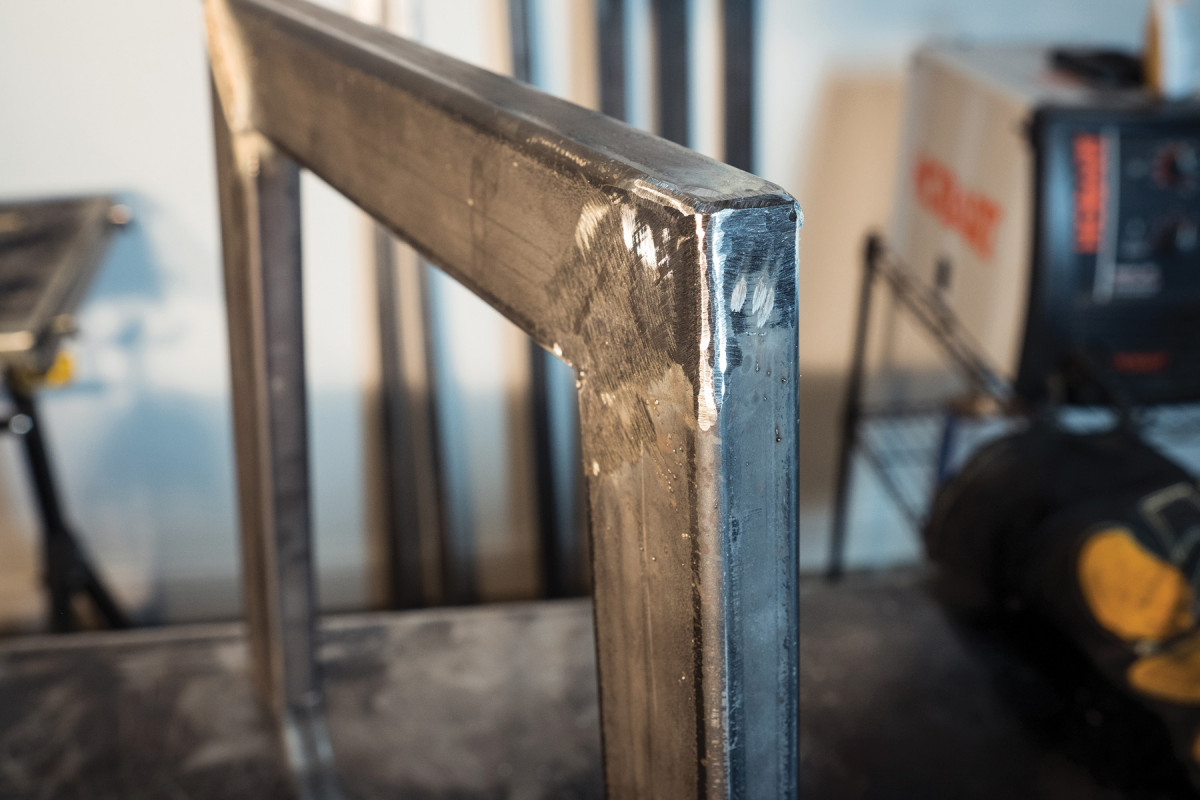
13. This joint is just about done. I will hit it one more time with a finer grinding wheel to even out the scratches and the last of the tiny facets from the aggressive wheel.
I drilled five oversized holes in the flat bar to accommodate the movement when I attach my slab top. There are many finishing options for your base. Most commercial shops will send their bases to be powder coated, but painting is a more affordable solution for a home furniture maker.
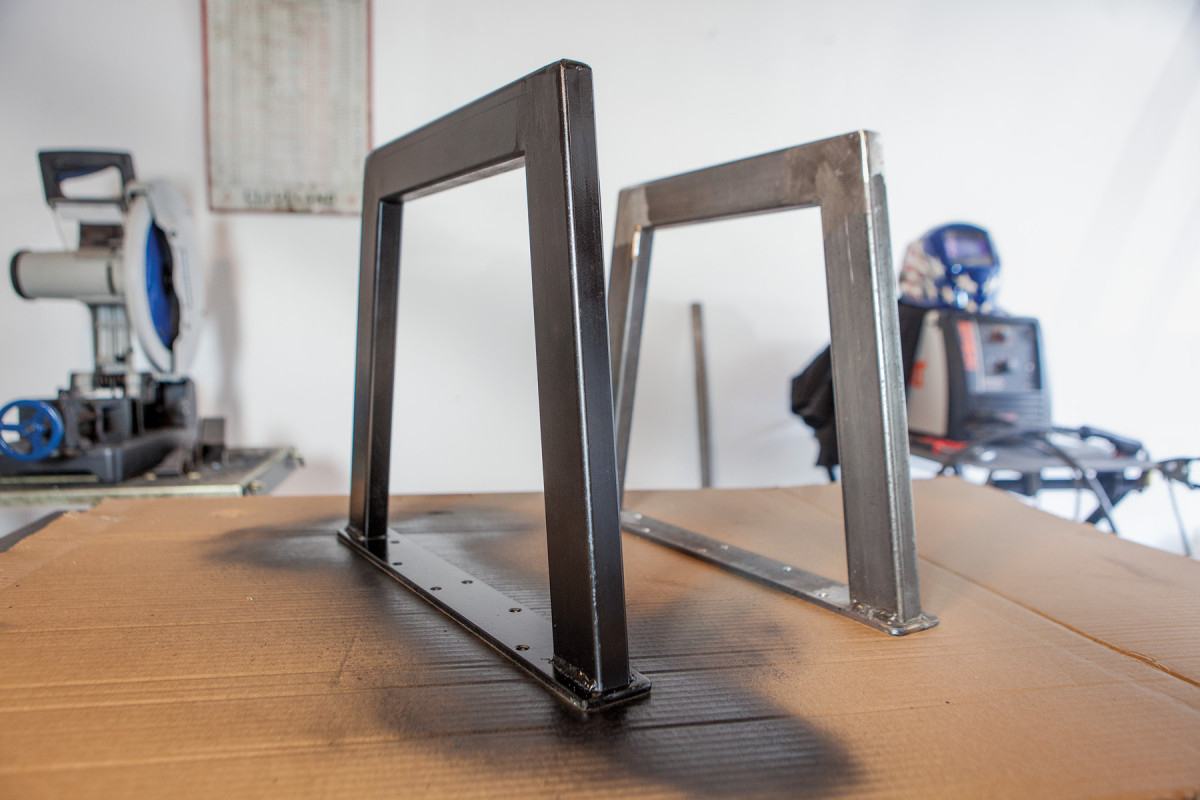
14. Time to paint! I am thinking this coffee table will support plenty of abuse from my three-year-old son.
Wipe down the entire base with acetone, spray with a primer or a paint/primer combo and then an enamel of your choice. You could also just use a clear coat or even simple wax if you’d like to keep the industrial look. You’ll want to put some sort of finish on the raw steel or it’ll rust.
Here are some supplies and tools we find essential in our everyday work around the shop. We may receive a commission from sales referred by our links; however, we have carefully selected these products for their usefulness and quality.


