We may receive a commission when you use our affiliate links. However, this does not impact our recommendations.

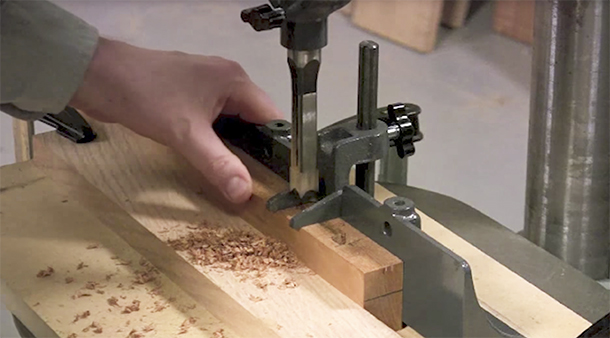
Not every woodworker is into mortise-and-tenon joinery and the infrequent “mortiser” is likely to take out their hammer and chisels for that one project that demands a mortise. However, if your one project happens to be an Arts & Crafts piece, there’s a darn good chance you’re going to be making more than a couple of mortises. Being of the woodworking school that says every new project deserves a new tool, I might be tempted to shop for a moritser. But with a benchtop model starting around $300, I might look for another option like a mortising attachment for my drill press (usually under $100.)
This is a solid option but there is one compromise. Mortisers are geared to transfer minimal motion into fairly significant downward pressure. Your drill press will require more “travel” during the downward motion and you might have to provide a bit more “oomph”. But if I’m saving hundreds of dollars, it’s a compromise I’m willing to embrace.
Watch along as Tim Johnson walks you through the steps of adding a mortising attachment to your drill press, and gives you tips on set up and use.
Here are some supplies and tools we find essential in our everyday work around the shop. We may receive a commission from sales referred by our links; however, we have carefully selected these products for their usefulness and quality.


![How to Shop for a Lathe [Video]](https://dev.popularwoodworking.com/wp-content/uploads/bfi_thumb/dummy-transparent-olcy6s63it1p9yp7uhusjas7c8kahafrhg9su7q9i0.png)


I have the Craftsman version and found it to be usable in pine and poplar but my drill press also Craftsman at the time did’t have enough depth travel and the three arms were not long enough to leverage the bit and make it work in denser woods. I had given up on M/T until I attended Robert Lang’s class on M/T joints at Wood Working In America a few years back. After trying a floor model mortise machine I was hooked. The Craftsman drill press attachment is in the giveaway pile with the other tools covered in dust and spider poo that I should have disposed of before now as I pack up the shop for the move up north.