


We may receive a commission when you use our affiliate links. However, this does not impact our recommendations.
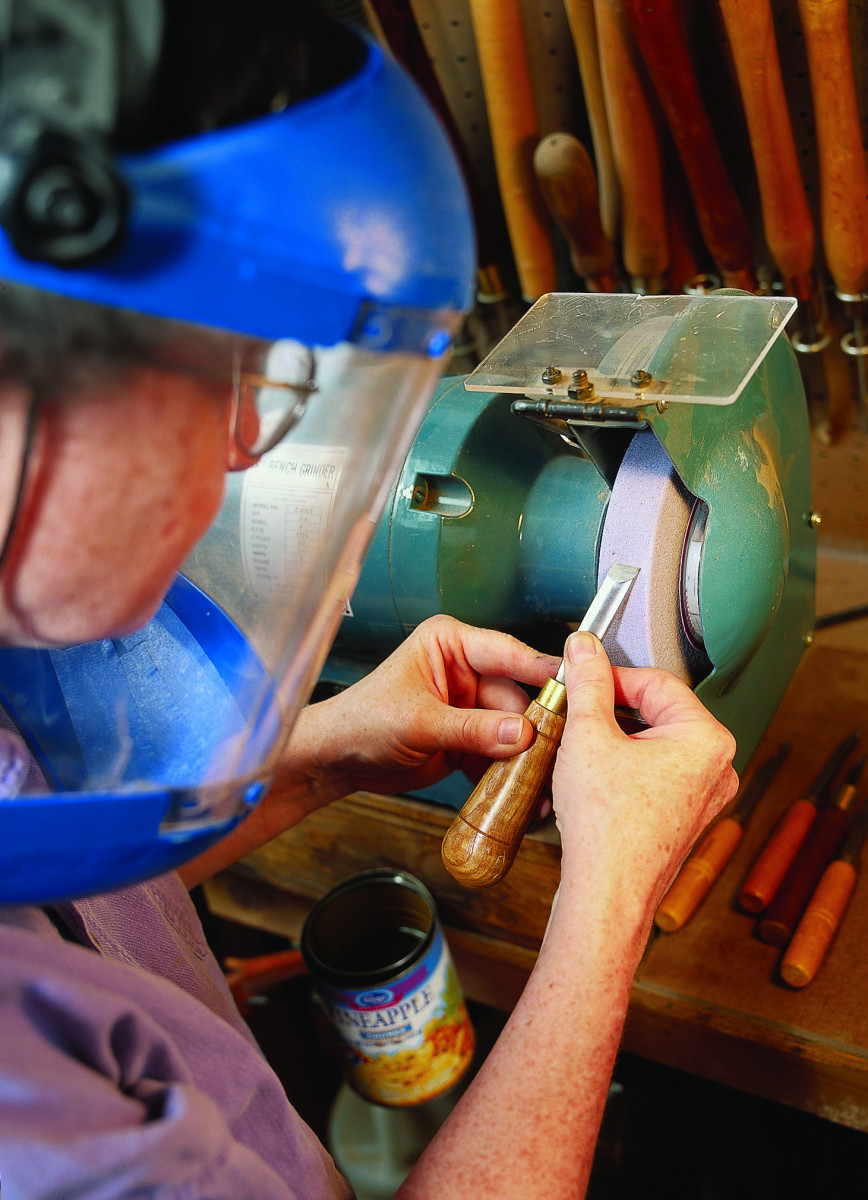
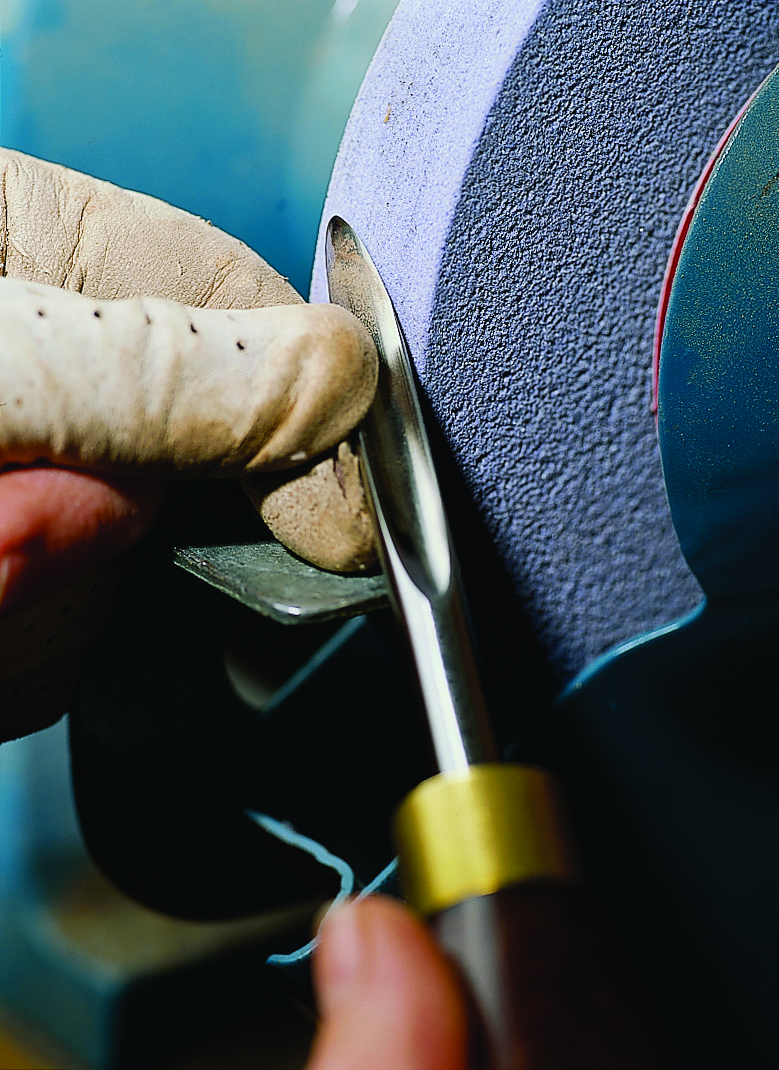
Practice at the grinder will pay off at the lathe. (Note that my hands are covering the toolrest.) Although my hands are close to the wheel, there is no danger as there is no pressure towards the wheel.
Turning tools come in many shapes. Here’s how to keep those shapes sharp.
Many years ago, I was cooking with a friend who was home visiting his parents during a college break. He struggled with a dull knife until he finally threw it down on the cutting board in disgust and declared, “There’s a $2,000 stove in this house and not one sharp knife!”
In cooking or in woodworking, keen edges trump just about everything else in importance. You may have a $5,000 lathe with all the bells and whistles, but without sharp tools it’s just a big piece of metal. Obviously every woodworker, whatever type of work he or she is doing, needs to use sharp tools. What isn’t always so clear is how to get them that way – or even how to recognize a dull or sharp edge in the first place. This is especially true of turning tools, because there are so many different shapes and sizes. Figuring out how to sharpen all of those can be a little confusing. But understanding a few basic principles will definitely help.
Basic Sharpening Tips
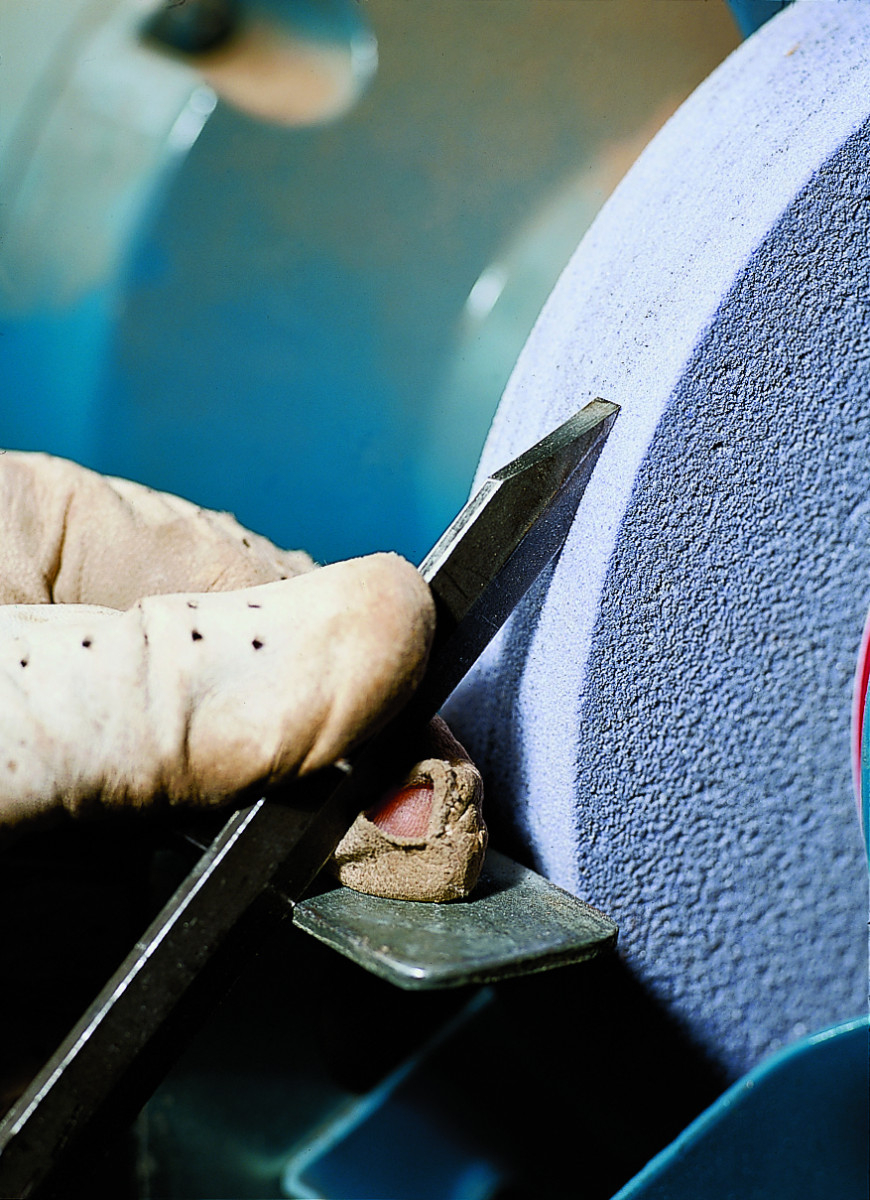
Start with a parting tool; it’s easy to sharpen. Just hold the tool so the bevel is all on the wheel and move it back and forth across the face of the wheel without moving it in any other way.
Sharpening is a skill; as with any other skill, learning it will require practice. This may seem obvious, but it’s easy to forget. It’s certainly not as much fun to practice sharpening as actual turning; no lovely shavings pouring off the piece and so on. There is just – well, the grind of grinding. But time invested here will pay off exponentially at the lathe.
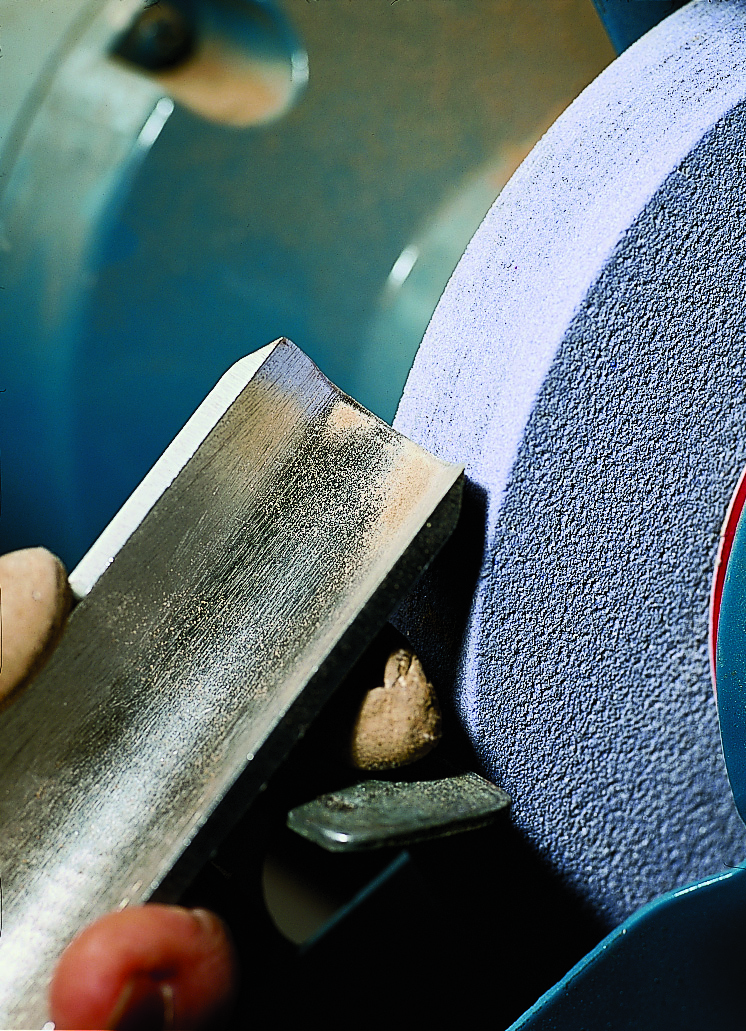
Understand that sharpening is really nothing but dressing the tool’s bevel. When you think about the edge instead of the bevel, the tendency (albeit unconscious) is to raise the handle of the tool in order to get that edge to appear more quickly. You can’t grind an edge; but produce a good, clean bevel and you will have a good edge. You can see when that edge arrives by watching for the sparks dancing across the edge or shooting down the top of the tool. Don’t try to hurry it.
Don’t worry too much about the exact angles of the bevels. It’s more important to develop an understanding of how the tool should work, and when and why you might want a longer or a shorter bevel, than it is to produce a precise, predetermined angle. If the tool is working well, simply try to reproduce that angle.
The roughing gouge (used in spindle work) is fairly straightforward to grind. Find the position for the bevel and twist the handle back and forth without raising, lowering or swinging it side-to-side.
Let the grinder do the work. Pushing the tool into the wheel won’t take the metal off any faster; it will only overheat the tool and wheel. Just enough pressure to keep the wheel cutting is all that’s required.
Dress the wheel frequently to keep it flat and clean (more on this later).
Make sure you’re comfortable at the grinder; you’ll be less inclined to rush it. Be sure you have good light, and that the working area is at an appropriate height. I’m 5’2″ tall, and most shops I’ve been in have the grinder mounted too low even for my comfort. The base of mine is 40″ from the floor; get yours up high enough that you don’t have to hunch over while using it. If necessary, build up a pedestal with 2×6 boards (and then fasten it all down for stability). Your back will thank you for this.
Remember: Tend to the bevel and the edge will take care of itself.
Grinders and Wheels

This shallow gouge is one of my favorites for long curves on spindles. It’s sharpened like the roughing gouge, but in addition to the simple twisting motion, you will need to move the handle up and sideways a bit on the right side and then the left side in order to produce the shape that is slightly swept back on either side of center.
There are many sharpening accessories on the market: machines, attachments, jigs, wheels, abrasives and more. I can’t hope to examine them all in a short article. I suggest you start with a simple bench grinder. You may already have one; if so, you might not need anything else. But if your grinder has only the gray wheels that came on it, you will need a new wheel. The gray wheels glaze over very quickly and they are often very coarse – the “fine” wheel may be #60 grit or even coarser.
For turning tools, #80 grit for rough grinding and #120 grit for finishing are usually good choices. Most major woodworking and turning catalogs at least offer white or pink wheels. These are aluminum oxide grit and work well for turning tools; the grit breaks away readily, which helps to prevent overheating and buildup of metal on the wheel.
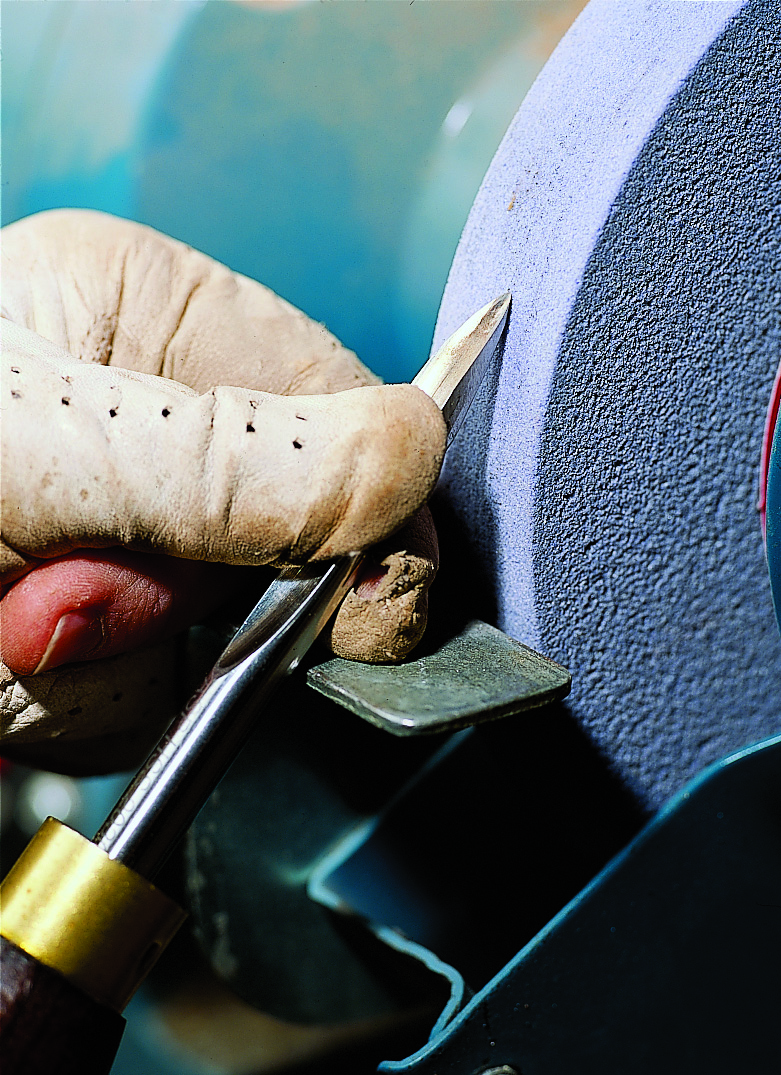
This is a detail gouge used for spindle work and on the outside of bowls. Start at the tip (as shown at above) and lift the handle and swing it to the right (as shown at below) to produce the swept-back side.
I use the blue aluminum oxide wheels from Oneway Manufacturing (800-565-7288 or oneway.on.ca); the hard, sharp grit cuts well, and the wheels dress to a clean finish for fine sharpening. They don’t load up and glaze over as quickly as other wheels I’ve used.
Bench grinders usually run at either 1,750 revolutions per minute or 3,450 rpm (or thereabouts), and take a 6″, 7″ or 8″ wheel. I prefer a 1,750 rpm and an 8″ wheel, although my trusty, old, no-brand grinder was a 3,450 rpm with a 6″ wheel, and it served me well for many years. But I prefer the shallower hollow of the bevel from a larger wheel.
At the faster speed, it’s easy to lose control and reshape the tool in ways you didn’t intend. For small tools in particular, the slower speed makes it easier to stay in control. I like a 1″-wide wheel; it’s easier to sharpen larger tools on it than a 3⁄4“-wide one.
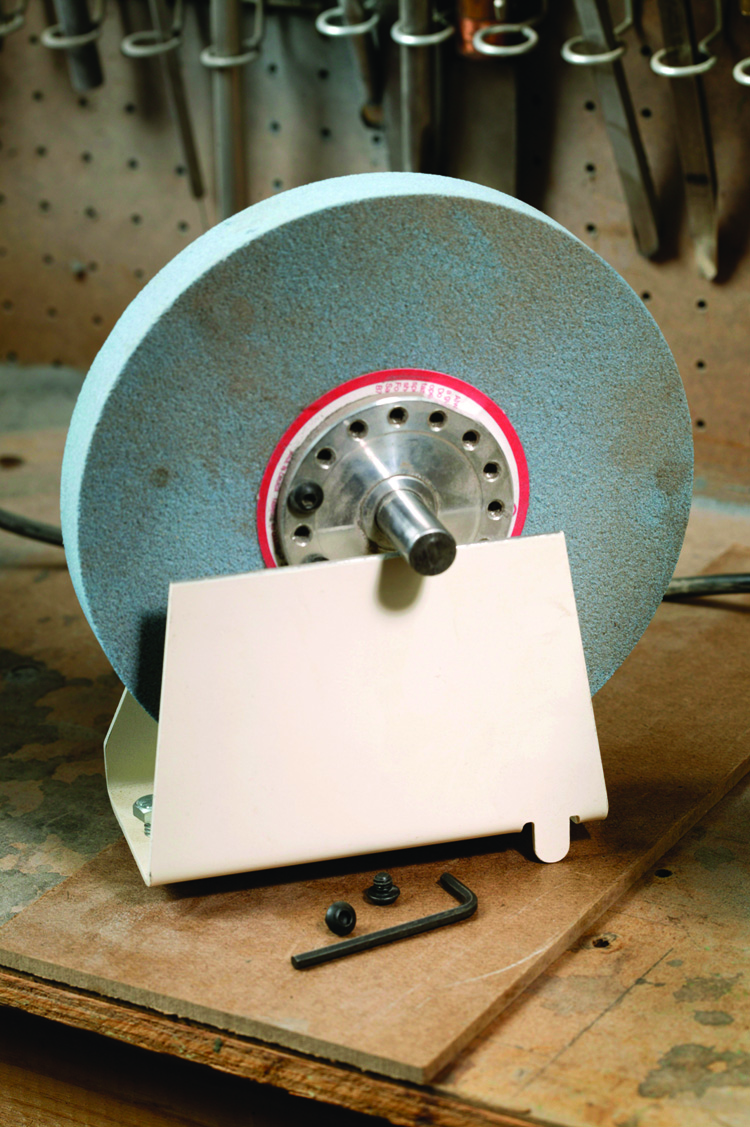
You need a wheel dresser to keep the surface of the wheel flat and clean. There are several available that are suitable, including a diamond point dresser, several versions of a diamond-impregnated bar attached to a perpendicular handle, and my favorite, the dressing stone (shown at right), all of which work just fine.
Sharpening Machines and Jigs
It’s a good idea to balance your grinding wheels. At high speeds, an unbalanced wheel can cause vibration. Oneway makes this system for balancing wheels.
When I started turning, I could barely afford my $25 grinder and a decent wheel, so more elaborate machines and jigs weren’t really an option. I’m not sure there even were any jigs for sharpening lathe tools at that time; and to be frank, I was (still am, really) a little intimidated by machines that come with operating manuals thicker than about 1⁄16“. These facts certainly influence my opinions on this topic.
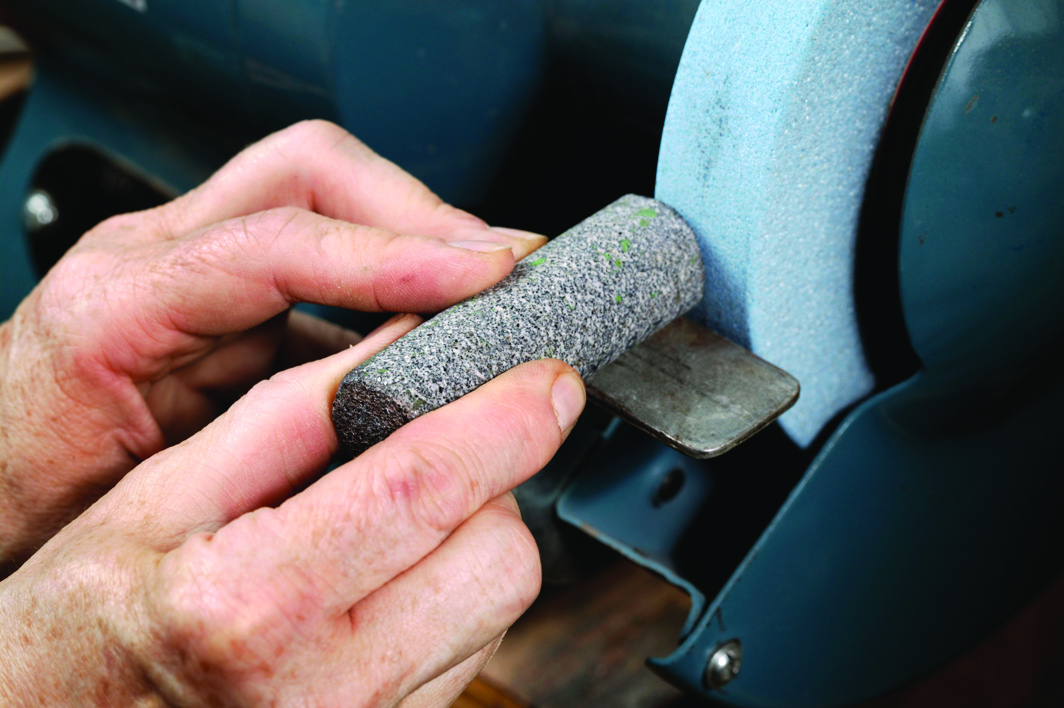
The dressing stone is rolled or moved across the face of the wheel to level and clean it.
I think the more complex machines are more suited for sharpening things such as flat chisels, jointer knives and planer blades than turning tools. Jigs have a place, but I believe you should definitely learn how to grind by hand, primarily for the two following reasons.
First, let’s say you’re turning a bowl using three tools: a small bowl gouge, a detail gouge and a scraper. If you have to reconfigure a jig each time you need to touch up one of these tools, you probably won’t sharpen as often as you should. You need to be able to go to the grinder and quickly touch up the edge of a tool whenever it’s needed. This takes a few seconds once you have acquired some skill.
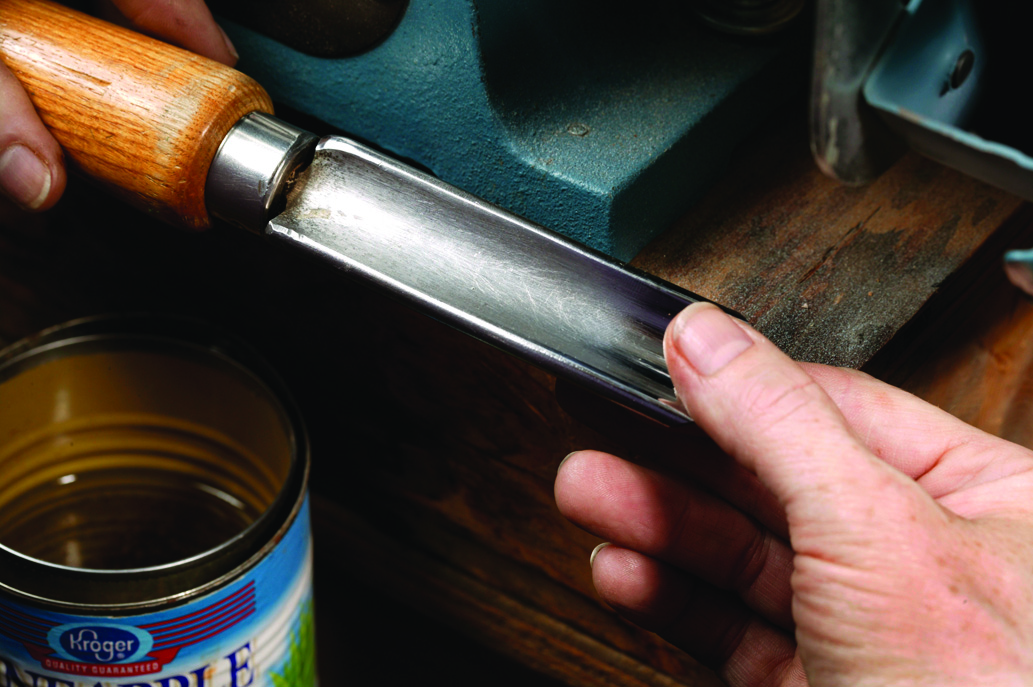
Gently draw your thumb off the end of the tool as if you’re scraping something off of your thumb (not side-to-side; that could cut you). It should feel rough rather than smooth (it feels rough because it’s sharp enough to actually scrape cells off. If it feels smooth, the edge is rounded enough to just slide over your skin).
Second, sooner or later you will need to change the shape of a tool in a way the jig does not readily provide for. If you have the skill of hand grinding, this will be a simple matter; if you don’t, you will be inclined to just keep using the edge the jig provides instead of reshaping it to do the job better.
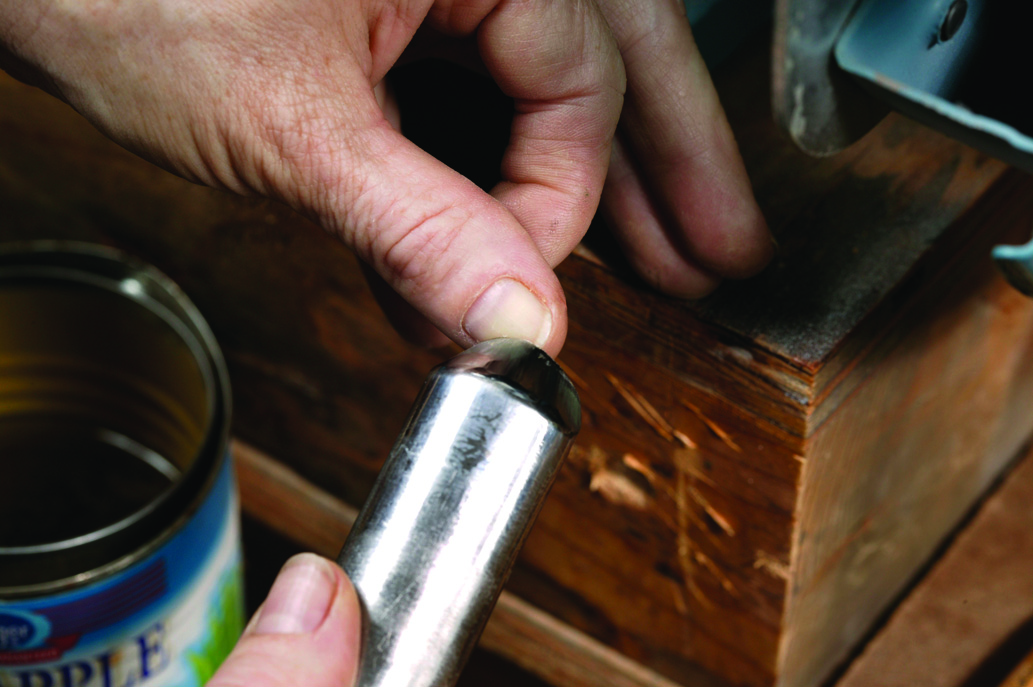
Gently roll the edge across the end of your thumbnail. Again, it will feel rough if it’s sharp (because it’s actually biting into the nail slightly), and smooth if it’s dull (because it is sliding on the nail).
What a jig will do very well indeed is dress the bevel perfectly. If you do use a jig, remember that it must be set up correctly, and you do still have to learn how to use it. Even when the jig is properly set up, if you spend too much or too little time on a given part of the edge, you can spoil it. You are still in charge of the shape of the tool.
Remember, woodturners are an opinionated lot, and I am no exception. The crucial thing about sharpening is that you learn to do it. Whatever works best for you is really fine. What matters is that when you put the edge to the wood, it’s a sharp one. How it got that way is secondary.
Are We There Yet?
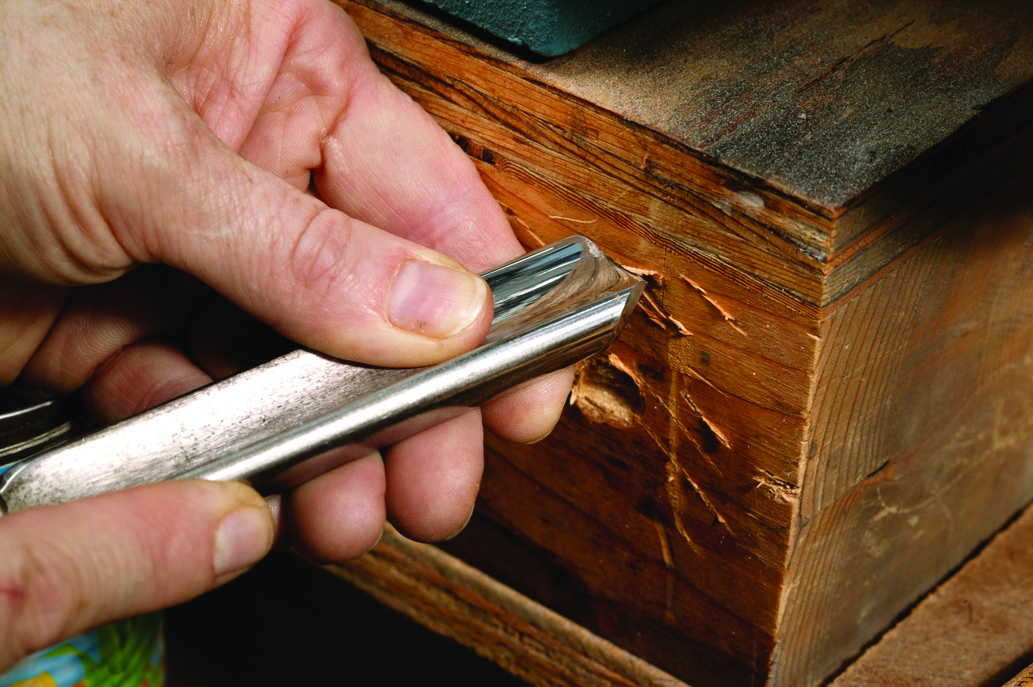
Pull the tool gently across a piece of wood (I use the base under the grinder – it’s always handy) at an angle. It should pull a fine, clean shaving with almost no pressure. If you have to push to get a shaving, it’s not really sharp yet.
How do you know if it’s sharp yet? Of course the real test of an edge is in the cutting, but here are some ways to help you evaluate the edge you’re getting at the grinder.
Here are some supplies and tools we find essential in our everyday work around the shop. We may receive a commission from sales referred by our links; however, we have carefully selected these products for their usefulness and quality.


