


We may receive a commission when you use our affiliate links. However, this does not impact our recommendations.

How – not how much. Roughly equal amounts of glue were used in each of these joints. The difference between them is in how the glue was applied.
Thirst, not starvation, leads to weak glue joints.
On my first day on the job as an apprentice cabinetmaker, my task was to glue together radiator panels for an office building. Two sticks of solid wood with tongues on one edge fit into grooves on the edges of veneered MDF panels. Eager to show that I wasn’t a complete boob, I said, “The glue should squeeze out so I know I have enough, right?”
The cabinetmaker training me looked me up and down and said, “The glue should almost squeeze out.” I thought he was asking for the impossible as I set to work. There were a lot of panels to practice on, and plenty of time to think. Six weeks and 1,300 panels later, I was done. I got pretty good at laying down a bead of glue that just barely squeezed from the joint and every now and then I hit the “almost squeeze out” target.
Most of my motivation to apply the perfect amount of glue came from dealing with the consequences of too much glue – patches that wouldn’t take stain due to wiping off the excess with a wet rag or chips in the veneer from scraping off little beads that I allowed to dry on the surface.
Over the years, I applied this principle to all my joinery. I read magazine articles recommending the use of copious amounts of glue to avoid “starving” the joint. When I worried about that possibility, I would put a joint together then take it apart to see where the glue was. If I saw glue on both surfaces I was happy; the joint would hold and I wouldn’t have a mess to clean up.
My methods were successful. I can’t remember having a joint fail for want of glue. Most of my experience is in production work, where time is money. I wasn’t wasting time brushing glue on every possible surface before assembly and I wasn’t spending time cleaning up after. But was I doing the best work possible?
Enter Glen the Careful Gluer
I shared the magazine workshop with people whose work I admire, even though they use different techniques. When Senior Editor Glen D. Huey joined us, I noticed he had a different approach to gluing. He almost always spread glue on both surfaces of a joint with an acid brush.
Both Glen and I have been around long enough to be set in our ways, but we each recognize that in woodworking there are usually several acceptable ways to accomplish any task. Glen made me wonder if there was an advantage to brushing glue inside a mortise, or if he was taking more time than necessary.
Think of what he could accomplish with the time saved by simply squirting glue in a mortise and moving on, as I did. So, I set up an experiment to prove him wrong. I prepared a piece of wood with three mortises, then sliced off one face of the board and attached a piece of Plexiglas. That way we could see what happened when the joint was glued and a tenon inserted.
A Great & Noble Experiment
One mortise would be glued with my method, one with Glen’s and we decided to apply glue to the tenon alone for the third method. We set up our still and video cameras to record what happened. I squirted a bead of glue on each edge of the first mortise, inserted the tenon, then handed the glue bottle to Glen.
Glen squirted glue in the mortise, then with a brush spread the glue on the mortise sides and the tenon before he assembled the joint. I put a bead of glue on the last tenon and inserted it. This last joint was obviously not as well glued; the rim of the mortise scraped off most of the glue as the tenon went past, pushing it to the shoulder where a lot of it squeezed out.
The other two joints looked remarkably similar; glue covered the Plexiglas thoroughly and a small amount squeezed out at the shoulder. It appeared that both methods worked and that brushing only added time to the process without any added benefit. We went to lunch and returned to see what the joints looked like after the glue had dried.
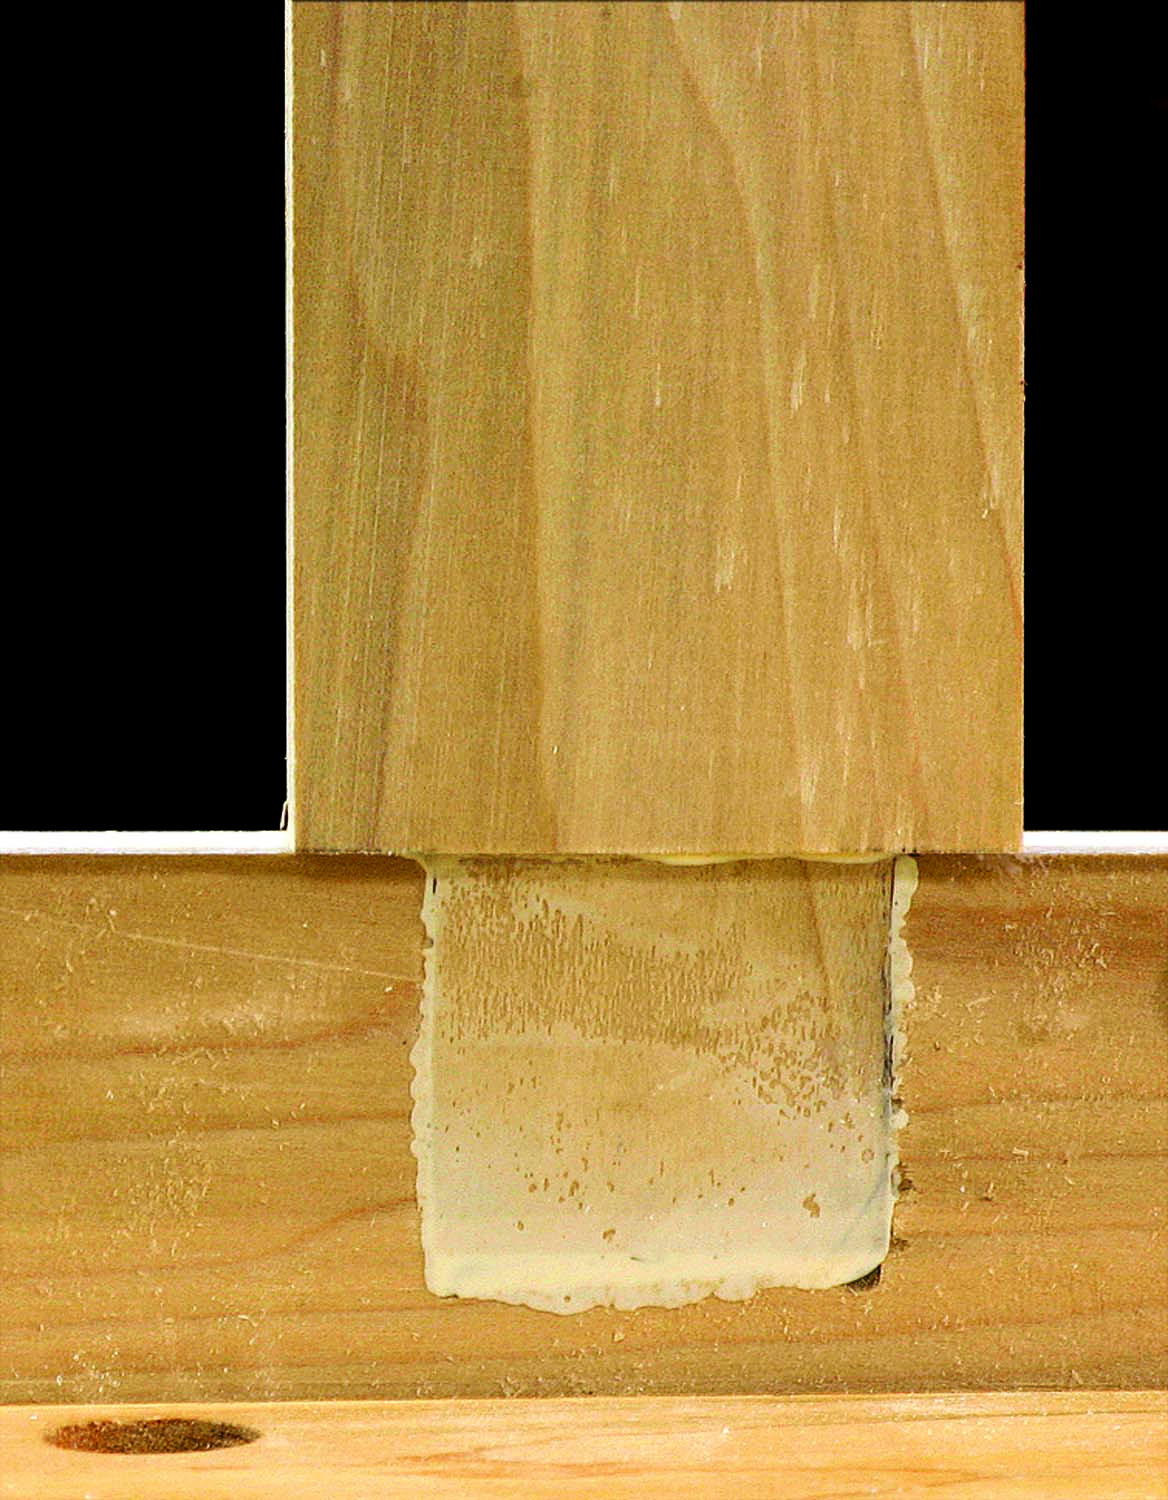
After an hour, there was an obvious difference. The brushed joint had an even film of dried glue visible on the entire surface of the tenon. My joint, where the glue had been applied as a bead, had a much thinner film. In some places it looked as if the glue had disappeared entirely from the tenon’s surface.
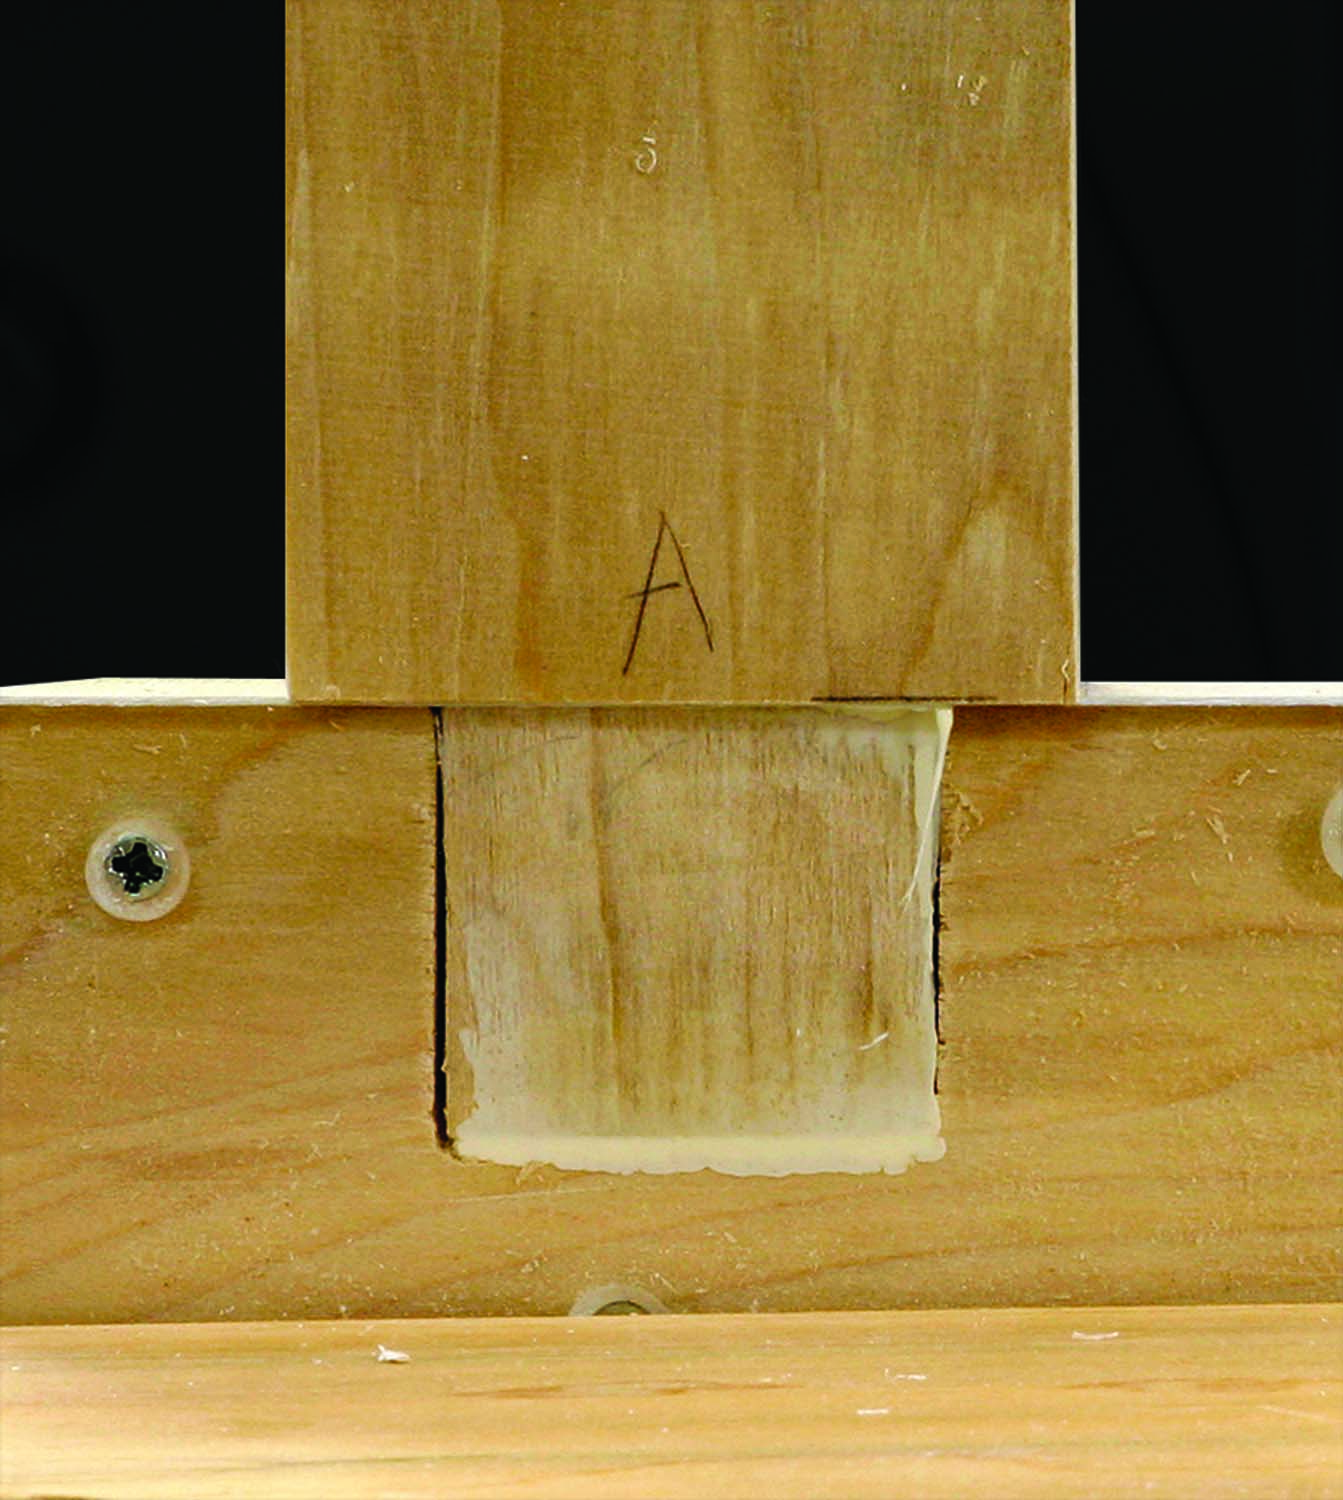
Moisture migration. Within moments glue is absorbed into the surrounding wood. In this un-brushed joint the glue moves into the surface of the dry tenon.
All wet. When a joint is first assembled, the glue spreads into any available space, whether it was brushed or not, as shown here in our first of several tests.
Where Did the Glue Go?
A piece of wood may appear solid, but at a microscopic level, its surface is more like sponge than stone. Water-based glues work by soaking into the surface to bond with the wood fibers. Glue on one piece combines with those fibers and with a film of glue on the adjacent piece. It takes time for the water in the glue to carry the other components into the wood.
This absorption takes place whether or not the two surfaces are in intimate contact. It isn’t clamp pressure that forces glue into the cellular structure of the wood, it’s the same process that takes place when you throw a pile of sawdust on a puddle on the floor. The water takes the easy route, soaking in where it can.

Saturation is the secret. Moisture in water-based glue penetrates the surface of wood. The joint at the left shows assembly from two dry components; the glue migrates away from the joint line. Spread glue with a brush and give it a few seconds to soak in for an effective bond, as seen in the illustration at right.
If there isn’t a good film of glue on a joint’s surface at the start, the glue that is present will likely migrate to the interior of the wood, away from the joint.
That’s what happened to my mortise. A surface that looked completely covered lost a lot of glue – and a lot of glue strength – while we ate lunch. Brushing glue on both surfaces of the other joint saturated them. This is called wetting in glue parlance, and it allows the glue to distribute evenly when components are joined. On assembly, the glue on the wetted surfaces combines and forms a superior bond.
The amount of time it takes for wetting is only a few seconds, and the difference in the amount of glue used is small. My glue joint wasn’t starved, it was thirsty. My method essentially spread glue on the mortise and the tenon at the same time; both parts were dry enough to absorb glue away from the contact area.
For optimum glue joints, you don’t need a lot of glue, but you should spread the glue evenly on both surfaces before assembly and clamping. You can aim for an amount of glue that will almost squeeze out. Adding excess glue won’t guarantee anything except a mess to clean up. But a few extra seconds spent spreading glue on mating surfaces will guarantee a better joint.
As I mentioned earlier, I’ve never had a mortise-and-tenon joint fail, but this simple test convinced me that I’ve been lucky. From now on, I’ll take a little more time and brush on the glue.
Here are some supplies and tools we find essential in our everyday work around the shop. We may receive a commission from sales referred by our links; however, we have carefully selected these products for their usefulness and quality.


